
Lesson 1.3 - High Speed Chase
Tutorial
Beginner
+10XP
50m
(8157)
Unity Technologies
Overview:
Keep your eyes on the road! In this lesson you will code a new C# script for your camera, which will allow it to follow the vehicle down the road and give the player a proper view of the scene. In order to do this, you’ll have to use a very important concept in programming: variables.
Project Outcome:
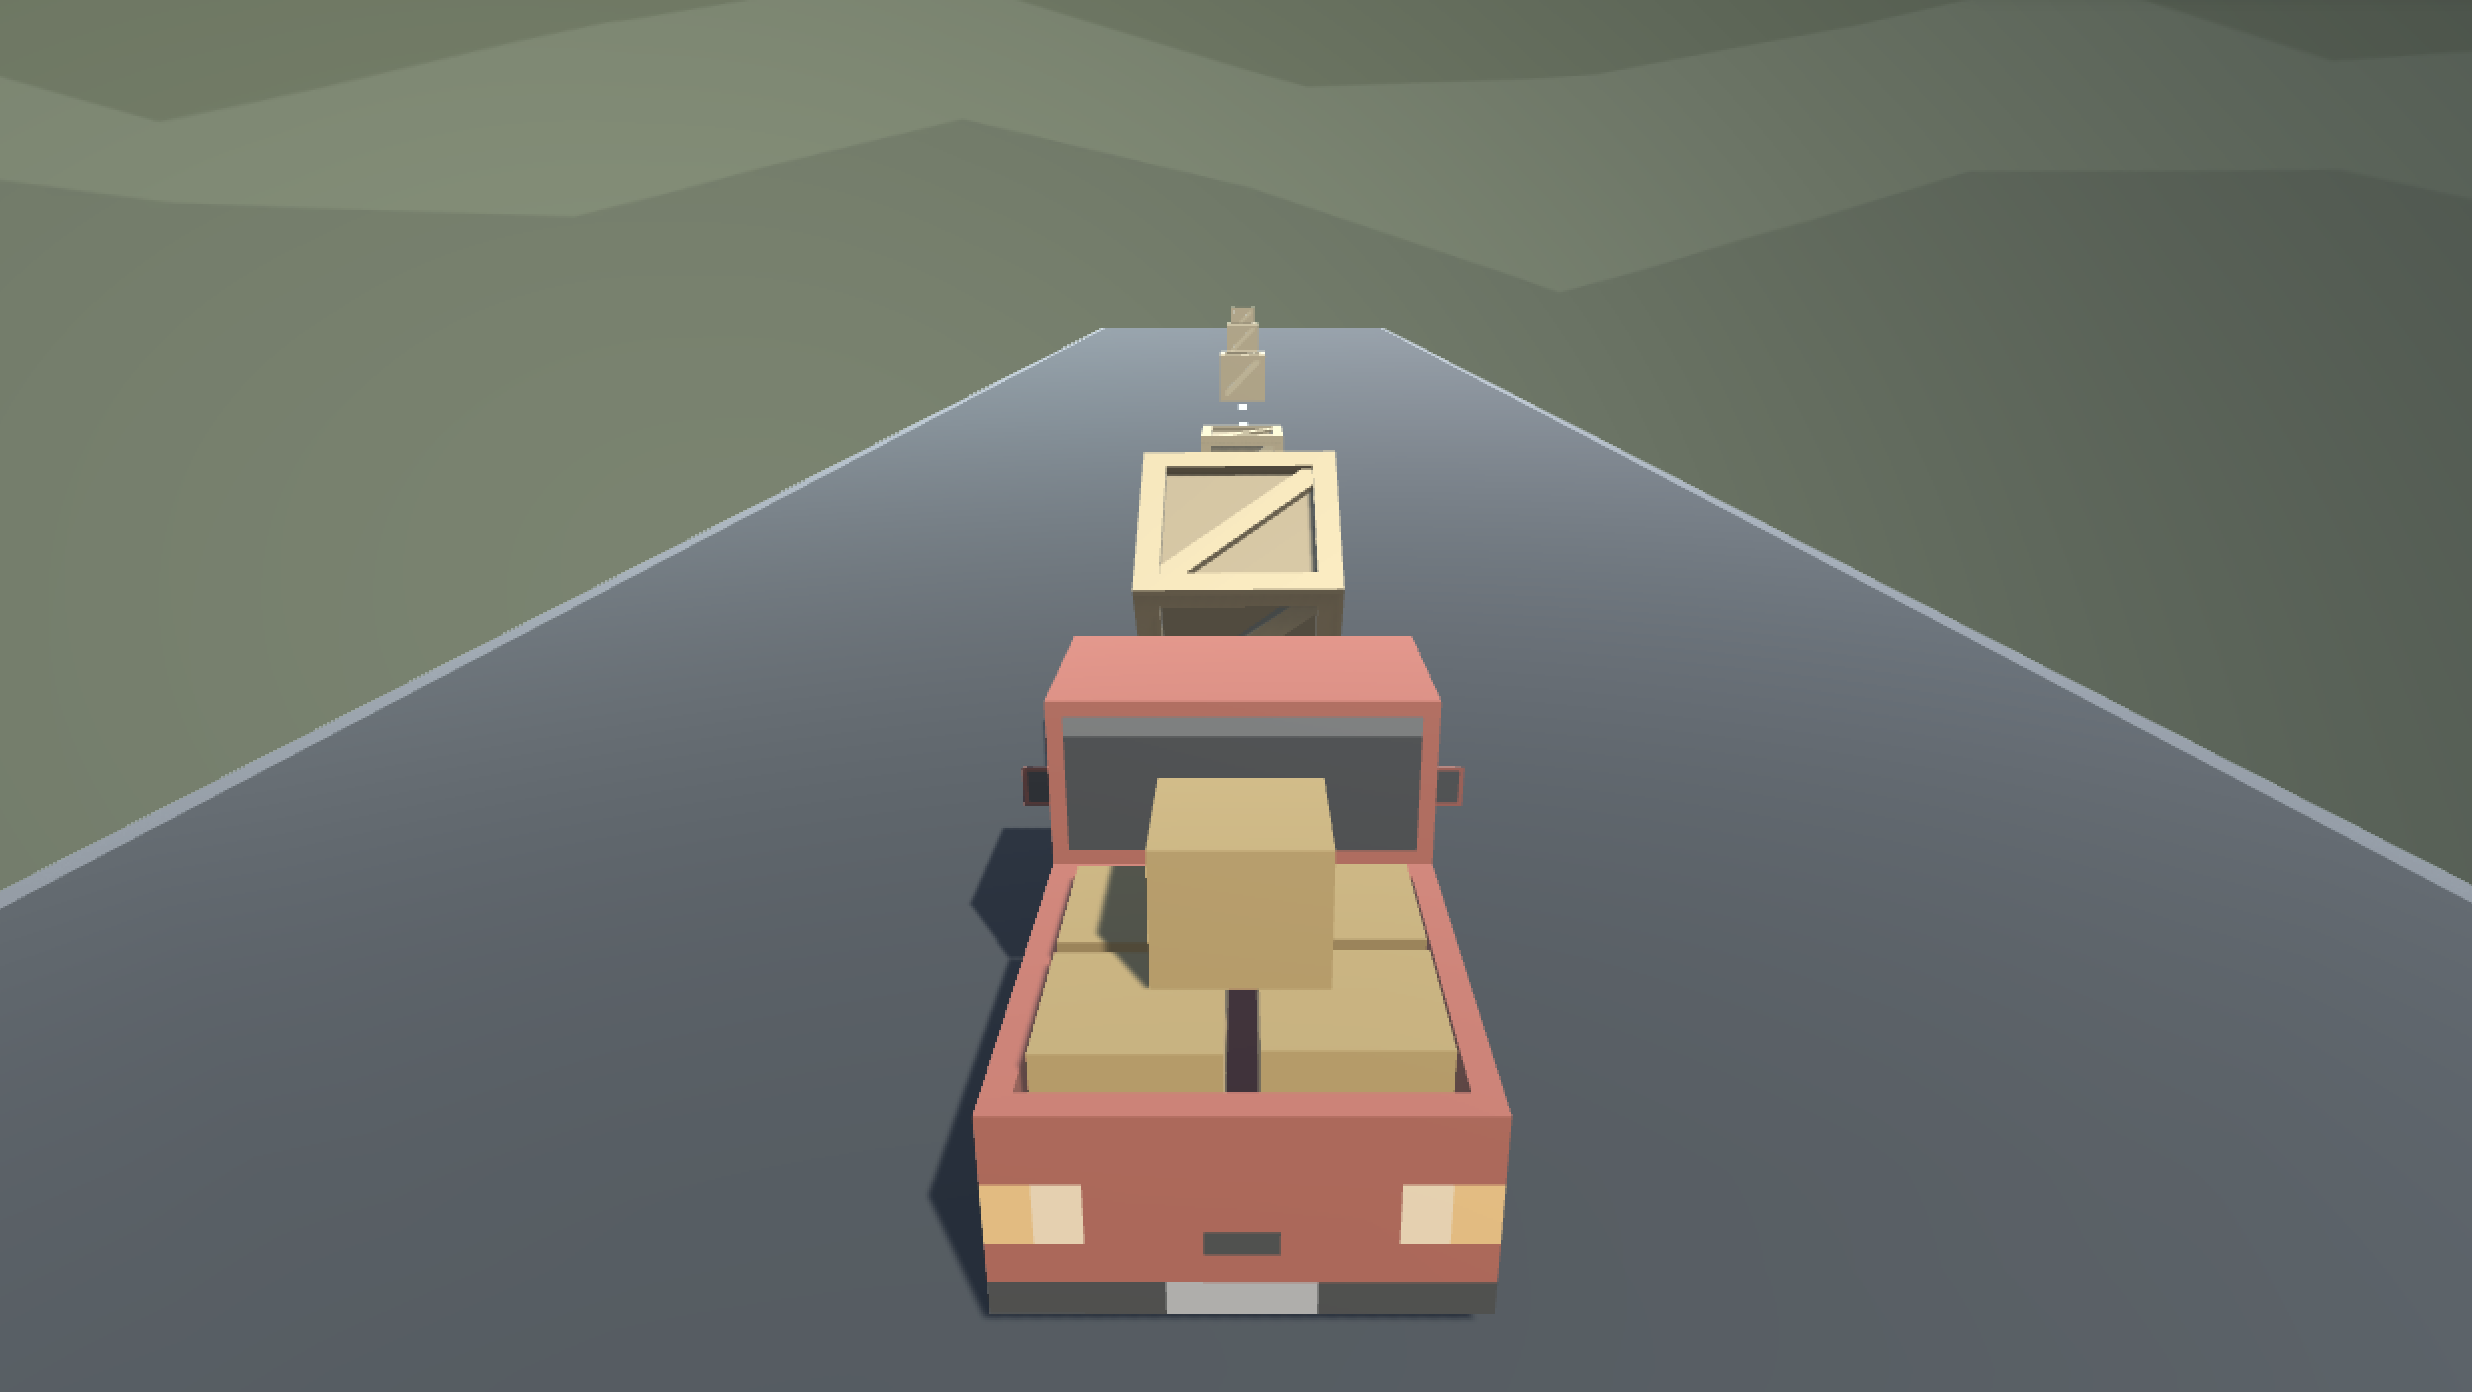
The camera will follow the vehicle down the road through the scene, allowing the player to see where it’s going.
Languages available:
Overview Video
1. Add a speed variable for your vehicle
We need an easier way to change the vehicle’s speed and allow it to be accessed from the inspector. In order to do so what we need is something called a variable.
- In PlayerController.cs, add public float speed = 5.0f; at the top of the class
- Replace the speed value in the Translate method with the speed variable, then test
- Save the script, then edit the speed value in the inspector to get the speed you want
2. Create a new script for the camera
The camera is currently stuck in one position. If we want it to follow the player, we have to make a new script for the camera.
- Create a new Monobehaviour Script called FollowPlayer and attach it to the camera
- Add public GameObject player; to the top of the script
- Select the Main Camera, then, drag the Vehicle object onto the empty player variable in the Inspector
- In Update(), assign the camera’s position to the player’s position, then test
3. Add an offset to the camera position
We need to move the camera’s position above the vehicle so that the player can have a decent view of the game.
- In the line in the Update method add + new Vector3(0, 5, -7), then test
4. Make the offset into a Vector3 variable
We’ve fixed the camera’s position, but we may want to change it later! We need an easier way to access the offset.
- At the top of FollowPlayer.cs, declare private Vector3 offset;
- Copy the new Vector3() code and assign it to that variable
- Replace the original code with the offset variable
- Test and save
5. Smooth the Camera with LateUpdate
You may have noticed that the camera is kind of jittery as the car drives down the road - let’s fix that.
- Test your prototype to notice the jittering camera as the vehicle drives.
- In FollowPlayer.cs, replace Update() with LateUpdate().
- Save and test to see if the camera is less jittery.
6. Edit the playmode tint color
If we’re going to be creating and editing variables, we need to make sure we don’t accidentally try to make changes when in “Play mode”
- From the top menu, go to Edit > Preferences (Windows) or Unity > Settings (Mac)
- In the left menu, choose Colors, then edit the “Playmode tint” color to have a slight color
- Play your project to test it, then close your preferences
7. Lesson Recap
New Functionality
- Camera follows the vehicle down the road at a set offset distance
New Concepts & Skills
- Variables
- Data types
- Access Modifiers
- Declare and initialize variables
Next Lesson
- In the next lesson, we’ll add our last lines of code to take control of our car and be able to drive it around the scene.
Check your scripts
Player Controller.cs
using UnityEngine;

public class PlayerController : MonoBehaviour
{
    public float speed = 5.0f;

    void Start()
    {

    }

    void Update()
    {
        // Move the vehicle forward
        transform.Translate(Vector3.forward * Time.deltaTime * speed);
    }
}
FollowPlayer.cs
using UnityEngine;

public class FollowPlayer : MonoBehaviour
{
    public GameObject player;
    private Vector3 offset = new Vector3(0, 5, - 7);

    void Start()
    {

    }

    void LateUpdate()
    {
        transform.position = player.transform.position + offset ;
    }
}