3.3 - Lighting
Tutorial
·
Beginner
·
+10XP
·
90 mins
·
(20)
Unity Technologies
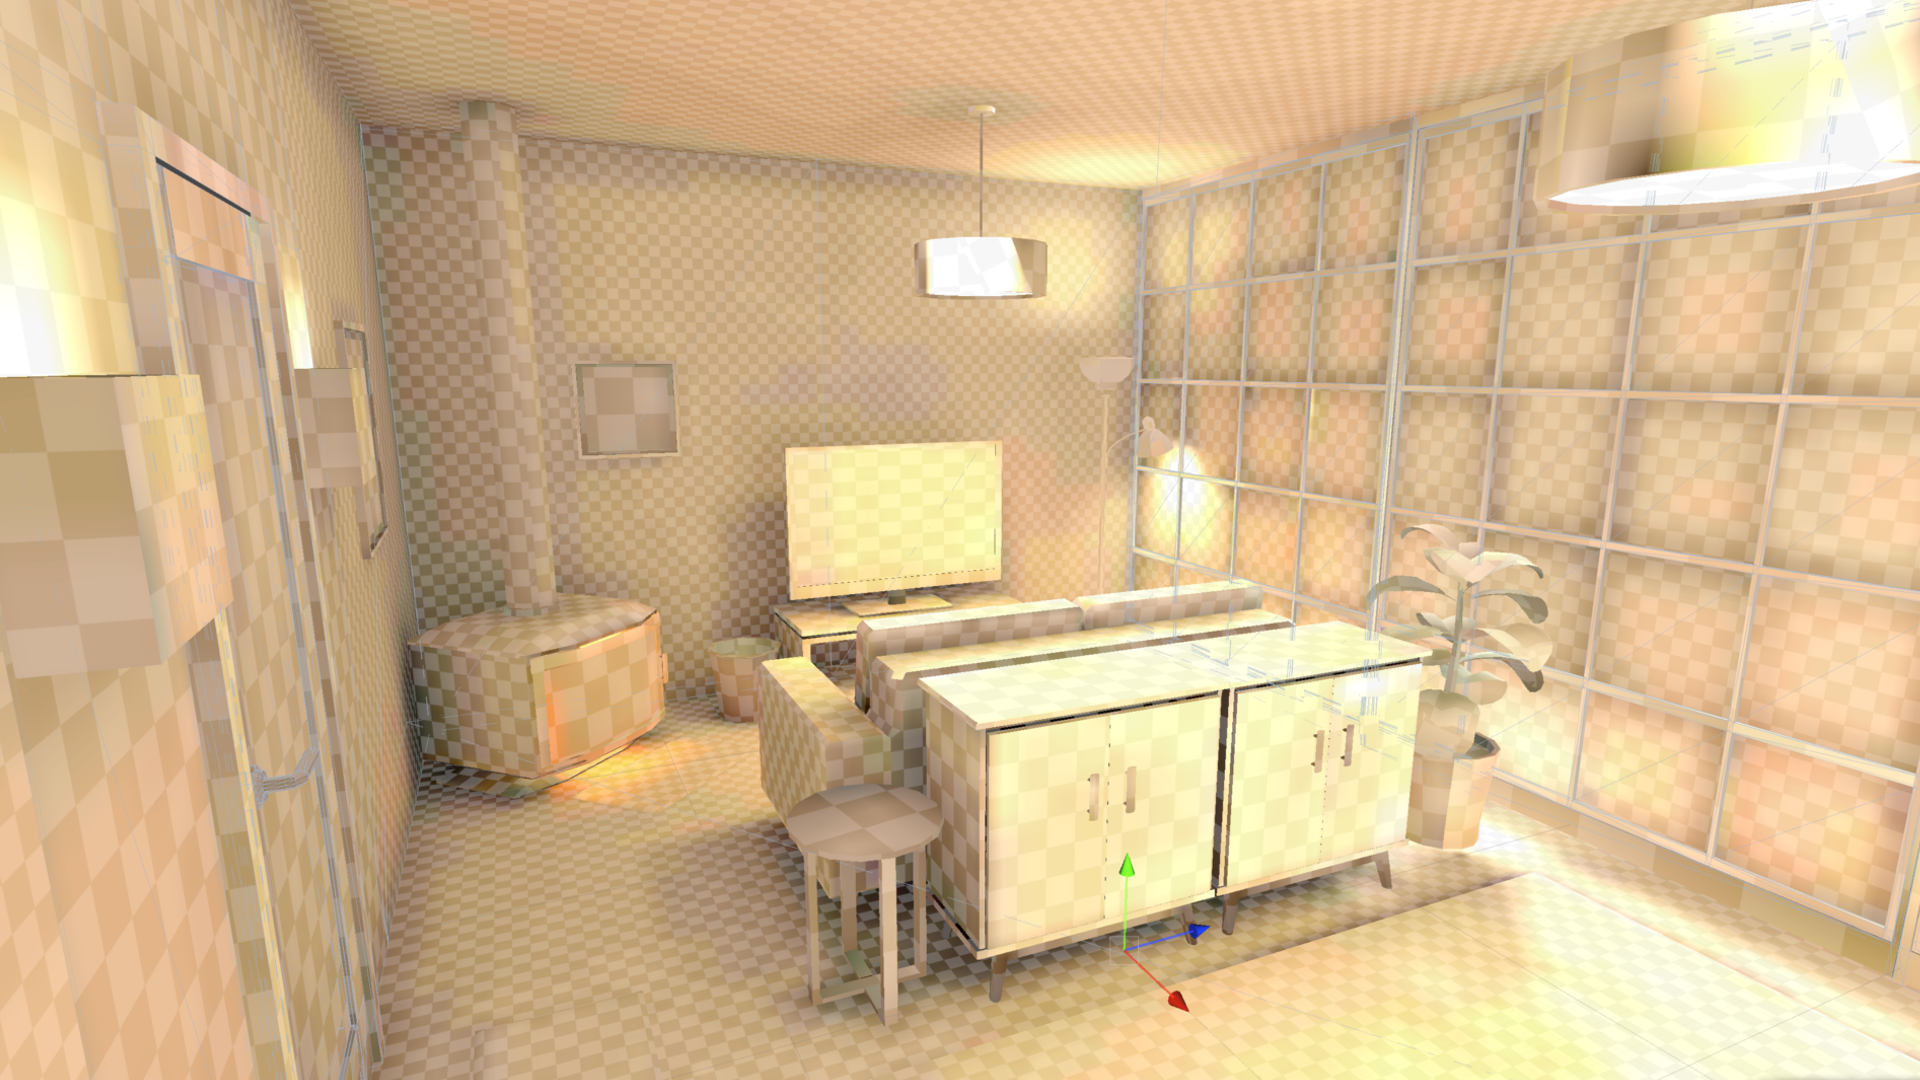
In this lesson, you will learn how to use light modes, lightmapping, and light probes in order to optimize the lighting for VR. By the end of this lesson, the lighting in your scene will be both beautiful and performant.
This lesson is part of the Create with VR course.
Languages available:
Overview Video
1. Experiment with your lighting settings
Before you start editing the lighting of the scene, you’ll create a new Lighting Settings asset and get familiar with the settings at your disposal.
1. Access the render pipeline settings:
- In the Project window, search for and select the UniversalRenderPipelineAsset.
The UniversalRenderPipelineAsset is a configuration file in Unity that defines how graphics are rendered using the Universal Render Pipeline, allowing you to control quality, lighting, shadows, and performance settings.
2. Experiment with the render pipeline settings:
- In the Inspector window for the URP Asset, use the foldout (triangle) to expand the Lighting section, then experiment with the settings.
- Be sure to experiment with the Per Object Limit property slider to appreciate the limitations it places on complex lighting.
This setting controls how many lights can affect each GameObject individually. Experimenting with the Per Object Limit property slider helps you see how Unity limits lighting complexity—fewer lights per GameObject can improve performance but might reduce visual quality in complex scenes.
- Use the foldout (triangle) to expand the Shadows section, then decrease the Max Distance property value until you’re happy with the shadow quality in the scene.
This setting limits the shadow rendering distance from the camera to improve performance. Higher values might cause shadow bleeding and quality issues due to reduced precision.
3. Create new Lighting Settings for your scene:
- From the main menu, select Window > Rendering > Lighting to open the Lighting window.
- Dock the Lighting window next to the Inspector window.
- Use the foldout (triangle) to expand the Lighting Settings section, then select the New button to create a new profile.
4. Experiment with the environmental lighting in your scene:
- At the top of the Lighting window, select the Environment tab
- Experiment with the settings to see the impact they have on your scene.
You can read more about these settings in the Lighting window reference documentation
You should now be able to locate and adjust the lighting settings from within the Lighting window and the URP Asset.
Related resources:
2. Prepare and bake a basic lightmap
The time has come to attempt your first lightmap bake. There are just a few steps you need to take beforehand.
1. Allow all of your lights to be baked:
- Locate and select each light in the scene that will not move or turn on and off. You can do this by searching “t:light” in the Hierarchy window’s search bar.
- In each light’s Light component, set the Mode property to Baked.
2. Allow GameObjects in your scene to have light baked onto them:
- In the Hierarchy window, select all non-moving, static GameObjects.
- At the top of the Inspector window, make sure the Static property is enabled.
Note: Remember to select the GameObjects in your Lighting section (for example, lamps, sconces, chandeliers, etc.)
3. Remove the background and foreground GameObjects from your lightmap to reduce bake times:
- Select each large background GameObject.
- In its Mesh Renderer component, use the foldout (triangle) to expand the Lightmapping section, then set the Scale in Lightmap property to 0.
4. Try baking your lights:
- Navigate to the Lighting window.
- At the bottom of the Scene tab, select Generate Lighting.
5. Temporarily minimize the time to generate your lightmap:
- In the Lighting window, select the Scene button at the top and set the Lightmap Resolution property to a value between 5-10.
- Reduce some of the other values that contribute to lightmap quality (samples, bounces, etc.) You can read more about these settings and their influence on baking times in the Lightmapping settings in the Lighting Settings Asset reference documentation.
You should now have a low resolution baked lightmap in your scene.
Related resources:
3. Adjust scene lighting and re-bake
Now that you have attempted your first bake, you can take some time to properly light your scene and try again.
1. Clear your lightmap and view lighting changes in real time:
- At the bottom of the Lighting window, open the Generate Lighting dropdown.
- Select Clear Baked Data.
2. View the effect of as many lights as possible:
- Select the UniversalRenderPipelineAsset.
- Temporarily increase the Additional Lights Per Object Limit property to the maximum.
3. Remove the default lights that came with the Room prefab:
- In the Hierarchy window, use the foldout (triangle) to expand the Room_[style] prefab.
- Delete the two Point Lights child GameObjects.
Note: You’ll have to open the Room prefab in order to delete the lights.
4. Add more realistic lighting from actual light sources in your scene:
- From the _Course Library > _Prefabs > Lighting folder, make sure you have enough light-emitting GameObjects to light your scene.
- To add Light child GameObjects to those lighting elements, right-click them in the Hierarchy window and select Light > Point Light or Spot Light.
5. Get more even, balanced lighting in the room:
- In the Directional Light GameObject’s Light component, use the foldout (triangle) to expand the Emission section, then increase the Intensity and Indirect Multiplier property values.
- In the Lighting window, select your Lighting settings and increase the Indirect Intensity property value.
Note: You can read more about the effect of these settings in the Lightmapping settings in the Lighting Settings Asset reference documentation.

6. Test how your lighting looks:
- Select Generate Lighting again.
- If you have time, increase the Lightmap Resolution and other Lighting settings property values to see how it might look in its final state.
Note: If you’re getting splotchy, pixelated shadows, set the Lightmap Compression property to None in the Lighting window.
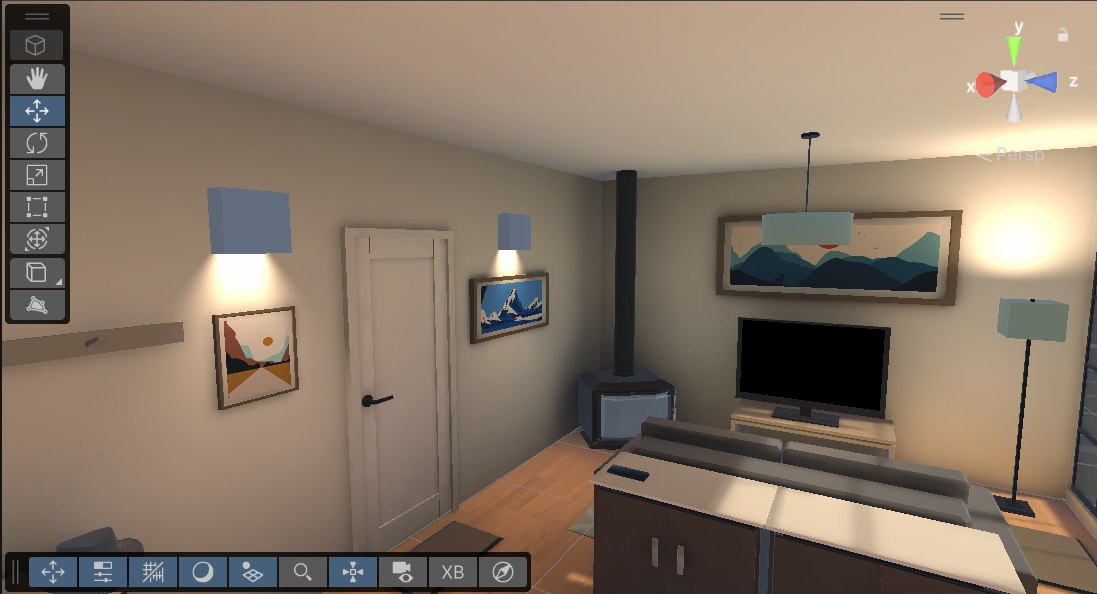
You should now have rough lighting baked into your scene looking approximately the way you want.
Related resources:
4. Add mixed lighting
If you want your GameObjects to cast shadows in real time, but also get the benefits of the performance from baked lightmaps, you can use Mixed lighting.
1. Get real-time shadows on top of your baked lightmaps:
- In the Directional Light GameObject's Light component, use the foldout (triangle) to expand the General section.
- Open the Mode property dropdown and select Mixed.
2. See the new mixed lighting take effect:
- In the Lighting window, select Generate Lighting to re-bake your lighting
- Notice what effect the mixed light has on the lighting and shadows of your dynamic GameObjects.
You should now have real-time shadows on your dynamic GameObjects coming from your Directional Light GameObject.
Related resources:
5. Add light probes
In order to get more realistic real-time lighting from all of your baked lights in the scene, you need Light Probes.
1. Add a new Light Probe Group as a child GameObject of the Room GameObject:
- In the Hierarchy window, right-click the Room_[style] GameObject and select Light > Light Probe Group.
2. To be able to edit the light probes:
- Make sure Gizmos with 3D Icons are enabled in the upper-right corner of the Scene view.
- Select the Edit Light Probe Group button in the Tools overlay while the Light Probe Group is selected.
3. Duplicate and reposition the light probes around the room:
- Drag selection boxes around probes to select them.
- Use the Move tool to position the probes.
- Use Ctrl+D (macOS: Cmd+D) to duplicate selected probes.
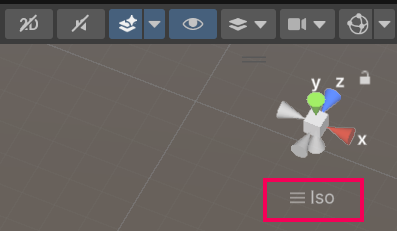
Note: It might be helpful to switch to Isometric view by selecting the icon below the axis gizmo in the upper-right corner of the Scene view.
4. To position your light probes properly:
- Make sure you have probes in areas where lighting changes drastically either in color or intensity.
- Make sure your probes are not inside GameObjects.
5. See the effect of your light probes:
From the Lighting window, re-generate your lighting and test to see the lighting on your dynamic GameObjects.
6. Finalize lighting
Now that your lighting is configured approximately the way you want, you’re ready for a more final higher resolution lightmap.
1. Make sure your lighting is optimized appropriately for your target device:
- Test your app in the manner you expect it to be used by users (in other words, if you’re targeting a mobile device, test it on the standalone device, not connected to your computer).
- Make sure you’re hitting your target frame rate.
- For instructions on how to build and run your app on the actual device, refer to the instructions in the VR Project Setup tutorial.
2. Generate a single lightmap file rather than several smaller ones:
- In the Lighting window, use the foldout (triangle) to expand the Lightmapping Settings Section.
- Set the Max Lightmap Size property to 4096.
- It’s recommended to have a single lightmap file rather than several smaller ones.
3. If you’re getting splotchy or pixelated shadows:
- Set the Lightmap Compression property to None.
4. If you’re happy with the general appearance of your lighting and are ready to generate your final lightmap:
- Increase the Lightmap Resolution property to somewhere between 20 and 80.
- If you want, continue to adjust other lighting settings (samples, bounces, etc.) to get the desired result.
Your lighting should now look the way you want and be optimized for performance.
Related resources:
7. Recap
New Functionality:
- Complex performant lighting
New Concepts and Skills:
- Baked vs Realtime lighting
- Lightmapping
- Light probes
Next Lesson:
- Publishing
8. Extension Activities
If you want to further develop your skills, explore new concepts, and improve your project, check out some of the optional extension activities below.
Each one is tagged as [Easy], [Medium], [Difficult], or [Expert] and will also include a [Requires Programming] tag if some coding is required.
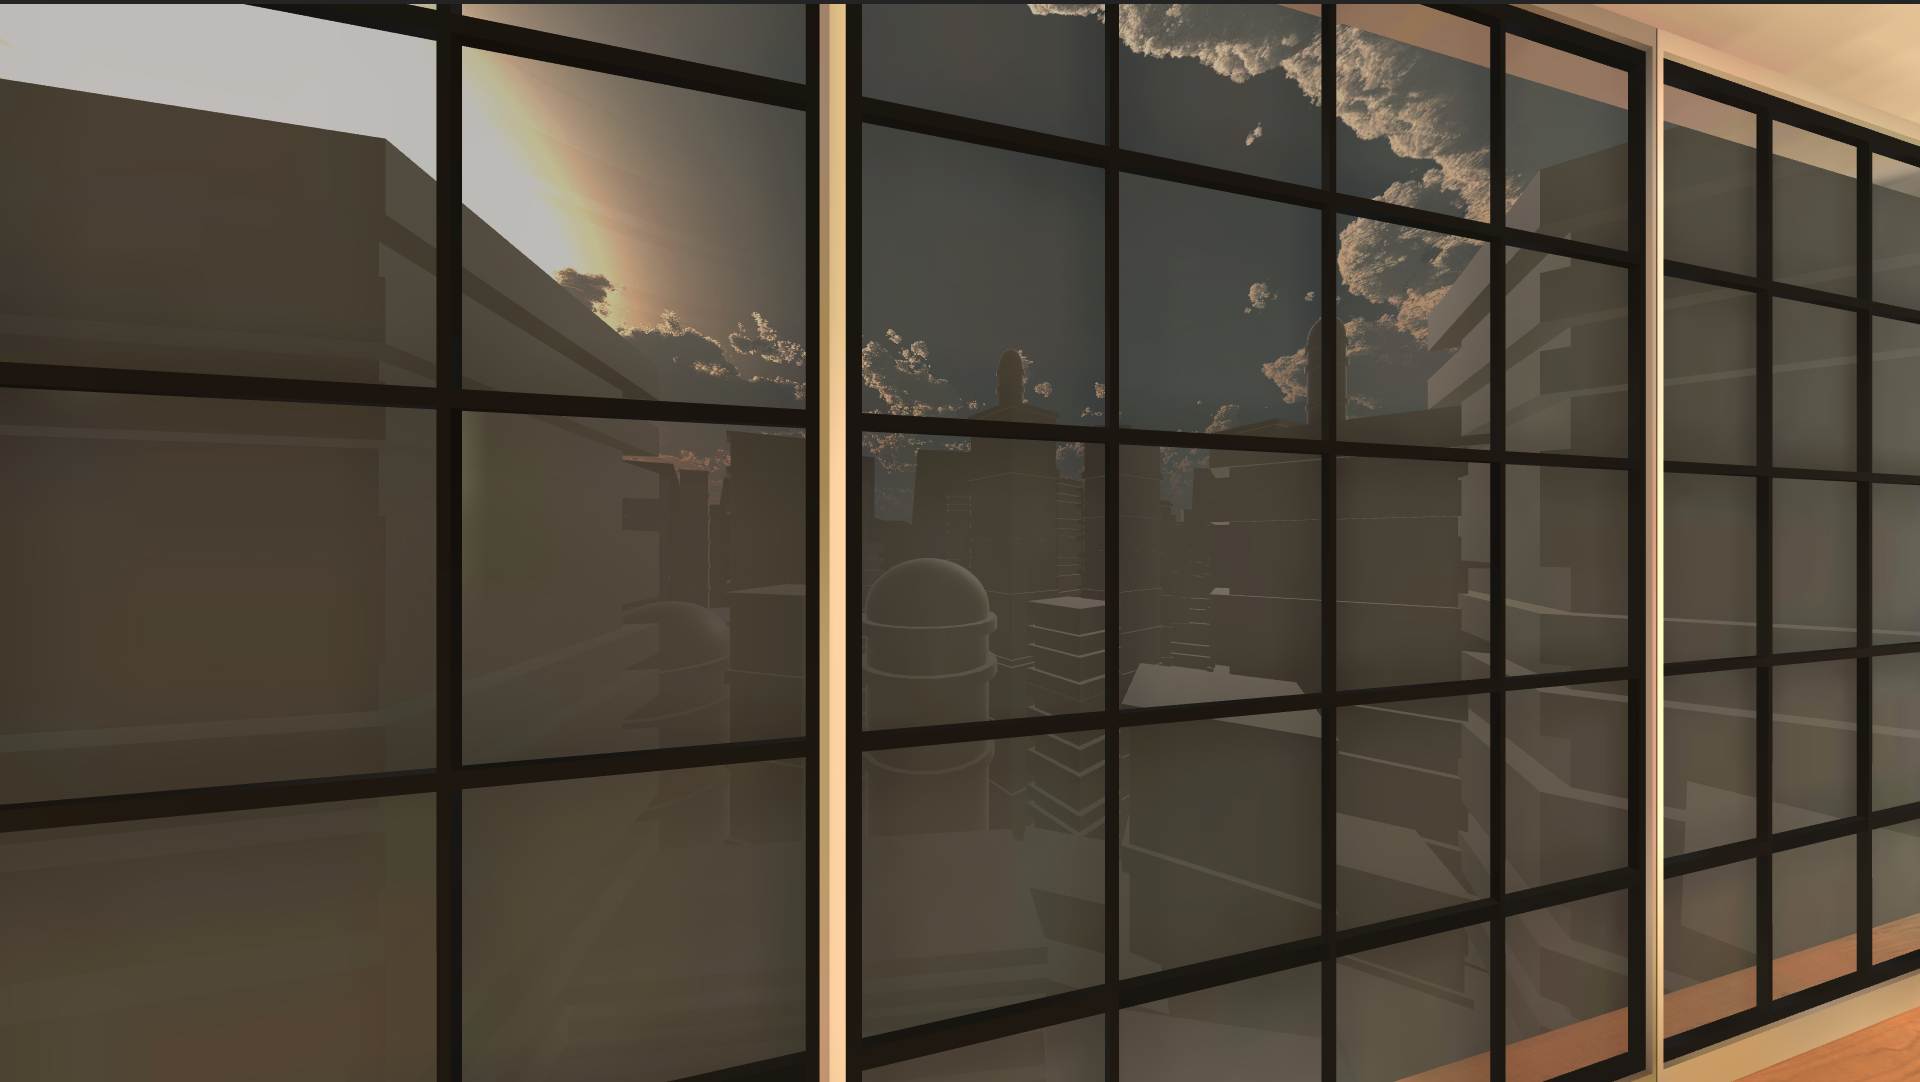
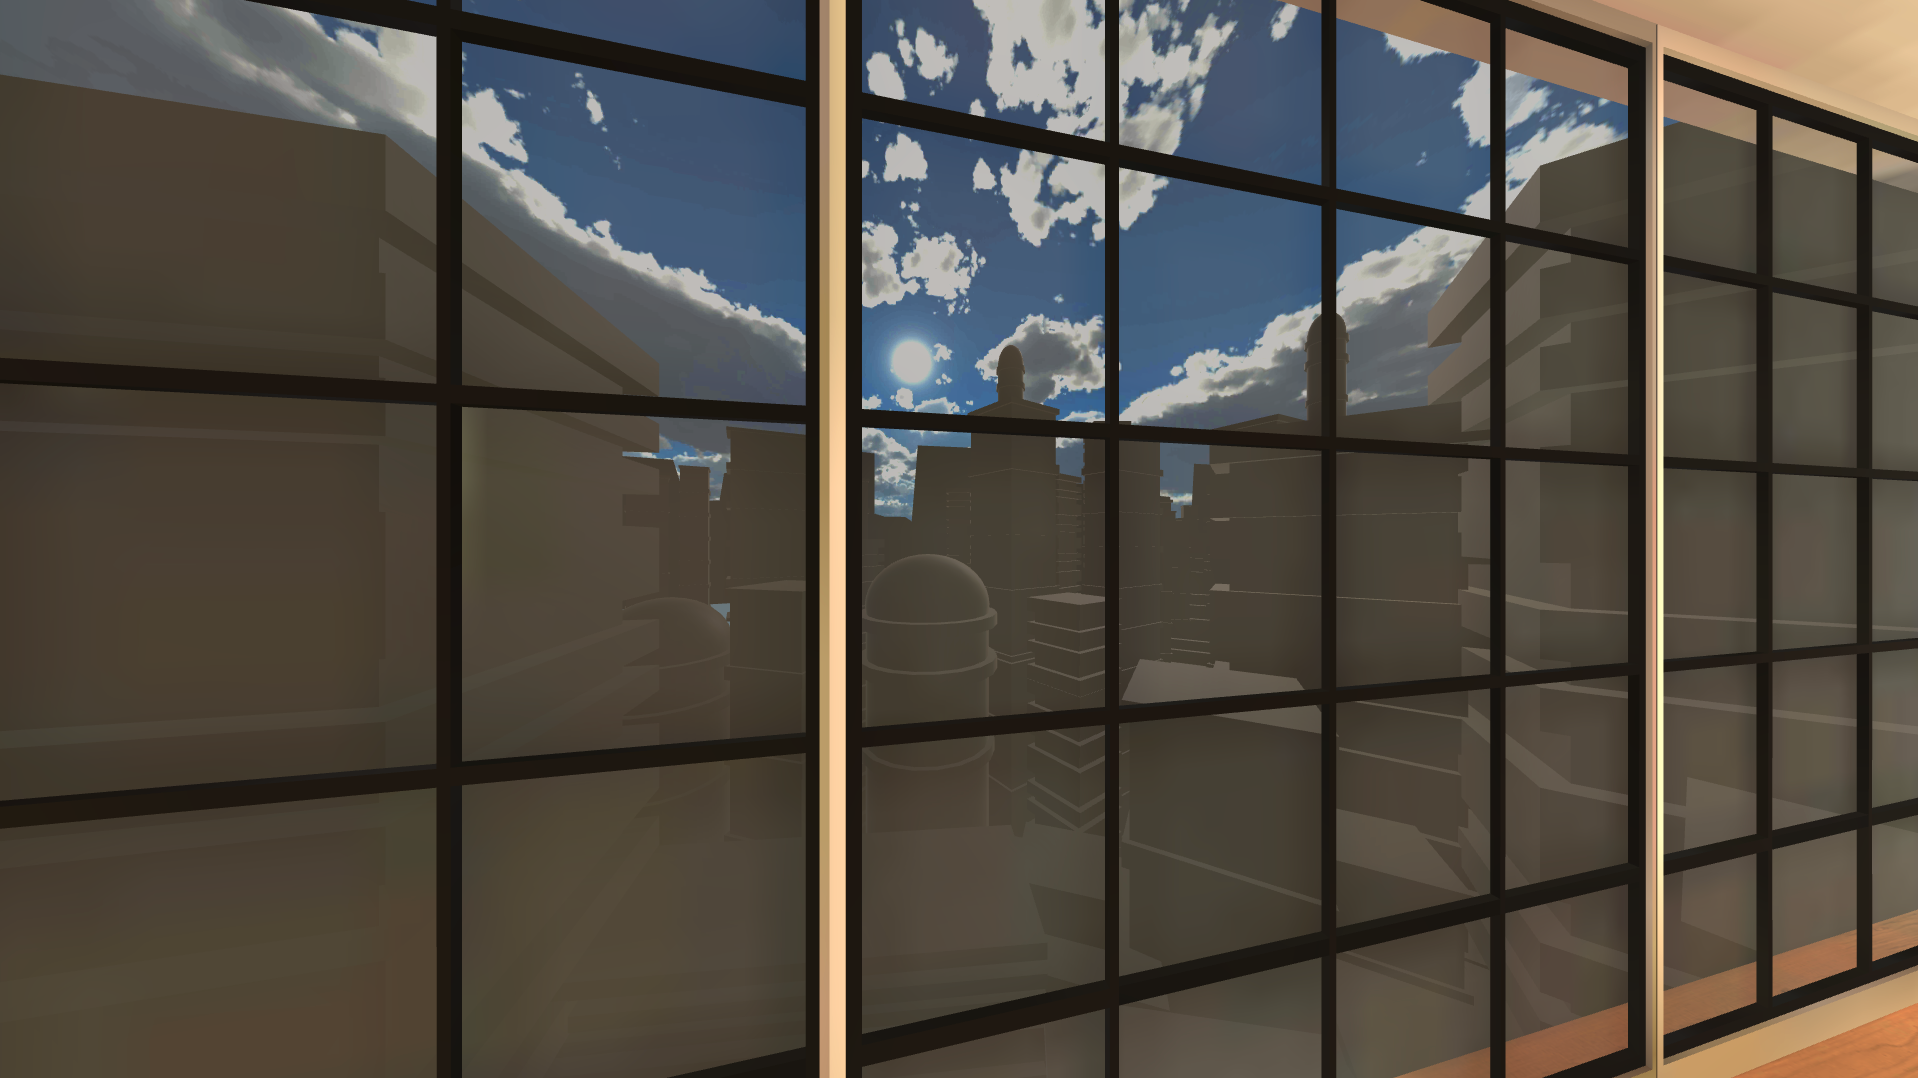
1. Add a new skybox [Easy]
Create or download a new skybox to enhance the look of your scene:
- Learn more about skyboxes using the Create a skybox documentation.
- You can download skyboxes on the Unity Asset Store - search for “free” assets.
- Add your skybox from the Lighting window in the Environment tab.
Warning: If you have a high resolution skybox and have your skybox set as the Source of your Environment Lighting in the Environment tab, lightmapping might take a very long time. You can change your Source to a Gradient to avoid this.
2. Continue tweaking lighting [Medium]
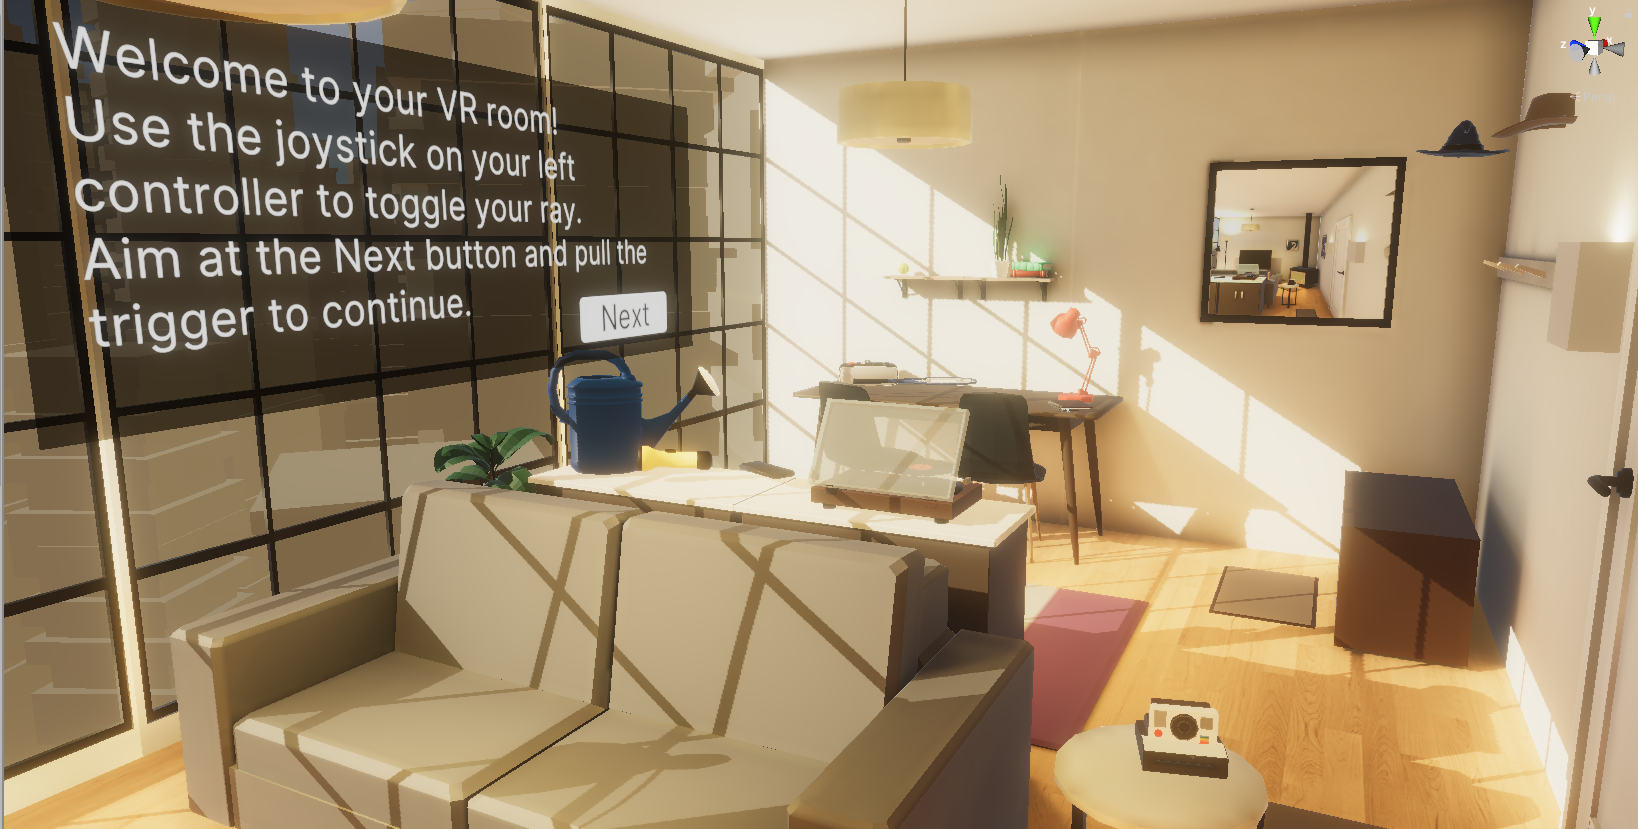
Continue to fine-tune the lighting in your scene and the lighting settings to make it as beautiful and performant as possible:
- Try adjusting values in the Lighting window to see what kind of results you get.
- Learn more about lighting in Unity:
3. Explore Reflection Probes [Hard]
Add reflection probes into your scene in order to get more realistic reflections from metallic GameObjects:
- Check out the Reflection Probe Inspector window reference documentation and the Place a Reflection Probe documentation.
- You should probably duplicate the Material_Main to create a new Material_Main_Shiny, increase the material’s Metallic property, then assign that material to a shiny GameObject in your scene that should be reflective.