
Set up Unity Mars
Tutorial
intermediate
+10XP
20m
(94)
Unity Technologies
In this tutorial, you’ll learn how to download and install Unity Mars, and make sure that you have all the system requirements and prerequisite skills you’ll need to create robust AR applications.
Languages available:
1. Overview
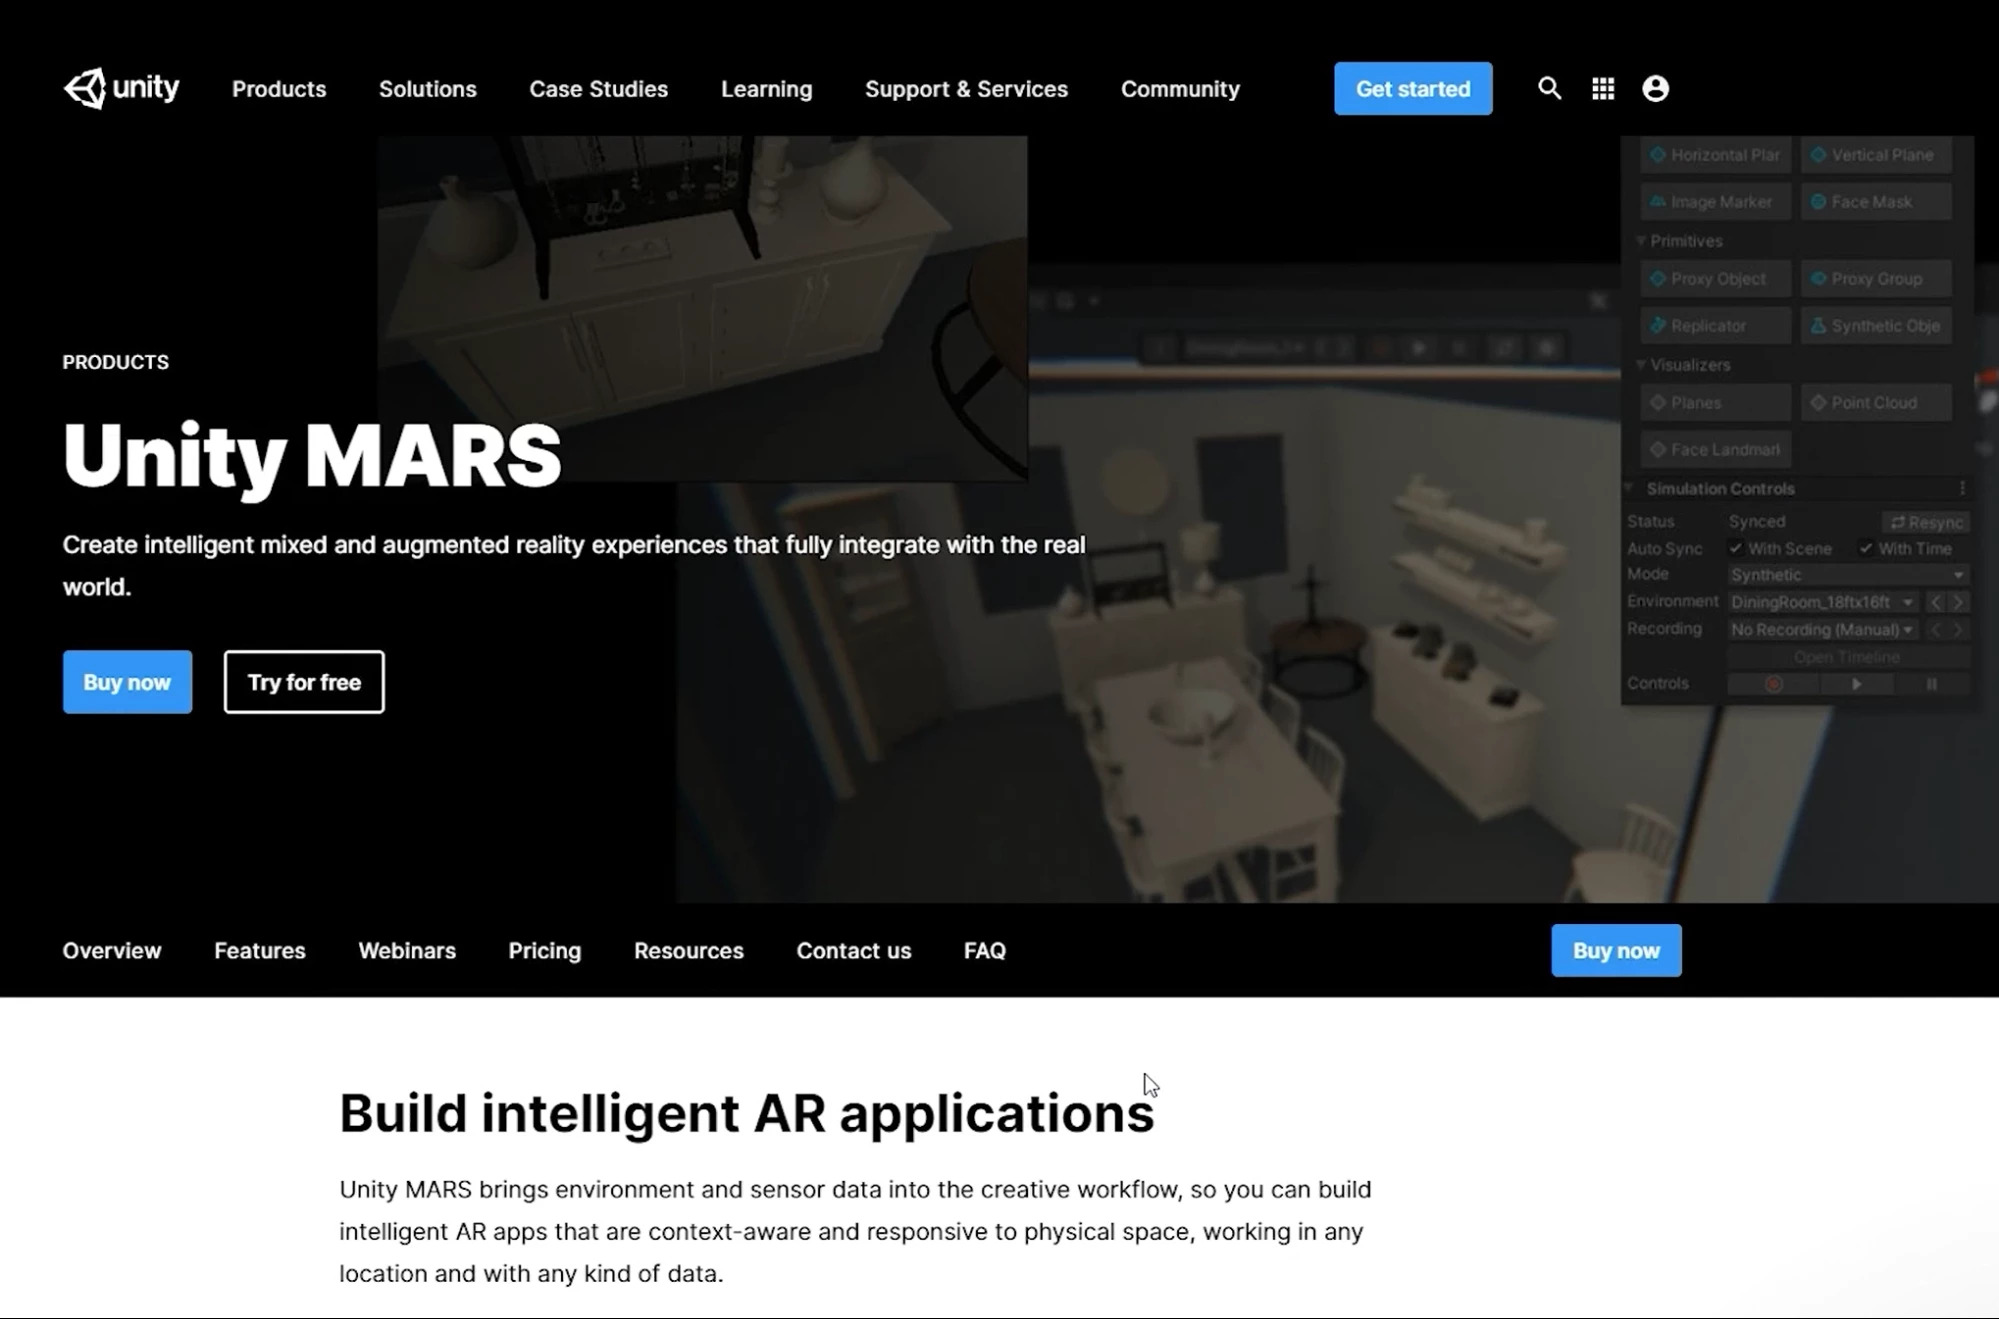
Unity Mars is a tool for AR developers to create augmented and mixed reality experiences. With Unity Mars, you can create content more quickly and test it in a simulated real-world environment within the Unity Editor. It gives you extensive features for simulating and testing your applications to adapt responsively to the real world.
Unity Mars is included with the Unity Pro, Unity Enterprise, and Unity Industrial Collection plans. If you have a Unity Personal or Unity Plus plan, it is also available by subscription with a free 45-day trial. For more details, refer to the Unity Mars page on the Unity website.
In this tutorial, you’ll learn how to download and install Unity Mars, and make sure that you have all the system requirements and prerequisite skills you’ll need to create robust AR applications.
2. Before you begin
Experience required
This learning experience is for intermediate users. You must be comfortable working with scenes, GameObjects, prefabs, all the Unity Editor windows, and the Package Manager to complete this course.
If you’re new to Unity, welcome! The Unity Essentials learning pathway has been designed to help you reach the learning level required for this course.
If you need to refresh your memory of the Unity Editor basics, you can take a moment to review Explore the Unity Editor at any time.
Set up your Unity project
To set up your Unity project:
1. Install one of the versions of the Unity Editor for which Unity Mars is supported, if you haven’t already done so. The version numbers are in the header of this tutorial.
2. Create a new Unity project using the Core 3D Template.
3. What is Unity Mars?
Unity Mars is a set of tools, windows, and systems for the Unity Editor that allow you to create and test your AR applications based on real-world data. It’s built on top of Unity’s AR Foundation, which allows you to create AR applications for ARCore, ARKit, and HoloLens devices. If you want to know more, read our blog post about how AR Foundation and Unity Mars work together.
With Unity Mars you can do the following:
- Create your application using new, AR-specific workflows in the Unity Editor and on the Unity AR Companion mobile app.
- Associate digital content with real-world surfaces and objects in a Unity scene using Simulation view instead of coding.
- Configure your digital content with fuzzy authoring, which lets you set up ranges that allow your content to spawn and work in a variety of real-world environments instead of under only precise conditions.
- Test your application without leaving the Unity Editor, using provided simulation environment prefabs, your own environment prefabs, or environment prefabs you capture using the Unity AR Companion mobile app.
- Run your application using Unity Mars on mobile and head-mounted devices, responsively adapting to real-time conditions.
- Deliver your application with runtime logic that adapts responsively to the real world.
Unity Mars brings environment and sensor data into the AR authoring workflow, which means that you can build more complex and robust AR applications.
Unity Mars was developed to be extensible, so it’s also possible to integrate custom data and additional platforms.
4. Subscribe to Unity Mars (Unity Personal, Unity Plus)
Important: Complete this step if you have a Unity Personal or Unity Plus plan. If you have a Unity Pro, Unity Enterprise, or Unity Industrial Collection plan, or if you are already a Unity Mars subscriber, skip this step.
Unity Mars is a standalone product. To use it in your Unity projects, you must become a Unity Mars subscriber.
Follow the steps below to start your Unity Mars subscription:
1. Go to the Unity Mars webpage.
2. Select Check Out.
3. Select Continue to purchase.
4. Sign in or create a Unity account if you do not yet have one.
5. Fill out payment and delivery fields.
6. Download the installer from the registration email that you receive. Alternatively, you can continue with the instructions in the next step. You are now a Unity Mars subscriber.
5. Download Unity Mars (Mars subscribers, Unity Pro, Unity Enterprise, or Unity Industrial Collection)
Once you have a Unity Mars subscription (which is included with Unity Pro, Unity Enterprise, and Unity Industrial Collection plans), follow these instructions to download the Unity Mars installer:
1. Go to the Get started with Unity Mars landing page
2. Select Download Mars.
6. Install Unity Mars to your project
Important: You must install Unity Mars on each Unity project — it is not an extension of the Unity Editor.
Now you’re ready to install Unity Mars to your project:
1. Once you have the installer file MARS_Installer.unitypackage, import it to your project as a local asset package (.unitypackage).
2. The Unity Editor will display a dialog box prompt to open the Content Manager. Select Open. You’ll learn about the Content Manager in the next step.
2. Depending upon your project’s template and render pipeline, you might be prompted to allow the installer to adjust some project settings. If this occurs, select Open to automatically open the Project Settings window to the Mars Project Validation section. If there are issues to fix, select Fix all.
3. Open the Package Manager and check the version number of the Unity Mars package. Make sure it is 1.5.0 or higher.
Note: These tutorials are based on Unity Mars version 1.5.0. If you have a newer version, your experience might be different.
7. Review the Content Manager
The Content Manager is a tool for delivering tools, templates, and assets for various Unity products, including Unity Mars. It is included with the Unity Mars installation.
To open the Content Manager at any time, go to the main menu and select Window > Content Manager.
If you have installed other products that use the Content Manager, they will be listed in the left panel. Select MARS if it isn’t selected already.
In this learning experience, you’ll use the Content Manager to add content to your project.
8. Check that AR Foundation is installed
Now is a good time to make sure you have the AR Foundation package installed. The AR Foundation framework provides you with functionality for working with augmented reality in Unity and is a key dependency of Unity Mars.
When you install Unity Mars to a project, it should come with the AR Foundation package.
Follow these instructions to check that it is present and up-to-date:
1. In the top menu, go to Window > Package Manager.
2. In the left-hand corner of the window, select the package scope drop-down menu and choose In Project.
3. Browse the packages listed to find and select the AR Foundation package. If the Update button is available, select this to get the latest version of the package.
4. If the AR Foundation package is not listed for your project, use the search bar to find the package and then select Install.
9. Install the correct package for your mobile platform
You’ll also need to install one of two packages depending on the platform you are developing for. These two packages are ARCore XR Plug-in for Android development and ARKit XR Plugin for iOS development.
You can install the packages via the XR Plug-in Management settings. Alternatively, you can also install and update these packages via the Package Manager. Follow these instructions to make sure that the correct package is enabled for your Unity project:
1. In the main menu, go to Edit > Project Settings….
2. In the Project Settings window navigation panel (on the left side of the window), select XR Plug-in Management.
3. Select either the Android tab or the iOS tab.
4. In the Plug-in Providers section, enable ARCore (Android) or ARKit (iOS) depending on your specific platform. This will install the correct package if it is not already present in your project.
10. Next steps
Now that you have Unity Mars and relevant AR packages installed, you’re ready to start exploring the user interface so you can start creating.