Add a player character
Tutorial
Beginner
+0XP
15 mins
645
Unity Technologies

In the previous tutorial, you created the game board for your game; the next piece of functionality to add is a player character that can traverse the board.
By the end of this tutorial, you’ll have done the following:
- Created a PlayerCharacter GameObject using one of the provided assets.
- Ensured that the PlayerCharacter GameObject is rendered in the correct level so it is visible on the board.
- Created a PlayerController script that allows the PlayerCharacter GameObject to be controlled by user inputs.
Languages available:
1. Overview
In order for users to play your game, there needs to be an element they can control. This is where the player character comes in! This tutorial will guide you through the process of creating a 2D player character that responds to user inputs and moves around your game board.
2. Player character
Now that you have an array of CellData, it would be nice to be able to use them. If you refer back to the list of tasks you made in the previous tutorial, you'll see that the next step after generating the board was to add a player character that moves on the board.
To add a player character, follow these instructions:
1. Choose one of the player character sprites in the Sprite Sheet in the Assets > Roguelike2D > TutorialAssets > Sprites folder and drag it into the scene to automatically create a new GameObject with a Sprite Renderer component using that sprite. Rename that GameObject “PlayerCharacter”.
2. Inside the Scripts folder, create a new MonoBehaviour script called “PlayerController” and add it to the PlayerCharacter GameObject you just created.
Here’s a breakdown of what should happen when you put the player character on the board and move:
- At the start, the board sets the player on a specific cell after it finishes generating the level.
- When the user presses a direction button (up, down, left, or right arrow keys), the script checks if the cell in that direction is passable.
- If the cell is passable, the script moves the character to that new cell.
This outline should help you realize the following about what your code needs to do to achieve this functionality:
- When the board places the player character, the player character will need a Spawn method that will move it to the right spot.
- The script needs to know where the player character currently is in order to search for the next cells the player character can move to, so it will need to store its current cell index.
- As the script needs to know if the cell the player character is trying to move to is passable, and that information is stored in the BoardManager, the script will need to store a reference to the BoardManager to query it about the state of a given cell.
3. Inside your new PlayerController script, add the following methods and variables:
- A private variable of type BoardManager.
- A private variable of type Vector2Int that saves the current cell the player is on.
- A public method called “Spawn” that saves the BoardManager that the player is placed in and the index where it is currently.
using UnityEngine;

public class PlayerController : MonoBehaviour
{
   private BoardManager m_Board;
   private Vector2Int m_CellPosition;

   public void Spawn(BoardManager boardManager, Vector2Int cell)
   {
       m_Board = boardManager;
       m_CellPosition = cell;

       //let's move to the right position...
   }
}
If you tried to write the code by yourself, you might have stopped where the sample above stops: you need the world position of a given cell to place your player there. The grid has a method for this (GetCellCenterWorld), but the information about the grid is saved on the BoardManager GameObject, and there is no access to it nor is it stored anywhere yet.
This will be a recurring problem you’ll face as you develop your application: you'll need access to something that is stored somewhere else. The fastest solution to this problem is to make a public Grid variable on the BoardManager script and use that. But when this type of problem happens, take a moment to think about why you need that access and what the best and most flexible solution is.
In this case, you need access to the grid to convert a cell index (x,y) into a Vector3 world position. If you look at the list of all the other things you're going to implement in the game, this is something you'll need to do a lot. When this is the case, it’s often a good idea to create an interface for this functionality.
The BoardManager should be the class that handles everything that has to do with the board. So when you need an action that relates to the board (for example, here converting a cell to a world position), you know where to look at instantly.
So let’s add a simple method to the BoardManager script, called “CellToWorld'' that takes a Vector2Int cell index and returns its world position.
You'll need to do the following things to your BoardManager script:
- Add a private variable to store the grid.
private Grid m_Grid;- Use GetComponentInChildren in the Start method to get the Grid component of the BoardManager GameObject.
- Add a new public method that takes a Vector2Int cell index and returns the world position of the center for that cell.
public Vector3 CellToWorld(Vector2Int cellIndex)
    {
        return m_Grid.GetCellCenterWorld((Vector3Int)cellIndex);
}Note: This code sample also illustrates the importance of naming convention. So far you’ve named all your private member variables starting with m_. Even with this small code sample, you can work out that m_Grid is a private variable in the BoardManager class without needing to look at the whole code.
4. Update the player Spawn method to use that new BoardManager method by adding the following lines of code to the PlayerController script:
public void Spawn(BoardManager boardManager, Vector2Int cell)
{
   m_Board = boardManager;
   m_CellPosition = cell;

   //let's move to the right position...
   transform.position = m_Board.CellToWorld(cell);
}
You now have a method in your PlayerManager script that allows you to spawn the player character somewhere, now you just need to call the Spawn method from the BoardManager.
5. Add the following code into your BoardManager script:
public PlayerController Player;

// Start is called before the first frame update
void Start()
{
   m_Tilemap = GetComponentInChildren<Tilemap>();
   m_Grid = GetComponentInChildren<Grid>();

   m_BoardData = new CellData[Width, Height];

   for (int y = 0; y < Height; ++y)
   {
       for(int x = 0; x < Width; ++x)
       {
           Tile tile;
           m_BoardData[x, y] = new CellData();

           if(x == 0 || y == 0 || x == Width - 1 || y == Height - 1)
           {
               tile = WallTiles[Random.Range(0, WallTiles.Length)];
               m_BoardData[x, y].Passable = false;
           }
           else
           {
               tile = GroundTiles[Random.Range(0, GroundTiles.Length)];
               m_BoardData[x, y].Passable = true;
           }

           m_Tilemap.SetTile(new Vector3Int(x, y, 0), tile);
       }
   }

   Player.Spawn(this, new Vector2Int(1, 1));
}
The above code does the following things:
- Adds a public member variable (PlayerController) to the BoardManager so you can assign your PlayerCharacter GameObject to it in the Inspector window.
- At the end of the Start method, after the board is generated, it calls the Spawn method on that PlayerController script with a given cell (for example (1,1) the first lower-left cell that is not a wall).
6. In the Editor, drag the PlayerCharacter GameObject from the scene into the Player slot on the BoardManager script, then enter Play mode.

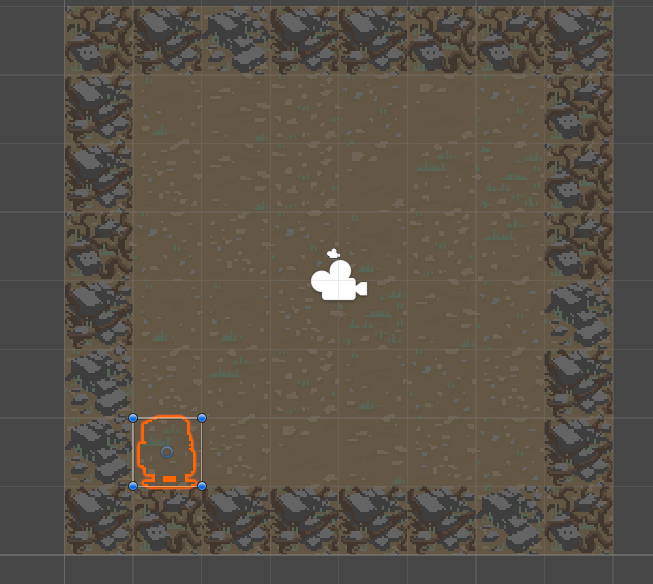
7. Select the PlayerCharacter GameObject in the Hierarchy window and look at the Scene view.
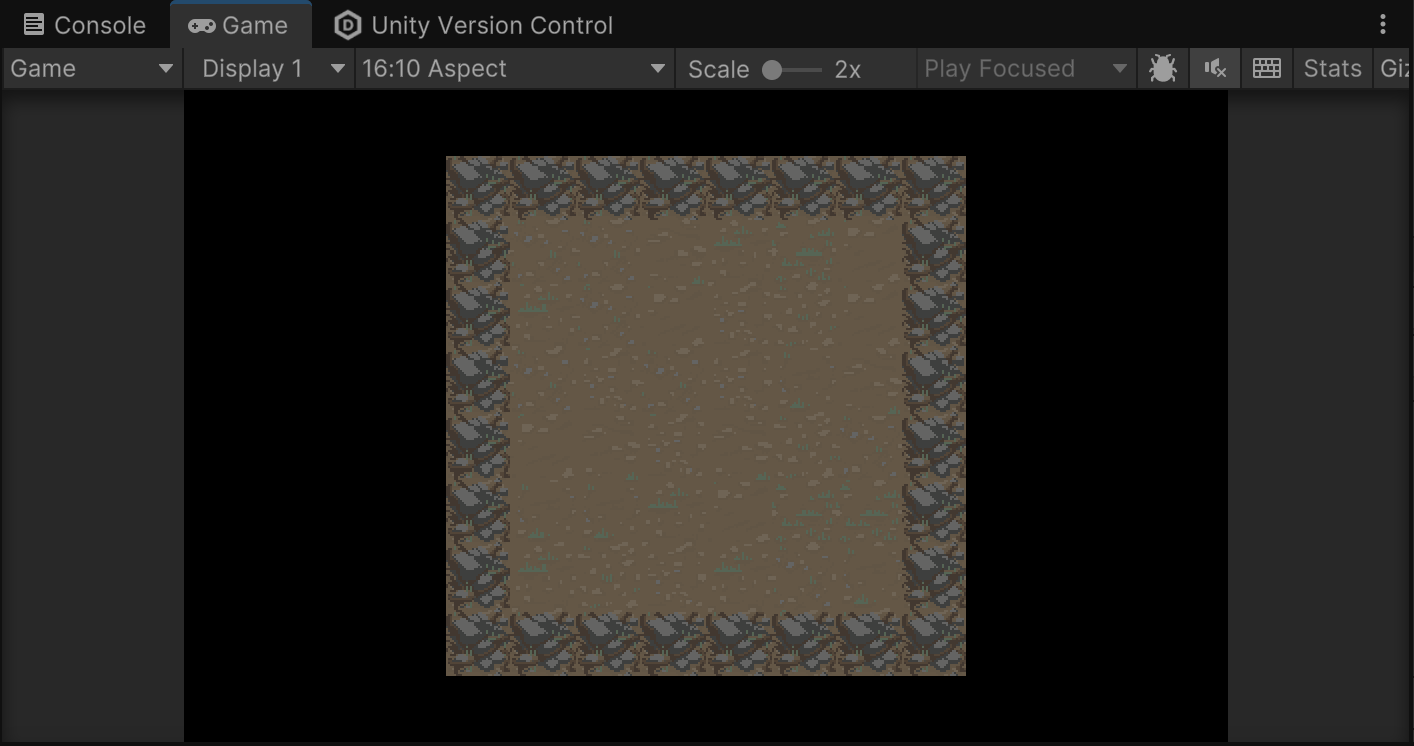
You'll see that your player character is in the right place, but the board is rendered above it!

Let’s fix that.
8. In the Inspector window, use the foldout (triangle) to expand the Sprite Renderer component and set the Order in Layer property 10.
Setting the player character to level 10 gives you space in the future to place objects that should be above the board but under the player character.

Important: Remember to exit Play mode before making these changes or they will be undone when you exit Play mode.
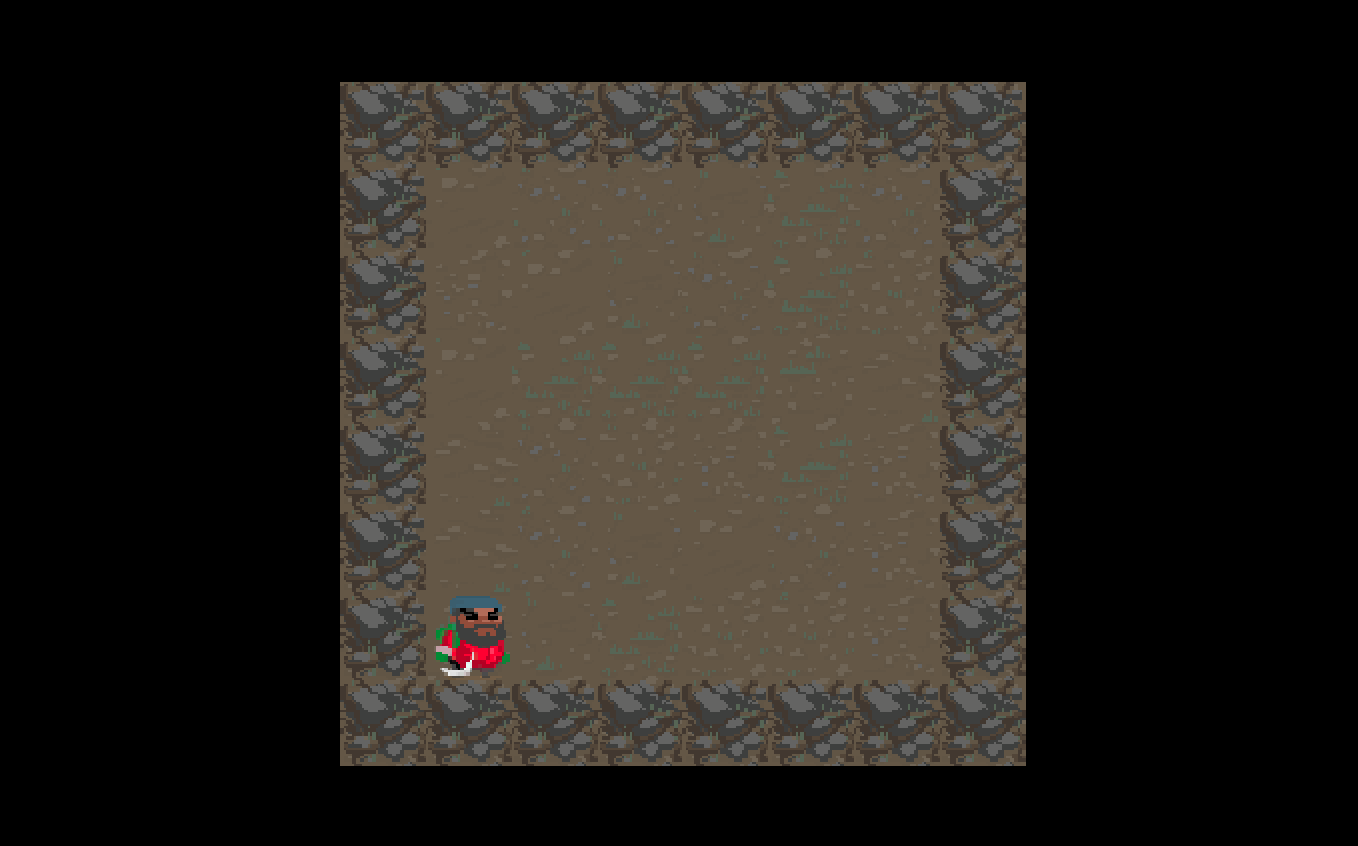
Now when you enter Play mode again, the player character will be displayed properly!

Tip: Don’t forget to save and check in your changes using Unity Version Control!
3. Moving the player character
Now that you can see the player on the gameboard, it’s time to add the ability to control their movement!
As you did before, think about the sequence of events that are needed for the player to move; this will help you define what needs to be done.
The PlayerController script will need to do the following:
- Inside the Update method of the PlayerController script, check if an arrow key is pressed.
- Check if the cell in that direction is passable.
- If the cell is passable, move the player to the new cell.
The code below shows one possible way of doing this. Note that you’ll need to add the UnityEngine.InputSystem library at the top of your file:
private void Update()
{
   Vector2Int newCellTarget = m_CellPosition;
   bool hasMoved = false;

   if(Keyboard.current.upArrowKey.wasPressedThisFrame)
   {
       newCellTarget.y += 1;
       hasMoved = true;
   }
   else if(Keyboard.current.downArrowKey.wasPressedThisFrame)
   {
       newCellTarget.y -= 1;
       hasMoved = true;
   }
   else if (Keyboard.current.rightArrowKey.wasPressedThisFrame)
   {
       newCellTarget.x += 1;
       hasMoved = true;
   }
   else if (Keyboard.current.leftArrowKey.wasPressedThisFrame)
   {
       newCellTarget.x -= 1;
       hasMoved = true;
   }

   if(hasMoved)
   {
       //check if the new position is passable, then move there if it is.
   }
}Note: The best way to react to inputs is through InputActions so the game can handle multiple input methods and can be easily remapped. The URP template you used to start this project already has some default actions defined in the InputActionAsset called InputSystem_Actions at the root of the project. For this tutorial, we’ll use direct keyboard query, which can be useful to know for quick prototyping and simplifying the code samples, but feel free to check out the input system page of the manual and 2D Beginner: Adventure Game to understand how to replace this code with the Input Action if you want to try!
Just like with the BoardManager GameObject, you have no way of getting the information about whether a cell is passable. As before, retrieving the cell data of a specific cell is something you'll need to do a lot, so add the following method for this to your BoardManager script:
public CellData GetCellData(Vector2Int cellIndex)
{
   if (cellIndex.x < 0 || cellIndex.x >= Width
       || cellIndex.y < 0 || cellIndex.y >= Height)
   {
       return null;
   }

   return m_BoardData[cellIndex.x, cellIndex.y];
}
This method returns the information saved on the array m_BoardData of that cell. Restricting the search on the array to only the actual cells available in that level so you don’t generate an exception trying to index a cell that doesn’t exist. In that case, the method returns null.
You can now update your Update method in your PlayerController script so it uses the following method:
private void Update()
{
    Vector2Int newCellTarget = m_CellPosition;
    bool hasMoved = false;

    if (Keyboard.current.upArrowKey.wasPressedThisFrame)
    {
        newCellTarget.y += 1;
        hasMoved = true;
    }
    else if (Keyboard.current.downArrowKey.wasPressedThisFrame)
    {
        newCellTarget.y -= 1;
        hasMoved = true;
    }
    else if (Keyboard.current.rightArrowKey.wasPressedThisFrame)
    {
        newCellTarget.x += 1;
        hasMoved = true;
    }
    else if (Keyboard.current.leftArrowKey.wasPressedThisFrame)
    {
        newCellTarget.x -= 1;
        hasMoved = true;
    }

    if (hasMoved)
    {
        //check if the new position is passable, then move there if it is.
        BoardManager.CellData cellData = m_Board.GetCellData(newCellTarget);

        if (cellData != null && cellData.Passable)
        {
            m_CellPosition = newCellTarget;
            transform.position = m_Board.CellToWorld(m_CellPosition);
        }
    }

}
Now you can enter Play mode and press the arrow keys to move the player across the board! And because during your board generation you set the passable value of the CellData of the border cells to false, the player character will be confined to the board.
Tip: Remember to check in all those changes using Unity Version Control!
4. Refactoring
In a prototyping environment like this one, where you keep finding solutions to problems that appear as you progress, it’s good to take a second to look at your code and check if you have areas that you can clean up.
In this case, you may have noticed some code duplication: you move the player in the Spawn method and also later in the Update method.
Code duplication is not always bad, but in this case it could create errors: when the character moves, both the CellPosition and the Transform position need to be updated. It would be easy to forget one of the two if you need to move the character elsewhere in the code. Plus, there might be things you want to add to your code later; for example, adding a sound every time the character moves. To do this, you would have to track every place you move the character to add that sound.
It would be safer and more efficient to wrap all of that functionality into a MoveTo method that takes a new cell the player will move to as a parameter and takes care of everything related to moving the PlayerCharacter GameObject.
Copy and paste the MoveTo method code below into your PlayerController script to add that method and replace both movements in the Start and Update methods with it:
using UnityEngine;
using UnityEngine.InputSystem;

public class PlayerController : MonoBehaviour
{
   private BoardManager m_Board;
   private Vector2Int m_CellPosition;

   public void Spawn(BoardManager boardManager, Vector2Int cell)
   {
       m_Board = boardManager;
       MoveTo(cell);
   }

   public void MoveTo(Vector2Int cell)
   {
       m_CellPosition = cell;
       transform.position = m_Board.CellToWorld(m_CellPosition);
   }


   private void Update()
   {
       Vector2Int newCellTarget = m_CellPosition;
       bool hasMoved = false;

       if(Keyboard.current.upArrowKey.wasPressedThisFrame)
       {
           newCellTarget.y += 1;
           hasMoved = true;
       }
       else if(Keyboard.current.downArrowKey.wasPressedThisFrame)
       {
           newCellTarget.y -= 1;
           hasMoved = true;
       }
       else if (Keyboard.current.rightArrowKey.wasPressedThisFrame)
       {
           newCellTarget.x += 1;
           hasMoved = true;
       }
       else if (Keyboard.current.leftArrowKey.wasPressedThisFrame)
       {
           newCellTarget.x -= 1;
           hasMoved = true;
       }

       if(hasMoved)
       {
           //check if the new position is passable, then move there if it is.
           BoardManager.CellData cellData = m_Board.GetCellData(newCellTarget);

           if(cellData != null && cellData.Passable)
           {
               MoveTo(newCellTarget);
           }
       }
   }

}
Now enter Play mode to check that the game is still working as before and that you can still move the player character.
5. Next steps
You now have a basic player character that responds to your inputs! Now it’s time to add some elements to flesh out your game. In the next tutorial, you’ll add a turn system to your game.