Build on your basic prototype
Tutorial
Beginner
+10XP
30 mins
74
Unity Technologies

Now that you’ve got a basic greybox prototype, it’s time to develop it so it’s closer to the final experience that you want to deliver.
By the end of this tutorial, you'll be able to:
- Explain the importance of scoping and incremental iteration in the prototyping process.
- Evaluate a prototype against key requirements.
- Refine a prototype experience.
- Identify third-party assets and resources for a prototype.
- Create an asset inventory.
Languages available:
1. Overview
Now that you’ve got a basic greybox prototype, it’s time to develop it so it’s closer to the final experience that you want to deliver.
This can include:
- Building out the environment.
- Developing the player experience.
- Implementing basic audio, animation and visual effects that weren’t integral to the greybox.
Note: This stage does not often include purely aesthetic adjustments or polish. In many cases, including the walking simulator example, placeholders will be used instead of final assets.
2. The challenges of prototyping
Feeling the challenge curve? You’re not alone! Prototyping can be a challenging process, but it’s also an exciting opportunity to grow and develop as a creator. Our expert creators shared what they find most challenging about the prototyping process.
3. Examine the example’s basic enhancements
Before you enhance your own prototype, take a look at the approach we took with the walking simulator example.
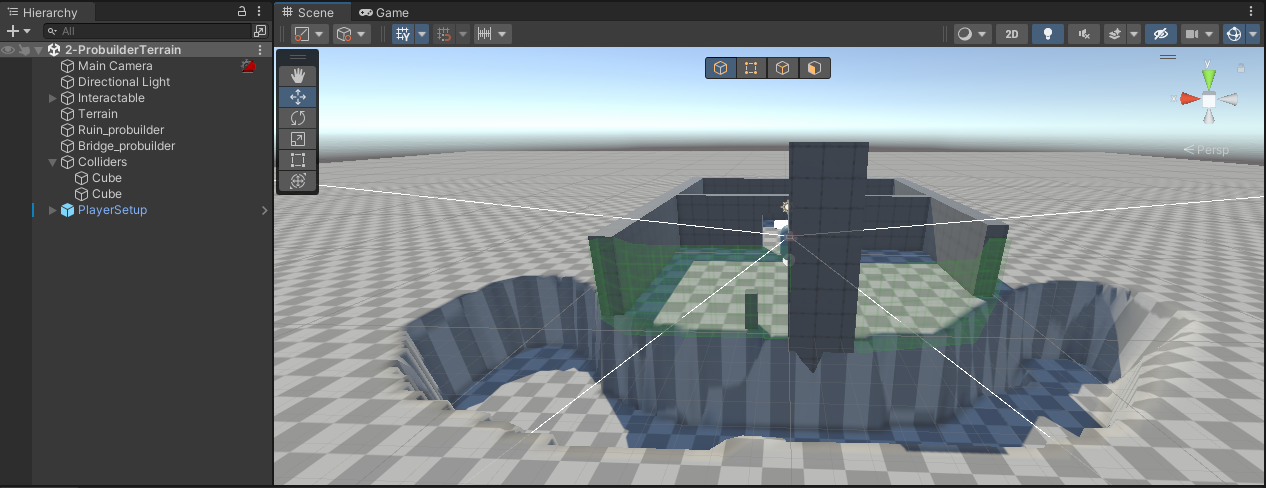
This time, try reviewing it in Unity before you go through the details:
1. Open the Creative Core: Prototyping project in the Unity Editor.
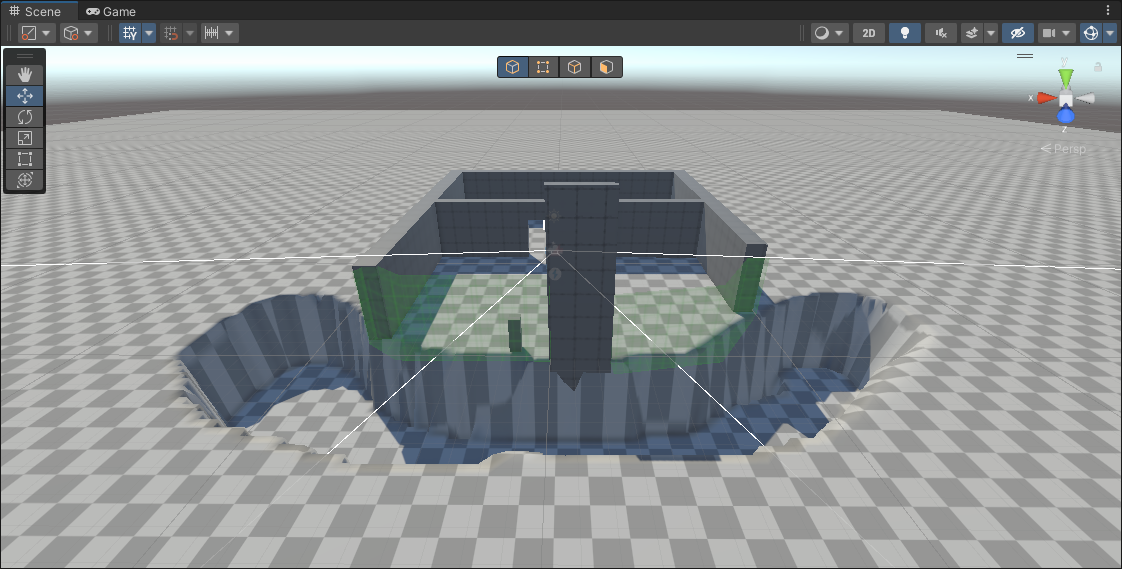
2. In the Project window, go to Assets > CreativeCore_Prototyping > Scenes. Open the 2-ProbuilderTerrain scene.

3. Review how the scene has been set up before you actually start testing the experience itself.
4. Select Play to enter Play mode and explore the prototype. Remember, you can:
- Change direction using your mouse or controller.
- Move using the arrow keys or WASD.
- Select E or click to interact with a selectable item — your cursor will change to a small hand to indicate this).
Note: There is a small white dot in the center of your screen. This is to help with navigation and motion sickness.
5. Select Play again to exit Play mode when you’re done.
4. What changes did we make first?
Now that you’ve explored them in Unity, read the overview of the first set of changes to the example prototype. You’ll have the opportunity to learn more about the tools the creator used after this tutorial.
First, review the updated diagram of the experience:

ProBuilder
The primitives used to create the environment and drawbridge were switched out for a ProBuilder environment. ProBuilder is a Unity package that you can use to build, edit and texture custom geometry (3D shapes). This meant that the creator could cut a doorway into the wall but still have a single mesh, rather than positioning multiple cuboid meshes to create the wall and doorway.
Bridge configuration
The creator:
- Added an animation of the drawbridge rotating into place with an Animation Controller.
- Added a Rigidbody component to the drawbridge and set it as Kinematic because it will be animated and have physics.
- Set the OnTriggerEvent script component added to the PressurePlate interactable GameObject.
- Set the button to trigger an animation of the drawbridge descending when the button is selected by the user (rather than destroying the bridge).
Terrain
Instead of using a plane primitive for the ground, the creator switched to Terrain as part of enhancing the environment. This meant that they could sculpt a ditch at the front of the drawbridge to better represent the challenge of escaping.

To create the ditch, the creator had to start with the Terrain at the height of the bottom of the ditch, raise the height of the entire Terrain, and then lower the height of the ditch to sculpt it out. This is because you can’t sculpt Terrain below its base height.
Colliders
The creator used ProBuilder to create two walls around the bridge and used ProBuilder’s Set Collider to turn it into a Mesh Collider. This functions like an invisible wall so that users don’t fall into the ditch.
Material changes
The creator made some adjustments to the material colors for the button and pressure plate. This makes it easier for the user to know when both the button and the pressure plate can be interacted with.
These changes all improved the prototype, but the user experience still needs a little more work to make it engaging. At the moment, users just need to walk through the door to activate the pressure plate — it’s very obvious. In the next stage of enhancements, the creator made it more interesting to play.
5. Examine the example’s improved enhancements
As you explore the next scene, note the changes in the user experience compared to the previous iteration:
1. Open the Creative Core: Prototyping project in the Unity Editor.
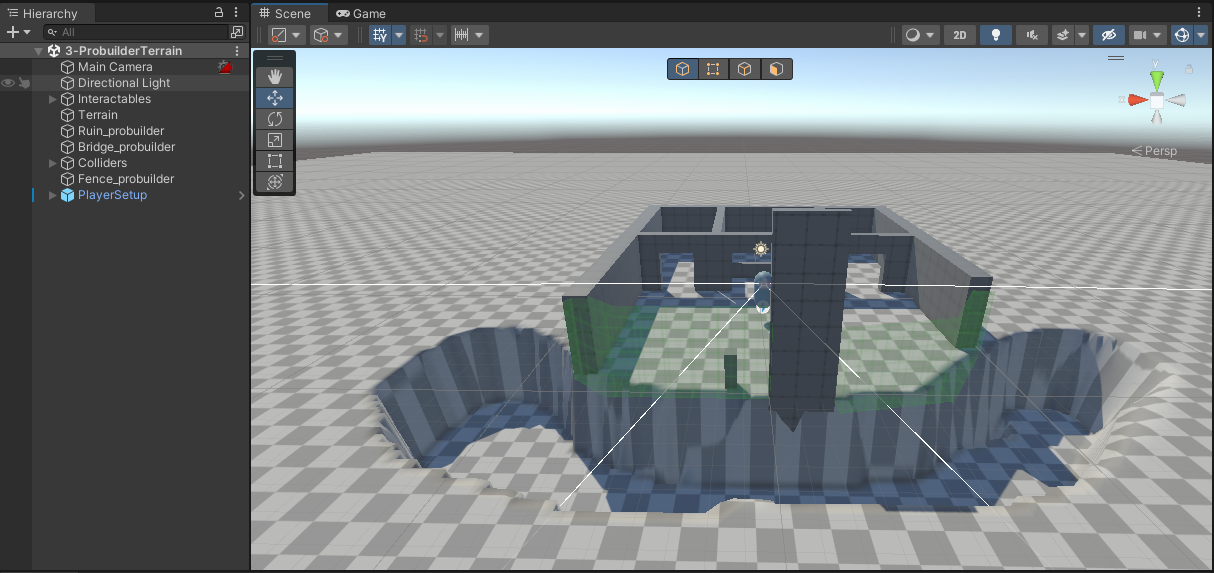
2. In the Project window, go to Assets > CreativeCore_Prototyping > Scenes. Open the 3-ProbuilderTerrain scene.

3. Review how the scene has been set up before you actually start testing the experience itself.
4. Select Play to enter Play mode and explore the prototype. Remember to exit Play mode when you’re done.
6. What changes did we make?
Review the updated diagram and summary of the second set of changes.

Environment adjustments
The creator used ProBuilder to adjust the existing environment meshes by:
- Slicing two new doors into the existing wall.
- Creating new walls to split the back room into three parts.
They also added a mid-height fence so the user can see the button but cannot reach it through the central doorway.
Pressure plate improvements
The final changes implemented were reducing the size and changing the position of the pressure plate. These adjustments make it very likely that the user will face the drawbridge button when they walk on the pressure plate and activate it. The user will then be able to observe the changes to the button when the pressure plate is activated.
Now the small navigation puzzle is more engaging. The user can go through the central door to see the Pressure Plate, but cannot immediately reach it — they need to investigate a little more.
7. Scope your prototype enhancements
Now you’re ready to take your prototype beyond the greybox basics! Take some time to review the plans in your design document and think carefully about what you’d like to achieve.
One approach is to take this in phases, just like we did. After you’ve completed the first set of improvements, you can return to your design document and see if any further enhancements are in scope before a rigorous testing phase.
After that, you’ll be ready to turn the prototype into your independent project by applying the Creative Core domains and visually polishing the project (this is sometimes called completing a “polish pass”).
8. Identify your key assets and placeholders
Although you imported the custom package from the example project, you haven’t yet added any other external assets. This is because they are not integral to the core functionality of a prototype. Now that you’re preparing to enhance your prototype, however, you can start to identify the things that you’ll need for the polished version of your experience.
Plan your assets and create an inventory
Assets shouldn’t be liabilities (from the course Design and Publish Your Original Game: Unity USC Games Unlocked) is a great starting point for planning the assets you will need and making an asset inventory for your project. We recommend completing this tutorial if you haven’t completed this process before or if you’d like to refresh your memory.
At this stage of development, it’s often more appropriate and easier to use placeholder assets rather than the final assets you want in the project. This could mean using placeholder environmental models rather than the final ones you want to use (such as some of the ones created with ProBuilder in our example) or stand-ins for the final character models or art.
You should log these in your inventory as placeholders that need to be replaced to help you remember that they’re in use!
Check your intellectual property responsibilities
Third-party assets are a great resource to include in your projects. You can find them on the Unity Asset Store and on other sites that provide game development assets and resources (and sometimes directly from other creators).
One approach to tracking asset licenses is to include information about the asset license requirements in your asset inventory. Recording the details in this file can be a helpful way to stay organized.
It’s critical that you check the copyright requirements for assets and follow the terms of use for their license when you include them in your own projects. This is the case even if you’re just making a private project for your own enjoyment.
If you need to refresh your memory, return to Introduction to copyright and intellectual property to recap the basics.
9. Next steps
There are two Unity tools that will be very useful as you enhance your prototype:
- ProBuilder: A package that you can use to build, edit and texture custom geometry in Unity.
- Terrain tools: A series of features in Unity that you can use to create the landscape of your experience.
The next two tutorials in this learning experience are quickstart guides to using these tools. They’re also a helpful resource if you’ve used ProBuilder or Terrain tools before but need to recap the basic functionality. Complete what you need to help with your specific prototype.
When you’ve finished enhancing your prototype, you can then continue on to the focus testing stage.