Add physical texture with bump mapping
Tutorial
Beginner
+10XP
15 mins
327
Unity Technologies

Textures are commonly used to add the look of a physical texture to the surface of a mesh without changing the mesh itself. In this tutorial, you’ll learn how bump mapping adds the illusion of relief to a surface.
By the end of this tutorial, you'll be able to:
- Apply more maps that are configurable on the URP/Lit Shader
- Add a normal map and a height map to a material.
Materials
Languages available:
1. Overview
In addition to the properties we have covered so far, materials for physically based shaders allow you to add the illusion of physical texture to a simple mesh without complicating it with lots of detailed polygons. The process of using textures to add this detail is called bump mapping. This process is much more efficient than modelling small details on a mesh.
In this tutorial, you’ll learn about maps that help the shader add physical detail to the mesh.
2. What are bump maps?
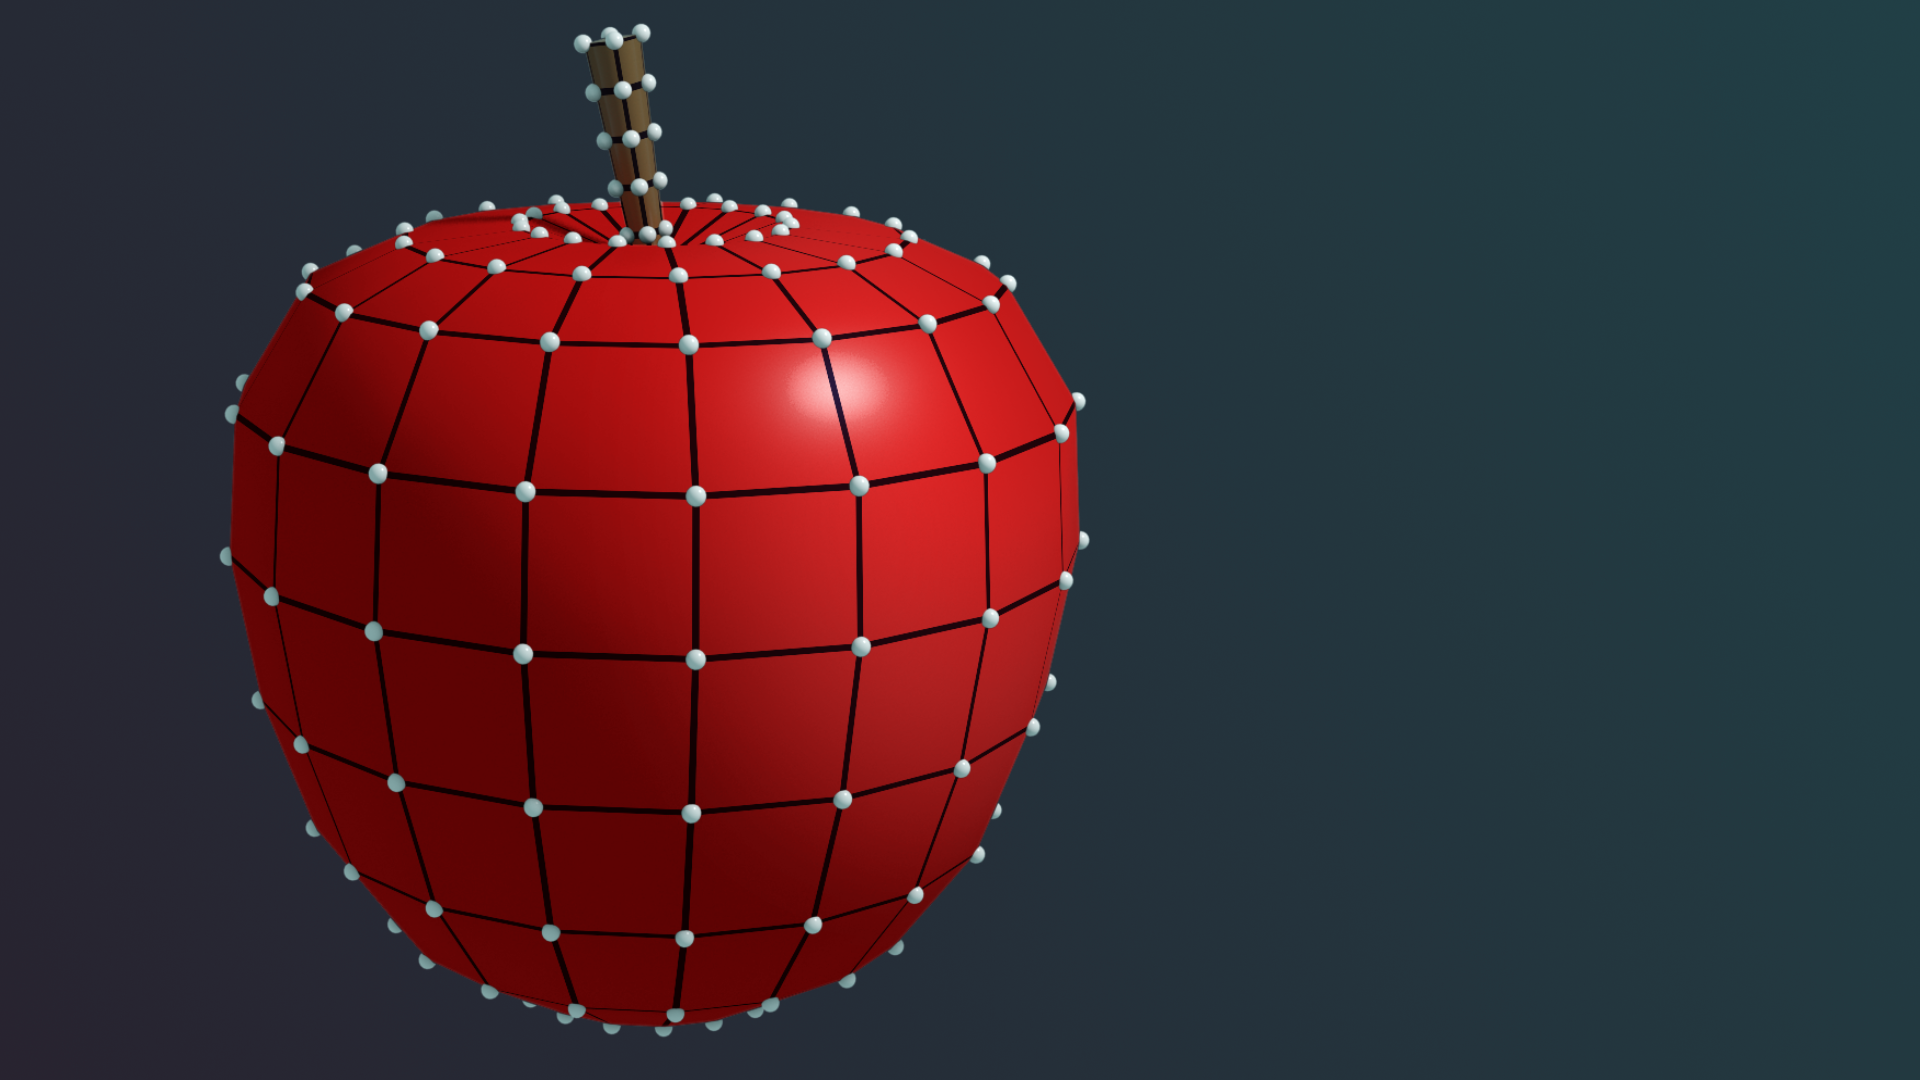
Consider the difference between a low-poly mesh (a mesh with fewer polygons) and a high-poly mesh. It takes more computing power to render a high-poly mesh because more polygons mean there is more data to process.
But with bump mapping, you can tell the shader to add the appearance of surface detail to your mesh without actually adding polygons. This technique is better for performance, and the results can be pretty convincing!
The Unity Manual features an excellent illustrated explanation of bump mapping.
There are two types of maps primarily used in bump mapping: normal maps and height maps.
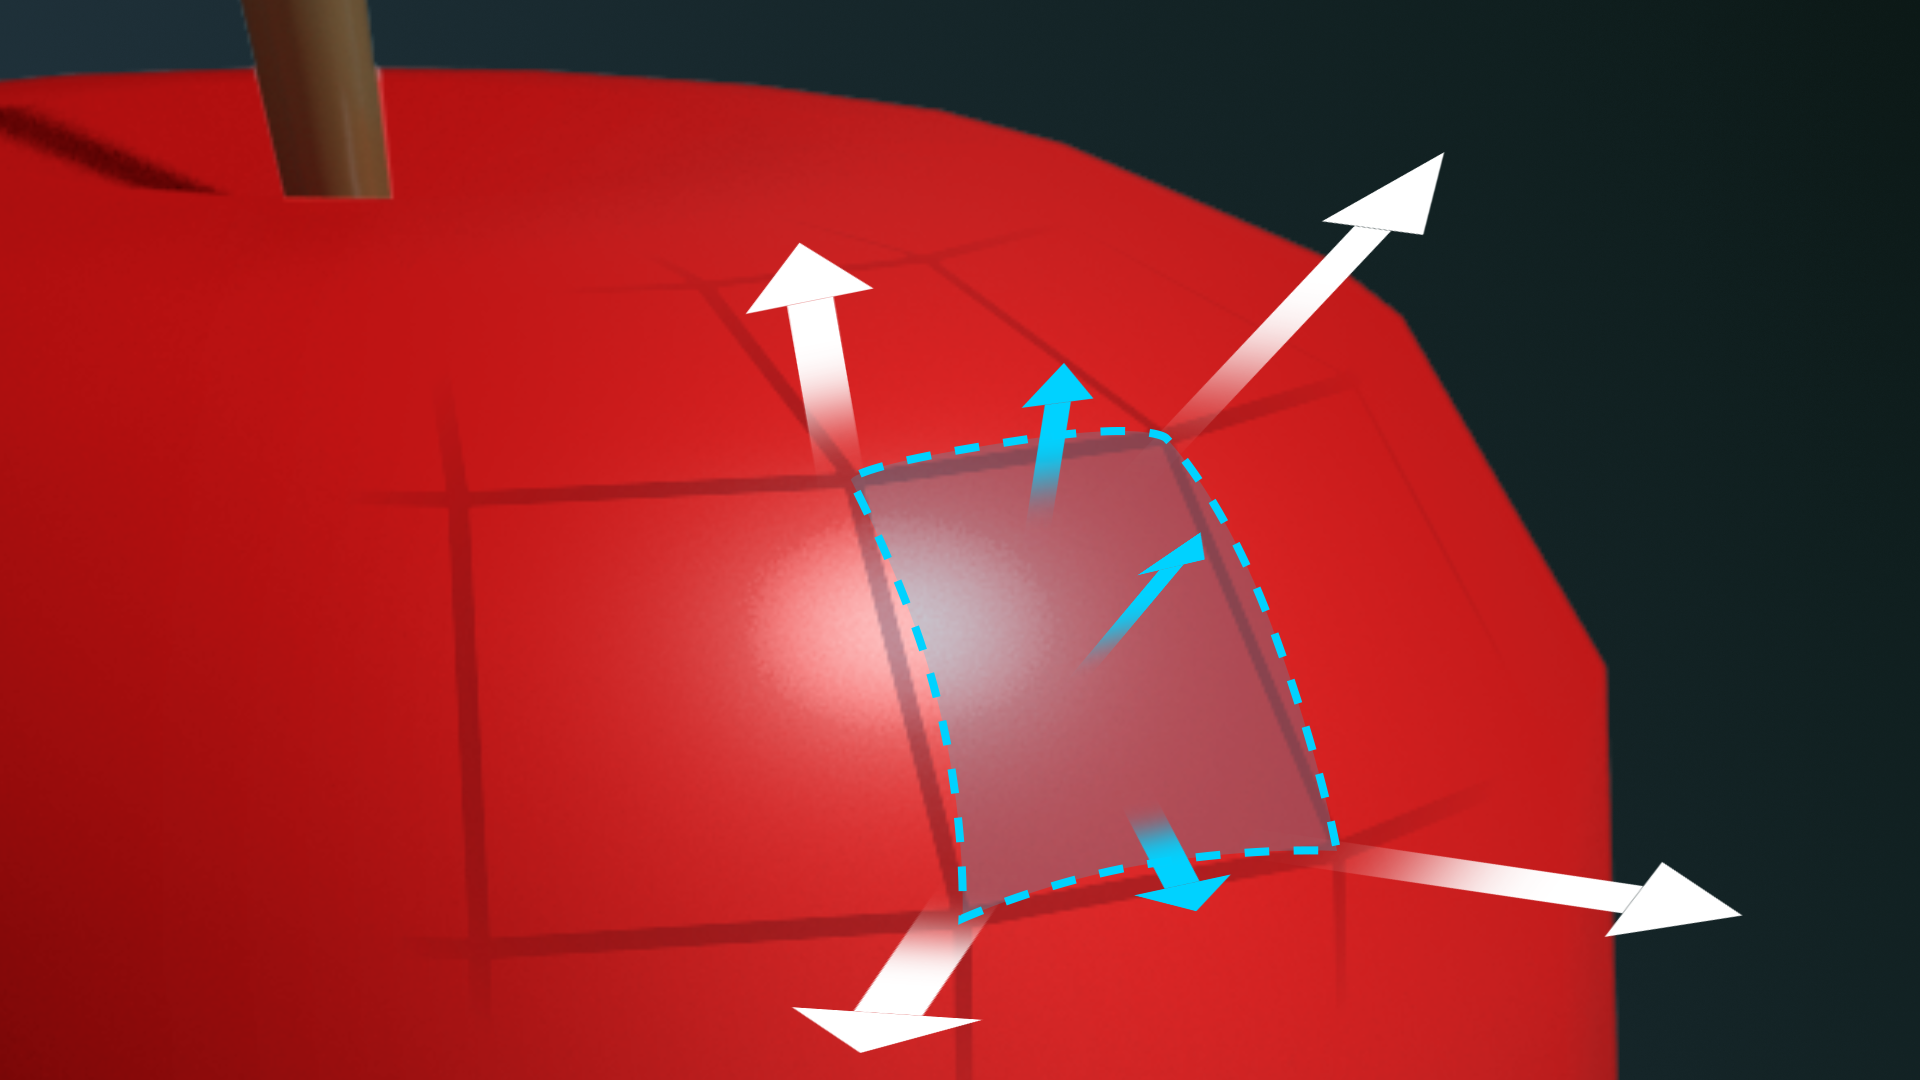
As you will recall, normals are values in the mesh data that define the direction each vertex is facing. A normal map sets these values over an entire surface, which directs the shader to create the illusion that fragments (pixels) on the surface are facing different directions.

Height maps indicate the relative height of each pixel from the mesh.
Normal and height maps can add realistic physical details to your surfaces without using much computing power. Frequently, normal maps are used without height maps.
3. Add surface detail with normal maps
Like base maps and specular/metallic maps, normal maps are created in 3D modeling or painting software. You can even download tileable normal maps from the Unity Asset Store!
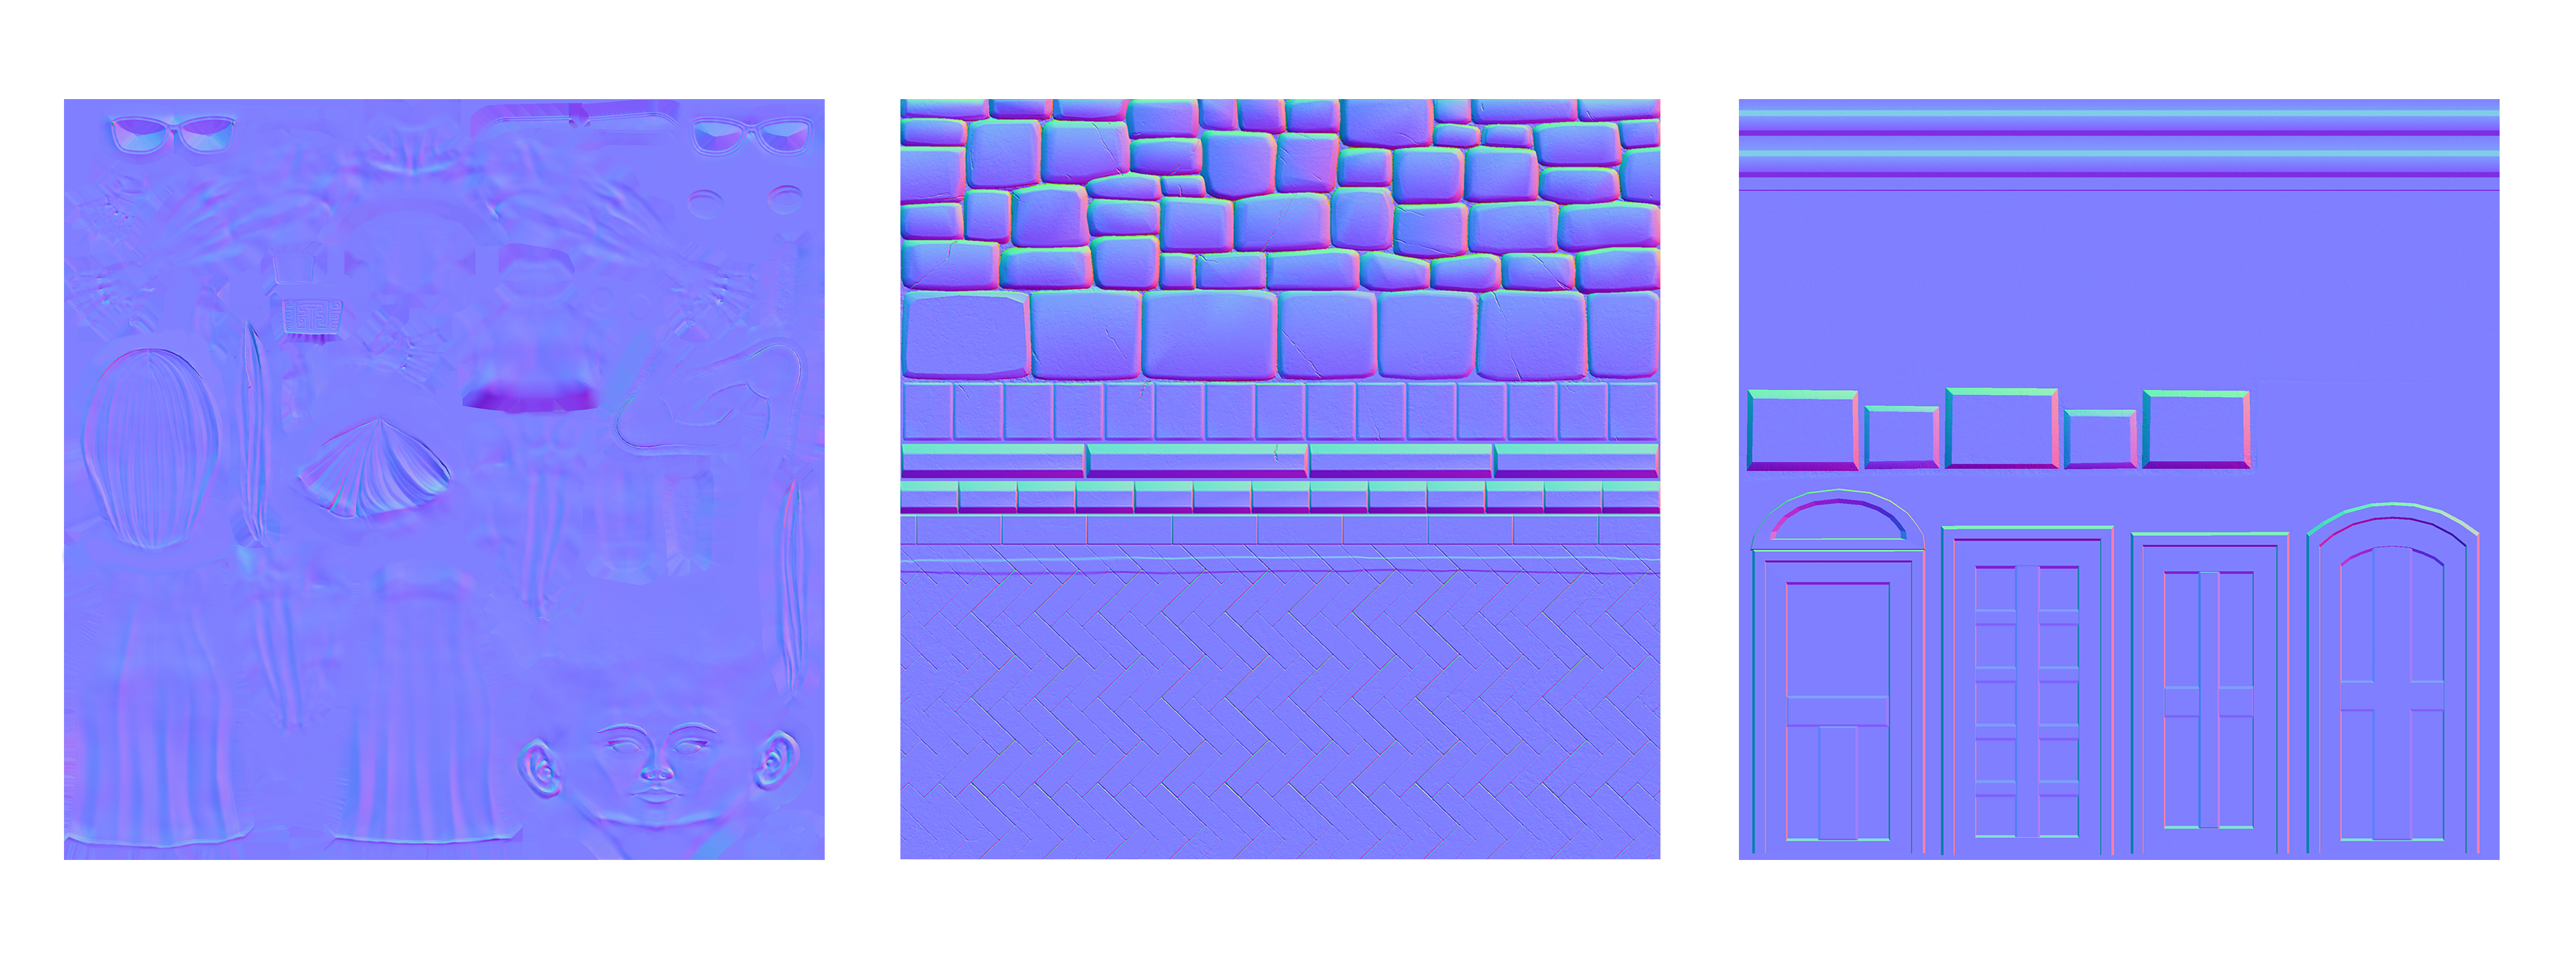
A normal map is similar to a base map, except that the red, green, and blue values indicate the direction of the normal relative to the mesh surface. Normal maps are mostly cyan and purple because the directions are expressed using higher values in the blue channel.

In our Textures Exhibit, observe the normal map for Ellen’s body and compare the normals to the base map and 3D model.
To view Ellen with and without the normal map:
1. In the Hierarchy, locate the Ellen GameObject, and select the Ellen_Body child object.
2. In the Inspector, open the Ellen_Body material.
3. Locate the Normal Map property in the material. Select the circle icon to bring up the texture selector, and scroll to the top to select None. Zoom in on Ellen’s body and notice how the garments appear flat and less detailed.
4. Press Ctrl/Cmd+Z to undo removing the normal map while still zooming on Ellen. Press Ctrl+Y/Cmd+Shift+Z and Ctrl/Cmd+Z to toggle the normal map. Find the details that the normal map adds to the leather and fabric of Ellen’s uniform and the ridges in her metallic vest.
You can also compare the wireframe view of the mesh without the normal map to the shaded view with the normal map to see how the normal map adds detail to the mesh.
4. Add relief with height maps
Height maps indicate the relative height of each pixel from the mesh. These are single-channel (grayscale) maps in which each pixel value indicates a relative distance from the mesh surface. When you use an RGB image as a height map, the shader only reads the green channel.

Height maps are not used as commonly as normal maps. They are useful for creating a dramatic effect, but they also stretch the base map, which is not usually desirable if the base map is not a solid color.
To experiment with a height map:
1. Find an object on your workbench to experiment on, or create a new primitive.
2. Create a new material and call it “Pavement”.
3. Assign the new Pavement material to your object of choice.
4. Open the Textures > Tiled Textures folder and locate the texture files with Pavement in their names.
5. Apply the textures for the Base Map (albedo), Metallic Map, Normal Map, and Height Map.
6. A slider and numerical field will appear at the Height Map property. Adjust the Height Map value to see the effects.
5. Next steps
You have nearly mastered the entire URP/Lit Shader and the basic principles of shaders and materials. The remaining types of textures will round out your education in this area, and then you’ll be ready to apply your skills to a shader of your own.