Challenge 2: Configure the Wheel Drive Component’s Handbrake Input
Tutorial
Beginner
+0XP
15 mins
199
Unity Technologies
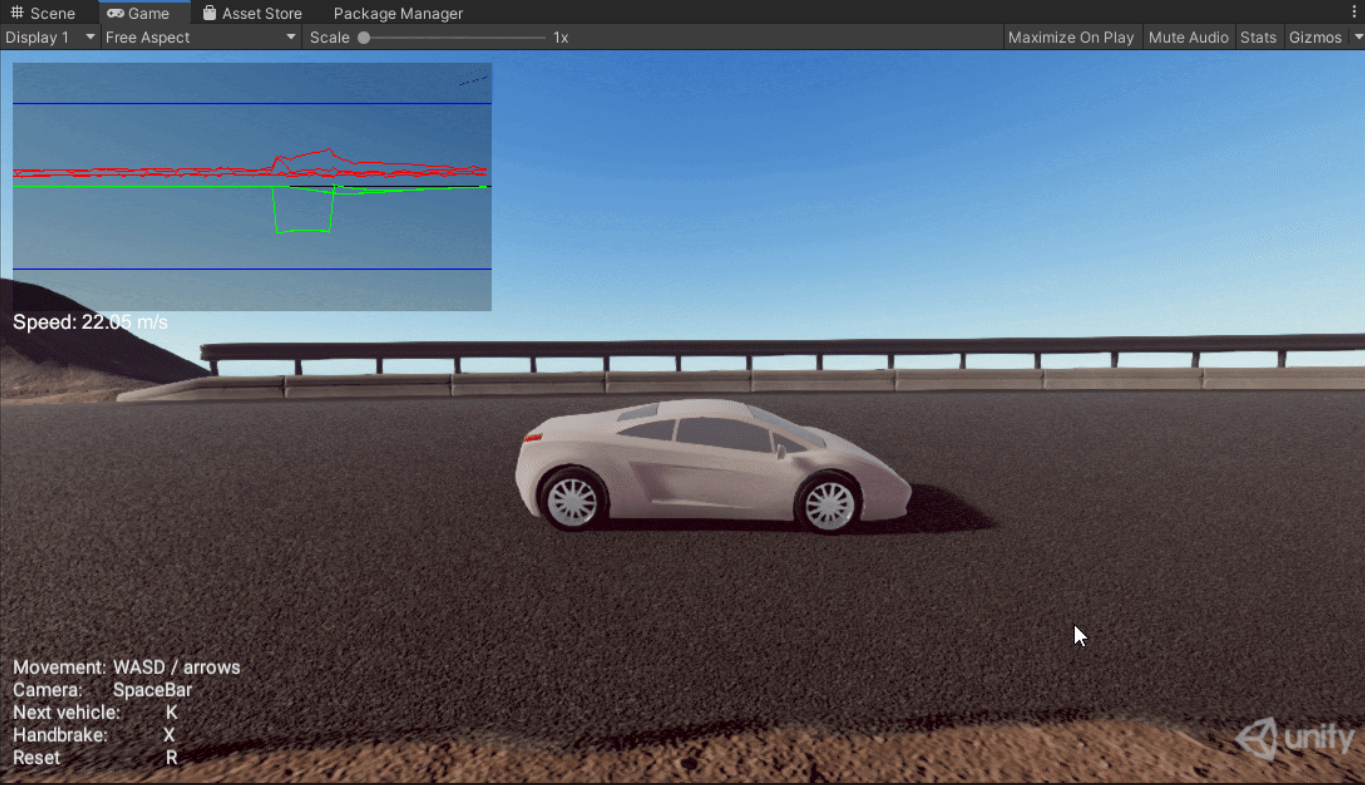
In this tutorial you will setup the Input System to use the 1D axis to control a 1D axis movement. In addition you will setup the Input System and C# scripting to use the Button and Modifier actions.
Languages available:
1. Working with the Wheel Drive Component's Handbrake Input
1. In the Primary Input Action’s Asset, add a new Action called “Handbrake” and set the binding to the “X” key on the keyboard.

2. Click Save Asset at the top of the Input Action Asset.

3. Open the Family Car Wheel Drive script in your code editor:

4. Add the Input System namespace at the top of the script:
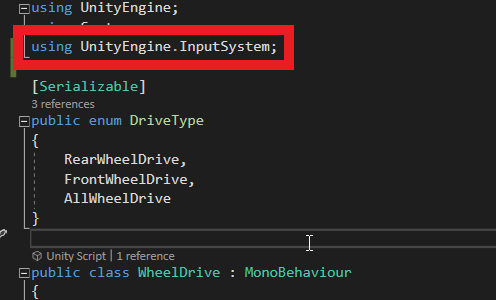
5. Create the following variable declarations:
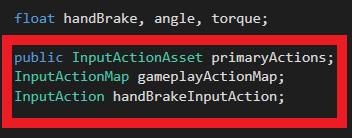
6. Create an Awake method and add the following logic to the Awake method body:
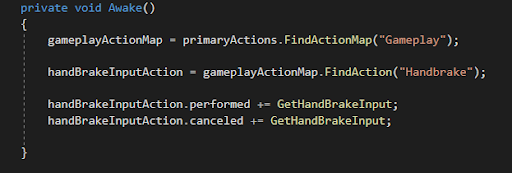
7. Create a new method called GetHandBrakeInput that appears as follows:

8. Add the following OnEnable and OnDisable methods to the script:
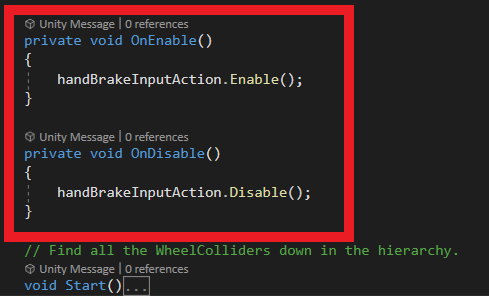
9. Remove the original handBrake input logic from the Update method:

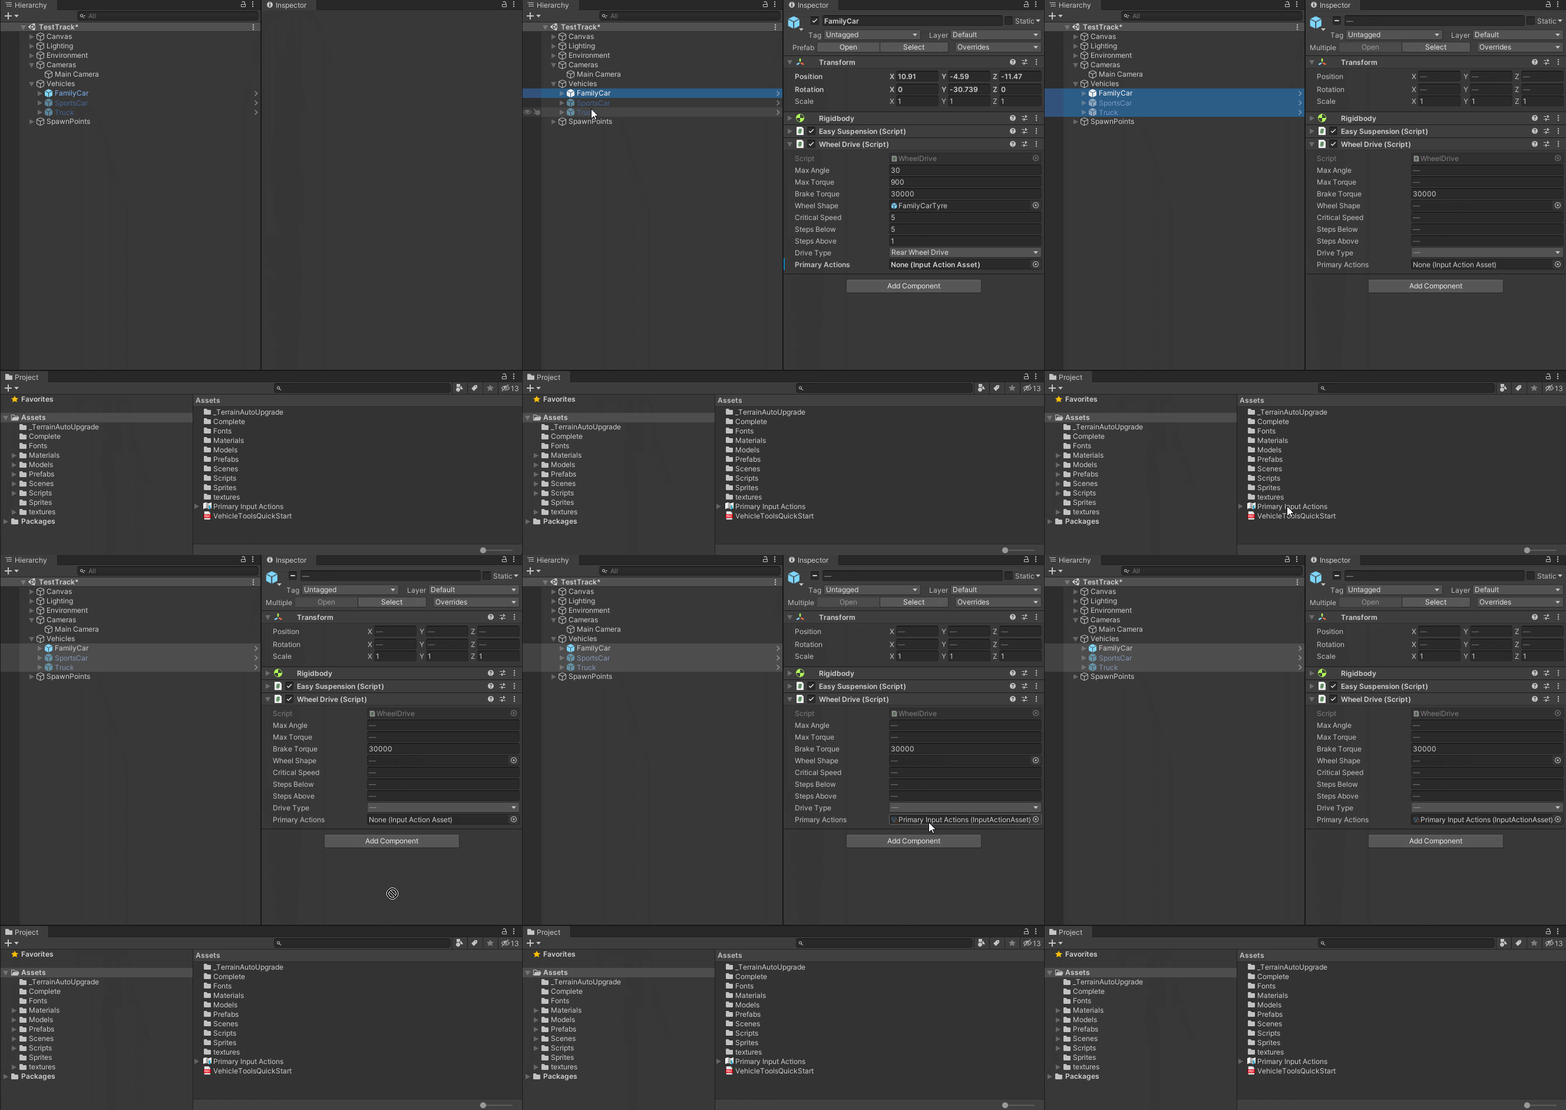
10. Back in the editor, add the Primary Input Actions Reference to the WheelDrive component on each of the vehicles:
11. Go into Play mode and test out the handbrake input you just implemented by pressing the X key.