Challenge: Bring the scene to life
Exercise
·
Beginner
·
+60XP
·
90 mins
·
Unity Technologies

In this challenge, you’ll be tasked with creating at least five new in-editor animations, and configure at least one character to use three new imported animations that you source yourself.
By the end of this tutorial, you'll be able to demonstrate your new skills in animation.
Languages available:
1. Overview
In the previous tutorials, you learned how to create basic animations from scratch directly in the Unity Editor as well as how to configure and work with imported animations. These two animation skills cover the foundations of working with animation in Unity, and with them you can now create vibrant, lively scenes for your interactive experiences. Now it’s time to apply this understanding to a new challenge: bringing a new scene to life with animation.
In this challenge, you’ll be tasked with creating at least five new in-editor animations. You must also configure at least one character to use three new imported animations that you source yourself.
This will be the first time you design your own animations, so before you begin planning, take a moment to hear from our creators about what they think the greatest challenges are when creating animation:
2. Review your skills
You’ve learned a lot about animation! Let’s review everything you know so far, and how it might be used in the scene:
Keyframed animation: You can create Animation Clips for any object in the scene, and those animations can control any component on an object. You’ve worked a lot with animating an object’s position and scale, but what about its rotation, material, color, or even its visibility?
You can bypass having to add a property by just pressing the record button and making changes in the Inspector. So long as the record button is active, the Animation editor will automatically add the parameter. Keep in mind that this method only adds keyframes as you make changes to your object–it won't add ending keyframes for looping!
Creating Animator Controllers: Objects can have multiple Animation Clips, and those animations can transition between one another when you create a State Machine in an Animator Controller. You also learned how to create parameters that can be activated using a trigger collider and a script.
Triggering animation: Animation doesn’t have to start playing as soon as a scene starts. In learning how to work with Animator Controllers, you discovered that trigger colliders and scripts can be used to change states within a Controller. You can reuse the script from the door animation tutorial in this scene if you like!
Configuring humanoid animation: Any character setup to use Unity’s Humanoid Animation System can share animation. This gives you access to hundreds of animations online and on the Unity Asset Store. You learned how to configure it and add it to an Animator Controller, either as a default animation or part of a State Machine. You can reuse the dance party script from the previous tutorial or you can use a new script, which will be discussed below!

What should you animate? We’re leaving that completely up to you! When you’re exploring the scene, try to come up with a narrative around why things are set up the way they are (or feel free to change up what’s happening in the scene if you prefer!). Can you tell the story of the scene with animations alone?
3. Use the keycode trigger script
In the Scripts folder, you’ll find a script called AnimatorControllerTriggers. This script was designed for you to edit so you can trigger animations to occur for your characters and objects based on keyboard input.
To edit the script:
1. Open AnimatorControllerTriggers in Visual Studio by double-clicking the script in the scripts folder.
2. Scroll down to the Update method and find the section that directs you to duplicate the code block.
3. Select the code block, being sure to highlight the closing curly brace ( } ), and copy it with Ctrl/Cmd+C
4. Paste your new block several lines below the existing code block, but still inside the Update method (stay inside the second to last curly brace in the script).
5. Replace the A in Keycode.A with whatever key you wish. You can see a full list of available keys here.
6. In the anim.SetTrigger line, replace YOUR_TRIGGER_NAME_HERE_INSIDE_THE_QUOTES with the name of the parameter you wish to have called when the keyboard key is pressed.
7. Save the script.
8. Add the script to the object that the Animator Controller is attached to.
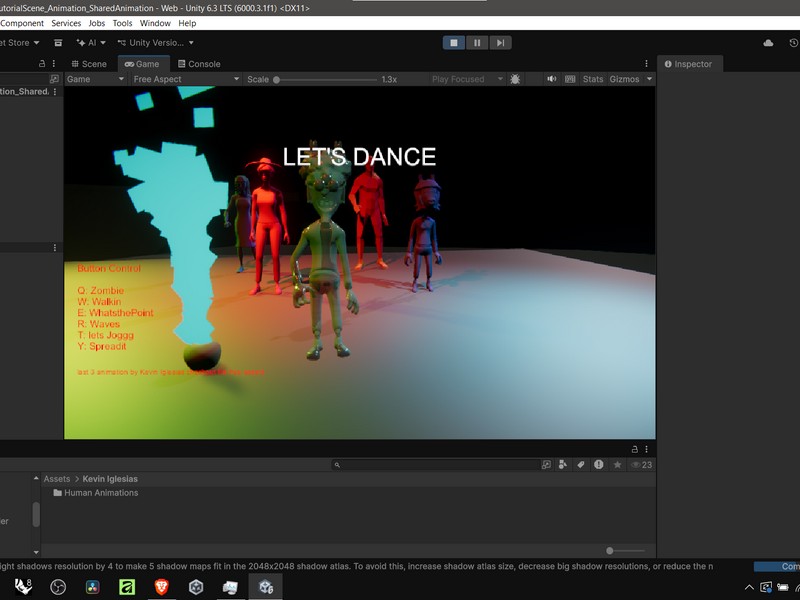
If you don’t feel comfortable with editing a script, you can always use the dance party script for this challenge! As a reminder, it’s mapped to use the Q, W, E, R, T, and Y keys only. To review how this script is configured and how to set up your Animator Controller to work with it, refer back to the previous tutorial.
4. Create your animations
1. In the scenes folder, locate and open ChallengeScene_Animation.
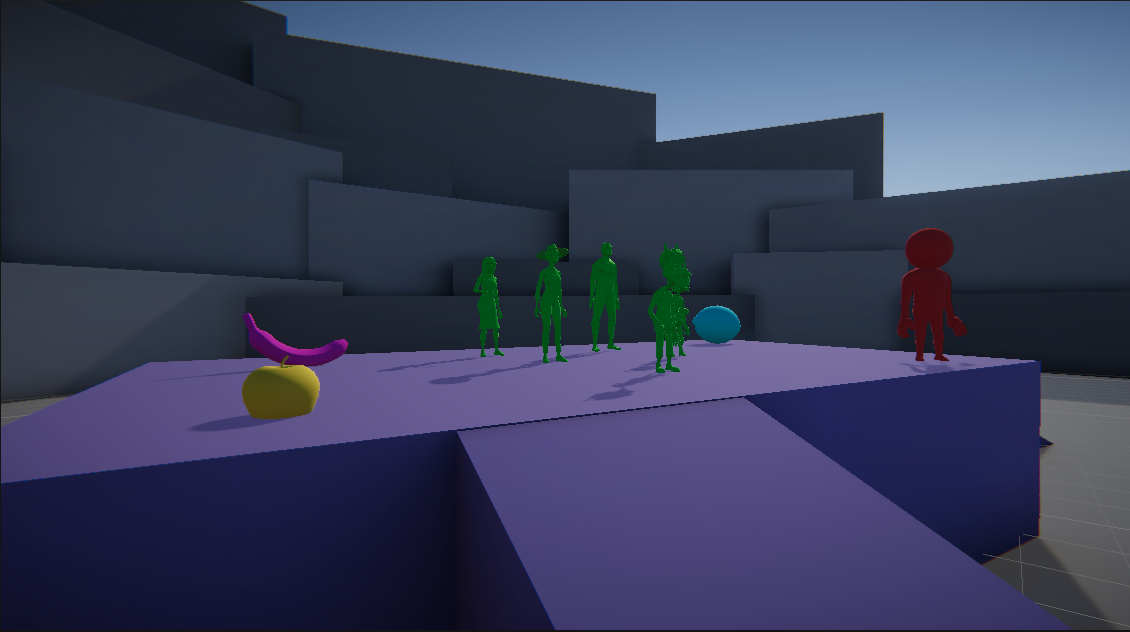
2. Review the scene and consider the narrative you might be able to communicate through different animations.
3. Identify several items that you can animate. You must create a minimum of five keyframed animations, but multiple animations can be on the same object, so long as you create an Animator Controller that will allow someone to see them all.
4. Identify a character in the scene that you wish to animate. Source a minimum of three animations online or on the Unity Asset Store.
5. Use either the AnimatorControllerTriggers script or the DanceParty script to control the animator with keystrokes.
6. Create your keyframed animations and configure the Animator Controller as needed.
7. Configure your imported animations for the humanoid animation system and add them to your selected character’s Animator Controller (they’re all using the SharedController Animator Controller from the previous tutorial).
8. Once you’ve completed your animations, record a video showing them all off!
9. If you’d like to share your hard work with the community here on Learn, submit your video!
You should expect to spend at least one hour and 30 minutes on this challenge.
5. Criteria
You’ll know you’re successful if you’ve met these criteria:
- You’ve created at least five keyframed animations (again, they don’t all have to be on different objects!) and have imported at least three externally created animations.
- You’ve created or customized Animator Controllers as needed to ensure all of your animations run correctly.
- You’re able to communicate some kind of narrative or story with the animations you create.
If you find your imported animations online, make sure that if you need to, you credit the source. A text file that lists the creators, the website you got them from, and any other requested information is a good way to handle it!
6. More resources
Check out the below Unity YouTube video with one of our established creators to see how far you can take animation in Unity!
7. Next steps
Congratulations! You have completed the learning required for Core Animation.
You have the core skills and knowledge for one of the primary creative domains within the Unity Engine.
Now you’re ready to apply these skills in other projects! We can’t wait to see what you make next.
8. Submit your project
After you’ve fulfilled the requirements, please submit and share your project!
Follow these instructions to submit your project:
1. Take a screenshot or screen recording of your project in Play mode.
2. Add a submission title and description.
- Make sure to include the image or video of your project. If you have additional details to share about your process or the project that you have created, you can share them in the description too.
3. Set who can view your submission.
- Public: Anyone who views this tutorial.
- Private: Just you.
4. Select Save and preview submission.
5. Check your submission preview and then complete the CAPTCHA test and select Submit and continue.
We highly recommend that you comment on at least one other creator's submission. Did they successfully complete the challenge? What do you like about the project?
Please login to submit
Complete this tutorial
Submission Gallery

Time acceleration
Im moving through these missions on my own pace.

Hip-Hop Lovers
This is about a carefree dancing group named Hip-Hop Lovers

The Guacamole Group
A happy, dancing (and green) group. Music:Jazz Funny Quirky Sketch by Denis Pavlov

Unity Tutorial Animation
Added 3 extra animation

All night Dance party
Dancing 24/7

Animation Works
Added new Anim Clips

Interactive Animation System using a Unified Animator Controller
This project successfully implements an interactive animation system in Unity, using a single, shared Animator Controller for all characters and objects. The system meets all requirements by utilizing two distinct C# scripts for keystroke control: 5 Keyframed Animations: Created for geometric objects/fruits (e.g., spin, slide, color change). 3 Asset Store Animations: Imported for the Red Character (Walk, Run, Jump) and configured as a Humanoid rig. Keystroke Control: All animations are triggered via keys, ensuring full interactivity (Dancers: Q, W, E; Red Character: A, S, D; Keyframes: R, T, Y, etc.). Note: All external animation assets were sourced from the Unity Asset Store, and credits have been included within the project documentation.

Rave of the Green Men & Skittle Fruit
3 Imported Animations and 5 created internally.