Configuring Object Ownership in Networked Photon Applications
Tutorial
intermediate
+0XP
25 mins
18
Unity Technologies

In this tutorial, you’ll learn to assign and transfer ownership to GameObjects in Photon-enabled applications. This is useful because it allows a user to have control of the floor in a multi-user communication application, or take a turn in a multiplayer virtual board game.
Languages available:
1. Configuring Object Ownership in Networked Photon Applications
This tutorial has been verified using Unity 2019.4.14f1 and PUN 2 Version 2.22
In this tutorial, you’ll learn to assign and transfer ownership to GameObjects in Photon-enabled applications. This is useful because it allows a user to have control of the floor in a multi-user communication application, or take a turn in a multiplayer virtual board game.
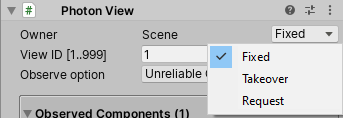
There are three modes of ownership transfer available (Figure 01).
Fixed: Ownership remains with the creator of a GameObject (unless transferred, i.e., via TransferOwnership).
Takeover: Any networked client can take over ownership.
Request: Any networked client can request transfer of ownership from the current owner. The current owner can grant or deny this request.

2. Simple Ownership Transfer
For this exercise, we’ll use the project and Scene from Configuring Photon Transform Views. The first client to connect will assume ownership of the Sphere, and any client can press X to take over using the TransferOwnership command. This command ignores the ownership transfer mode.
1. Load or build the tutorial project from Configuring Photon Transform Views.
2. Select the Sphere. Attach a new C# Script called SharedSimpleMover and open in the script editor.
3. Add the PUN namespace before the class definition:
using Photon.Pun;4. Rather than use the default of MonoBehaviour, SharedSimpleMover will inherit from MonoBehaviourPunCallbacks. This includes callbacks for PUN events, such as connecting to a room, and provides a reference to the Photon View. The line should now read:
public class SharedSimpleMover : MonoBehaviourPunCallbacks 5. Inside the class definition, add the following data members:
private bool joined;
   private bool owner;
6. Delete the Start method. In its place, type:
   public override void OnJoinedRoom()
   {
       joined = true;
       if (this.photonView.Owner == null && PhotonNetwork.LocalPlayer.IsMasterClient)
           TakeOver();
   }
7. Inside Update, type:
if (!joined)
           return;
       if (Input.GetKeyDown(KeyCode.X) && !owner)
           TakeOver();
       if (owner)
           transform.Translate(10 * new Vector3(Input.GetAxisRaw("Horizontal"), Input.GetAxisRaw("Vertical")) * Time.deltaTime);
8. Create two new methods of return type void, TakeOver and LateUpdate.
9. For this example, TakeOver just contains one line. In production, you would likely add some indication of success (or failure) of the ownership takeover.
private void TakeOver()
   {
       this.photonView.TransferOwnership(PhotonNetwork.LocalPlayer);
   }
10. Inside LateUpdate, type:
 if (!joined)
       return;
   owner = this.photonView.Owner != null && this.photonView.Owner.ActorNumber == PhotonNetwork.LocalPlayer.ActorNumber;
11. Save changes and return to the Unity Editor.
12. Build your project and launch two instances.
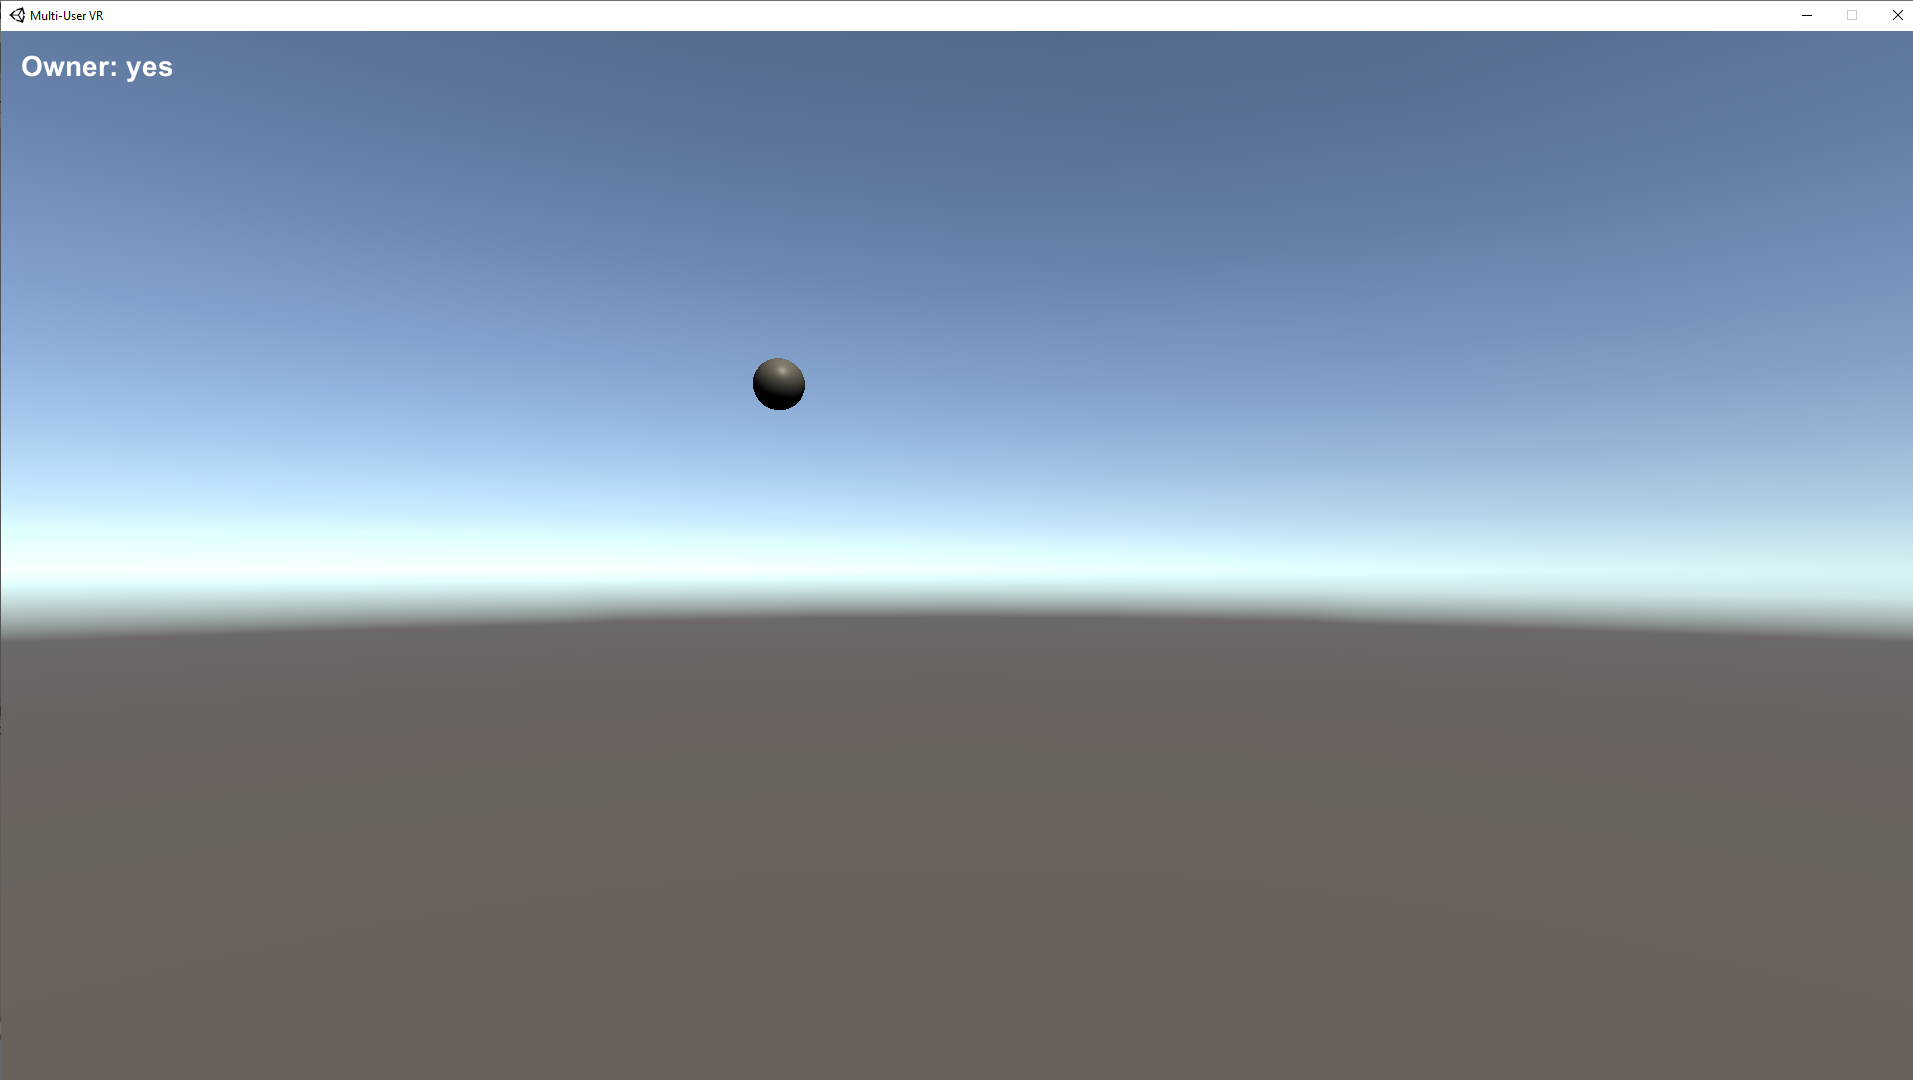
13. Try moving the Sphere on each using the arrow keys, WASD, or a game controller (Figure 02).

14. In the second instance, press X. It should now be able to control the Sphere, while the first instance cannot.
15. Exit the Builds.
3. Advanced Ownership Transfer
We’ll build on the previous exercise to explore ownership transfer modes and how they affect the ability to request ownership. We’ll implement callbacks to handle when ownership is requested or granted. We’ll also define and use two remote procedure calls (RPC), one that will target a specific player, and one that is called for every player.
1. Create UI text by selecting UI > Text from the GameObject drop-down.
2. In the Project view, click to select SharedSimpleMover.
3. Press Ctrl-D and rename the duplicate to RequestMover. Open in the script editor.
4. Add the following namespaces:
using Photon.Realtime;
using UnityEngine.UI;
5. In addition to MonoBehaviourPunCallbacks, RequestMover will implement the PunOwnershipCallbacks interface. This consists of two functions: OnOwnershipRequest, invoked when a transfer of ownership is requested, and OnOwnershipTransfered, invoked when a transfer is completed. Change the class definition line to:
public class RequestMover : MonoBehaviourPunCallbacks, IPunOwnershipCallbacks6. Add the following data members:
 private Player _requestingPlayer;
    public enum Status
    {
        Default,
        RequestSent,
        RequestReceived
    }

    private Status status;
    public Text infoText;
    private string text;
7. Change Update to:
void Update()
    {
        if (!joined)
            return;

        if (Input.GetKeyDown(KeyCode.X) && !owner)
            Request();

        if (status == Status.RequestReceived)
        {
            if (Input.GetKeyDown(KeyCode.Y))
                this.photonView.TransferOwnership(_requestingPlayer);

            else if (Input.GetKeyDown(KeyCode.N))
            {
                this.photonView.RPC("Decline", _requestingPlayer);
                status = Status.Default;
            }
        }

        if (owner)
        {
            if (Input.GetKeyDown(KeyCode.Z))
            {
                int mode = (int)this.photonView.OwnershipTransfer;
                mode = (mode + 1) % 3;
                this.photonView.RPC("SetOwnershipMode", RpcTarget.All, mode);
            }
            transform.Translate(10 * new Vector3(Input.GetAxisRaw("Horizontal"),Input.GetAxisRaw("Vertical")) * Time.deltaTime);
        }
    }
8. Let’s define the Request method, called in Update:
 private void Request()
    {
        this.photonView.RequestOwnership();
        status = Status.RequestSent;
    }
9. We’ll now define our RPC. By marking these with [PunRPC], they will be automatically added to the PhotonServerSettings Asset’s list of RPCs.
 [PunRPC]
    void SetOwnershipMode(int mode)
    {
        this.photonView.OwnershipTransfer = (OwnershipOption)mode;
    }

    [PunRPC]
    void Decline()
    {
        status = Status.Default;
    }
10. Next, we’ll implement the methods of the PunOwnershipCallbacks interface:
public void OnOwnershipRequest(PhotonView targetView, Player requestingPlayer)
    {
        if (requestingPlayer == PhotonNetwork.LocalPlayer)
            return;
        _requestingPlayer = requestingPlayer;
        status = Status.RequestReceived;
    }

    public void OnOwnershipTransfered(PhotonView targetView, Player previousOwner)
    {
        status = default;
    }
11. Finally, change LateUpdate to:
private void LateUpdate()
    {
        if (!joined)
            return;

        owner = this.photonView.Owner != null && this.photonView.Owner.ActorNumber == PhotonNetwork.LocalPlayer.ActorNumber;

        text = string.Format("Ownership Transfer Mode: {0}\nActor: {1}\nOwner: {2}\n\n",  this.photonView.OwnershipTransfer.ToString(), PhotonNetwork.LocalPlayer.ActorNumber.ToString(), (owner ? "yes" : "no"), this.photonView.OwnershipTransfer.ToString());
        switch(status)
        {
            case Status.RequestReceived:
                text += string.Format("Actor {0} has requested ownership. Press Y to grant or N to deny.", _requestingPlayer.ActorNumber.ToString());
                break;
            case Status.RequestSent:
                text += ("Ownership request sent. Waiting for response.");
                break;
            default:
                if (owner)
                    text += "Press Z to cycle through ownership transfer modes.";
                else
                    text += "Press X to request ownership.";
                break;
        }
        infoText.text = text;
    }
12. Save changes and return to the Unity Editor.
13. Select Sphere.
14. Drag and drop the UI text element you created earlier into the slot labeled Info Text in the Request Mover component Inspector (Figure 03).

15. Save the Scene and make a Build.
16. Launch two or more instances of the Build.
17. Cycling through the ownership modes on the owner instance:
In Fixed ownership mode, the request is never actually placed.
In Takeover ownership mode, the request is automatically granted.
In Request ownership mode, the request can be granted or denied by the current owner.
18. Exit the Builds.
4. Conclusion
The ability to transfer ownership of a shared object has a variety of potential game and non-game applications. In this tutorial, you learned both simple and advanced methods of ownership transfer.