
Create a structure with primitives
Tutorial
foundational
+10XP
45 mins
(10269)
Unity Technologies
This tutorial is an exercise in which you can apply your understanding of GameObjects and transforms to build a structure out of 3D primitives. In this tutorial, you will:
- Add primitives to an empty Scene.
- Create an empty GameObject as a parent for other GameObjects.
- Duplicate GameObjects.
- Create parent-child relationships between GameObjects using the Hierarchy window.
- Navigate around the Scene in the 3D space.
- Transform the primitives to a given position, rotation, and scale.
Languages available:
1. Overview
This tutorial is an exercise in which you will build a GameObject made up of multiple primitives. This exercise will give you a firm grasp of how to create and manipulate GameObjects, and it will also give you some practice in navigating around a scene.
You will use this structure later as a surface to catch and deflect falling objects. The structure you’ll build can be anything you want, as long as it can be built from primitive cubes, spheres, cylinders, and capsules. It must also have stairs, slopes, curves, and other interesting shapes so that the falling objects will roll, bounce, and tumble. Here’s an example of a structure you can build:
As you build this structure, you might want to manipulate your view of the scene as you work to make sure GameObjects are aligned. For a review, see Practice navigating the scene.
2. Create an empty GameObject
An empty GameObject is a placeholder object that can be created in the Hierarchy. It does not have a visible representation in the scene, and it can act as a container for other GameObjects.
1. Right-click in the Hierarchy and select Create Empty.
2. Rename this GameObject to “Structure” in the Inspector. Its name will also change in the Hierarchy. (You can rename objects from the Hierarchy as well)
3. If the position of your empty GameObject isn’t 0, 0, 0, as in the example above, you can reset it to the center of the scene in one easy step: in the Inspector, select More (⋮) to the right of the Transform component header and then select Reset Position.
3. Create a floor for your structure
Begin your structure by creating a base surface, which we’ll call the floor, on which you can build other features:
1. In the Hierarchy, right-click the Structure GameObject and select 3D Object > Cube to create a new cube primitive as a child of the empty GameObject.
2. Rename this new GameObject “Floor”.
3. In the Inspector, locate the Transform component and the Scale coordinates for the Floor GameObject. Change the Scale to 20, 0.2, 20 to create a floor for your structure.
4. Zoom out and move other GameObjects out of the way to view your floor as desired.
4. Add to your structure
Next, add more child GameObjects to your structure. Because objects will be falling on it, you will need stairs, slopes, and curves to make it interesting. Let’s start with some stairs.
1. In the Hierarchy, right-click the Floor GameObject and select Duplicate. (Shortcut: select Floor and press Ctrl+D (macOS: Cmd+D).) You’ll see a new child in your Hierarchy named Floor (1). It is in the same location as Floor.
2. Rename Floor (1) to “Stair”. This will be one stair, and you can create as many more as you like.
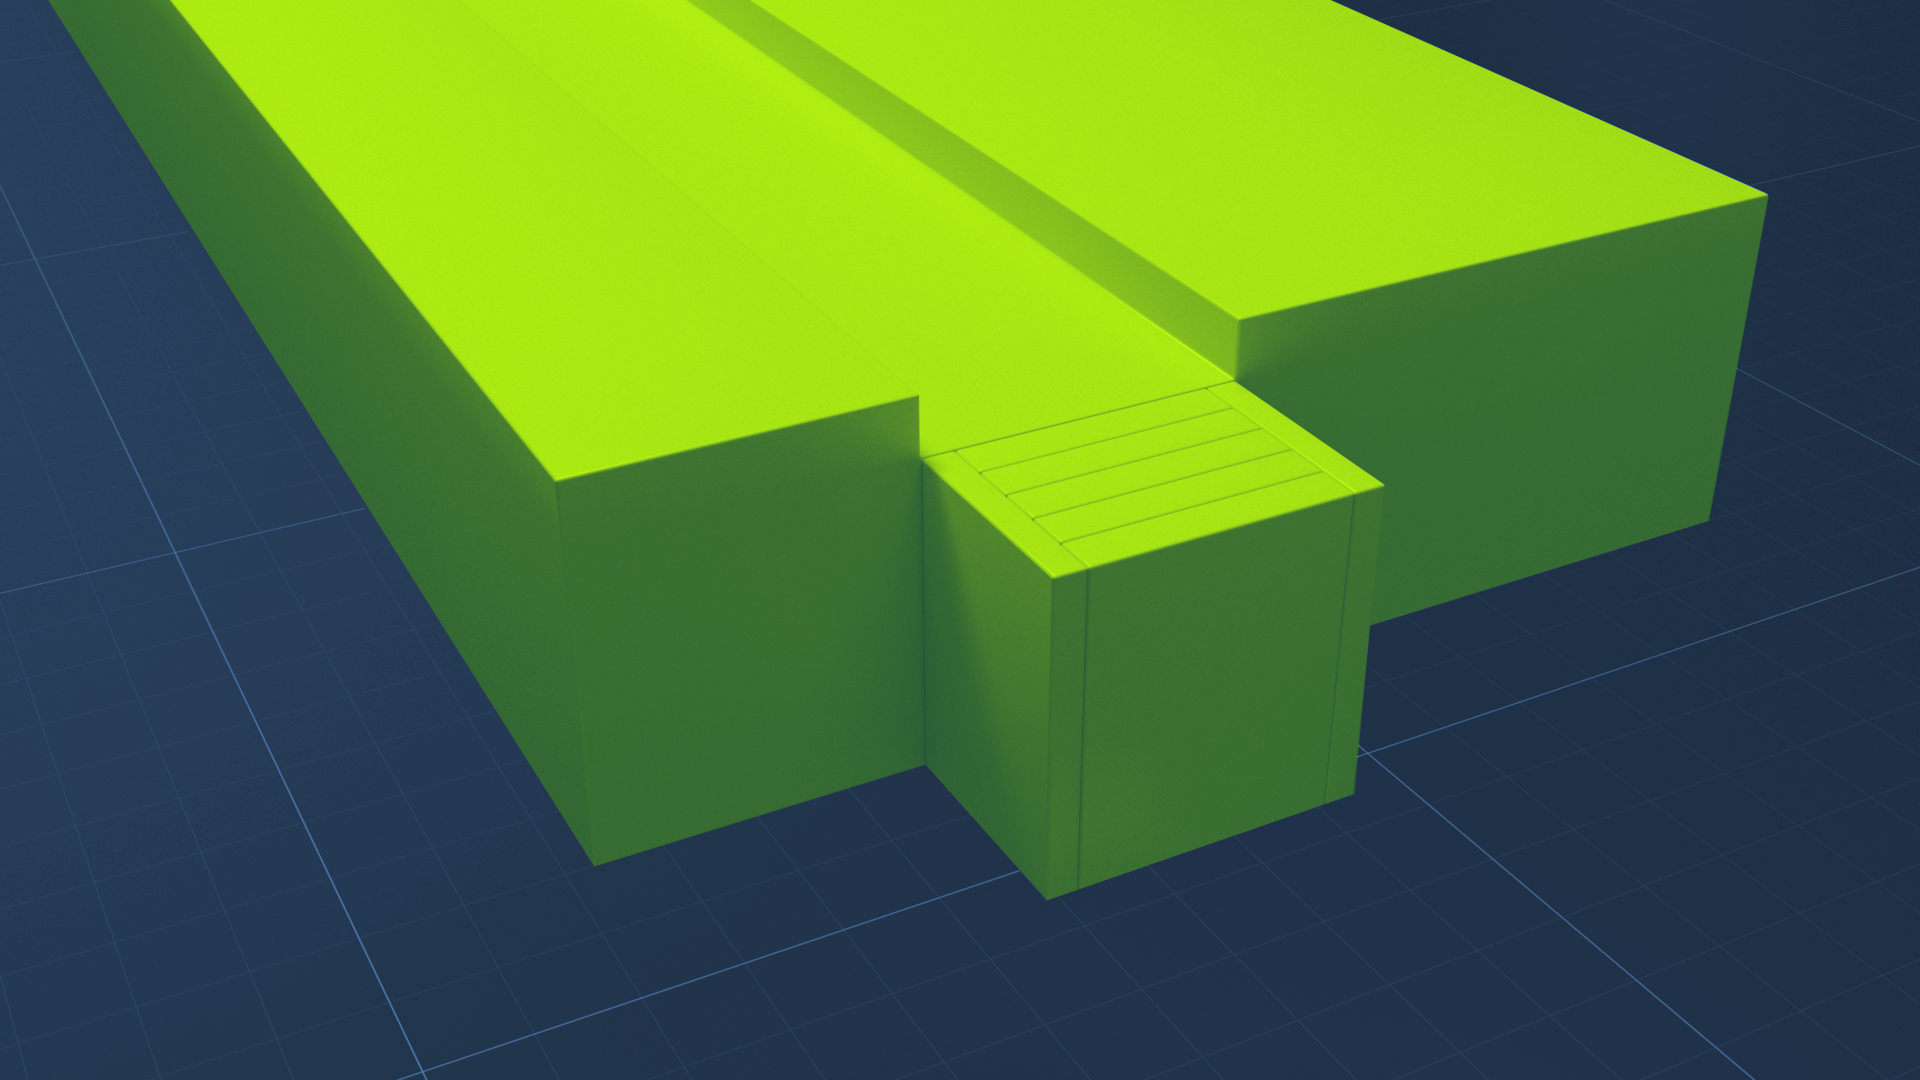
3. In the Inspector, locate the Transform component of Stair. Change its Scale and Position so that it sits on top of Floor and is slightly smaller. The image below shows an example of how you might scale and position the first stair.
The result will look like this:
Repeat these instructions to add more stairs! Make them narrower, taller, or whatever you like.
Try these techniques:
- Use the Move and Scale tools, as well as the Inspector, to resize and reposition your stairs.
- Use the Rotate tool and Rotation coordinates in the Transform component to make diagonal stairs and sloped surfaces.
- Be sure to change your view of the structure to make sure the objects are aligned the way you want them.
5. Nest and combine GameObjects
You have seen GameObjects organized as parent and child GameObjects, but you can also nest and combine GameObjects on multiple levels in your Hierarchy. This technique can help you to create and organize parent GameObjects that are more complex.
Follow the steps below to learn more, but feel free to change the shapes and transforms for your own structure. The images below are examples.
To add a smaller structure to your main structure:
1. Create another empty GameObject in your Hierarchy.
2. In the Hierarchy, select the empty GameObject, then right-click and select 3D Object > Cube to add a cube primitive as the child of the empty GameObject.
3. Scale the cube primitive to create a platform that will fit on your structure, like you might see for a statue or a fountain.
4. Add and transform other child GameObjects to make a feature for your structure.
5. Rename this feature in your Hierarchy. In the example, it is named “Plinth”.
6. In the Hierarchy, select the parent GameObject of your feature and drag it on top of the Structure GameObject, to make the entire GameObject a child of Structure.
Your result will look something like the image below.
7. Rotate, scale, and position the new child GameObject onto your structure.
8. In the Hierarchy window, use the foldout arrows to expand and collapse your Hierarchy as needed to make it readable. You can also rearrange child GameObjects within a parent any way you like.
6. Complete your structure
Now, feel free to add spheres, cylinders, or capsules to create your final structure. Every new GameObject should be a child of the Structure GameObject. You can create a Hierarchy as simple or complex as you want to meet your needs.
Keep in mind that you will use this structure as a surface for falling objects. Create surfaces where objects can bounce, roll, and tumble. Keep the size of your structure at 20 x 20 units or more on the horizontal plane..
The image below is just an example — your own possibilities are endless!
7. Adjust the lighting in the scene
With your structure built, you might want to adjust the lighting. In a new 3D scene, an object named Directional Light is included to simulate sunlight. You can manipulate the direction of this light by rotating it. Changing the position or scale of the Directional Light GameObject has no effect.
1. Select Directional Light in the Hierarchy window.
2. Change the rotation of the light using the Rotate tool (shortcut key E) or the Transform component. Take note of how the sky, ambient light, and shadows change.
3. If you like, you can also change the color of the directional light. In the Inspector, select the color picker in the Light component. Note that the color of the light changes, but the color of the sky does not.
Directional light is just one type of light. If you are interested in other types, see Types of light in the Unity Manual.
8. Next steps
You have created a structure of your own in Unity! Along the way you have accomplished several things; now you can:
- Create an empty GameObject as a container for other GameObjects.
- Duplicate GameObjects.
- Use the Transform component to manipulate child GameObjects.
- Nest GameObjects to multiple levels.
- Use the Move and Rotate tools to transform a child GameObject.
- Adjust the directional light.
Next, you will get a glimpse of the power you have over your GameObjects by doing more with components.