Create an environmental Particle System
Tutorial
Beginner
+10XP
20 mins
171
Unity Technologies

Particle Systems are surprisingly versatile. With just a few changes to a Particle System’s modules, you can produce a wide variety of effects. In this tutorial, you will create a brand new Particle System and configure its modules to create snow or rain in the scene.
By the end of this tutorial, you'll be able to:
- Set up a new Particle System in the scene.
- Configure a Particle System's main properties, such as lifetime, size, and max particles by modifying the Main module.
- Control the location and initial direction of particles by modifying the Shape module.
- Control the rate and timing of particles by modifying the Emission module.
- Control the appearance of individual particles by modifying the Renderer module.
Languages available:
1. Overview
One of the most common, important use cases for Particle Systems is also one of the simplest to achieve: weather effects. With just a few edits, your scene can quickly transform from a clear blue sky to a thunderstorm or a snowy blizzard.
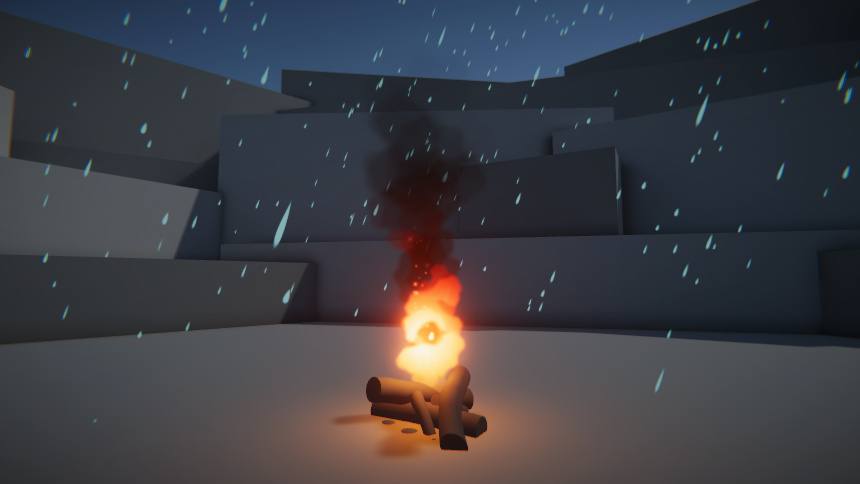
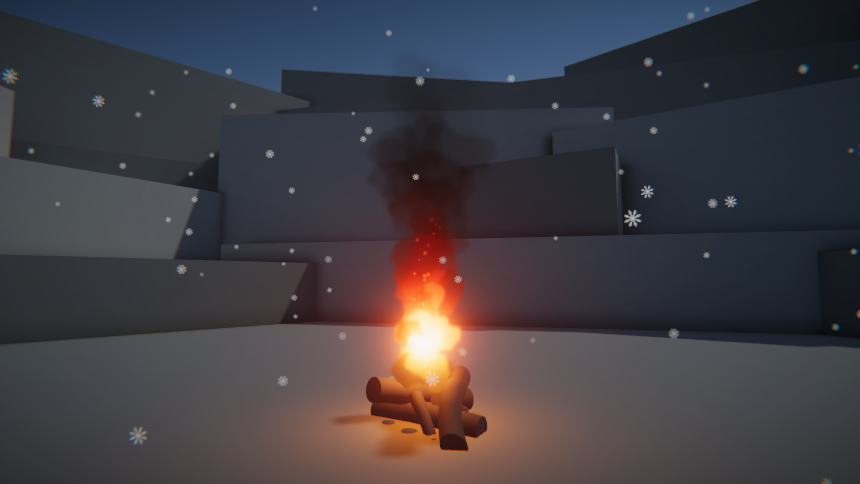
Rather than being emitted from a single source in front of the user, these effects completely surround and immerse the user.
In this tutorial, you will use some of the core features of Particle Systems to create a weather effect in your scene.
2. Add and position a new Particle System
In order to create a weather effect like rain or snow, the first thing you need to do is create a new Particle System object and position it in the sky aiming downward toward the ground.
1. Open the CreativeCore_VFX_ProjectFiles in Unity Editor, if you haven’t already done so.
2. In the Project window, go to Assets > CreativeCore_VFX > Scenes and open the TutorialScene_VFX_Outdoor scene.
3. In the Hierarchy, right-click > Effects > Particle System.
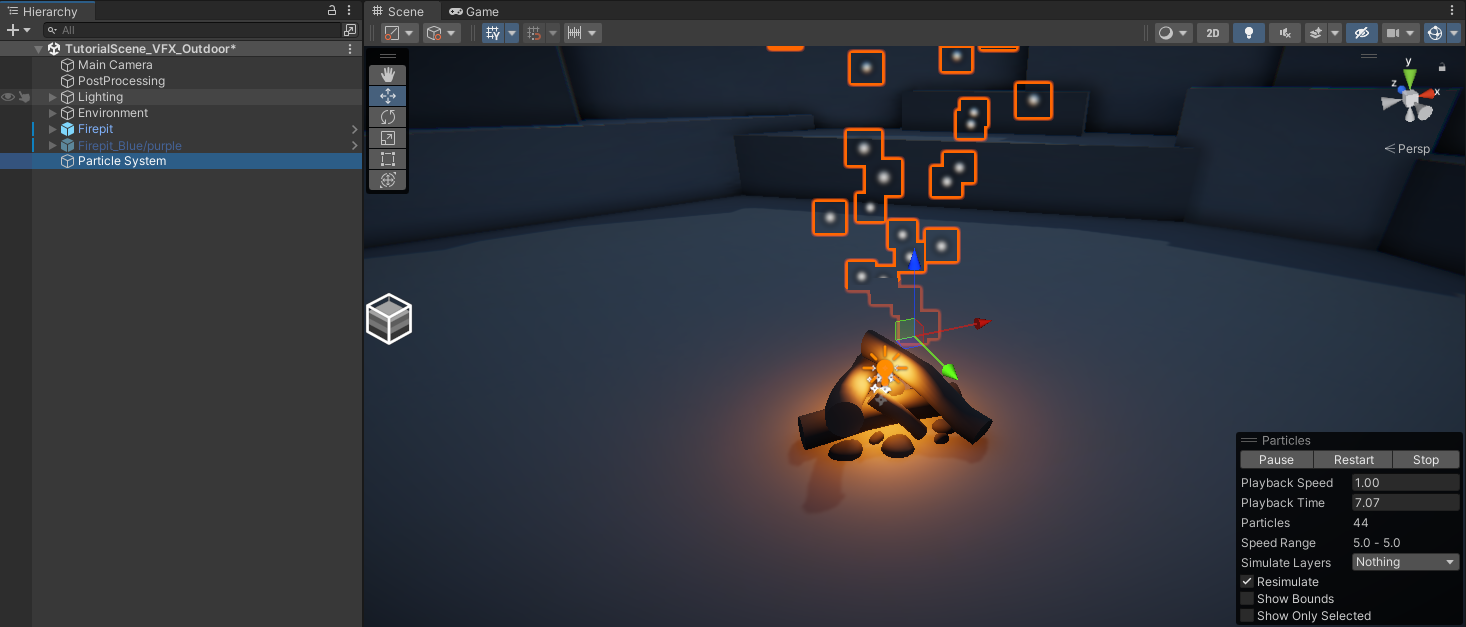
By default, this will create a Particle System shooting big white dots into the air somewhere in your scene.
4. In the Hierarchy, right-click the new Particle System > Rename it as FX_Snow or FX_Rain, depending on what you choose to make.
FX is a shorthand for Effects. Other common abbreviations you might come across are SFX, which stands for Special Effects. Depending on the industry and type of project you work on, you might see one of these names more commonly than the others. It’s generally good practice to make clear in the name of your object that it is, in fact, a particle effect.
If you’re making snow or rain, you will want to position the system in the sky facing downward.
5. In the GameObject’s Transform component, set its Position to X=0, Y=10, Z=0 so that the emitter is centered above the fire and set its Rotation to X=90, Y=0, Z=0 so that the particles are shooting downward from above.
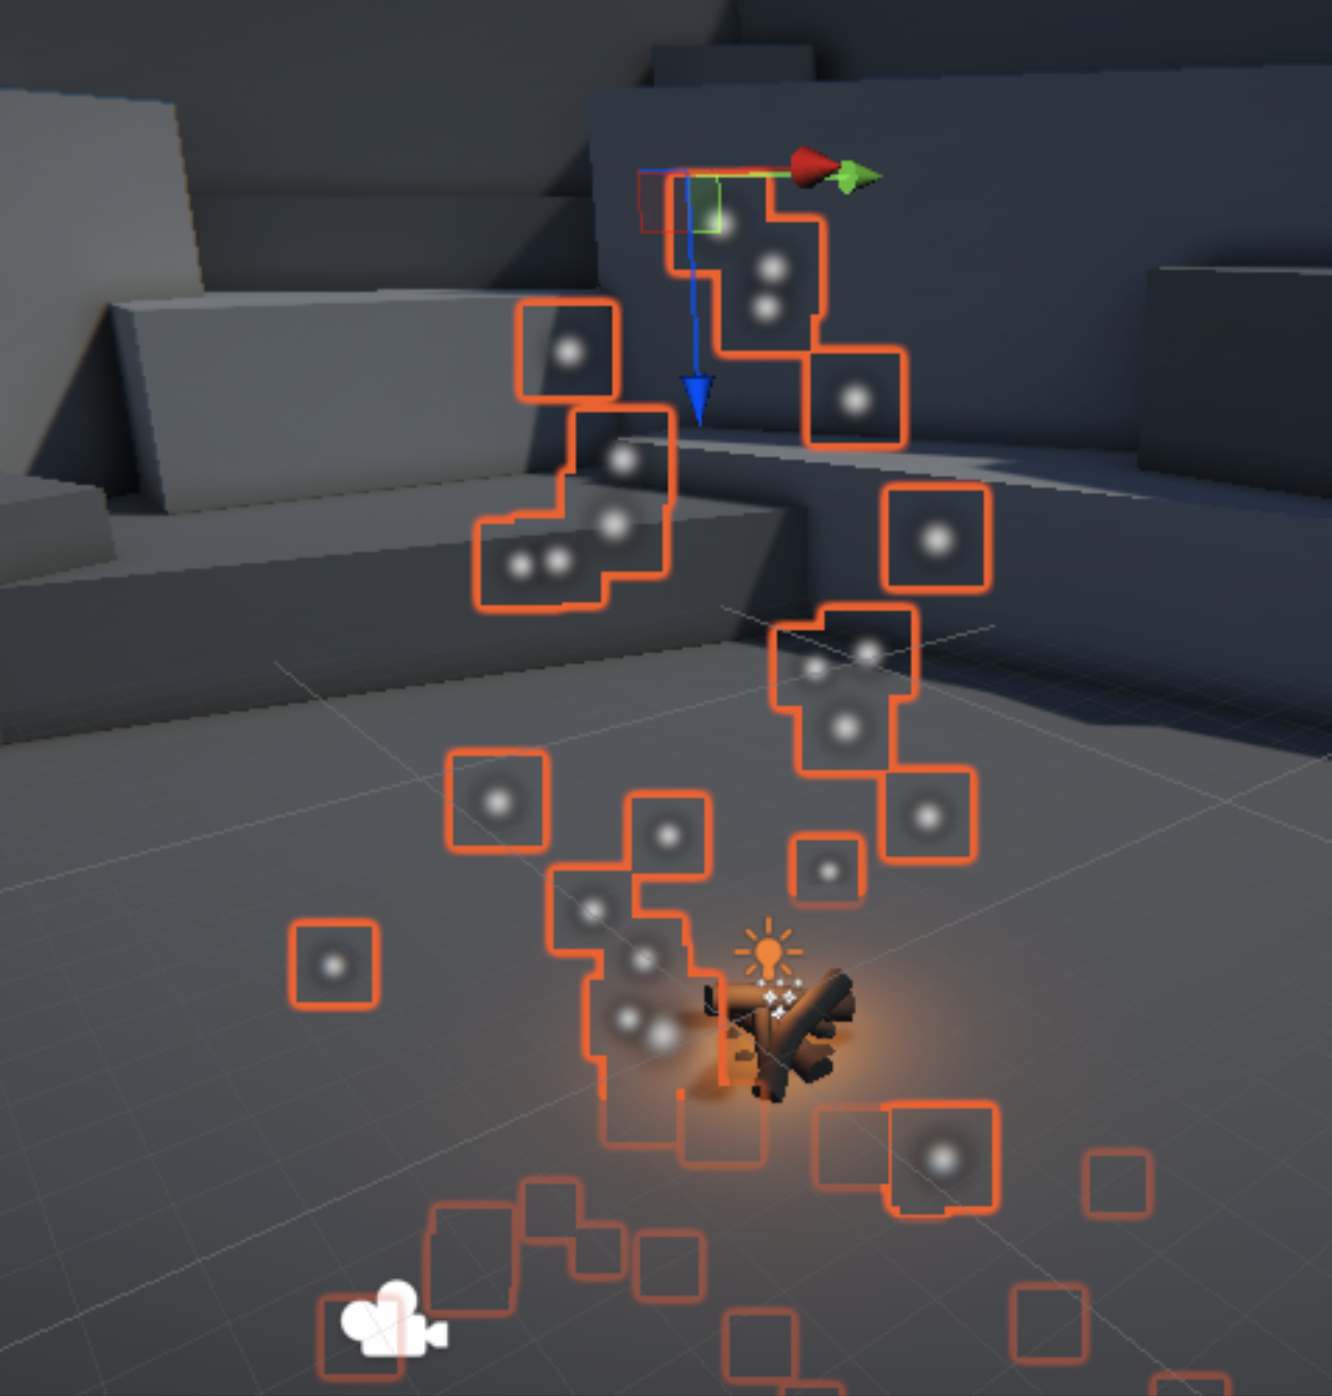
6. Select Play to run your application and preview your Particle System. It should already be looking a lot like a weather effect, with white dots floating down across the screen.
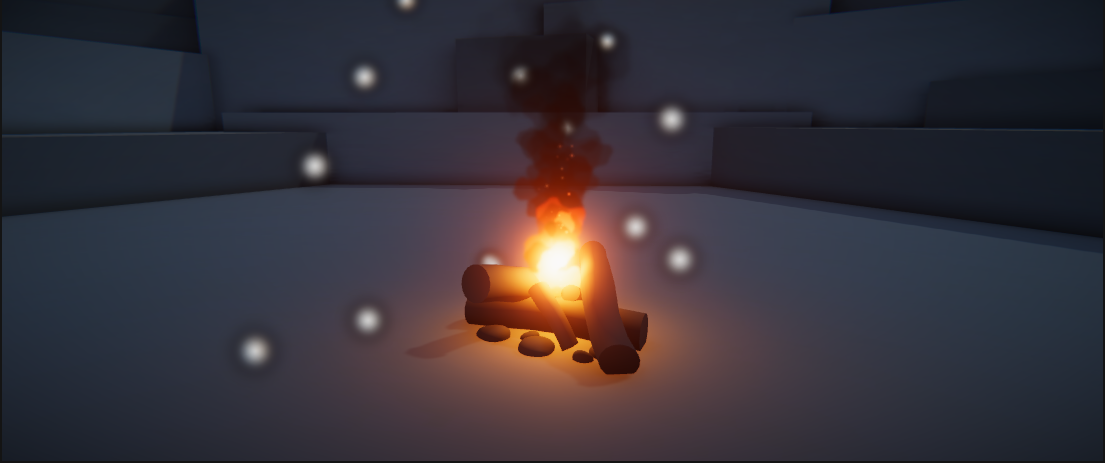
Those particles don’t have the right size or speed, though. We’ll address that next.
3. Configure the main module properties
A Particle System is controlled by a bunch of different modules, each one controlling a different aspect of the system. The first module we’ll edit is the main module, which includes some of the most important particle properties, such as size, speed, and lifetime.
1. Ensure the main module is expanded by selecting its name (in this case, FX_Snow).
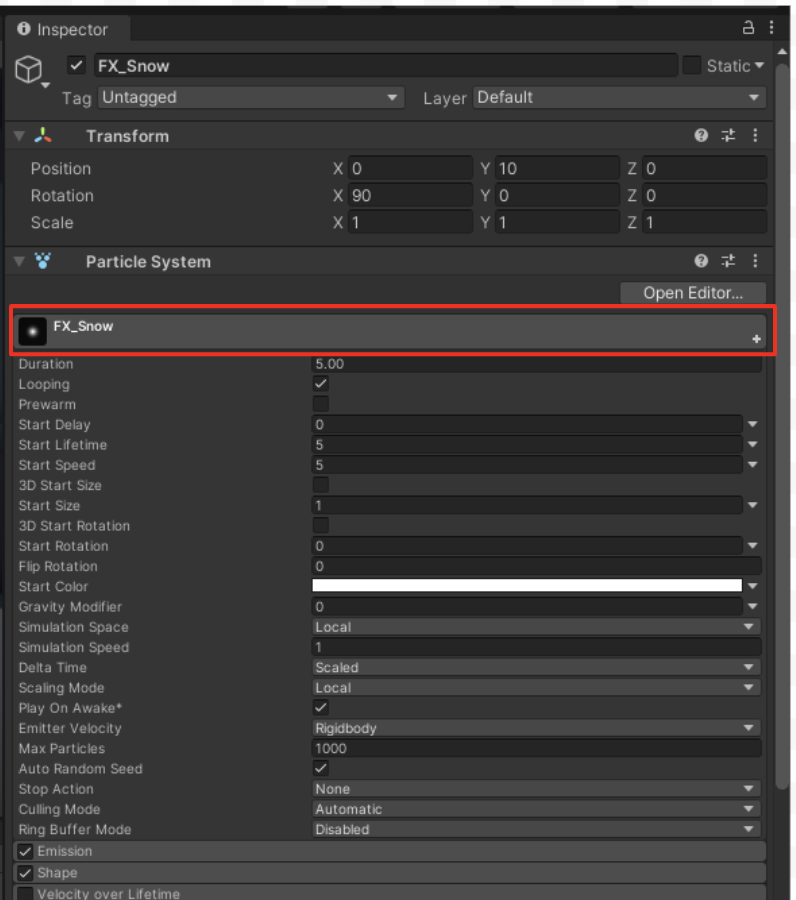
Since the main module doesn’t look like any of the other modules, it can be easy to miss:
- It is slightly taller than the other modules and includes an icon of the particle texture.
- The name of the main module takes the name of the GameObject it’s on (e.g. FX_Snow).
- It is required and cannot be toggled on or off with a checkbox like the other modules.
2. To change the size of the particles, reduce the Start Size property in the main module to 0.1 for tiny raindrops or snowflakes.
It’s called Start Size instead of just Size since you have the ability to change their size over time if you want. Below you can see the difference between a Start Size of 1.0 and a Start Size of 0.1.

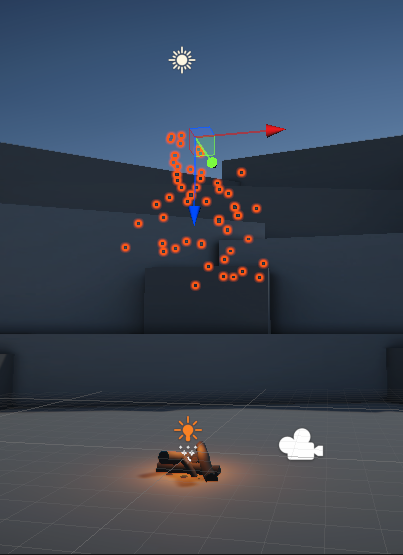
3. Change the speed of the particles to more accurately reflect your chosen weather effect. Reduce the Start Speed property from 5 to around 1 for the snow or increase it to around 10 for rain.
The particles will now appear to be moving at the appropriate speed. However, if you decreased their speed, they’re probably not going fast enough to make it through your entire scene.
If you increase the Start Speed, they will probably go so fast that they survive way longer than necessary after passing through the ground.
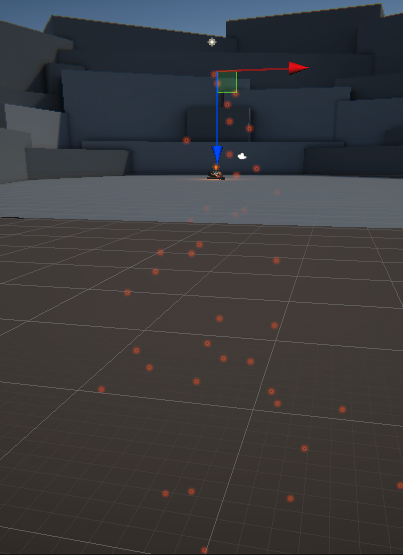
To address this problem, you need to change the particles’ lifetime:
4. Increase or decrease the Start Lifetime property from 5 seconds to however long it takes for the particles to move through the camera’s field of view. The particles should make it all the way to the ground, but not much farther than that.
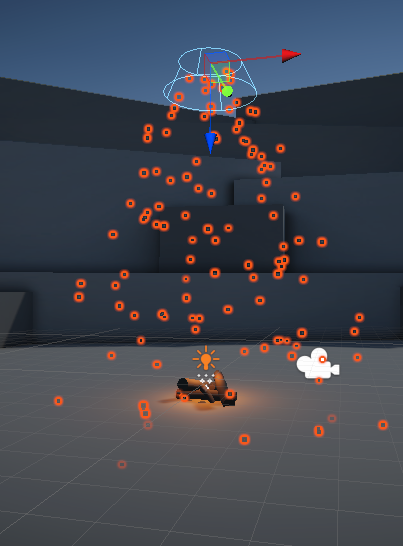
If you press Play to preview your application in Game view, you’ll notice a pretty big problem: when your application begins, you need to wait patiently for the particles to generate and slowly fall from the sky. But what if you want it to already be snowing or raining when the application starts?
5. In the main module, enable the Prewarm property.
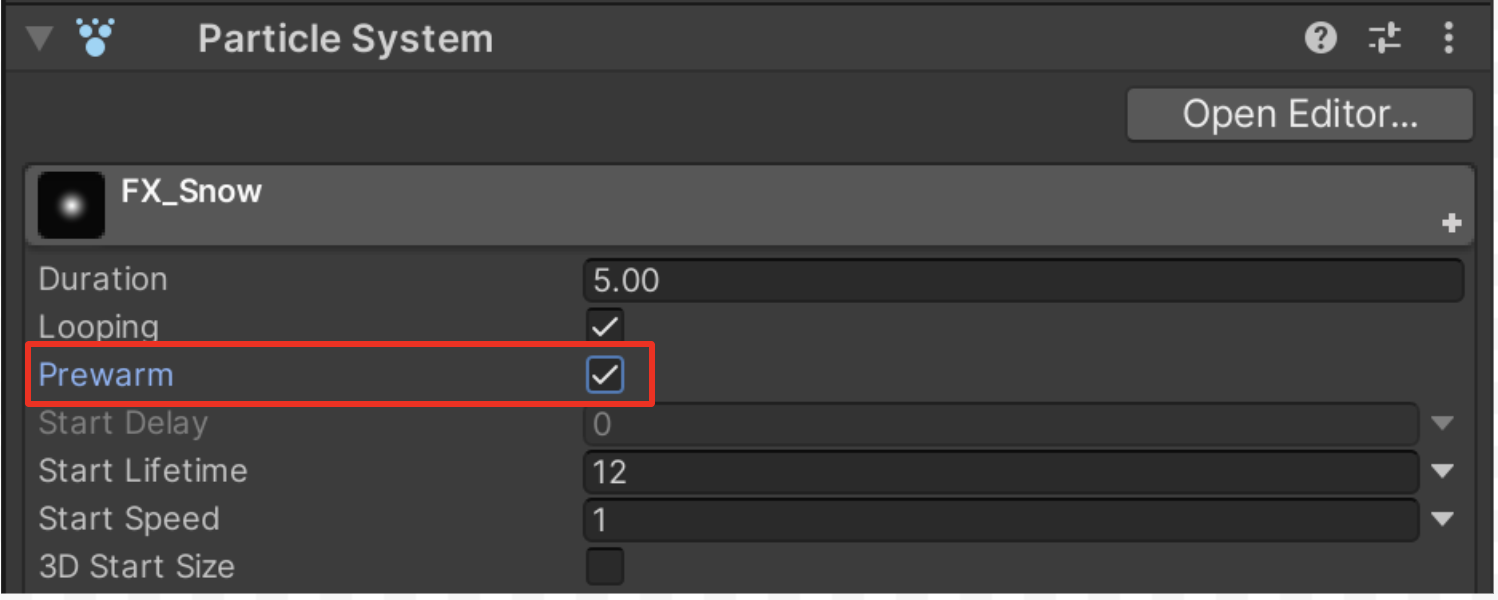
Now when the scene starts, it will be pre-populated with a full cycle of particles. As a VFX artist constantly testing and retesting your effects, this setting would also save you a lot of time.
Next, we will move away from the main module to make the particles move downward in the same direction.
4. Configure the Shape and Emission modules
The first two modules after the main module, which are both enabled by default on new Particle Systems, are the Emission and Shape modules.
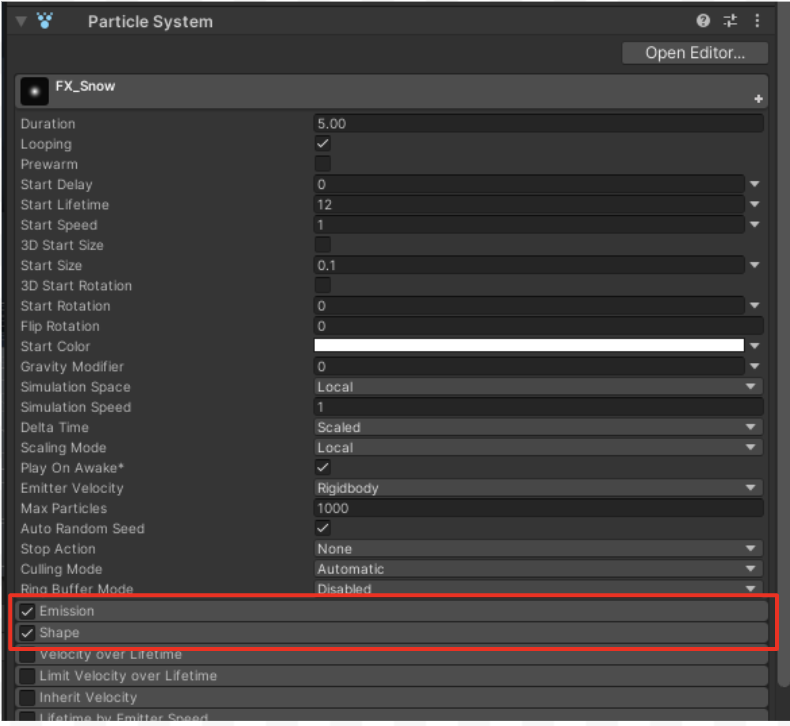
These modules work together to configure the emitter:
- The Emission module determines how many particles come out of the emitter.
- The Shape module determines the geometry and volume of the emitter.
Let’s start by changing the shape of the emitter to a flat, rectangular, cloud-like shape.
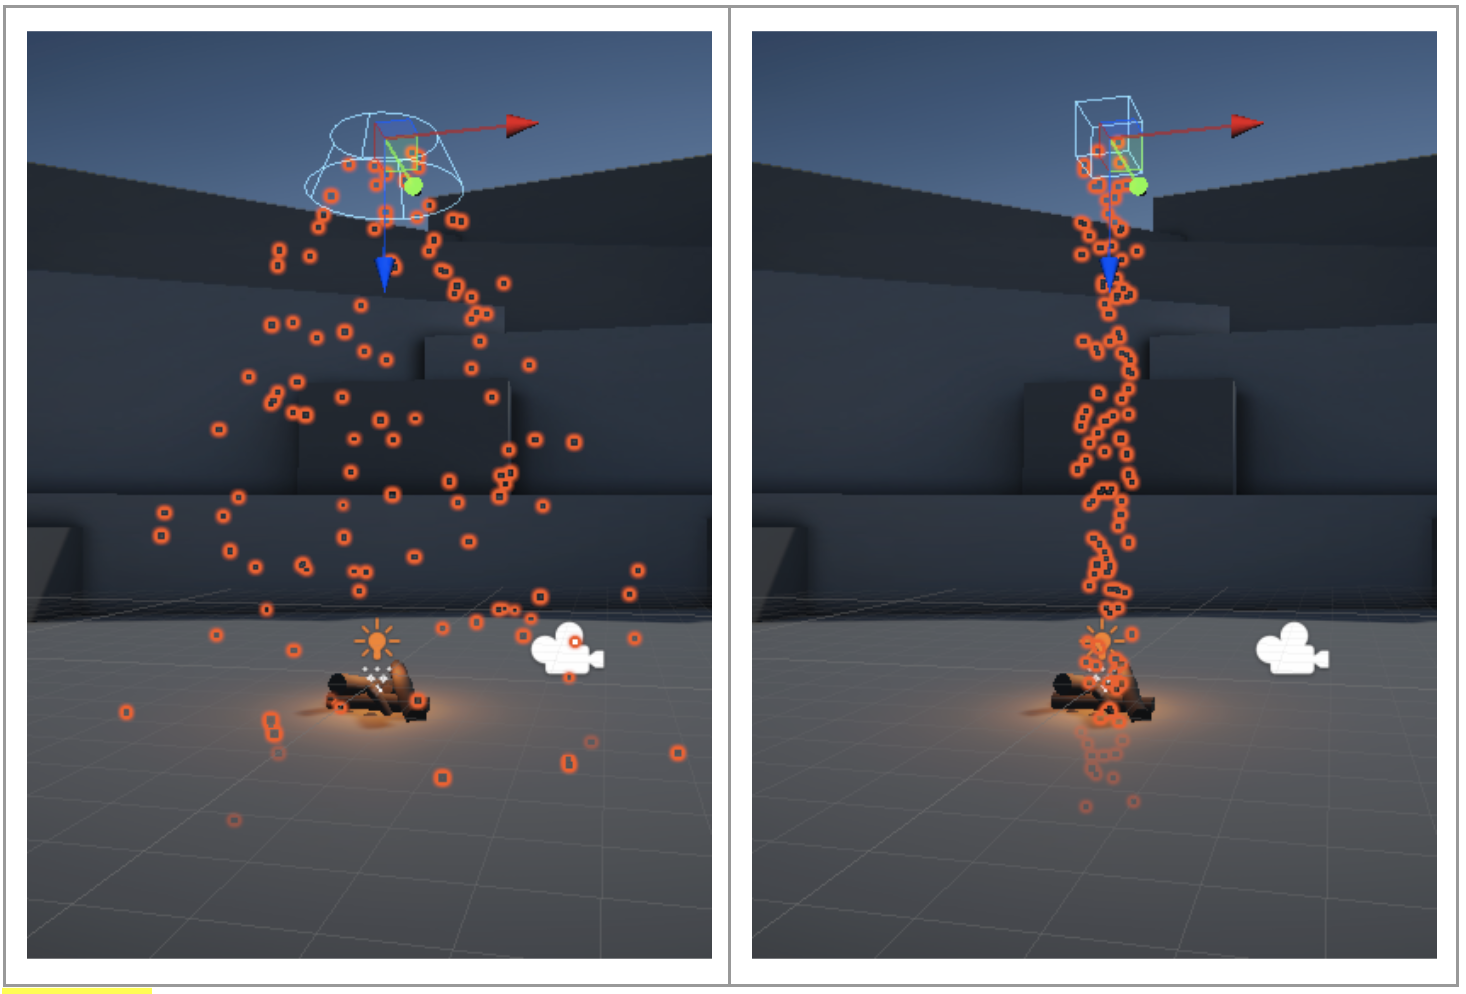
1. Select the Shape module to expand it and notice the cone-like shape that appears in Scene view, then change the Shape property from Cone to Box.
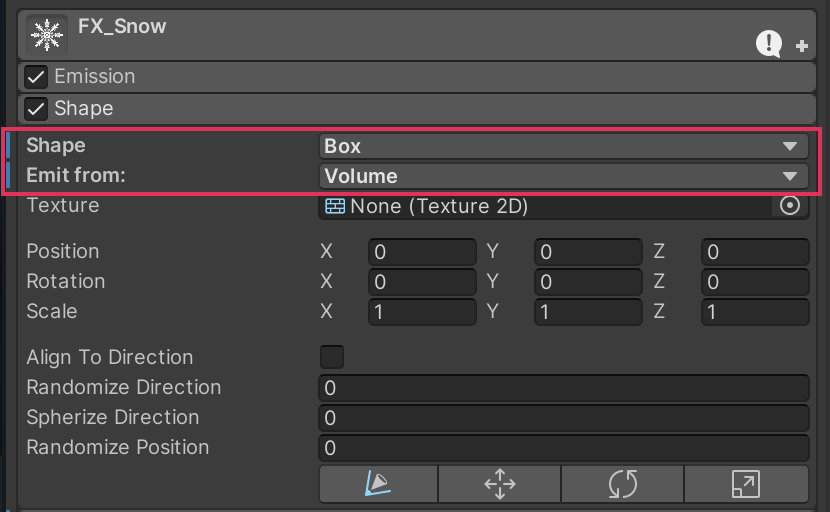
You’ll also notice that the Emit from property is set to Volume, which means particles will generate from anywhere within the entire volume of the emitter.
You can also emit from only the outer Shell of the entire box or just the Edge, which could help reduce the total number of required particles in certain situations. However, since the user is going to be immersed in the snow, the default Volume setting is appropriate.
The emitter should now look like a box in the sky, with particles generating from within its entire volume, but it is still far too small to simulate a large cloud or weather system.
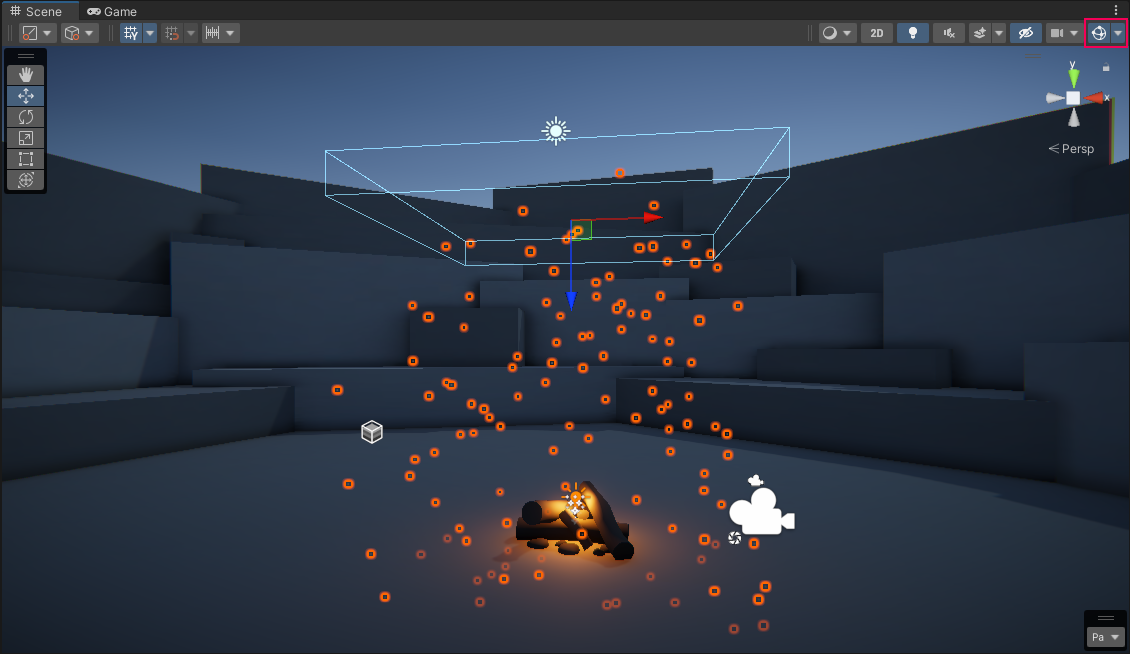
Note: If you do not see the outline of the shape, you may need to enable Gizmos in the top-right corner of the Scene view.
2. Increase the size of the box by changing the Shape’s Scale property to X = 10, Y = 10, Z = 1.
The box should appear as a square volume large enough to cover the camera’s field of view directly above the firepit.
You will notice that the particles are now more sparse, making it look like a lighter weather effect. That is because the same number of particles are being generated as before, but from a much larger area.
We need to increase the emission rate of this Particle System.
3. Expand the Emission module and increase the Rate over Time property from 10 to a number between 150-1000 particles per second, depending on how strong a weather effect you are trying to produce.
You’ll notice that with high enough emission rates, you may start to get strange breaks in the generation of particles.
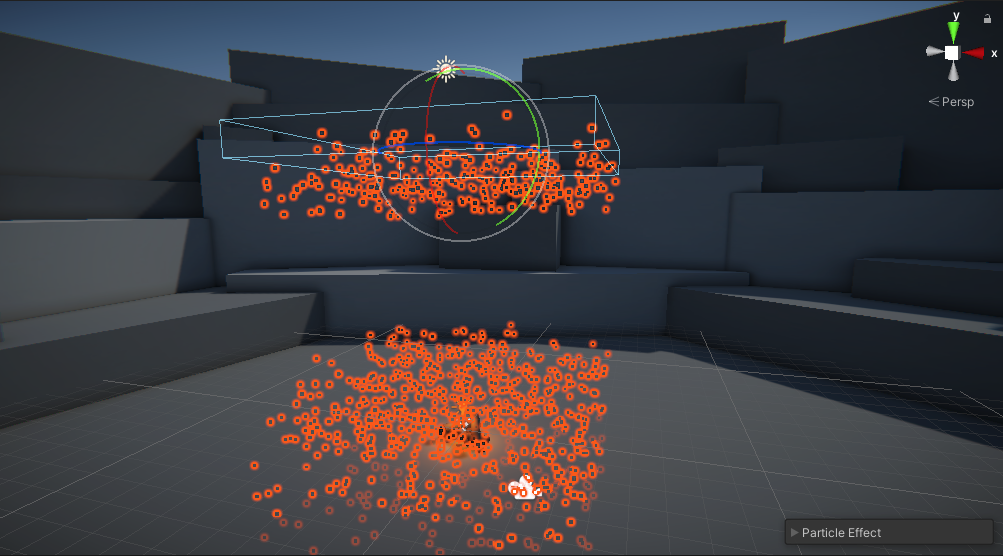
This happens if the number of particles on the screen reaches the maximum limit allowed for the system.
4. In the main module, increase the Max Particles property from 1,000 to 10,000. This should clear up any pauses in particle emissions.
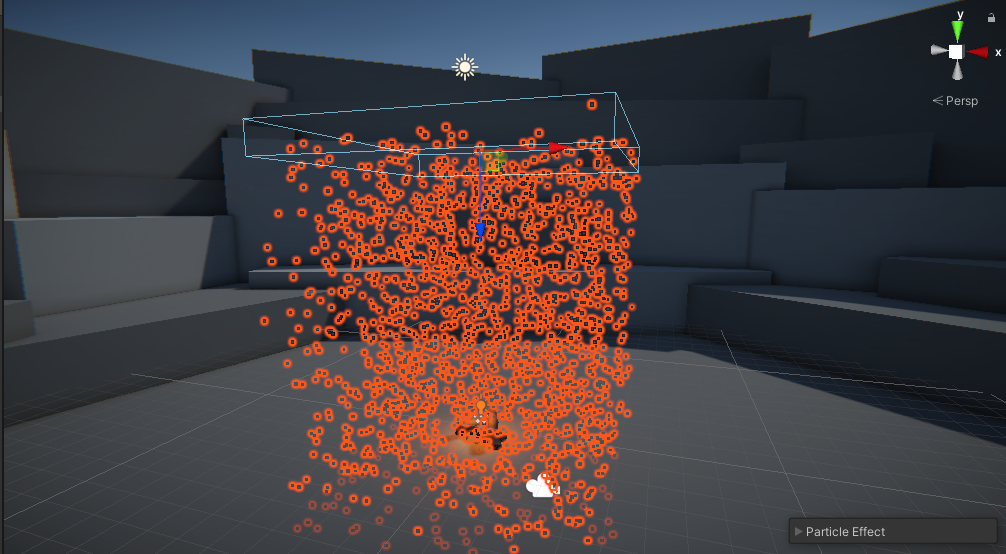
At this point, it will be tempting to crank the Emission Rate and Max Particles limit up to 1,000,000 in order to create the craziest weather phenomenon the world has ever seen. Resist that temptation! A big part of a VFX artist’s job is making sure their effects are optimized, and adding a crazy number of particles would likely decrease the app’s performance.
Our particles still aren’t looking that great. They don’t quite look like snowflakes or raindrops.
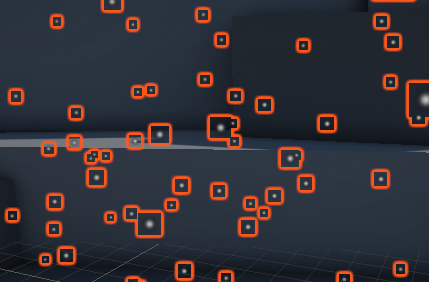
To improve the look of the particles, we’ll need to visit the last module in the list: the Renderer.
5. Configure the Renderer module
The final module we’ll modify, which is also enabled by default, is the Renderer. This module controls how each particle is rendered (how it looks), including its texture.
Our particles are currently using the default ParticlesUnlit material, which uses the default particle texture.
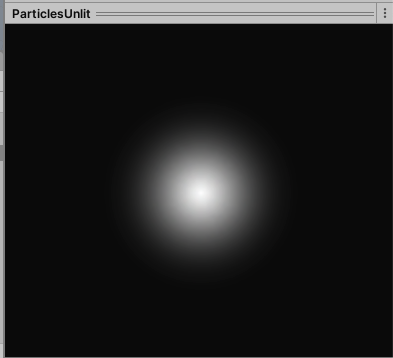
It looks OK, but could definitely be made more snowflake- or raindrop-like with a new material.
1. Select the Renderer module to expand it, then use the circle select icon for the Material property to select SnowMaterial or RaindropMaterial, depending on what you’re working on.
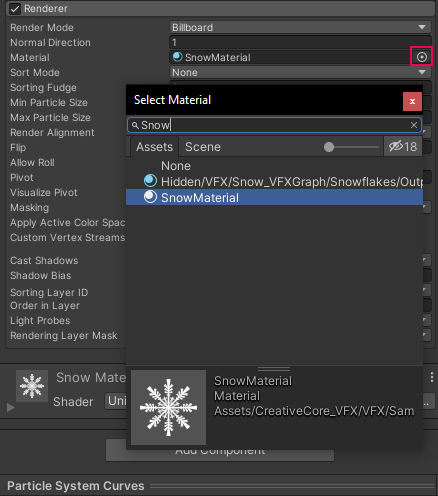
The individual particles will now change in appearance.
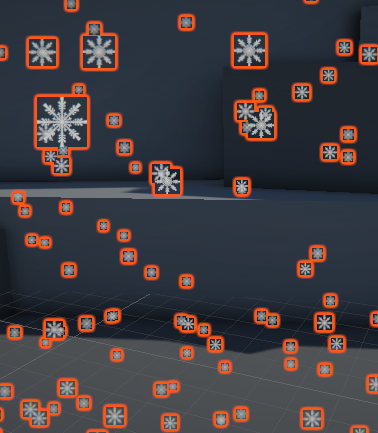
Let’s take a closer look at that particle material.
2. In the Inspector, double-click directly on the name of the material from within the Renderer module.
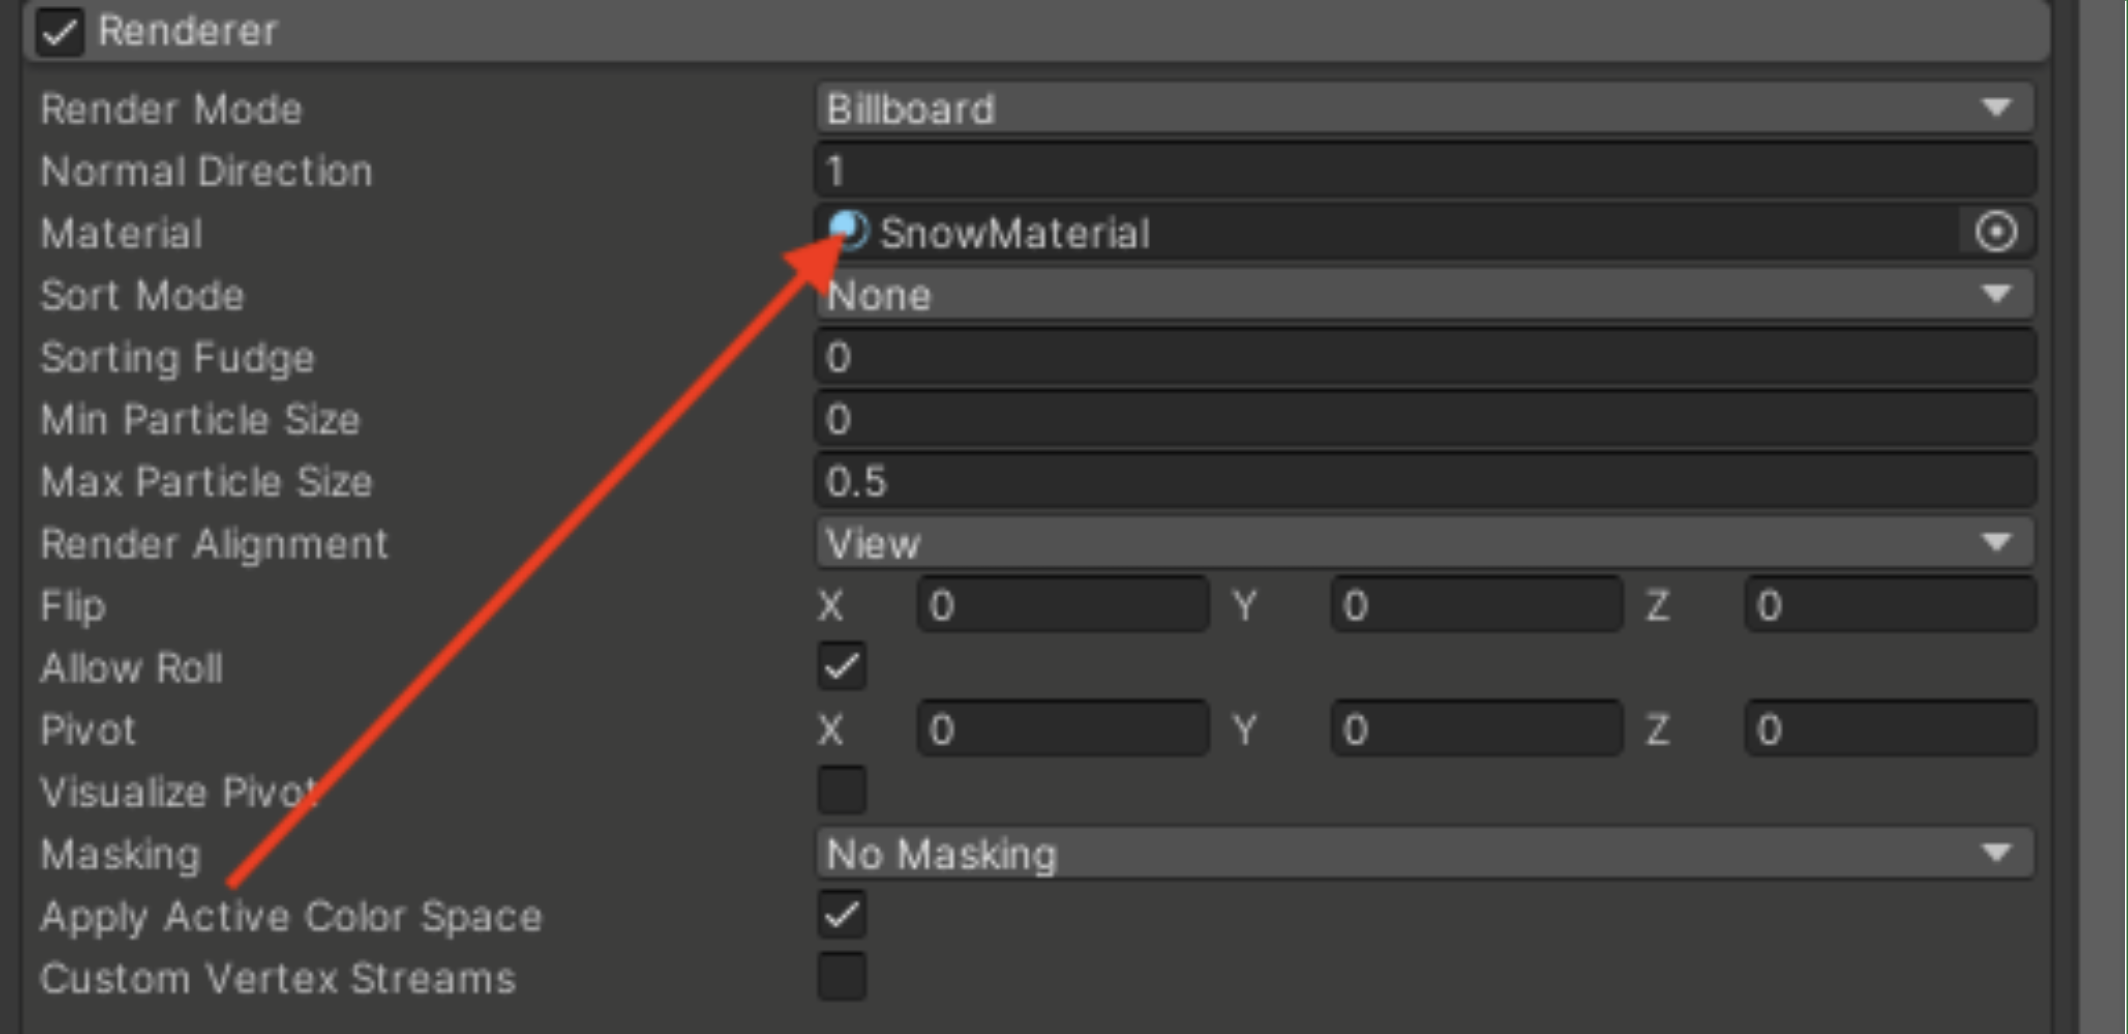
This will select the material in the Project window and show its properties in the Inspector.
There's a lot to know about Materials; luckily, you can learn all about them with our Materials tutorials! There are, however, just a few things worth noting about this particle material, in case you want to create your own.
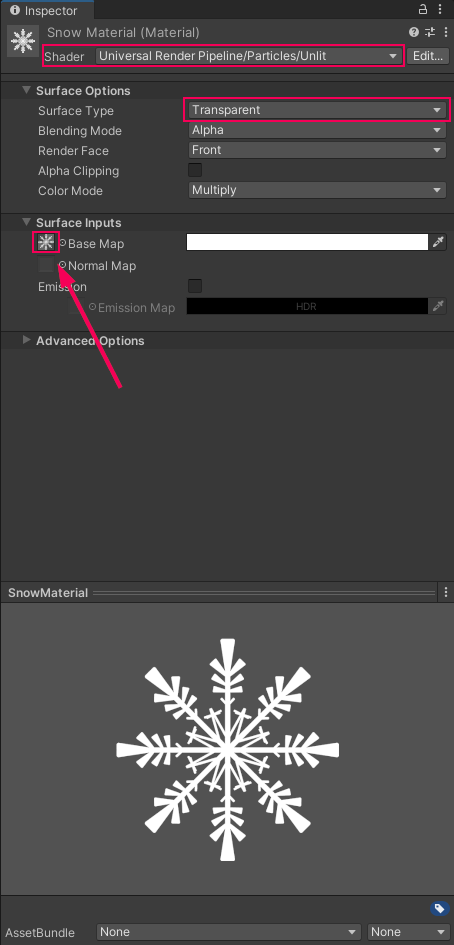
- At the top of the Inspector, the Shader is set to the Particles/Unlit shader. This shader is optimized for particles that don’t need to reflect light.
- The Surface Type property is set to Transparent, allowing the particle to have some transparency. Without this, the particle would look like a white square.
- The Base Map texture is set to the Snowflake or Raindrop texture, which have transparent backgrounds. If you wanted to create your own particle texture in a program like Photoshop or Illustrator, you could use that as the Base Map instead.
6. Save your VFX as a Prefab
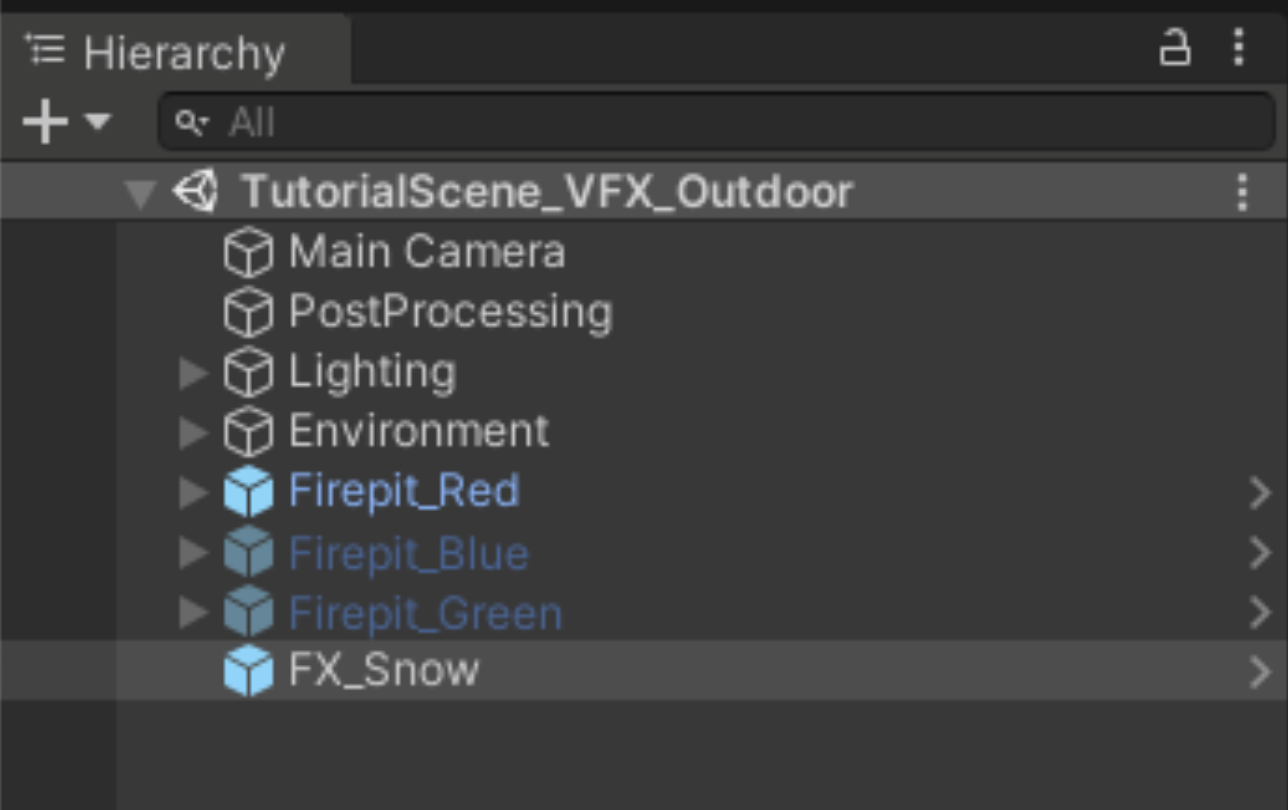
With your weather effect now looking really nice, let’s save it as a Prefab. VFX tend to be very modular, reusable assets, which makes them particularly useful Prefabs. Next time you want there to be a blizzard in a scene, just add in your saved Prefab and let it snow! Later on, you could even make Prefab Variants of your Prefab for heavier or lighter weather effects.
Drag the Particle System object from the Hierarchy into the Prefabs folder in your Project window. This will give it a new blue icon in the Hierarchy and Project window, indicating that it’s been saved as a Prefab.
7. Explore: Make other weather effects
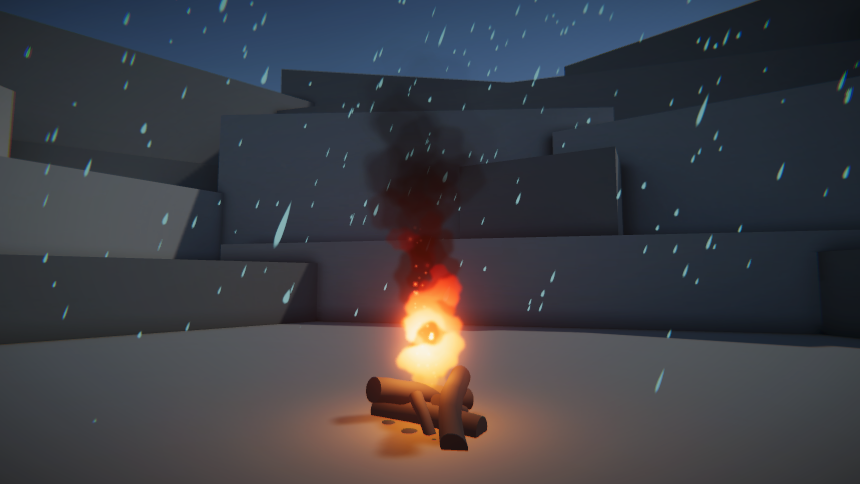
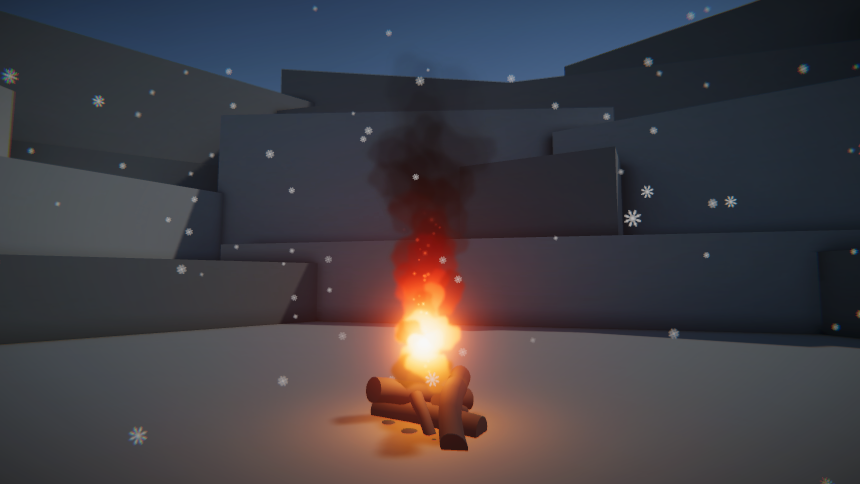
Now that you know how to edit a Particle System’s default modules, you can make all kinds of cool environmental effects. With your first effect safely saved as a Prefab, try duplicating, renaming, and modifying the Prefab to create a different weather effect: snow or rain.
8. Next steps
In this tutorial, you created an environmental Particle System from scratch, which contributes a lot to the atmosphere of your scene. You created this weather effect using only the modules enabled by default on Particle Systems: the Emission, Shape, Renderer, and main modules.
In the next tutorial, you will create a burst particle that the user controls with a key press. To do this, you will also experiment with a few new modules.