Create translucent and transparent effects
Tutorial
Beginner
+10XP
20 mins
350
Unity Technologies

Light doesn’t only bounce off objects — sometimes it passes through them. In this tutorial, you’ll use transparency to create a translucent object that looks like glass, and the technique of alpha clipping to create realistic looking leaves from simple rectangular meshes.
By the end of this tutorial, you'll be able to:
- Apply more maps that are configurable on the URP/Lit Shader
- Apply alpha clipping in a material
- Apply the transparent surface type to a material
Languages available:
1. Overview
Among the many wonderful things a shader can do is to render whatever is on the other side of a mesh along with, or even instead of, the mesh itself. A shader can create the look of glass or other clear substances by adding a specular reflection and a little bit of a tint to an otherwise transparent mesh.
In this tutorial, you will learn how to add transparent and translucent effects to your materials. To do this, you’ll add a glass jar holding some greenery to the gallery. You’ll use a process called alpha clipping to create detailed leaves from very simple meshes.
2. Transparency with the alpha channel
Transparency is controlled with the alpha channel of the base map (The A in RGBA). Low values make the base map color less visible and high values make it more visible. You can make a mesh entirely invisible by setting the alpha channel values to zero, or you can create translucent effects by setting the alpha values in the mid-range.
3. Create a glass material
Given what you know about specular and diffuse reflectivity, how would you describe a translucent object, like a glass jar? What is its specular reflection? What is its diffuse reflection?
A perfectly clear and flat pane of glass has no diffuse reflection — all the light passes through it, and no color is reflected back to your eye. It does, however, have a specular reflection — light glints off its smooth surface. Glass in the real world is rarely perfectly clear; it has a tint and some imperfections, which create a slight diffuse reflection.
In the real world, translucent substances refract light, which means they change its direction. Refraction is an advanced shader effect that we won’t attempt here; however, we can create a translucent glass object that looks pretty convincing.
Let’s start with a simple object and turn it into glass.
1. In the Project window, open the Materials folder and create a new material. Name it “Glass Jar”.
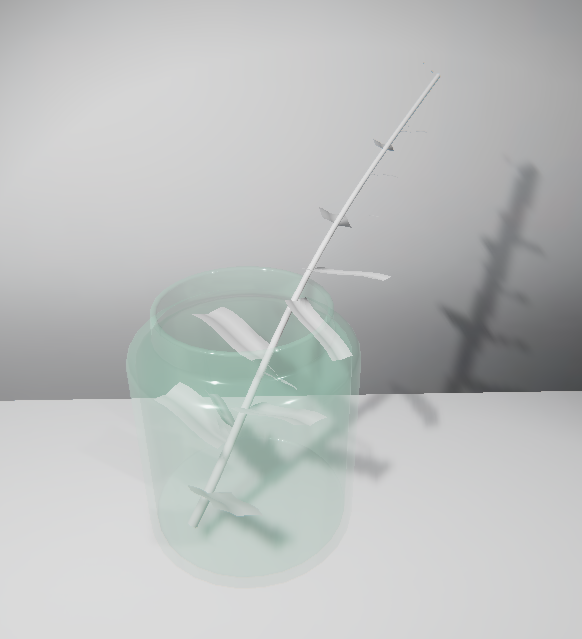
2. In Scene view, on your workbench, look for a white jar with a stick in it. On the stick, it looks like little pieces of paper are attached. This is our PlantInJar GameObject, which has quite a few child objects. Select the child object Jar.
3. Apply your new Glass Jar material to the Jar child object.
4. In the Inspector, on the Glass Jar material, locate Surface Options (at the top of the Material section) and the Surface Type property. Change this value from Opaque to Transparent.
5. Turn the Preserve Specular property off, setting this ensures more realistic reflections and highlights. Since glass is transparent, dynamic light interaction should change naturally with roughness and transparency, rather than maintaining fixed, intense reflections.
The front half of the jar disappears! It looks like a cutout. This is happening because of the Render Face setting. Render Face is usually set to Front because the shader only needs to render the surface of the mesh facing the viewer. However, with transparent objects, the shader needs to render both the front and back.
6. Set Render Face to Both.
The jar still looks strange because we are giving it conflicting instructions: Surface Type is Transparent but the alpha channel still has the default values, which indicate no transparency.
7. To adjust the alpha channel values, select the color picker for the Base Map. By default, the A channel is set to the highest value, 255, which allows no transparency. Use the slider or enter a number less than 255 to get the transparency to a level that makes the jar look like glass. (Be careful — at 0, it is totally invisible if the Preserve Specular Lighting property is turned off!)
8. While you are in the color picker you can change the base color to a blue or greenish-blue tint to simulate a real glass jar.
9. What’s missing? A specular reflection! Set the Smoothness and Metallic properties to values that look good to you. Give it a little Metallic, even though it isn’t a metal, to enhance the specular reflection.
You have created glass! Your jar should look like the one below.

Next, you’ll use transparency in a different technique that lets you add edge detail to a mesh.
4. Add detail with alpha clipping
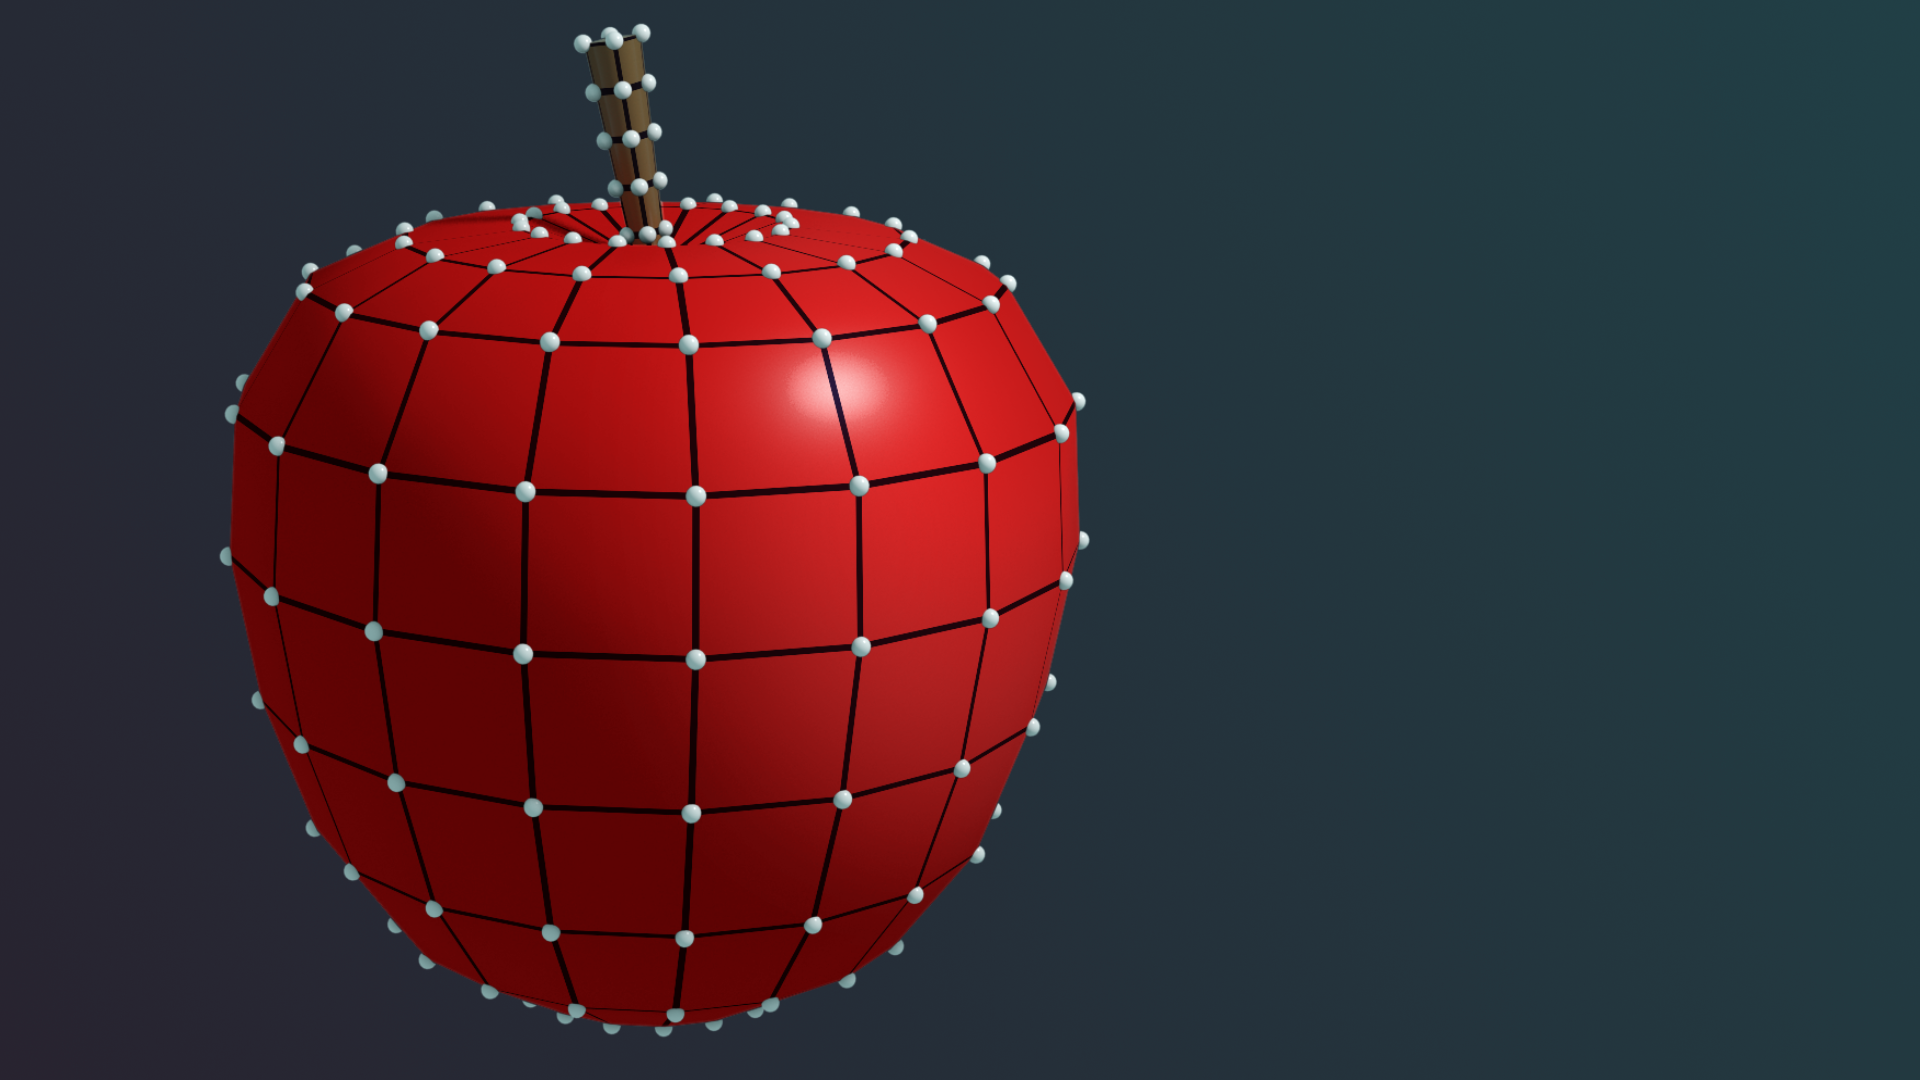
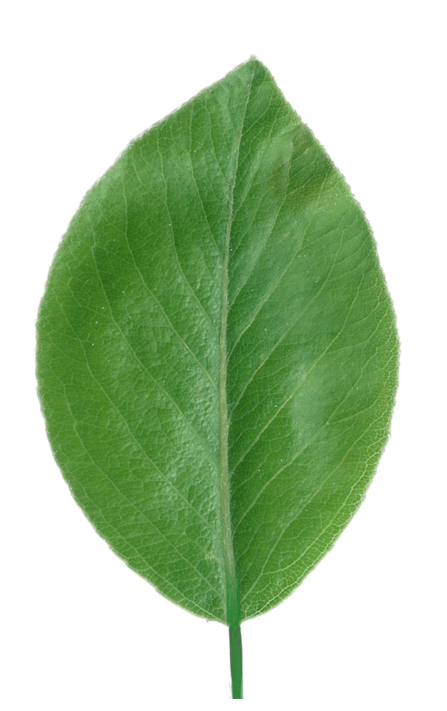
Consider an object like the one below. It’s a simple object that a modeling artist could create by making a leaf-shaped mesh.

However, for an object that will be small in the scene, and might even be used thousands of times (in a tree, for instance), this leaf’s mesh would require a lot of computing power to render.
Instead of modeling meshes of items like these, artists use alpha clipping in their textures to make part of a simple mesh invisible. Alpha clipping is a much more efficient way to create detailed objects — it’s easier to create and easier for the computer to process at runtime.
Those little pieces of paper on the stick are going to become leaves! Apply alpha clipping to the material for these leaves:
1. In the Project window, open the Materials folder and create a new material. Name it “Leaf”.
2. In the Hierarchy, expand the PlantInJar GameObject and locate the child GameObjects that have Leaf in their names. Select all of the leaves and the PlantStem.
3. In the Inspector, in the Mesh Renderer component, you can use the circle icon under Materials to select one material for all the selected GameObjects. Select Leaf.
Now, you only need to have one leaf selected in order to edit this material on all of the leaves.
4. Examine the plant from all angles. The leaves are visible from the top, but not from the bottom! This happens because these meshes are single-sided: there is no separate mesh on the back of the object (as there is with a cube, for example).
5. In the Inspector, on your Leaf material, change the Render Face to Both to make the shader render both sides of each mesh.
6. In the Project window, locate the texture Plant_Albedo by searching for it. Apply this texture as the Base Map in the Leaf material.
The stem is now solid. Look closely at the texture and you’ll see a green stripe on the left side, which is mapped only to the PlantStem object, while the rest of the texture is mapped to the Leaf child objects. Mapping multiple objects on one texture is a technique artists use to reduce the number of files and overall file size of a project.
Now the leaves look like printouts of leaves on paper! You can fix that with alpha clipping.
7. In the Inspector, examine the alpha channel of the Plant_Albedo texture. It is a cutout of the leaf. We’ll use this alpha channel to “cut out” the leaf in this material.
8. In Scene view, select the Leaf material and locate the Surface Options section at the top of the Material Inspector, and enable Alpha Clipping.
9. A Threshold slider appears. While examining a leaf closely, move this slider. At some threshold value, the “paper” around the leaves will disappear.
10. Adjust this value so that the edges of the leaves look right. If the Threshold is too low, then pixels at lower alpha channel values will be visible, and the white edge will appear. If it is too high, then some of the higher alpha channel values will be invisible, cutting off the edges too close and causing some holes.
11. You might see that the bottom faces of the leaves appear to be lighter in comparison to the top faces, to fix this lower the value of the Smoothness property near to 0.
Note: The issue occurs because in Unity’s rendering engine, the geometry normals (which define how light interacts with a surface) point in only one direction—toward the top face. When you render both sides, the bottom face displays specular reflections differently because its normals are reversed. Lowering the Smoothness reduces the intensity of the light reflection on the bottom face, fixing the visual discrepancy.
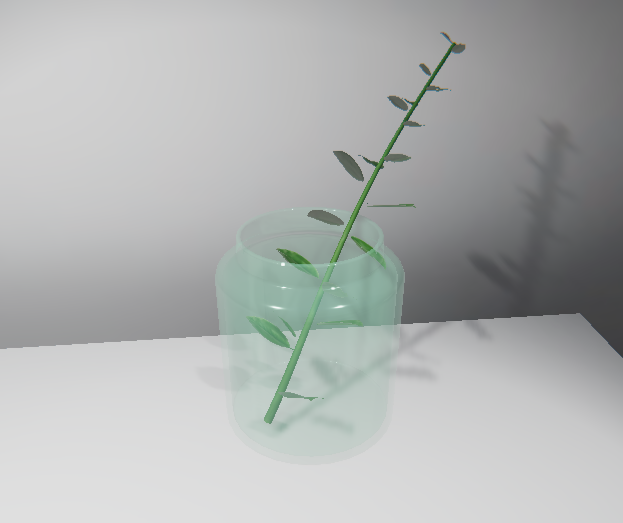
This piece is complete. It should look like the image below.

You have used transparent effects in two ways: by making the entire jar object transparent with the Transparent surface type, and by making the leaves on the plant partially transparent using alpha clipping. Well done!
5. Explore transparent effects
What else can you do with these new techniques for your final art piece? Explore these techniques on your own:
More alpha clipping
The ChainFence_Albedo texture in the Textures > Tiled Textures folder is another texture designed for alpha clipping. Experiment with this texture, or look for others with 0 values (black) in the alpha channel to cut out parts of a mesh.
Degrees of transparency
In a transparent object, like the glass jar, variation in the alpha channel of the base map can create translucent effects. Try using a base map texture with values in the alpha channel that are not all black or white, such as Plastic_Albedo in the Textures > Tiled Textures folder, on an object with a Surface Type of Transparent. Find other textures with variation in the alpha channel and experiment!
Make your own transparent effects
If you have an image editing tool, edit the alpha channel of a texture file, and use alpha clipping and transparency to create some detailed objects from primitives or objects on your workbench.
6. Next steps
There is more to explore using textures in materials. Next, you’ll add physical texture and features to meshes without altering the mesh, using bump mapping.