Get started in the Unity Editor
Tutorial
foundational
+10XP
15 mins
15073
Unity Technologies
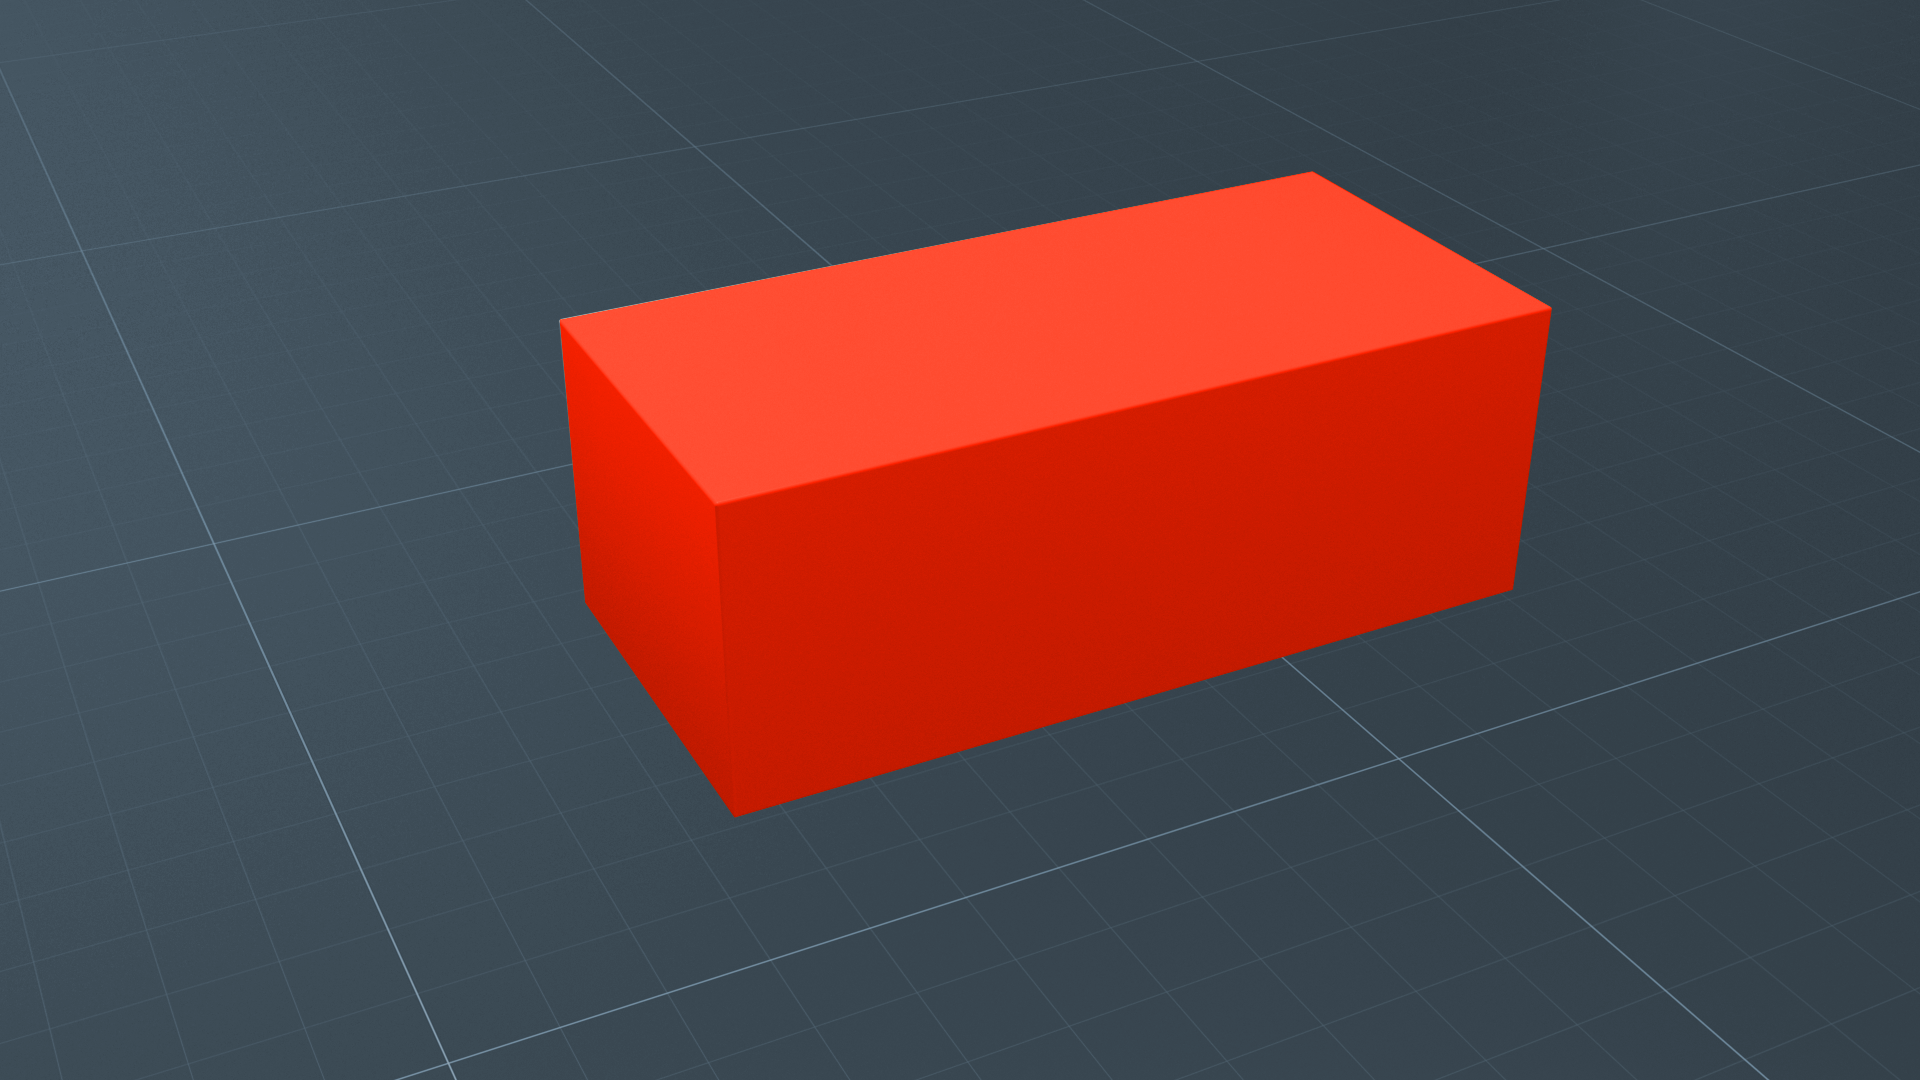
In this tutorial, you’ll begin working in the Unity Editor with more independence than you might have experienced with the Microgames. You will start by creating a new Unity project and 3D Scene from scratch. Then, you will work with GameObjects and explore the various ways you can manipulate them in the Unity Editor. In this tutorial, you will:
- Create a new 3D project and scene.
- Create new 3D GameObjects.
- Identify the windows of the Unity Editor.
- Understand the role of scenes in organizing your projects.
- Navigate in a scene to change your view.
Materials
Languages available:
1. Overview
By now, we hope you have sampled the Unity Editor, perhaps in a Microgame, where many objects and functions were pre-built for you. Now that you have started your own project using a standard template, you will start where all Unity creators start: in empty space.
2. Before you begin
To prepare for your projects in this pathway, take a little time to get comfortable using the Unity Editor’s basic toolset. For a review and some tips and tricks, refer to “Explore the Unity Editor,” which includes the essential instructions for using the Unity Editor’s windows, tools, and keyboard shortcuts.
Note: If you completed the LEGO® Microgame, you used some custom functionality that recreates the experience of using physical LEGO® bricks inside the Unity Editor. From here forward, you will not see the special LEGO enhancements — you’ll be using the uncustomized Unity Editor.
3. Unity Editor: First impressions
How did you feel when the Unity Editor first loaded? In this video, our established creators share how they felt when they opened the Editor for the first time.
Although it can be intimidating at first, getting comfortable with the Unity Editor is the first step to developing your confidence and achieving your goals with Unity!
4. Create simple 3D objects
Primitives are GameObjects in basic 3D shapes, such as cubes and spheres, that you can add to a Scene to create simple objects and placeholders for assets you import later. You’ll use cube and sphere primitives throughout this project. See Primitive and placeholder objects to learn more about the other primitives available.
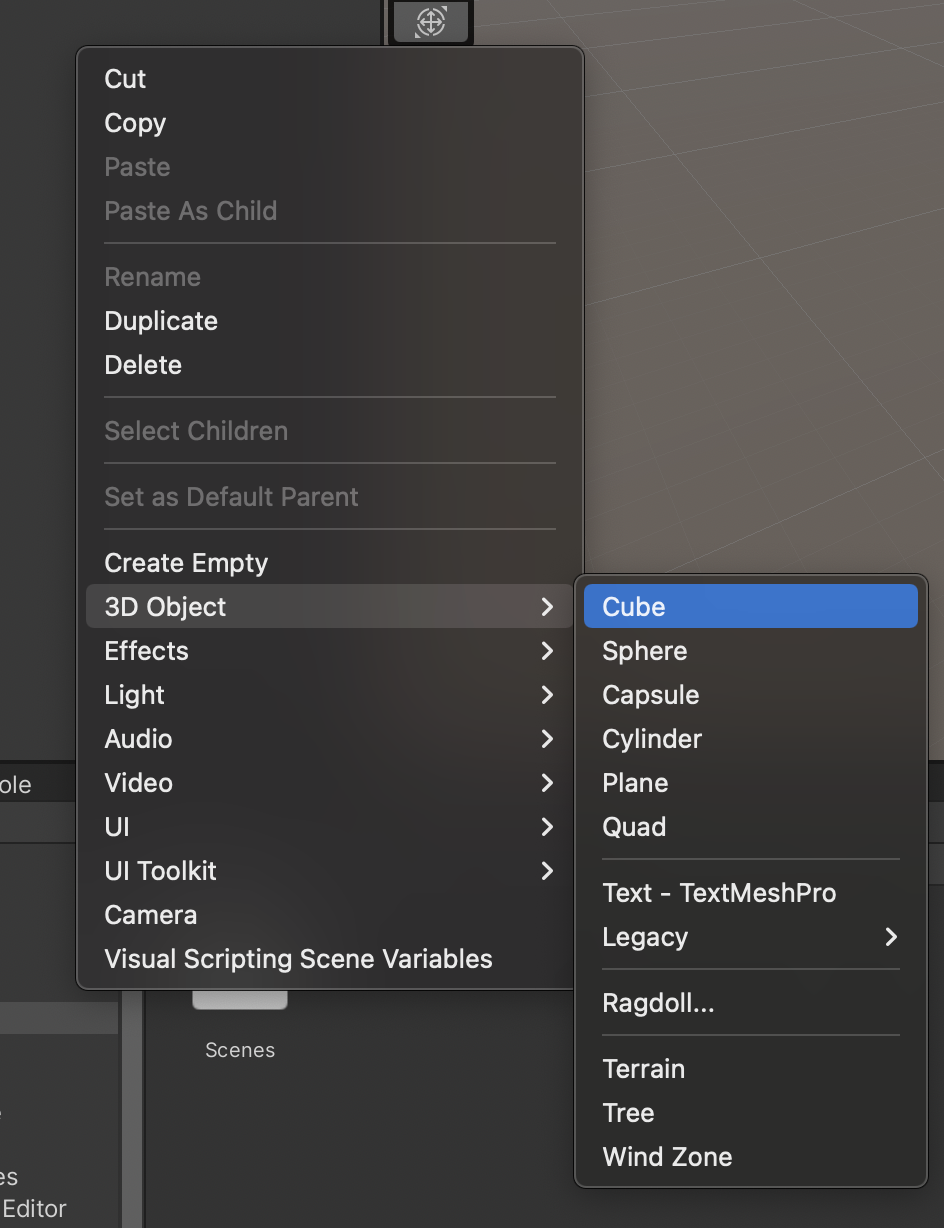
1. To create a cube primitive in the Scene, right-click an empty section in the Hierarchy and select 3D Object > Cube.
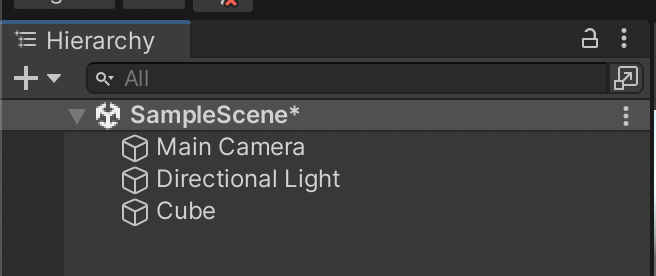
The GameObject named Cube now appears in the Hierarchy, and a Cube appears in the Scene view.
5. Practice your Unity Editor skills
Here’s an exercise to practice and test your ability to do important routine tasks in the Unity Editor. Use this exercise to practice your skills. If you need “how-to” guidance, refer to Explore the Unity Editor.
Note: We have added color to the images below for readability. If you need to improve the contrast between GameObjects and the ground in the Unity Editor, you can change the background color.
1. In the Hierarchy window, select Cube.
2. Use Focus to focus on your cube, then zoom out a bit.
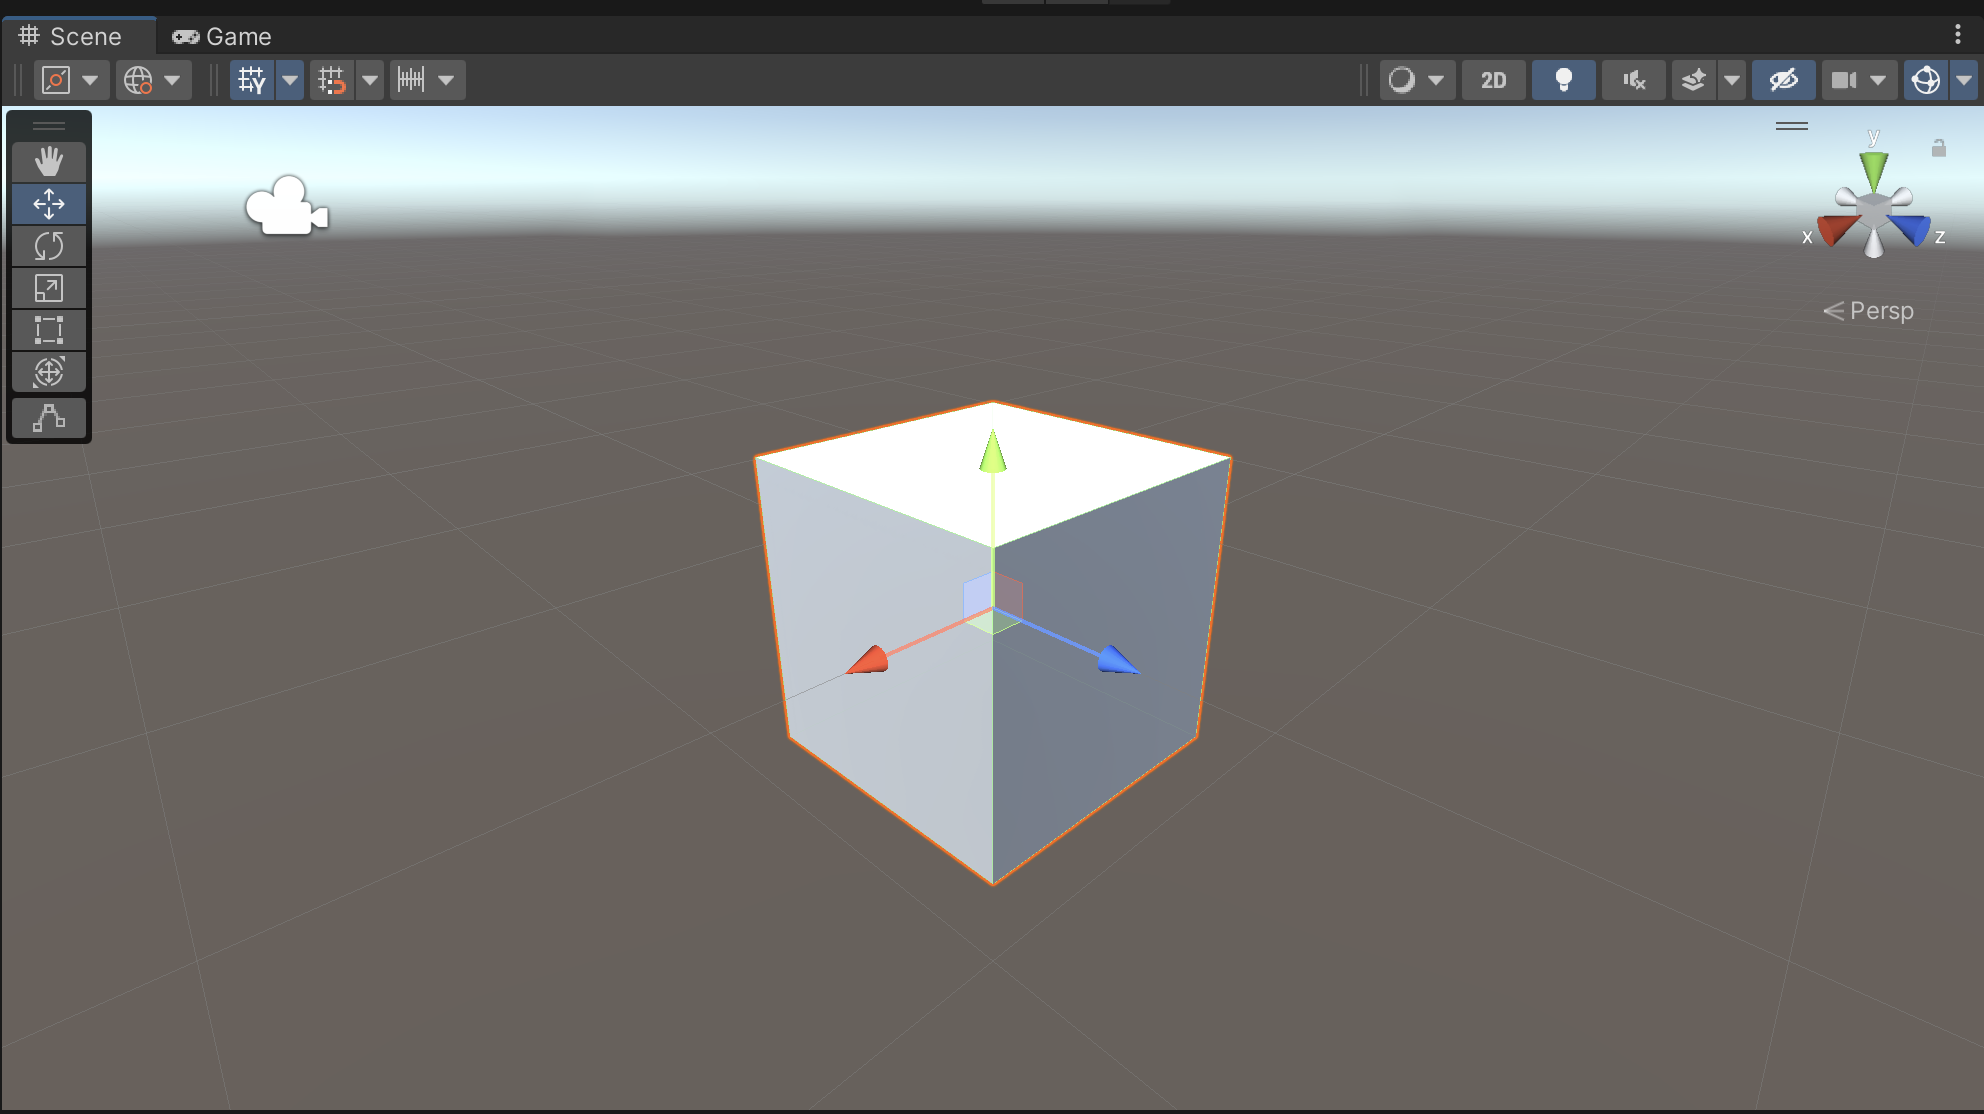
3. Use the Move tool to move the cube horizontally (on the X or Z axis) to make room to add another cube in the same location.
4. Follow the process above to add another cube.
5. Each cube is one unit (a meter) wide; move the cubes so they are four or five units apart.
6. Orient your view so that you are facing both cubes.
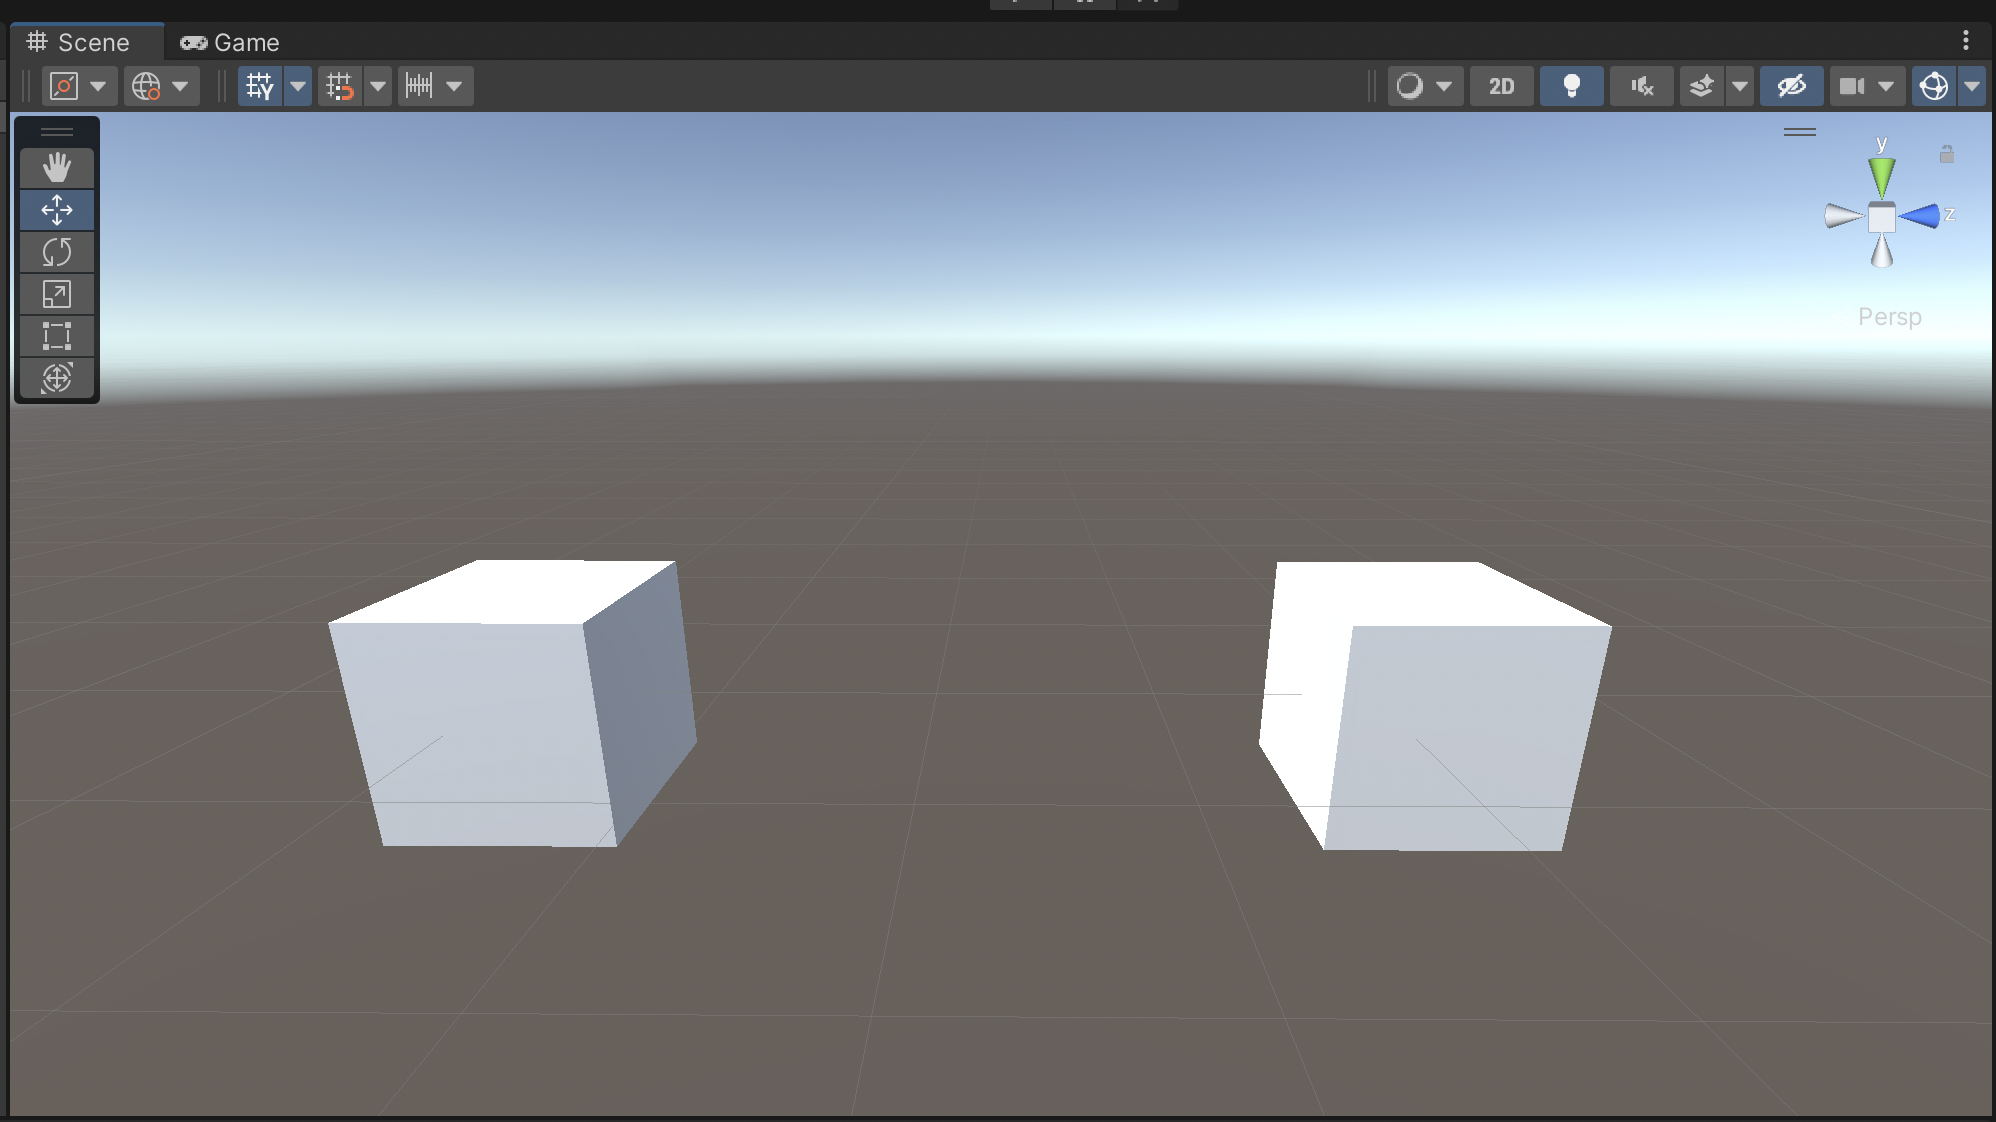
7. Use the Scale tool to change the dimensions of one cube so that it is rectangular instead of square.
8. Use the Rotate tool to rotate the other cube so that it looks like a diamond.
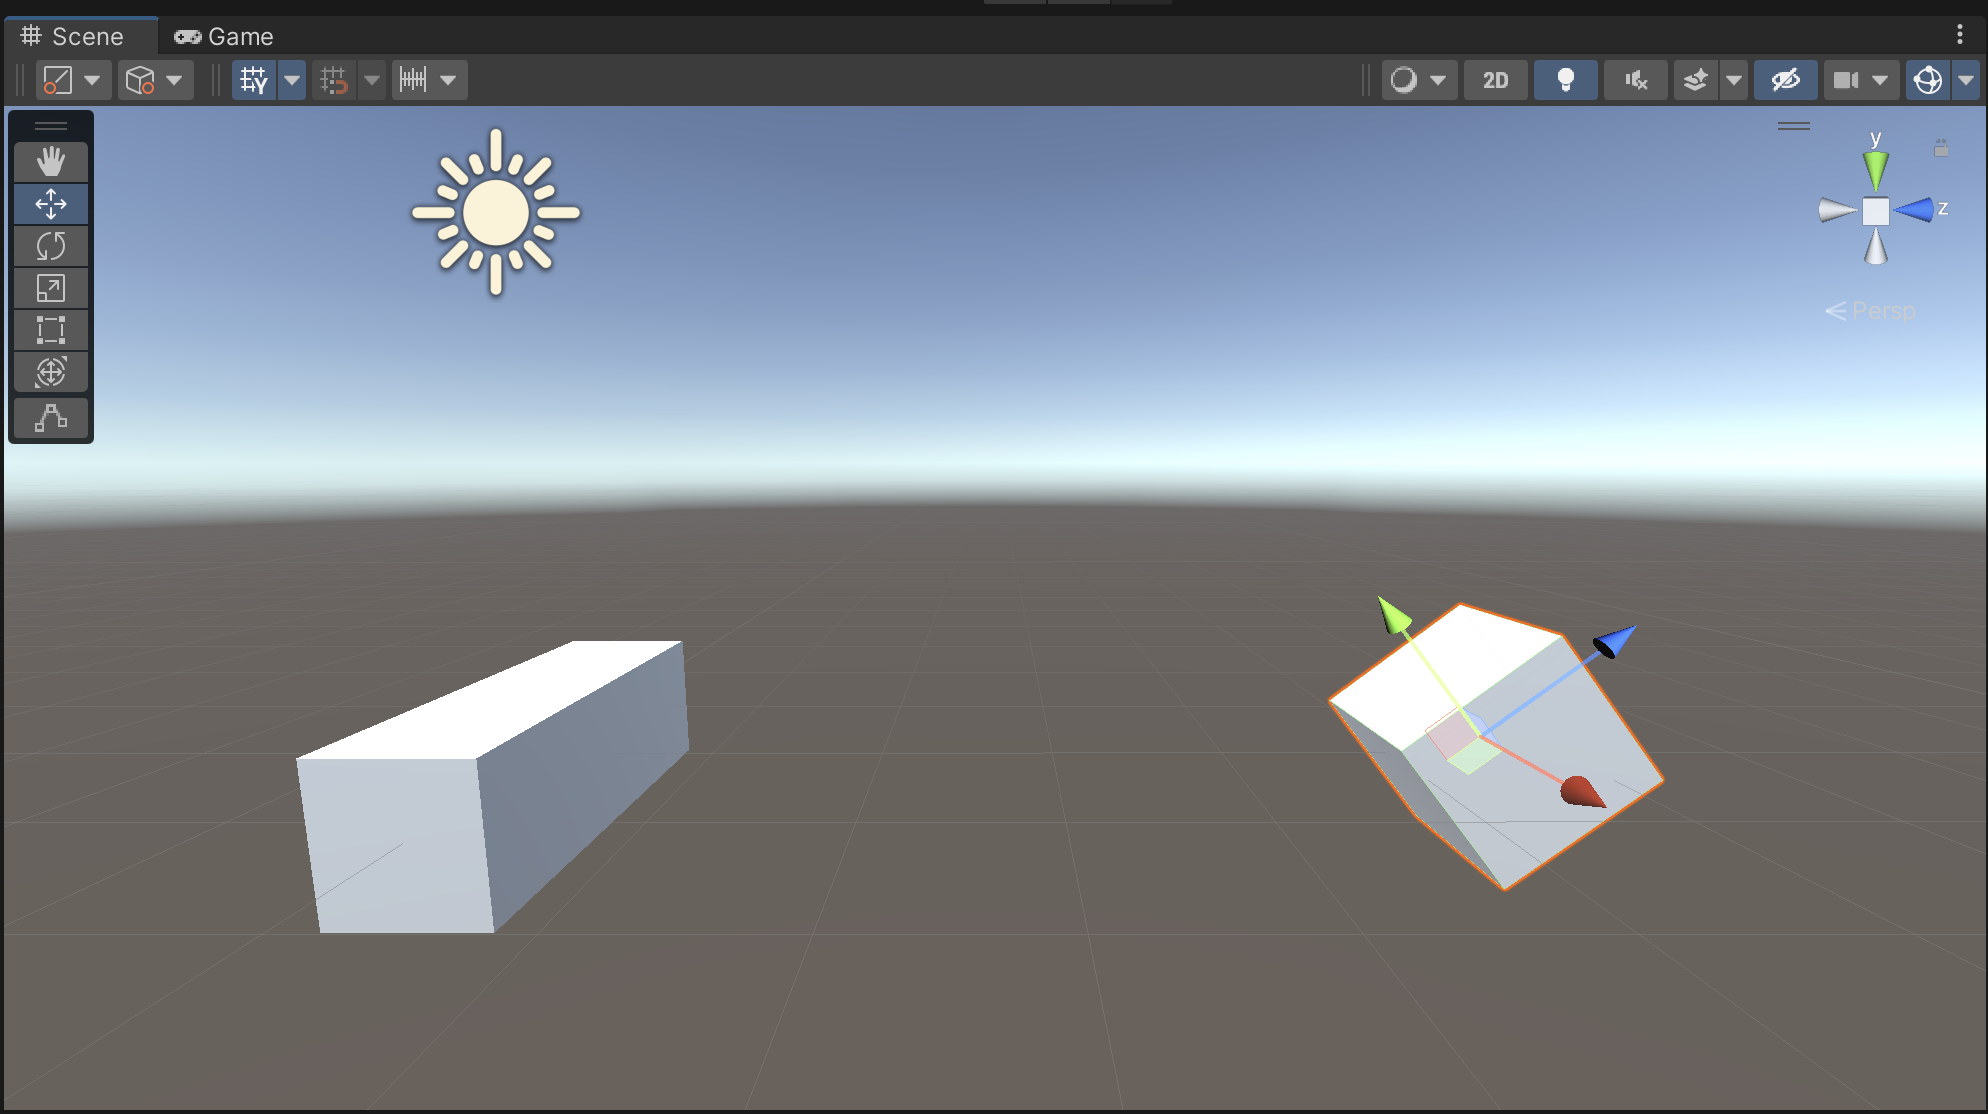
9. Use Pan, Zoom, and/or Flythrough to move your point of view in between the rectangular cube and the diamond cube.
10. Use Orbit to turn your view around and around, so that you see the rectangular cube all by itself when looking one way, and the diamond cube all by itself when looking the other way. From this point of view, you should not be able to see both at the same time.
In this exercise, you used the Move, Scale, and Rotate tools, you used Pan, Zoom, Flythrough, and Orbit, and you navigated to a specific location in 3D space. When you can perform these operations easily, you’re ready to continue!
What else do you want to be able to do in the Editor? For extra practice, here are some more maneuvers to try:
- Get an “aerial” (top down) or “underwater” (bottom up) view of the cubes.
- Add more primitives and arrange them to build a snowman, house, car or other prototype.
- Line up several primitives in an obstacle course, and then use Flythrough to fly around them.
6. Next steps
Congratulations on learning the basic skills for using the Unity Editor. These are skills that will become “second nature” to you on your creative journey in Unity. Next, in the Unity Essentials pathway, you’ll learn how to customize Unity features and manage assets in the Package Manager.