Introduction to LWRP - 2019.1
Tutorial
·
intermediate
·
+10XP
·
10 mins
·
Unity Technologies
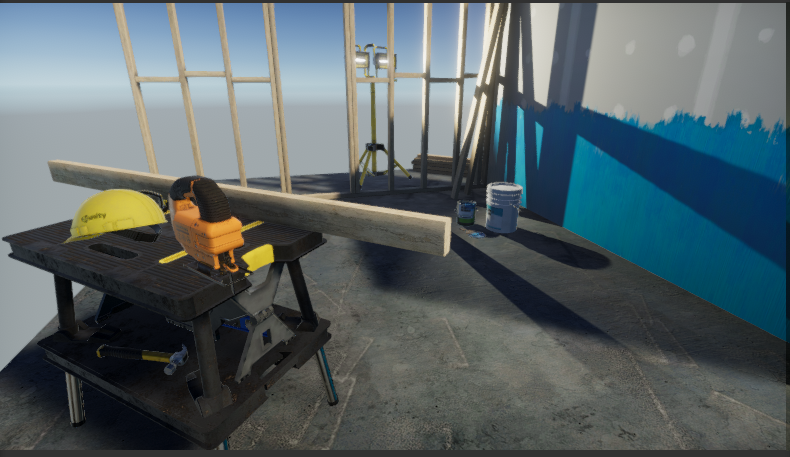
In this tutorial, you will learn how to create a new LWRP project, as well as convert a project to use the LWRP.
Languages available:
1. Introduction
If you are using Unity 2018.3, click here. If you are using Unity 2019.2, click here. If you are using Unity 2019.3 or above, click here.
The goal of the Lightweight Rendering Pipeline (LWRP) is to provide optimized performance for developers targeting a broad range of platforms, VR, and games with limited realtime lighting needs. It does this by making some tradeoffs with regard to lighting and shading.
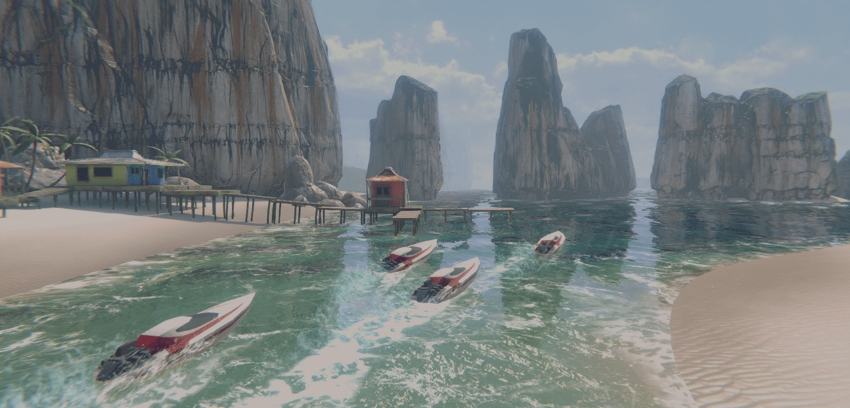
The LWRP performs single-pass forward rendering with one real-time shadow light and light culling per-object. By comparison, the legacy pipeline of forwarding rendering performs an additional pass per pixel light within range. This means the LWRP will result in fewer draw calls. It’s also supported by the Shader Graph tool, which provides additional benefits for shader authoring workflow.
2. Creating a new project with LWRP
Let’s start a new project with LWRP.
1. Open Unity Hub and create a new project.
2. In the new window, select the Lightweight RP Template (Figure 03).
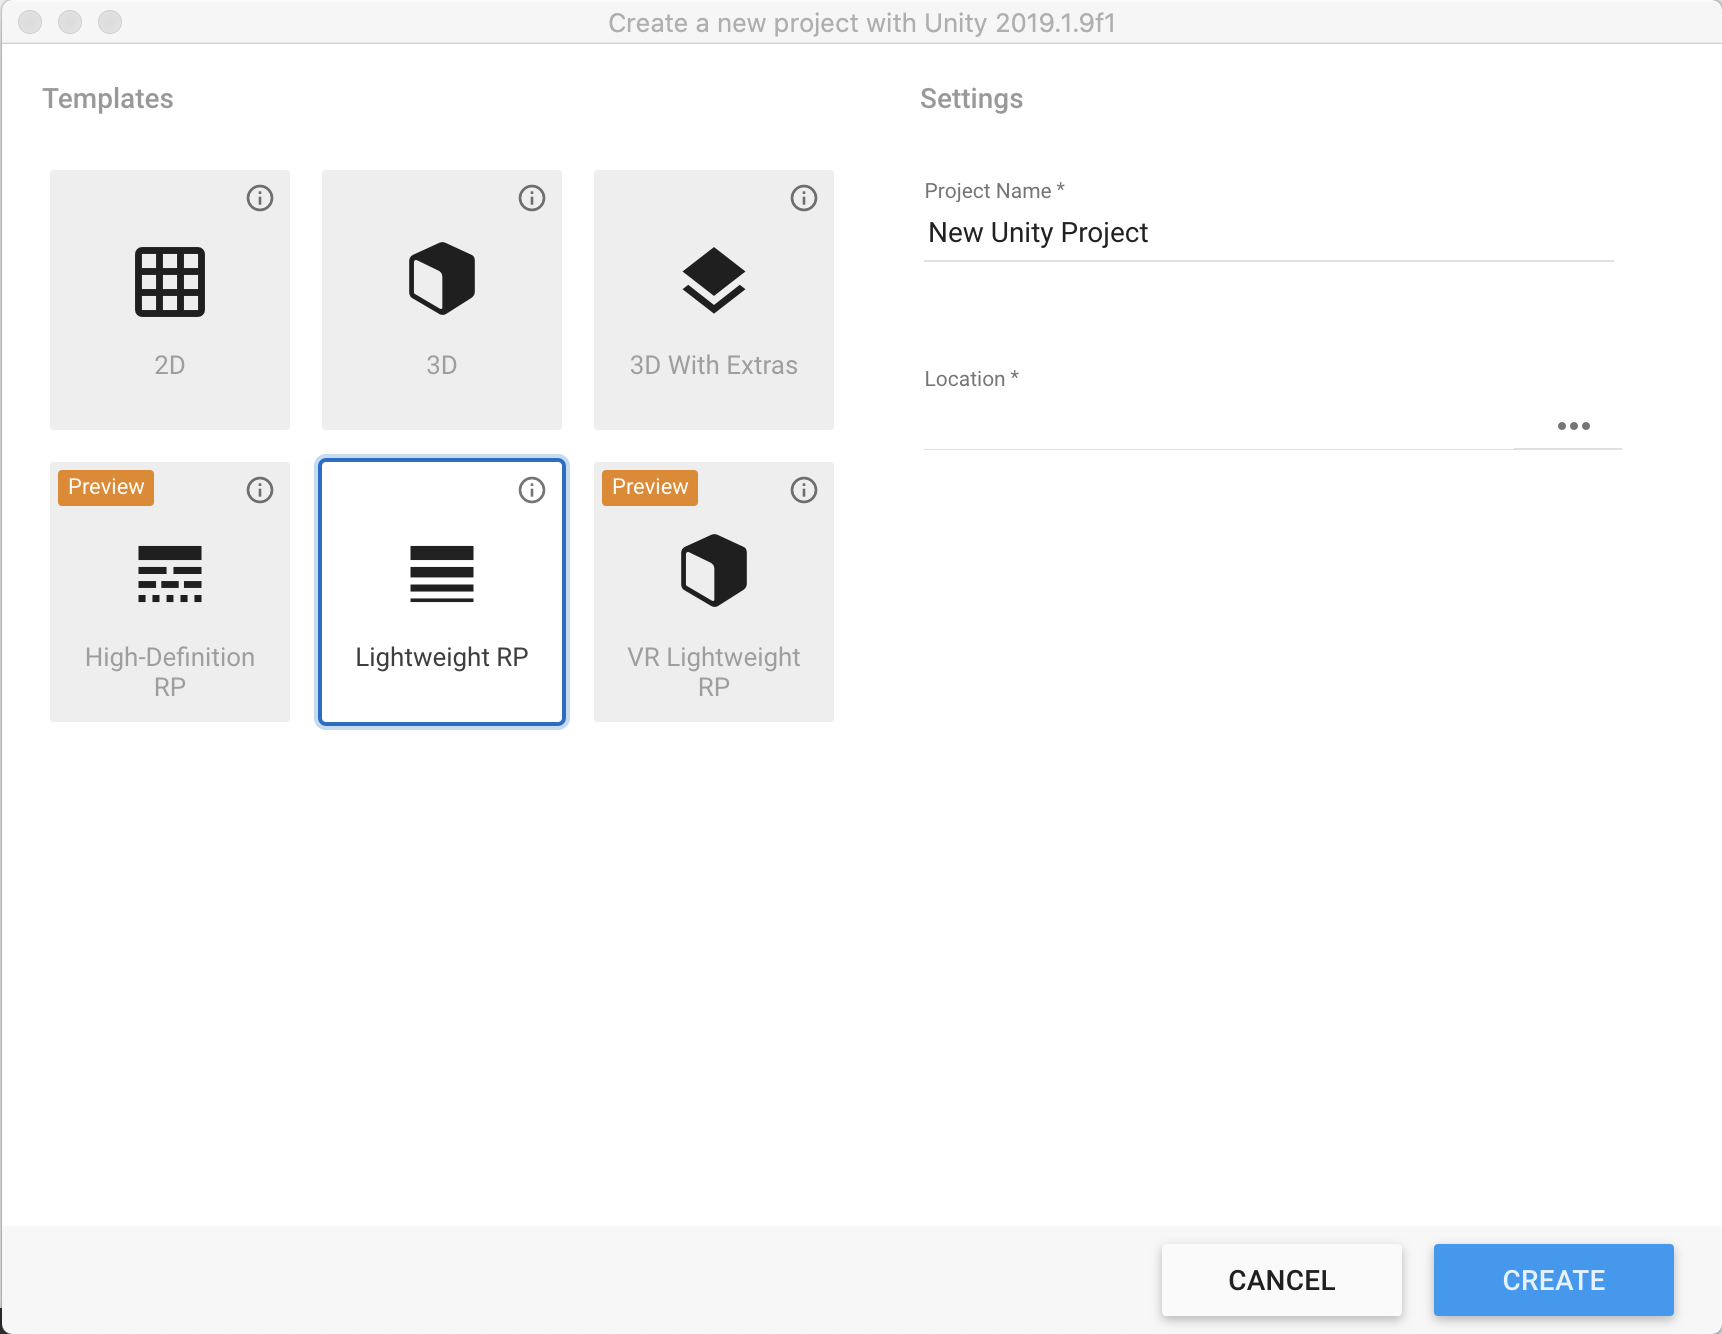
3. Name your project and set the location for the project.
4. Finally click Create.
Once that’s done, your new Unity Project with the LWRP will be ready to go.
3. Upgrading an existing project to use LWRP
To upgrade an existing project, you must first download the LWRP using the Unity Package Manager.
1. Go to the Window > Package Manager to open the Package Manager (Figure 04).
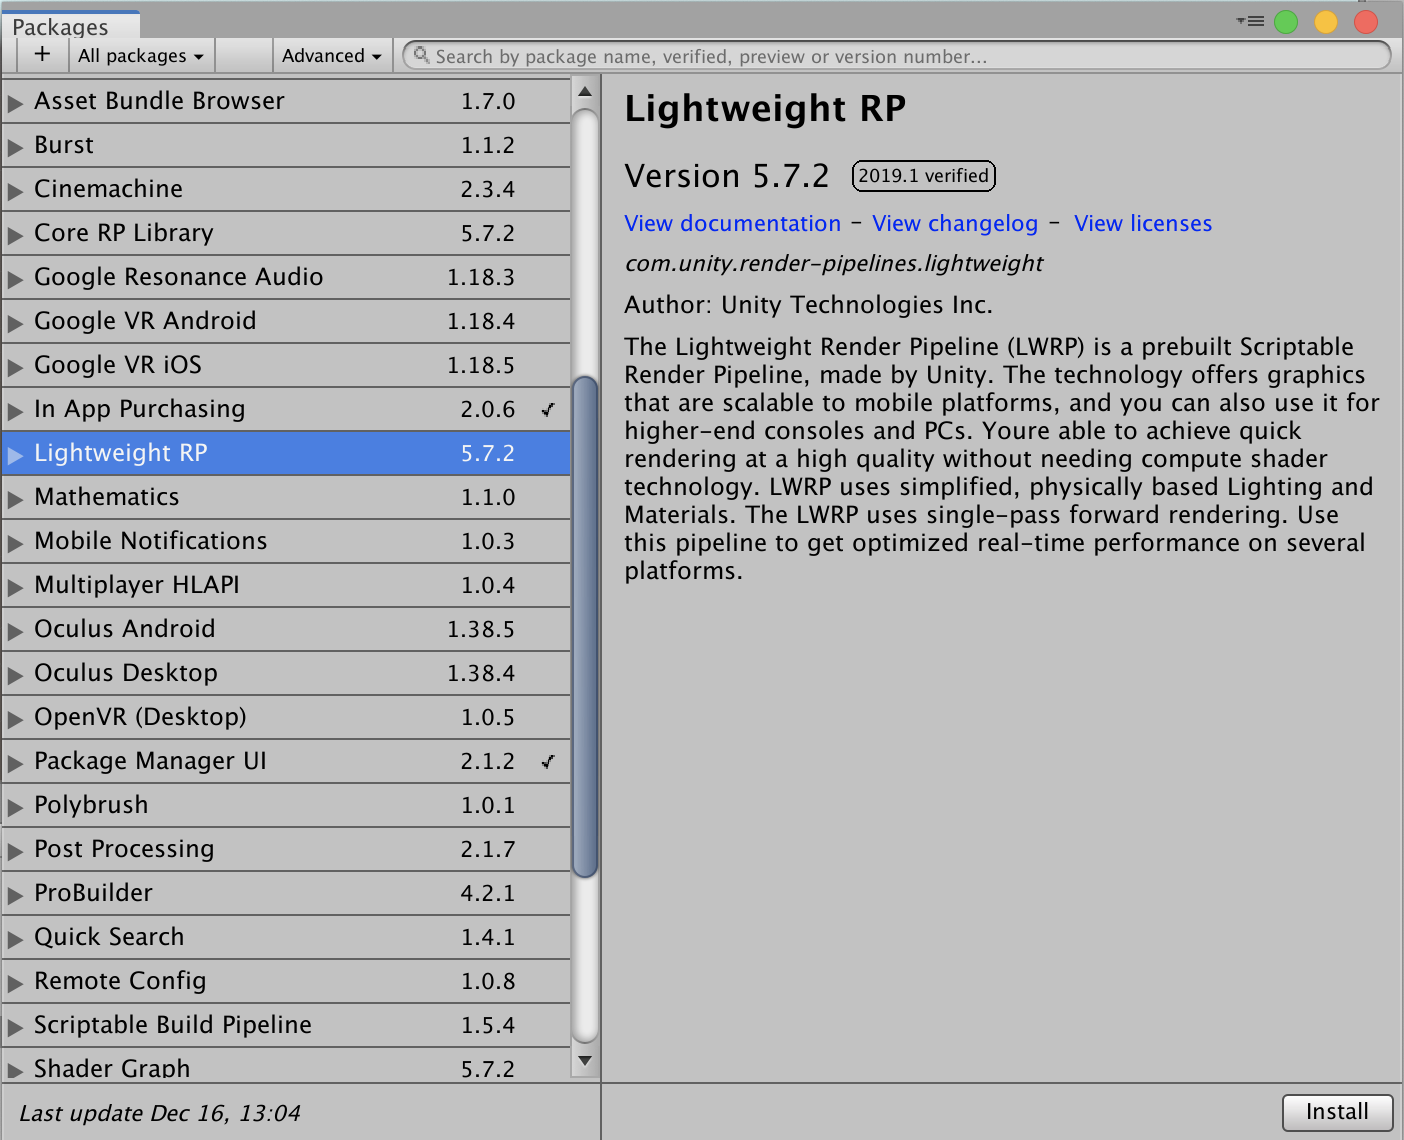
2. Make sure All Packages is selected in the dropdown on the top left.
3. Find “Lightweight RP” in the list and select it.
4. Click Install.
After the package has been installed from the Package Manager, you have to add the LWRP Asset to the Scriptable Render Pipeline Graphics settings field.
1. Open the Project settings window by clicking Edit > Project Settings.
2. Select Player settings on the left side of the new window.
3. Set Color Space to Linear in Other Settings section of Player Settings. (Figure 05)
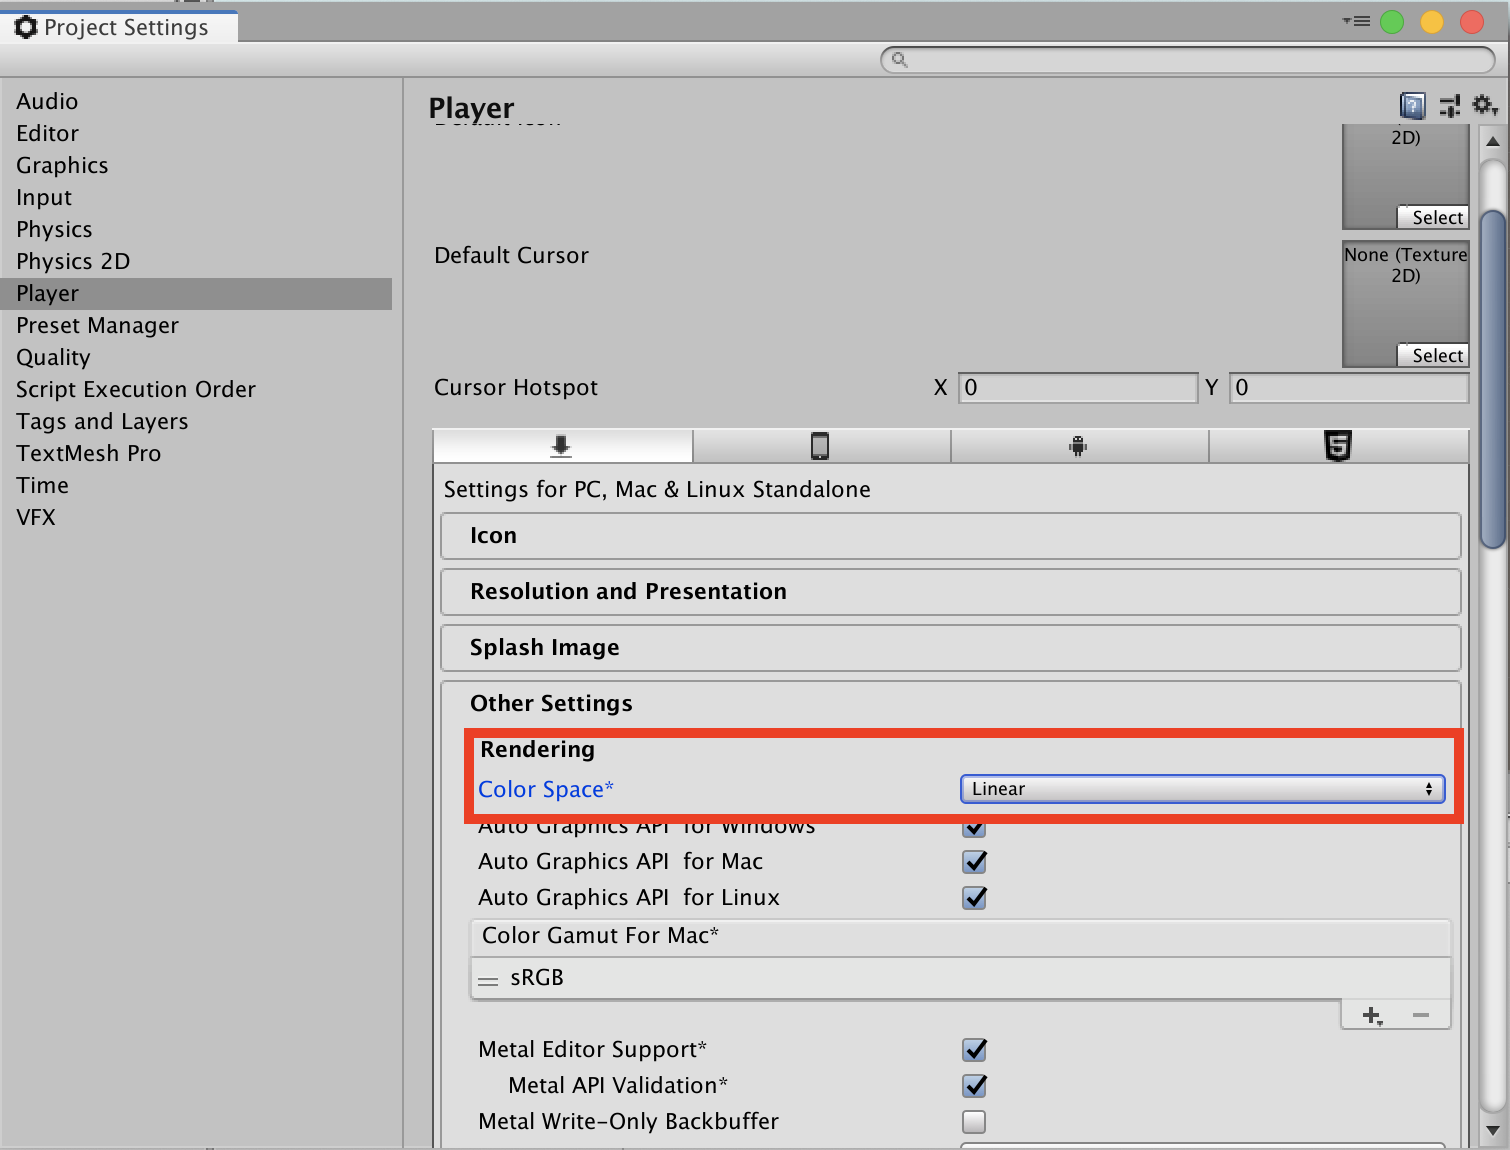
4. Create a pipeline asset by selecting the Asset dropdown and Create > Rendering > Lightweight Pipeline Asset.
5. Open the Project settings window by clicking Edit > Project Settings.
6. Select Graphic settings on the left side of the new window.
7. In the Graphics Inspector, click the circle dial and select the LightweightPipelineAsset. (Figure 06)

Now your existing project will be able to use the Lightweight Render Pipeline.
4. Conclusion
LWRP establishes standardization by bringing in restrictions and disabling features that wouldn’t be supported on lower-end devices. This allows developers to worry less about how to optimize a project and to focus more on developing projects for the wider audience.