
Random Image Generator with AR Face Tracking
Tutorial
intermediate
+0XP
45 mins
(49)
Unity Technologies
If you have no previous experience with coding, we recommend trying out Beginner Scripting first so that you can familiarize yourself with what we’ll be writing. In particular, Variables and Functions, Start and Update, and Arrays are all very helpful. If Statements, DeltaTime, and Destroy are useful as well.
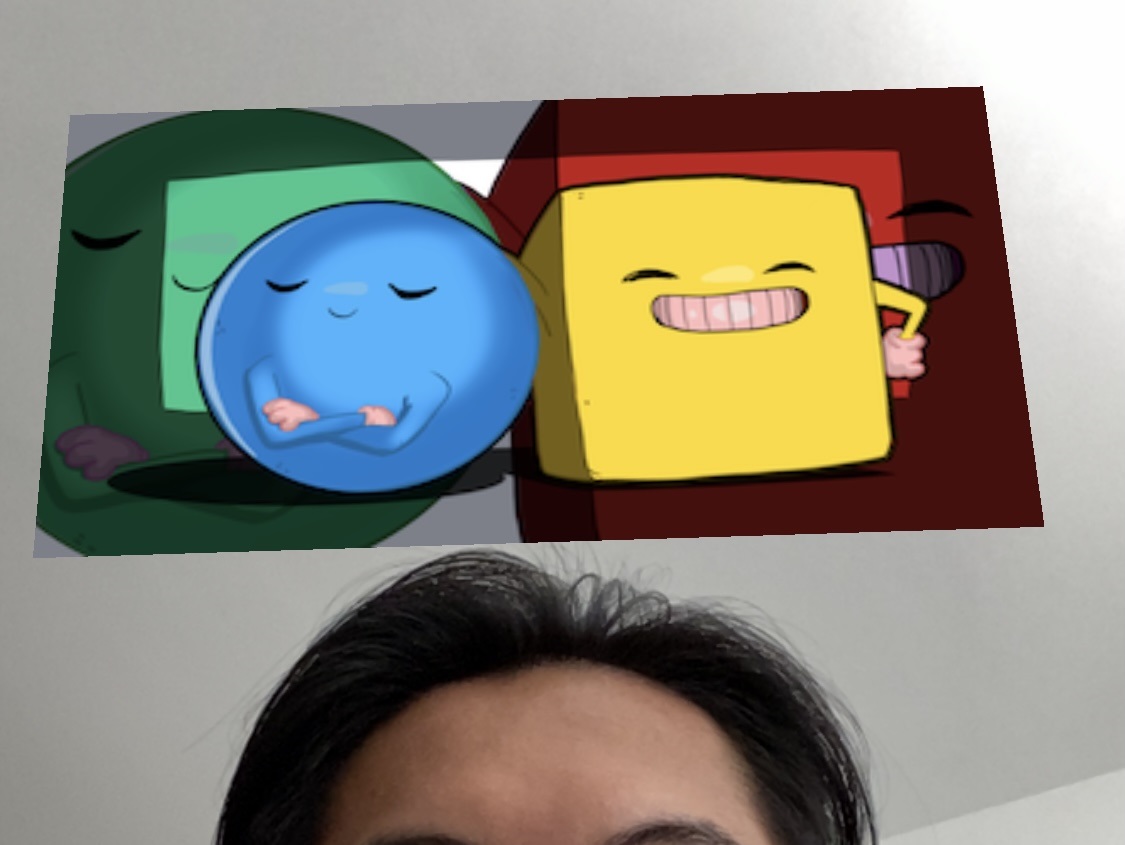
Now, we’ll try to create a game using AR Face Tracking to select a random image above a person’s head!
Languages available:
1. Overview
We’ve learned how to use AR Default Face to overlay different textures onto our face - now let’s try making something a little more challenging. To get started with this part of the project, we’ll need to find some images to use and do a little bit of coding to get one of those images to randomly appear above our head.
2. Find Images to Generate
Now that we’ve learned how to use Face Tracking with the AR Face Manager, we can extend functionality to have it generate random images on our head! First, we’re going to need to find some random images. We’ve provided images of random tutorials in the Asset Store package that someone can try, but you can feel free to use whatever images you think are best. We recommend using images with a resolution of 320 x 180 pixels.
You can add these images into Unity by dragging them from the folder you’ve saved them and dropping directly into Unity! You should make a new folder called Images in your Project window, so that it’s easier to stay organized.
If you’ve imported your own images, you’ll need to make sure that they’re set up to be used in Unity. Select an image from the Project window and in the Inspector make sure to set the Texture Type to Sprite (2D and UI). You can optionally set Pixels Per Unit to 1000 so that your images have better quality. Make sure to click Apply at the bottom of the window once you’re finished.
Drag one of the images into the scene to create a new Game Object with a sprite renderer, and rename the object “Image”
Create an empty game object in the scene by right clicking in the Hierarchy and selecting Create Empty. Rename it to “Image Randomizer.” Set the Image object as a child of the Image Randomizer object by dragging the Image object and dropping it on the Image Randomizer object. You can see that it worked when Image Randomizer has a dropdown arrow next to it, with the Image object indented underneath.
Select the Image in the Hierarchy, so that its information is in the Inspector. Look at the Transform component and change the Position to X:0 Y:0.25 Z:0, so that the image appears above your head.
3. Code an Image Generator
To actually select a random image for our game, we’ll need to do some coding to make that image be selected. In your Project window, create a new folder called Scripts by right clicking Create > Folder. Make sure to name that folder Scripts.
In the Scripts folder, create a new C# script called ImageRandomizer by right clicking on the Project window Create > C# Script, and then double click on the new script to open it.
First, we’ll need some public variables to 1) keep track of how we’ll show our images using our SpriteRenderer, 2) decide which images we want to show in an array, and 3) control how much time our images will show and how long before an image is chosen.
public SpriteRenderer randomSpriteRenderer; //The sprite renderer that will display the random image
 public Sprite[] randomSprites;              //An Array of sprites that will be used for the image randomization

 public float timeBetweenChange = 0.2f;      //The amount of time between switching the image
 public float timeUntilStopping = 3.0f;      //The total amount of time until randomization stops
Next, we’ll need some private variables to keep track of which image we’re currently showing and how much time until the image changes.
private int RandomImageIndex = 0;           //Keep track of which image we're currently displaying
private float ImageChangeTimer;             //How much time is left until we switch to new image
In the Start() method, let’s make sure to set our timer variable, so that we can start keeping track of time elapsed.
void Start()
    {
        // Set this timer variable as soon as the script starts so it's ready for the update function
        ImageChangeTimer = timeBetweenChange;
    }
In Update(), we’ll first need to keep track of elapsing time using Time.deltaTime. Then, we’ll use an If statement to know that if we’ve run out of time, we will show the final image. We’ll also use another If statement to keep track of our image change timer, so once that timer expires, it will show a new image.
void Update()
    {
 // Remove delta time from both active timers. This subtracts a small amount of time from the
 // overall time we described in "timeBetweenChange" and "timeUntilStopping"
        ImageChangeTimer -= Time.deltaTime;
        timeUntilStopping -= Time.deltaTime;

 // If we've fully run out of time we need to select a final random image
 if(timeUntilStopping <= 0.0f)
        {
 // The final image will be selected at random
            randomSpriteRenderer.sprite = randomSprites[Random.Range(0, randomSprites.Length)];

 // Destroy this script immediately stopping it from running anymore in the future
            DestroyImmediate(this);

 // Return so no other code runs in this Update function call
 return;
        }

 // If RandomizationTimer is less than or equal to zero it's time for a new image
 if(ImageChangeTimer <= 0.0f)
        {
 // To ensure we see all the images we increase the RandomImageIndex to see the next
 // image in the array
            RandomImageIndex++;

 // If our index has gone past the end of the array, reset it to zero so the cycle
 // can start again
 if(RandomImageIndex >= randomSprites.Length)
            {
                RandomImageIndex = 0;
            }

 //Assign the new sprite to the sprite renderer
            randomSpriteRenderer.sprite = randomSprites[RandomImageIndex];

 //Reset the "RandomizationTimer" to start counting down again
            ImageChangeTimer = timeBetweenChange;
        }
    }
Once you’ve added these lines of code, make sure to save your code using CTRL + S on Windows or CMD + S on Mac.
4. Finish Setting Up the Image Generator
Now that we’ve coded our Random Image Generator, we just need to set it up. In Unity, select the “Image Randomizer” Game Object and add the Image Randomizer script by selecting the Add Component Button. Search for and select the Image Randomizer script.
Set up the Random Sprite Renderer by dragging and dropping the Image child object in the Hierarchy onto the Random Sprite Renderer variable slot. Set each random image you imported into the Random Sprites array. Change the size to the number of images you’ve added and drag and drop your images into each Element slot.
Tweak Time Between Change and Time Until Decision to your liking if you want images to be shown longer and take a longer time to show the final result.
Once you’ve set all the values, drag the entire Image Randomizer game object into the Prefabs folder to create a new Prefab. You can then delete the original game object in the scene.
You can then set the Image Randomizer Prefab as the new Face Manager Prefab, so that images will start appearing above your head. Build and run the application to test and see the random images being selected.