Shadergraph: Split and Combine
Tutorial
Beginner
+10XP
10 mins
21
Unity Technologies

The Split and Combine nodes are utility nodes that help you achieve complex Shaders by splitting or combining vectors.
For times when you need to split a vector to perform specific adjustments or retrieve singular values from the vector, you can use the Split and Combine nodes. An example of this is extracting only the blue value out of a Texture.
Languages available:
1. Shadergraph: Split and Combine
This tutorial has been verified using Unity 2019 LTS and Shader Graph 7.3.1
The Split and Combine nodes are utility nodes that help you achieve complex Shaders by splitting or combining vectors.
For times when you need to split a vector to perform specific adjustments or retrieve singular values from the vector, you can use the Split and Combine nodes. An example of this is extracting only the blue value out of a Texture.
The Split and Combine nodes are also useful when creating a new vector from multiple outputs — routing the blue value from a Texture into another node, for example.
2. Creating the Shader Graph
To begin, create a Shader to use as an example.
1. Right-click in your Project window and select Create > Shader > PBR Graph.
2. Name the new Shader SampleGraph.
3. In the new window that opens, right-click and select Create Node.
4. Type the word Split and click the result that matches.
5. Type the word Combine and click the result.
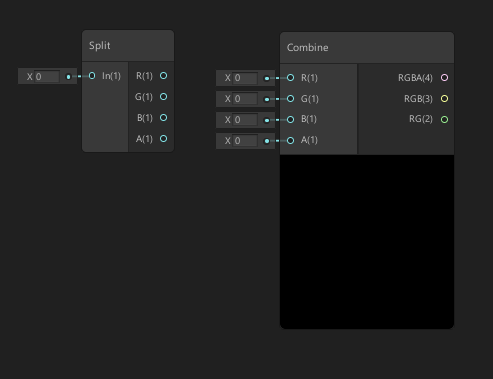
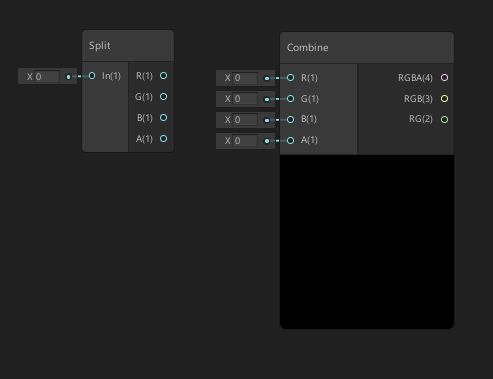
You now have a Split and Combine node sitting in your graph (Figure 01).

The Split node provides access to a single input and provides up to four outputs. If the input vector contains less than four vectors, then the output values not present in the input will be 0.
- In: This takes a dynamic vector as its input value.
- R: Returns a Vector 1 from the Red channel of the input.
- G: Returns a Vector 1 from the Green channel of the input.
- B: Returns a Vector 1 from the Blue channel of the input.
- A: Returns a Vector 1 from the Alpha channel of the input.
The Combine node provides access to four inputs and provides three outputs. The three outputs provide up to three different vectors composed of RG, RGB, and RGBA, respectively.
- R: Takes a Vector 1 to define the Red channel of the input.
- G: Takes a Vector 1 to define the Green channel of the input.
- B: Takes a Vector 1 to define the Blue channel of the input.
- A: Takes a Vector 1 to define the Alpha channel of the input.
- RGBA: Outputs a Vector 4.
- RGB: Outputs a Vector 3.
- RG: Outputs a Vector 2.
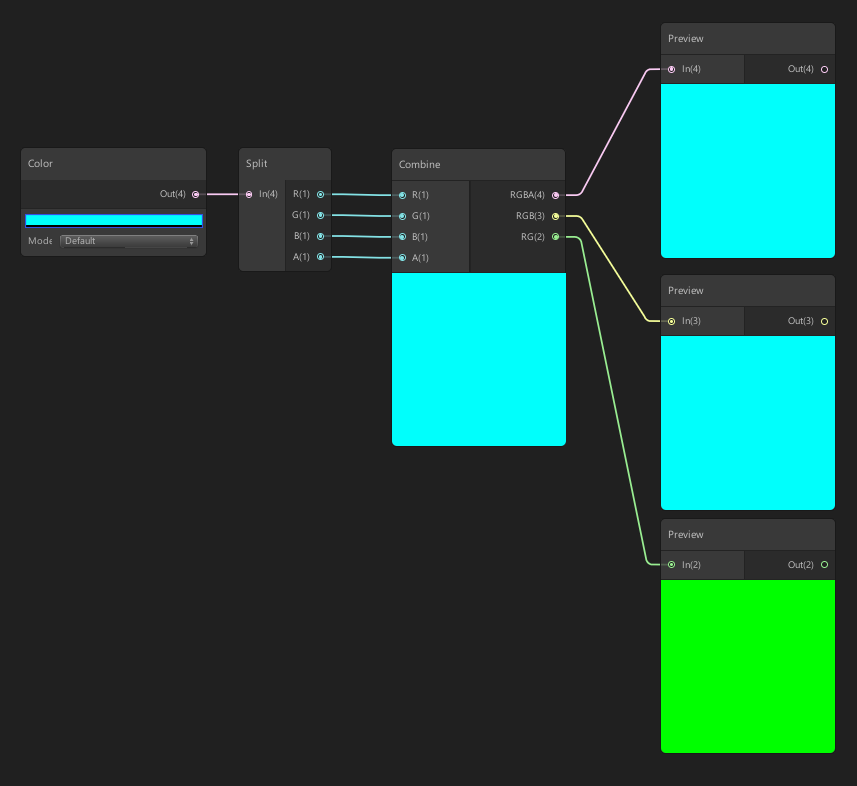
To show an example of the Split and Combine nodes in action, create a Color node, split its vector and recombine it. Then preview each of the Combine nodes’ outputs. To do this:
1. Create a Color node and plug its output into the input of the Split node.
2. Take each R, G, B, and A outputs from the Split node and plug them into the corresponding inputs of the Combine node.
3. Create three Preview nodes and connect the output of the Combine nodes to each Preview node separately.
4. In the Color node, click on the color bar and choose a color except for black or white and observe the results (Figure 02).

As in (Figure 02), RGBA and RGB will show the same color, but RGB won’t show transparency if the input contains any. The RG output will only show the Red and Green channels without any Blue.
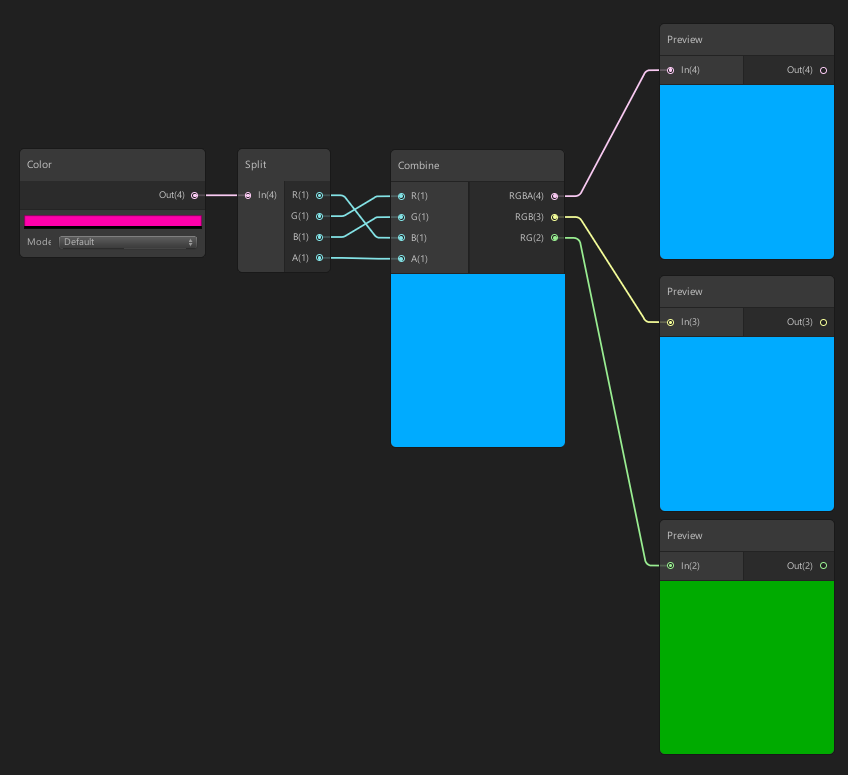
Split and Combine can be used in opposite order to create different results. To test this, inverse the connections between the Split and Combine nodes (Figure 03).
1. Connect Split R to Combine B.
2. Connect Split G to Combine R.
3. Connect Split B to Combine G.
4. Experiment by applying a new color in the Color node.

Once you finish assigning a new color, you can see that we will get a different color from the Combine as we have swapped the vectors and are creating a new vector with different values in the RGB positions.
3. Conclusion
The Split and Combine nodes provide a unique level of control. They are useful when creating Shaders from the most basic to the incredibly complex.
Why not experiment to see what else you can split and combine to create interesting and unique results?