Work with GameObjects in a 2D Scene
Tutorial
foundational
+10XP
60 mins
4663
Unity Technologies

In this tutorial, you’ll:
- Create a new Sprite.
- Change a Sprite image using the Sprite Renderer component.
- Select 2D objects in both the Hierarchy and Scene view windows of the Unity Editor.
- Move, rotate, and scale 2D objects using numerical values using the Transform Component in the Inspector window.
- Move, rotate, and scale 2D objects in the Scene view using the Unity transform tools.
- Identify the relationship between the properties displayed in the Inspector and the display of GameObjects in the Scene.
- Use the Rect Transform tool to manipulate a Sprite in the Scene.
- Change a Sprite’s Tint colors.
Languages available:
1. Overview
Like 3D projects, 2D projects are organized into Scenes, which are containers for everything in the experience you are creating. The GameObjects in 2D Scenes are called Sprites. Sprites are typically imported images with specific properties that allow them to be used as interactive 2D GameObjects.
A 2D project is actually a side view of a 3D space, so while the end-user will see a flat 2D view, the actual space that you work in is still 3D. This approach gives you more flexibility, and it makes it possible to create hybrid projects in the style of the game Ori and the Will of the Wisps from Microsoft.

In this tutorial, you will create Sprites and inspect them in the Hierarchy and Inspector windows. You will manipulate those Sprites using the Unity Transform tools and observe the ways the Inspector reflects your changes.
2. Before you begin
Throughout this project, we draw on information covered in the Foundations of real-time 3D project. We recommend you complete that project first.
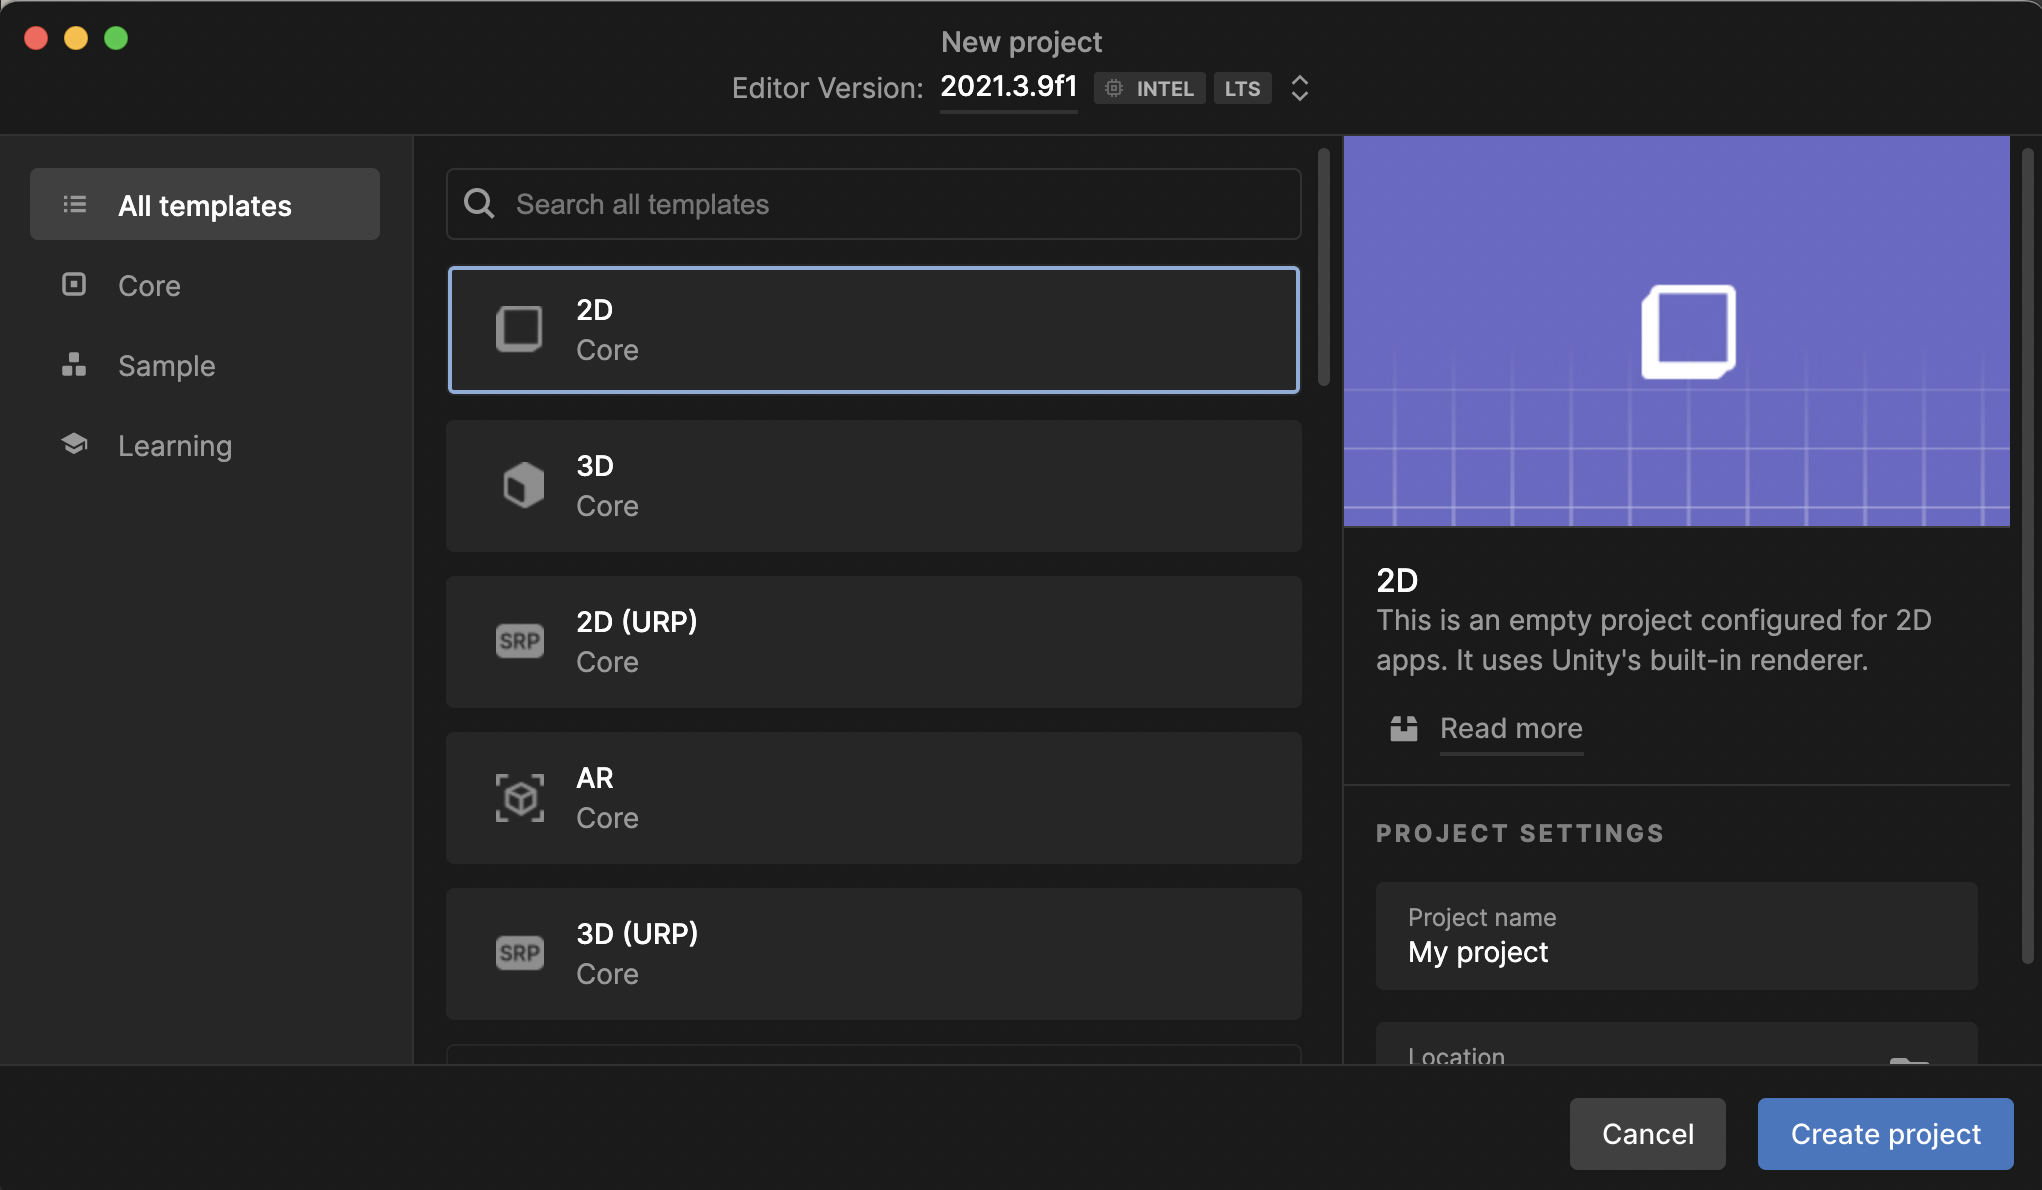
In the Unity Hub, create a new Unity project using the 2D template.

3. Create your first Sprite
1. In the Hierarchy window, right-click and select 2D Object > Sprite > Circle to create an empty Sprite that will act as a placeholder. At this point, you can’t see the Sprite in Scene View, but it will become visible once you assign an image to it.
2. In the Hierarchy, select the Sprite you created and change its name to Circle in the Inspector.
You’ll see the new name in the Hierarchy.
3. In the Inspector, look for the Sprite Renderer Component in the Inspector. At the Sprite property, click the circle icon to open the Assets panel.
4. Select the Knob image in the Assets panel. The Sprite now contains the Knob image.
5. The Transform Component contains the Position, Rotation, and Scale values of the selected Sprite. You can change these values in the Inspector and see the changes in the Scene, or you can manipulate the Sprite in the scene and these values will change accordingly. Select the Circle sprite, and change the Scale values to 10, 10, 1. Watch the Sprite change in Scene View.
Note: Unity uses a Y-up coordinate system, which applies in 2D as well as 3D. Y is up, and Z is toward and away from the player’s point of view. Therefore, changes to scale in the Z direction are not visible to the player. Changes to position in Z will place Sprites behind or in front of one another (like the Z-order in other applications).
6. Select the Move tool in the Toolbar (shortcut key W), and use your mouse to move the Sprite to a new position in the Scene.
Notice how the new position is reflected in the Position properties of the Transform Component. (Note: your results might be different.)
7. The Rect Transform tool provides a quick and easy way to change the shape and position of your Sprites. When you select a Sprite and then select the Rect Transform tool on the Toolbar (shortcut key T), you will see a rectangular border with grip points on the corners.
Move the Sprite around the Scene with the mouse by dragging from any point on the object. Adjust the scale of the Sprite in the X or Y dimensions by dragging the grips on the corners.
4. Changing the color of the sprite
1. To change the color of the Sprite, select it, then select the Color property in the Sprite Renderer component.
2. Use the Color selector to change the tint of the Sprite.
5. Next steps
You’ve seen how to add simple GameObjects, called primitives, to your Scene, and you’ve seen the ways these GameObjects are represented in the Hierarchy and Inspector windows. You’ve seen how to move, rotate, and scale GameObjects two ways: with numbers in the Inspector, or by physically changing them in the Scene view.
Next, let’s look at components you can add to Sprites.