Create 2D sprite animations
Tutorial
·
Beginner
·
+10XP
·
40 mins
·
(705)
Unity Technologies
Animations make your characters much more engaging. In this tutorial, you’ll configure animations for the enemy.
By the end of this tutorial, you’ll be able to do the following:
- Create a new Animator Controller.
- Configure animation clips using sprite assets.
- Create a Blend Tree to play character animations.
1. Overview
The enemy in your game works right now, but its gliding patrol doesn’t look very natural, even for a robot. Now you can enhance the enemy that you’ve created by adding animations to make it move in more interesting ways and then apply what you learn to the player character too.
By the end of this tutorial, you’ll be able to do the following:
- Create a new Animator Controller.
- Configure animation clips using sprite assets.
- Create a Blend Tree to play character animations.
Working on your own project?
This tutorial is part of Beginner 2D: Adventure Game and refers to the game project for that course, but this information may be helpful for any beginner creator who wants to add basic animations for characters in their own game. If you have no previous experience of animation in Unity and are not completing the Beginner 2D course, Creative Core: Animation will guide you through the absolute basics.
Note: For the purposes of this tutorial, we chose to use the Ruby’s Adventure asset set, and the file paths used in instructions will reflect this. If you chose another asset set, the file names will be the same, but in your corresponding theme folder.
2. Create an Animator Controller
In Unity, the Animator component is used to play animations for a GameObject. The following is a brief summary of how animation is handled in Unity:
- Animation data is stored in special assets called animation clips. You’re going to create animation clips for the enemy using sprites that we’ve already created.
- You can control how these animation clips play on a GameObject with an Animator Controller asset assigned to the Animator component.
To create an Animator Controller for the Enemy prefab, follow these instructions:
1. Open the Enemy prefab in prefab editing mode.
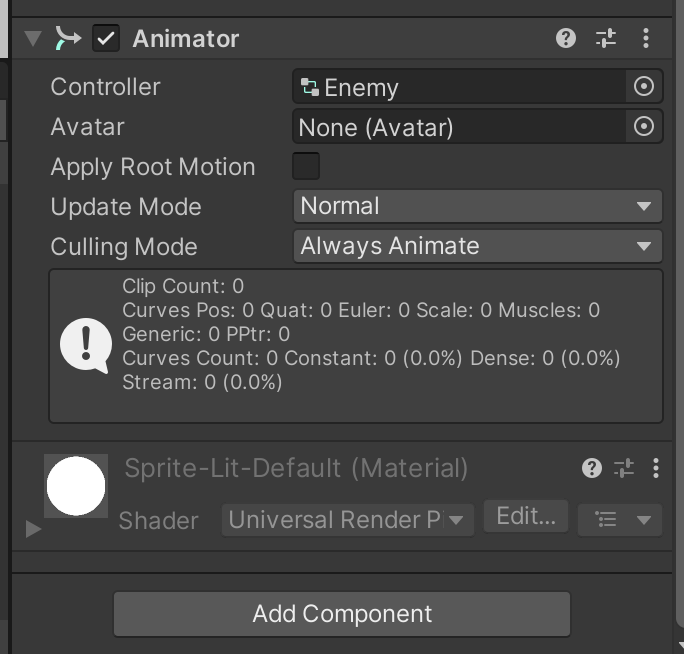
2. In the Inspector window, select Add Component. Search for and select an Animator component.
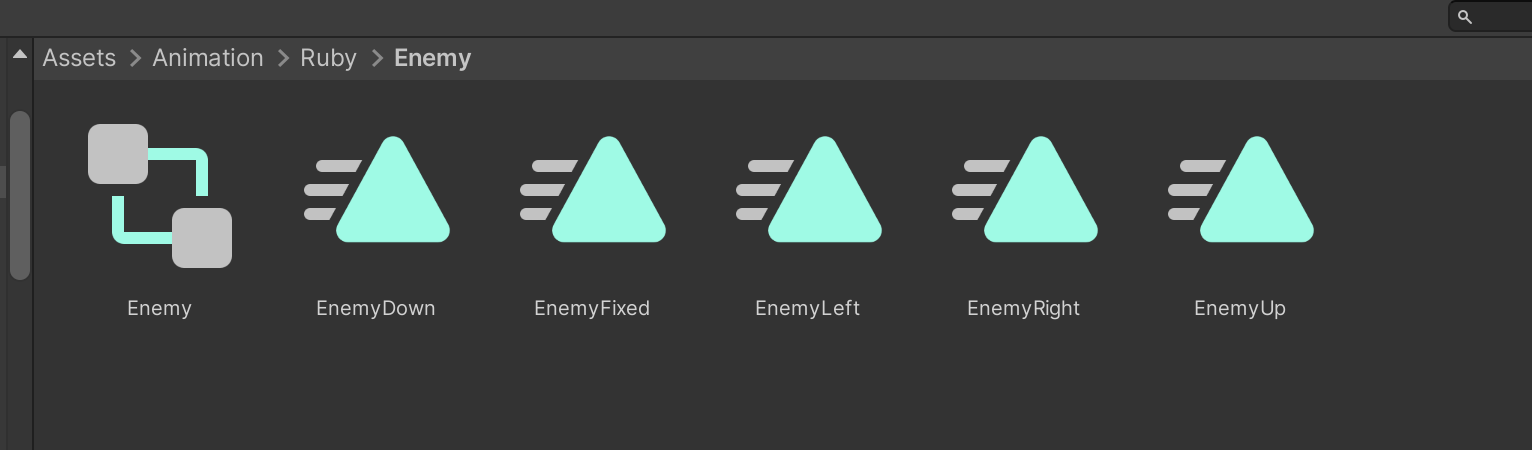
3. In the Project window, navigate to the Animation > [Your Chosen Project] folder.
This folder contains pre-made animations that you can use later when you know the process for creating animations from the beginning.
4. Right-click inside the Enemy folder and select Create > Animator Controller from the context menu. Name the controller “Enemy”.
5. In the Hierarchy window, select the Enemy GameObject.
6. In the Inspector window, locate the Animator component. Use the Controller picker (⊙) to select the Enemy controller you just created, or drag and release it over the Controller setting.
3. Create a new animation clip
Now you’ve set up the Animator Controller, you need to create an animation clip to contain a walking animation for your enemy character.
To create the animation clip, follow these instructions:
1. In the main menu, go to Window > Animation > Animation.
You can use the Animation window as it is, or dock it in a convenient location in your Editor layout.
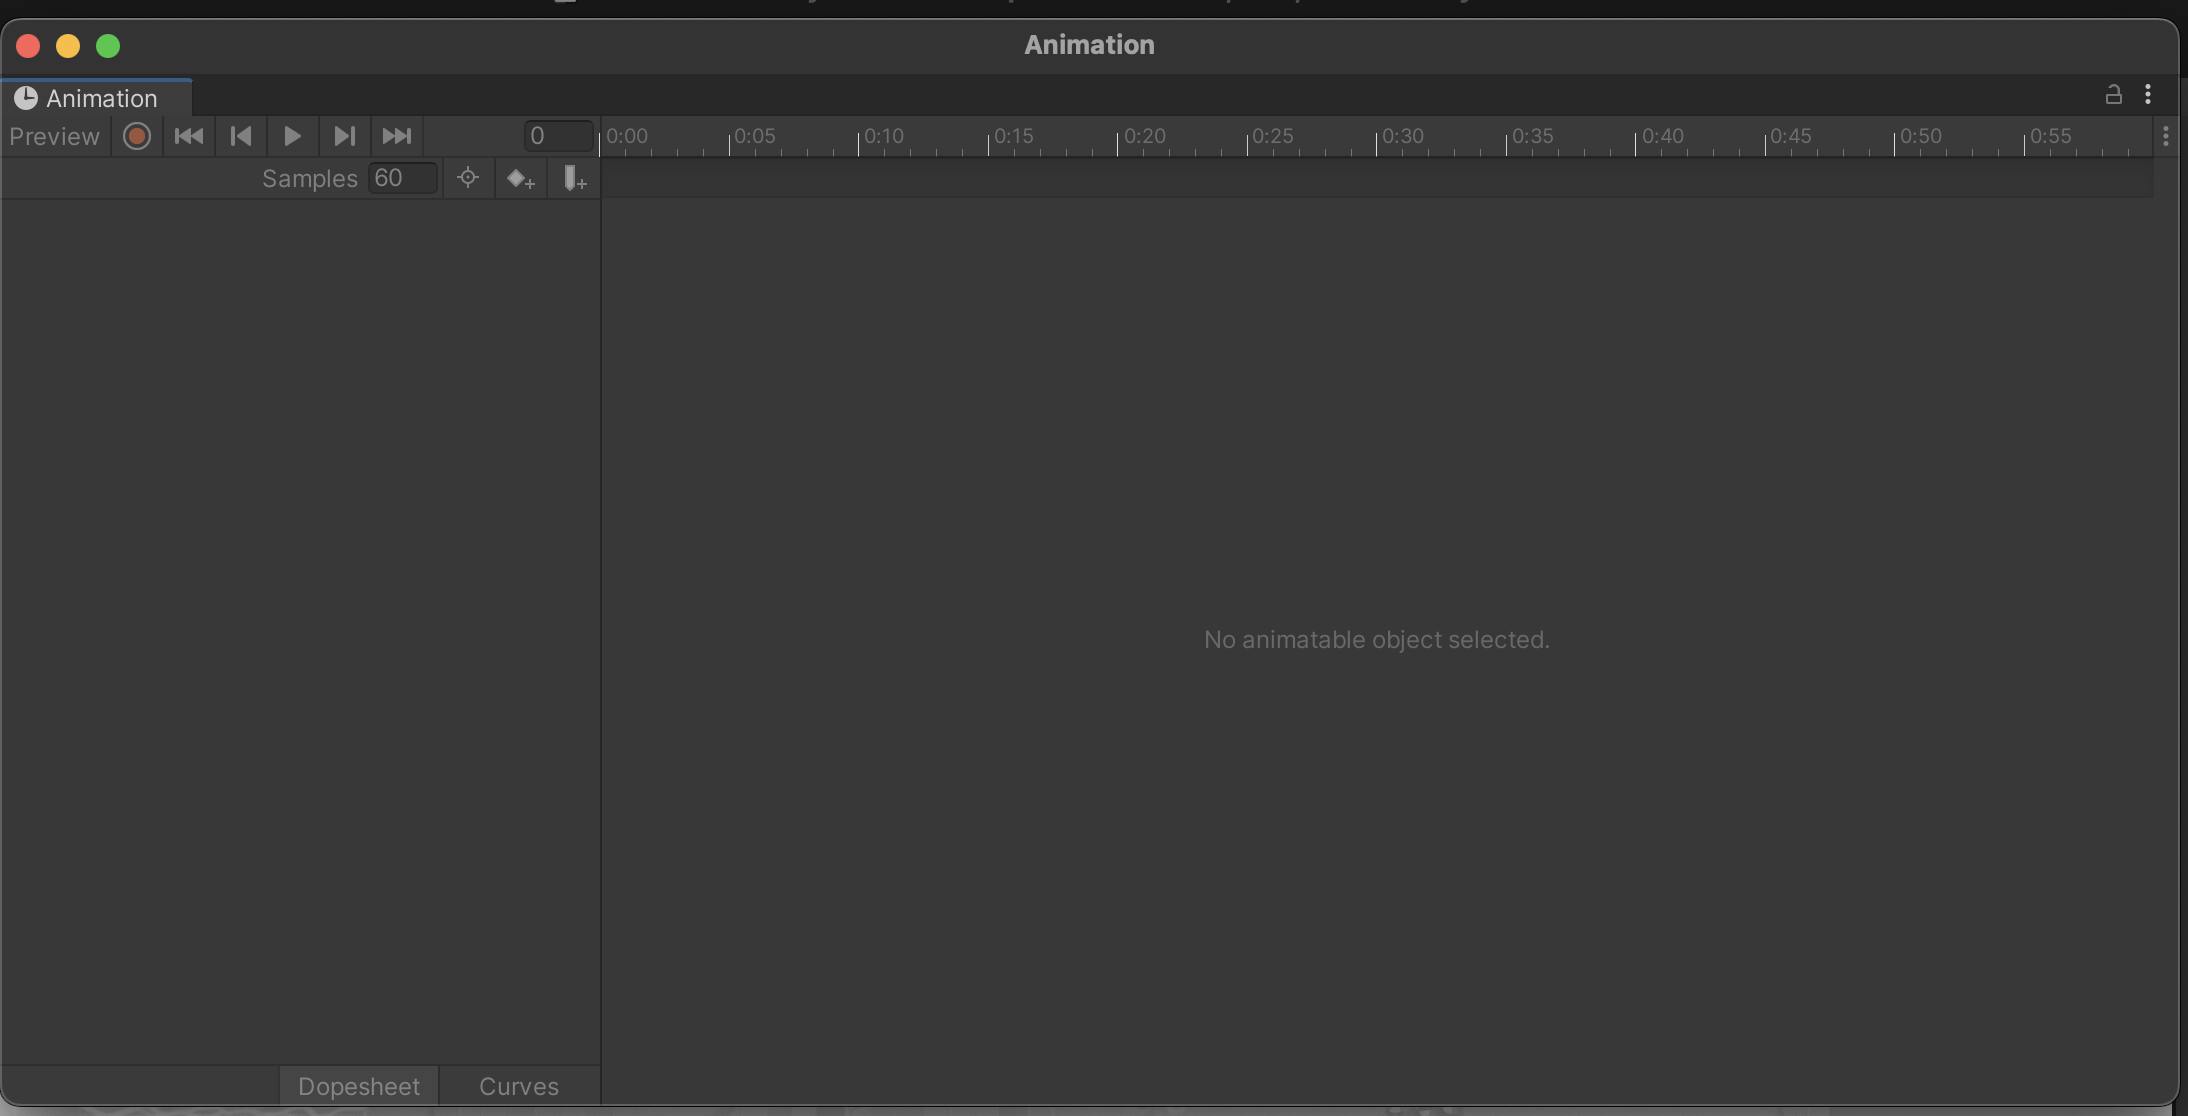
The Animation window is laid out as follows:
- The left side contains properties that are animated.
- The right side is a timeline that shows keyframes, frames which mark the start or end of a transition in states for those properties.
2. Confirm that the Enemy GameObject is still selected, then select Create to make a new animation clip.
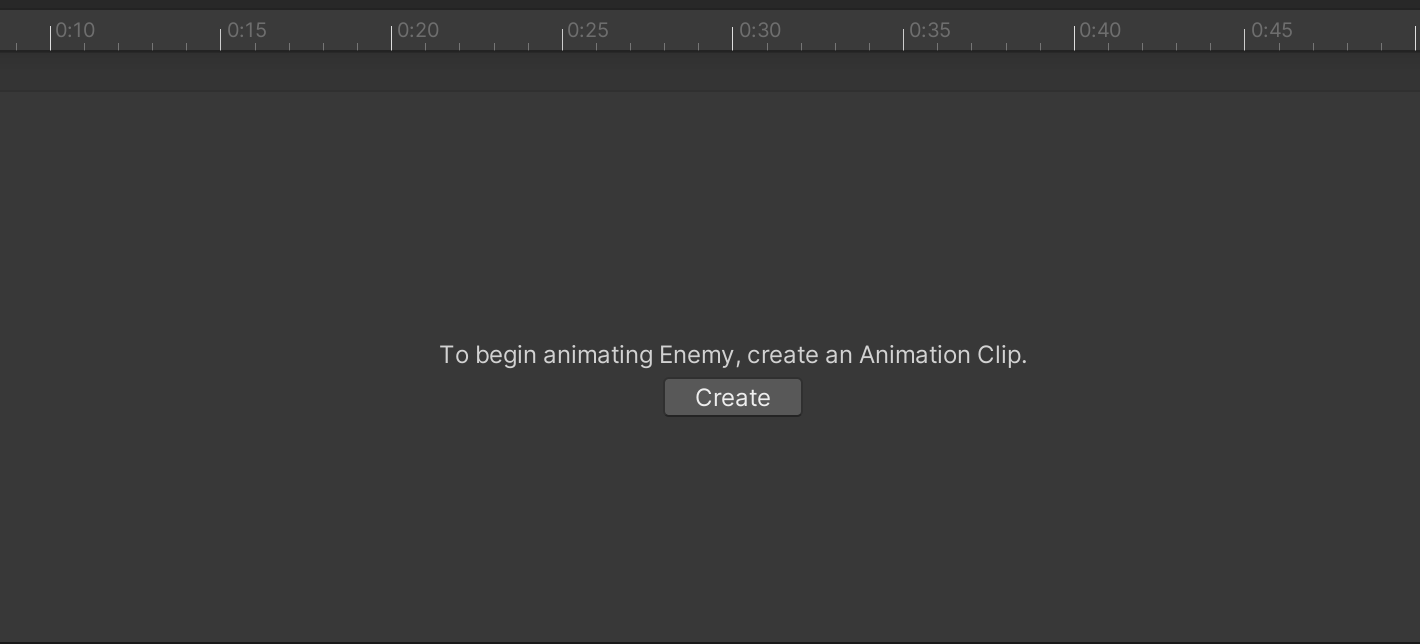
3. Inside the Animation > [Your Chosen Project] > Enemy > AnimationClips folder, save the Animation Clip as “EnemyLeft”.
4. Create the left walk animation
You’re going to create your first animation to simulate the basic positions in a walking cycle using four different sprites that we’ve created.
You can create the illusion of movement in Unity by switching which of these sprites is rendered for the GameObject over time, like a physical flipbook animation.
To configure your first animation, follow these instructions:
1. In the Project window, navigate to Art > [Your Chosen Project] > Characters. Find the EnemySheet asset.
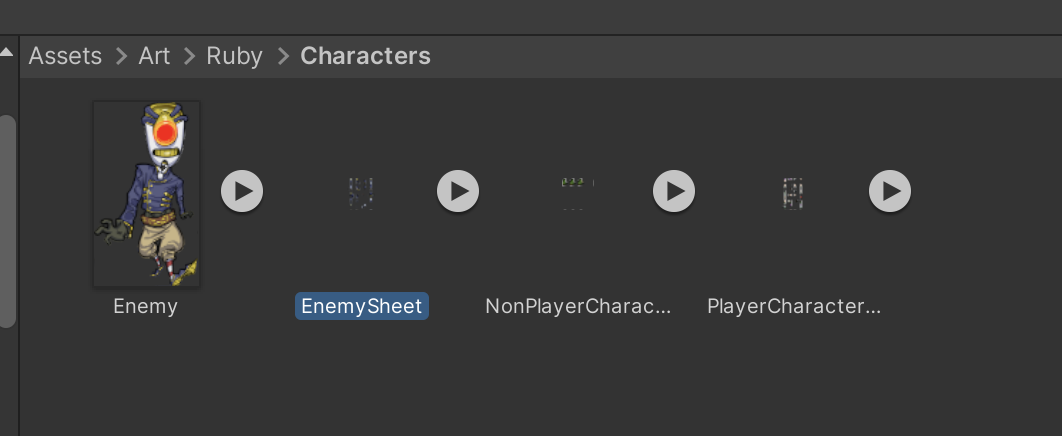
This asset is a sprite atlas (also called a sprite sheet) — a file that contains multiple sprites in a single image, like the tilesets you have previously split into separate sprites.
2. In the Inspector window, find the Pixels per Unit property and set it to 100, then select Apply.
This setting will ensure that the Enemy animations are the same size as your Enemy GameObject in the scene.
3. Select the arrow icon on the right side of the asset to reveal the individual sprites within the sprite atlas.
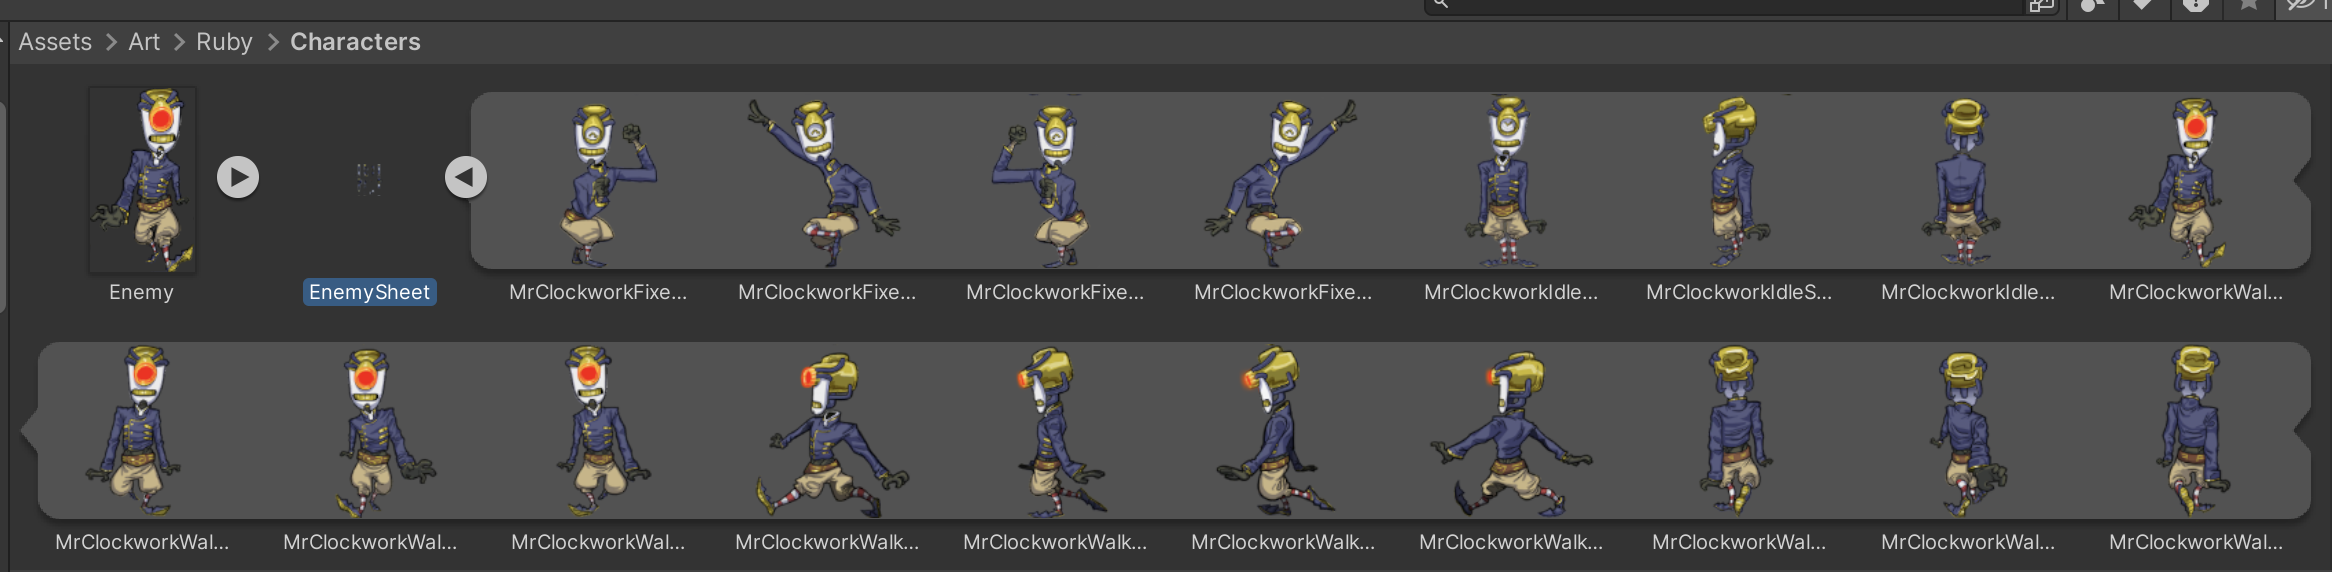
4. Hold Shift and select the first and last sprite in the set of four sprites showing the enemy facing the side, which will select all four.
These sprites are the following:
- EnemyWalkSides1
- EnemyWalkSides2
- EnemyWalkSides3
- EnemyWalkSides4
5. Drag the sprites from the Project window and release them over the Animation window.
This process creates an animation using the four sprites.
6. In the Animation window toolbar, select Play to preview the animation in the Scene view.
The animation will play very quickly!
7. In the right corner of the Animation window, aligned with the timeline scale, select More (⋮) > Show sample rate.
A Samples property will display above the properties list on the left side of the window.
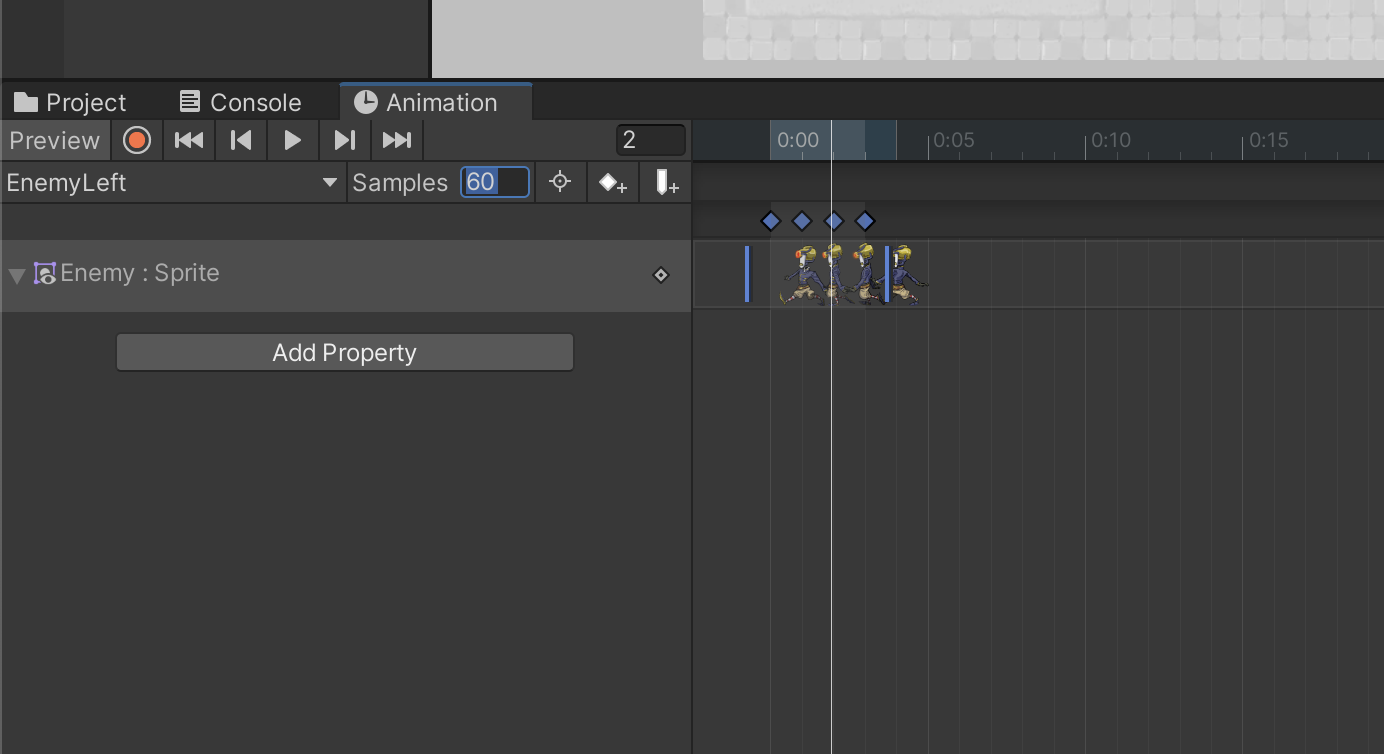
The Samples property controls the number of frames per second that Unity renders the Enemy GameObject’s sprite. The default value is 60, which means that each sprite is only displayed for 0.016 seconds (1/60). Unsurprisingly, this is very fast!
8. Set the Samples property to 4, then play the animation again. Now each sprite is shown for 0.25 seconds.
This speed is much more appropriate for the character.
9. If you want to, adjust the speed further until you’re happy with the rate of the animation.
5. Create the right walk animation
You might have noticed that there is no set of sprites walking to the right in the Enemy sprite atlas — this is because you can flip the sprites to create an animation for the opposite direction.
To create a right walk animation, follow these instructions:
1. In the Animation window, open the EnemyLeft dropdown and select Create new Clip… Name your new clip “EnemyRight”.
2. Drag all four of the EnemyWalkSides sprites from the Project window and release them over the Animation window.
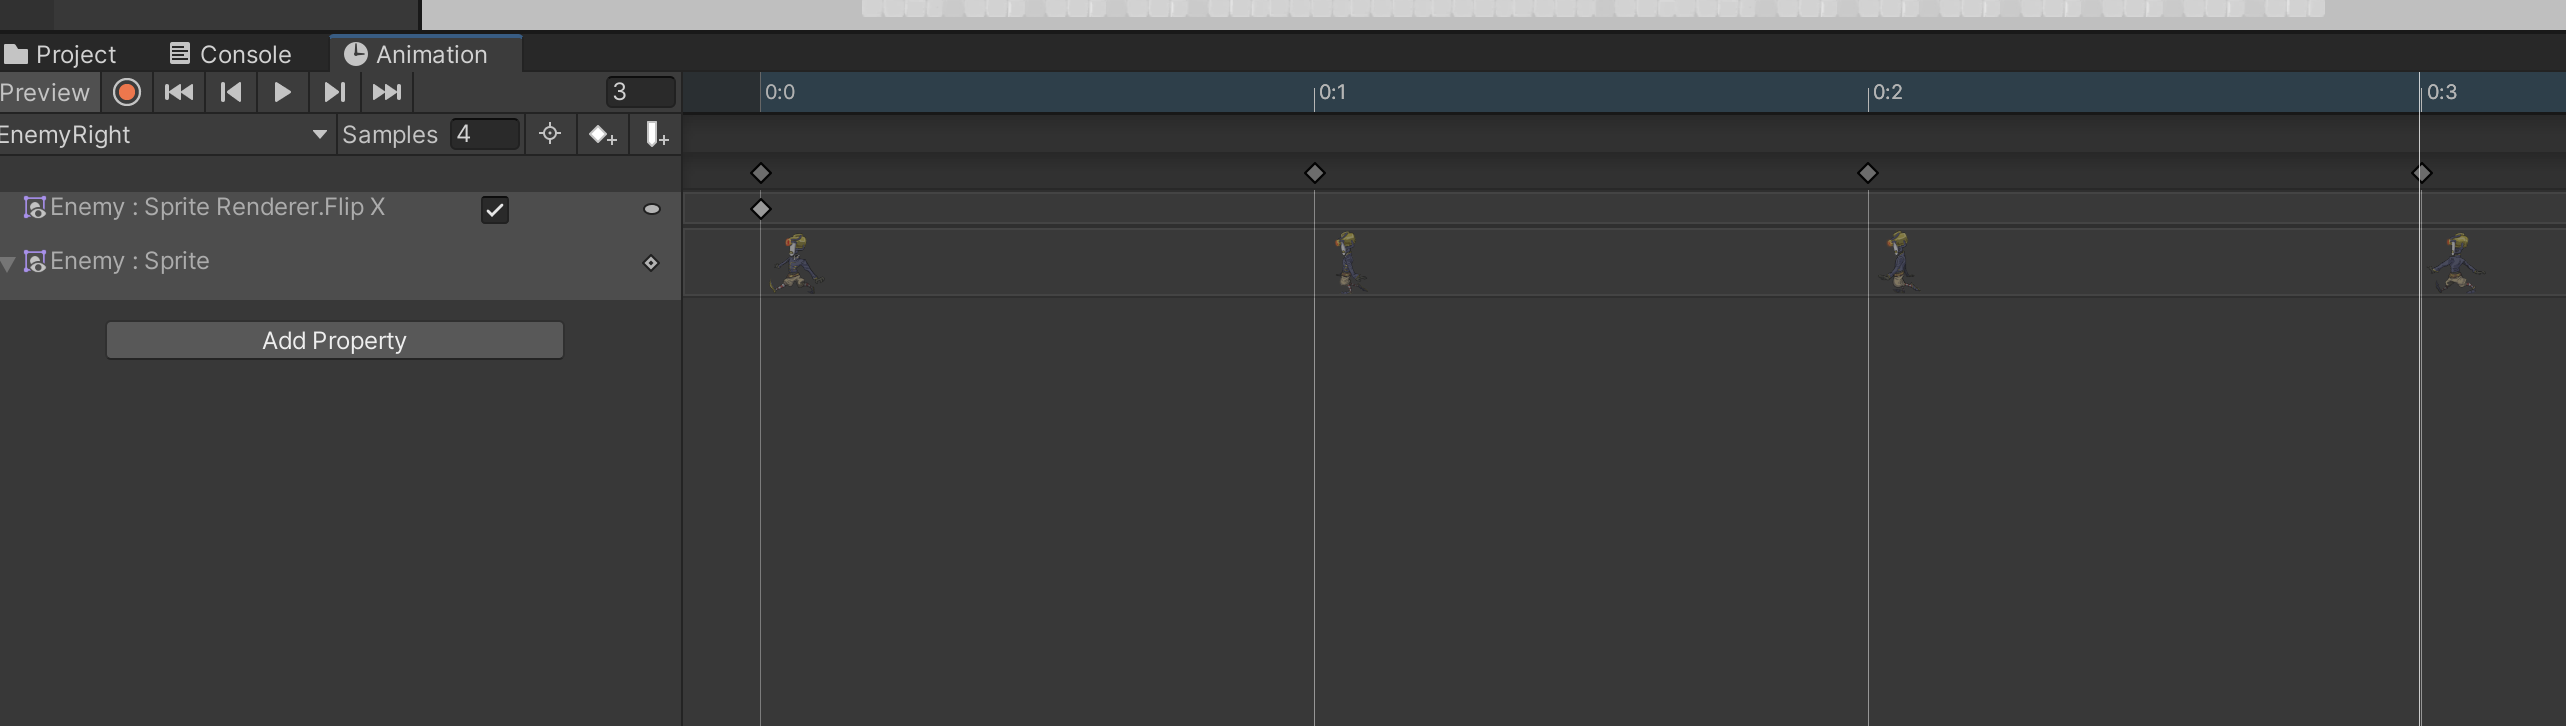
3. Set the Samples property to 4.
4. On the left side of the Animation window, select Add Property.
5. Use the foldout (triangle) to expand the Sprite Renderer component and find the Sprite Renderer.Flip X property. Select the Add (+) button.
The Sprite Renderer.Flip X controls whether the sprite is horizontally flipped for a given frame.
6. Select the first frame of the animation in the timeline (Frame 0), then enable Sprite Renderer.Flip X.
7. Select the fourth frame and check that Sprite Renderer.Flip X is enabled for the frame — this will ensure that the sprite stays flipped for the entire animation. The diamond icons aligned with the Sprite Renderer.Flip X property at frames 0 and 4 indicate that there is a change in the value of the property at that frame.
8. Save your changes to the Unity project.
Additional animation clips for each direction
The process of creating animation clip assets can be time-consuming, so we’ve pre-made the rest of the animation clips that you’ll need for the enemy character. The two clips that you’re going to use in the rest of this tutorial are EnemyUp and EnemyDown, located in the Animation Clips folder. These pre-configured assets will be used as you create the enemy blend tree in the next few steps.
6. Create a Blend Tree
You’ve created the walking animation clips and tested them on the Enemy prefab, but there’s something missing. Unity currently has no way of knowing that each animation clip is related to movement in a particular direction. The Animator Controller for the enemy character will define how the animations are related to states of the Enemy GameObject — for example, matching the EnemyUp animation clip to the enemy’s vertical movement on the y-axis.
Review the Animator window
In the main menu, go to Window > Animation > Animator.
Important: This window is not the same as the Animation window — take a moment to check that you’ve opened the correct one for the task you are performing when you work on animations.
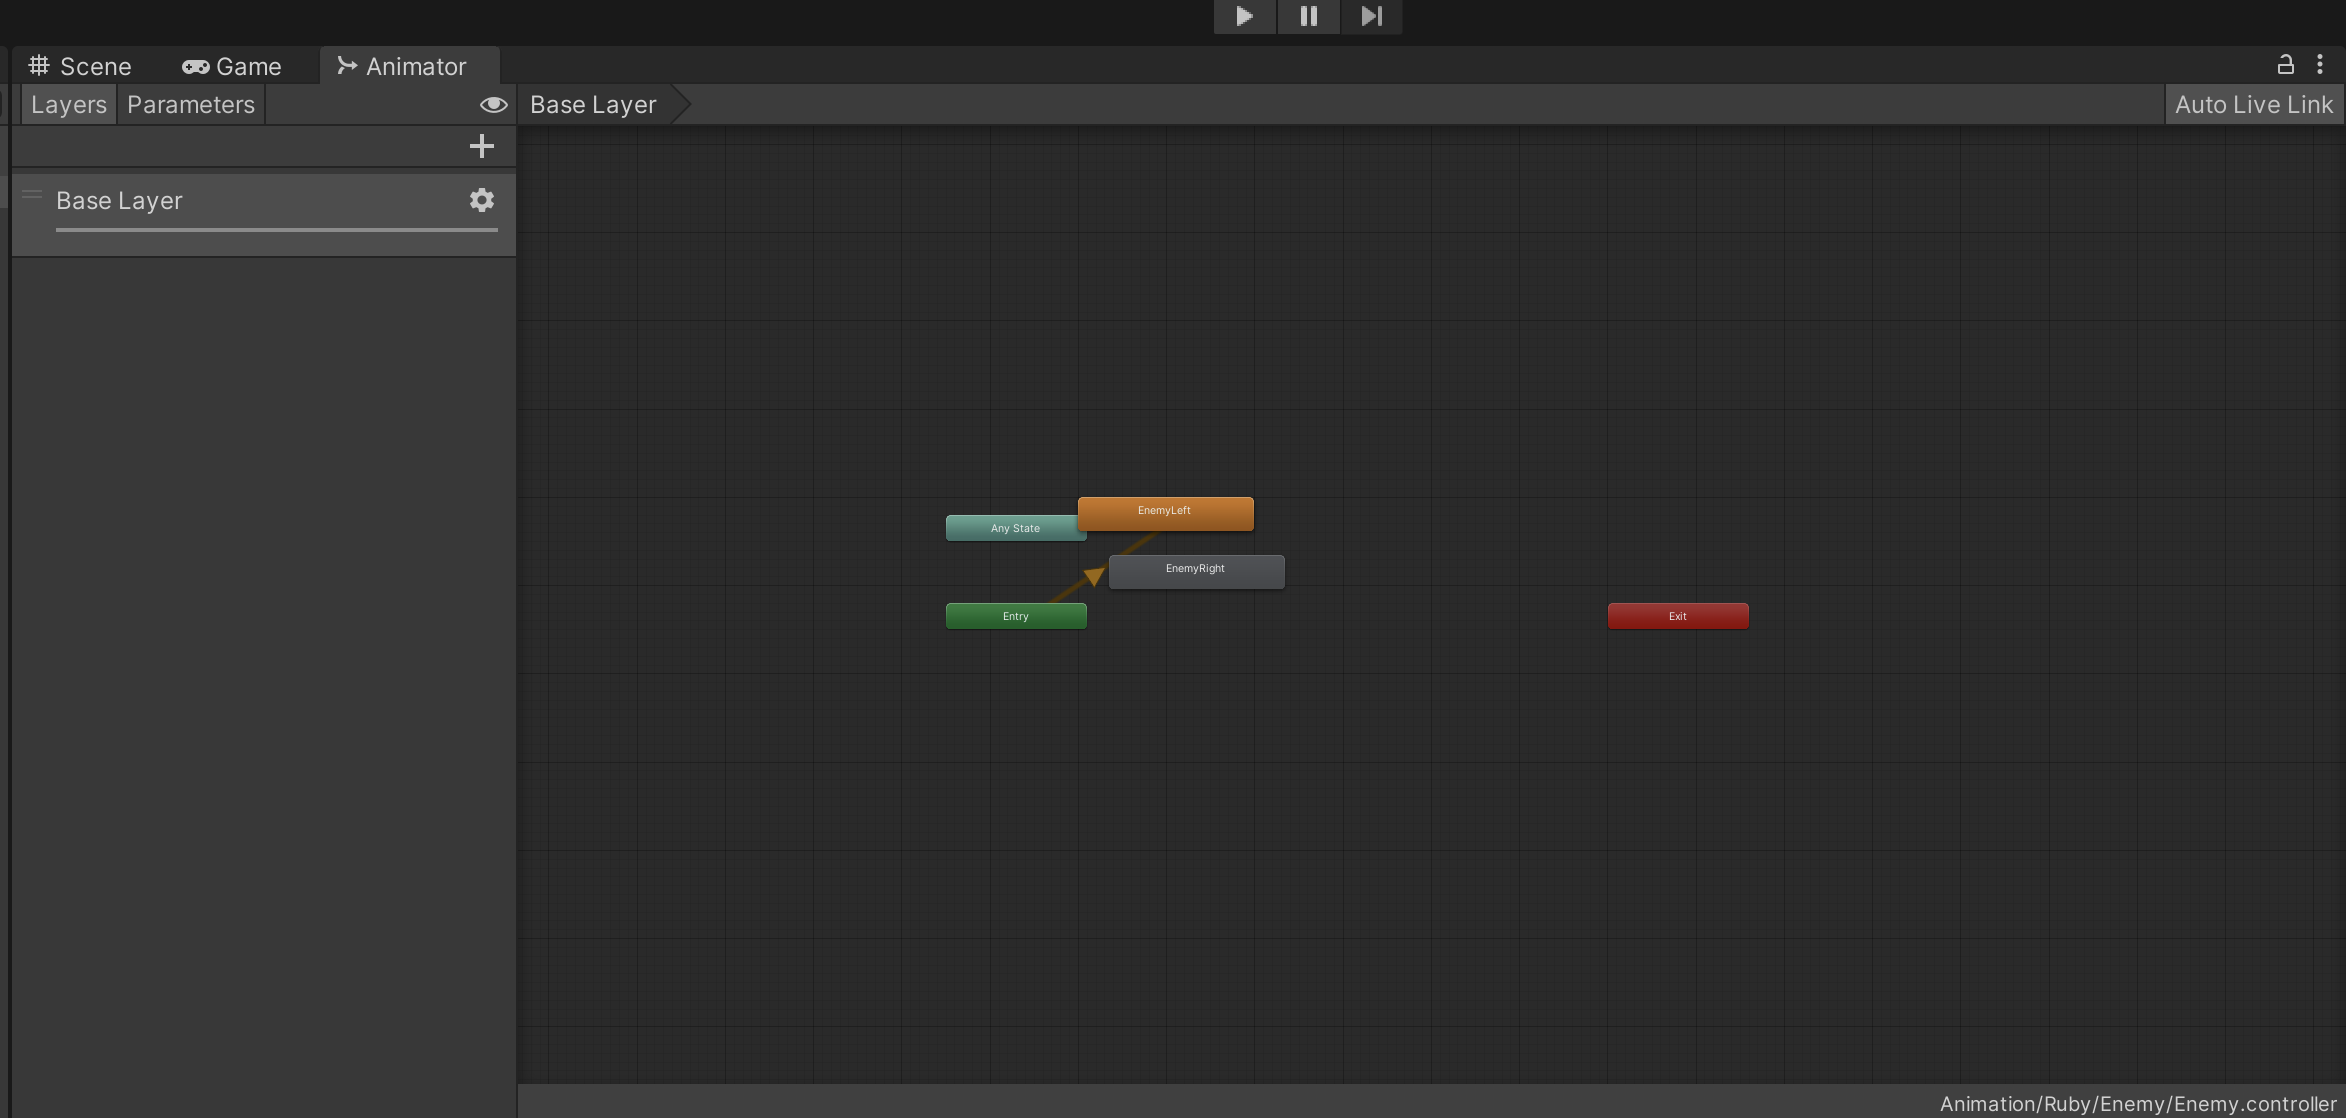
There are two key parts of the Animator window:
- The Layers and Parameters pane (left side): Layers are helpful for applying multiple 3D animations to a character, among other things. Parameters are used by scripts to pass information to the Animator Controller.
- The gridded layout area: This area contains a graphical representation of the different states of your animations and the transitions between those states.
The Entry state is the first state that will play when the animation starts. At the moment, it’s connected to the EnemyLeft animation because this is the first one that you created. None of the other animations are currently connected.
The four animations represent the enemy character’s movement in different directions. Unity’s animation system has a useful tool for this situation: Blend Trees, which can choose between multiple animations based on a parameter. In this case, you’ve set up four animations based on the enemy’s direction of movement.
Create a Blend Tree
To create a Blend Tree for the animations, follow these instructions:
1. Select and delete the EnemyLeft and EnemyRight animations in the layout area.
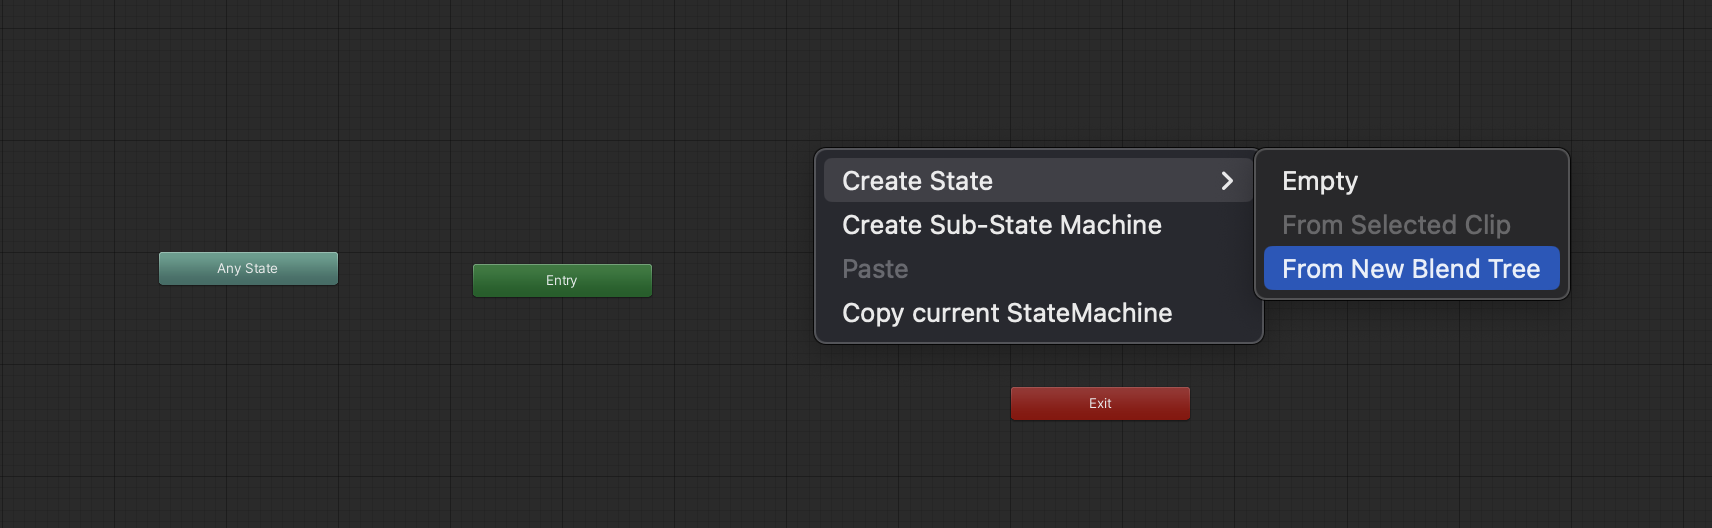
2. Right-click in the layout area and select Create State > From New Blend Tree.
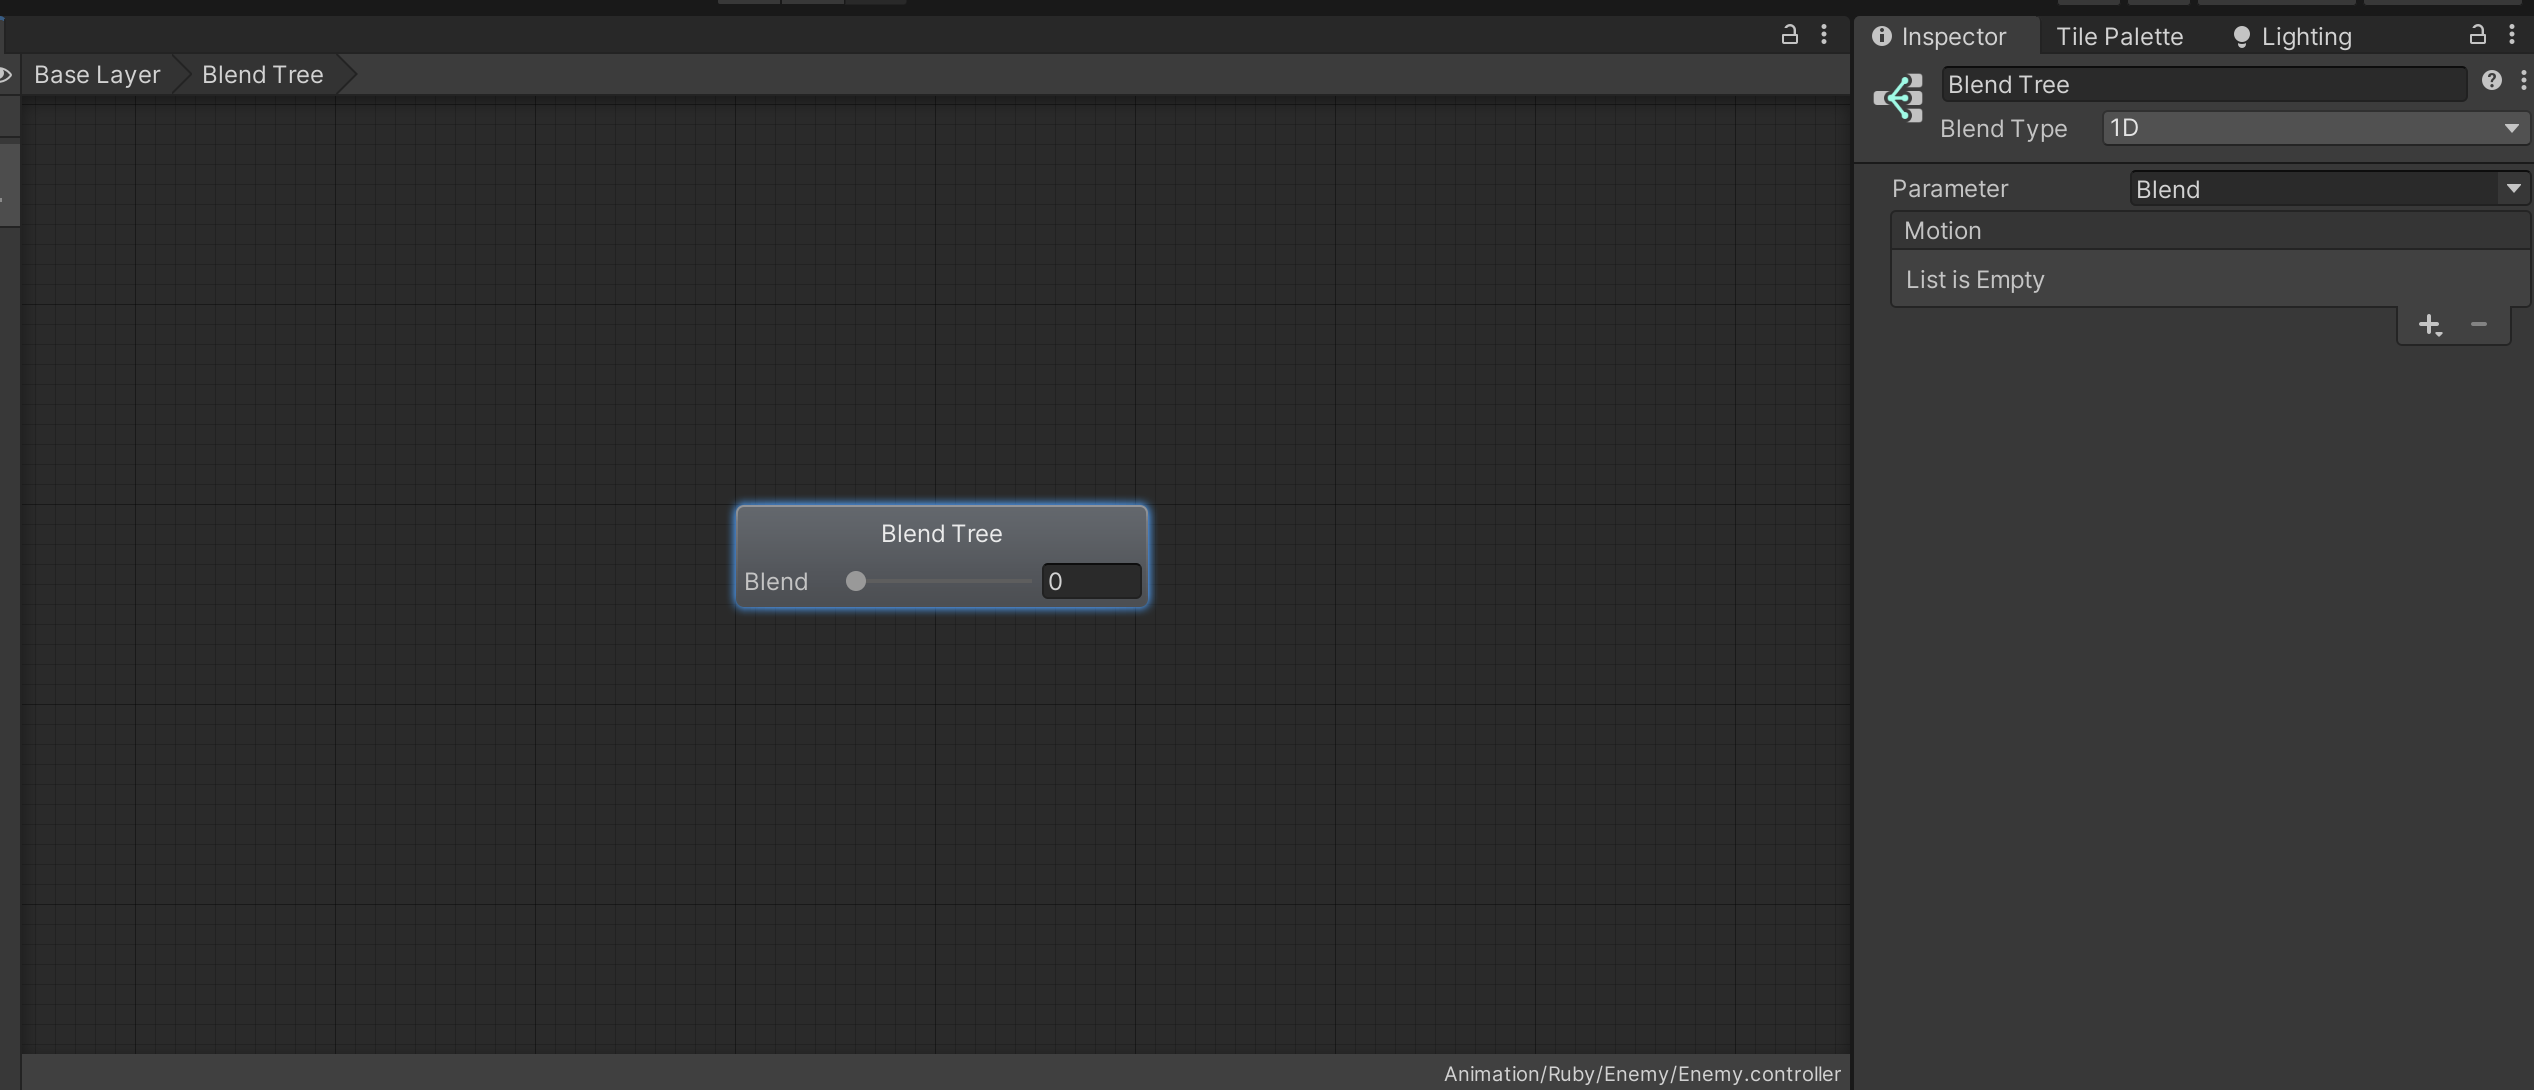
3. Double-click Blend Tree to open it, then select the node and review its details in the Inspector window.
4. Set the Blend Type property to 2D Simple Directional.
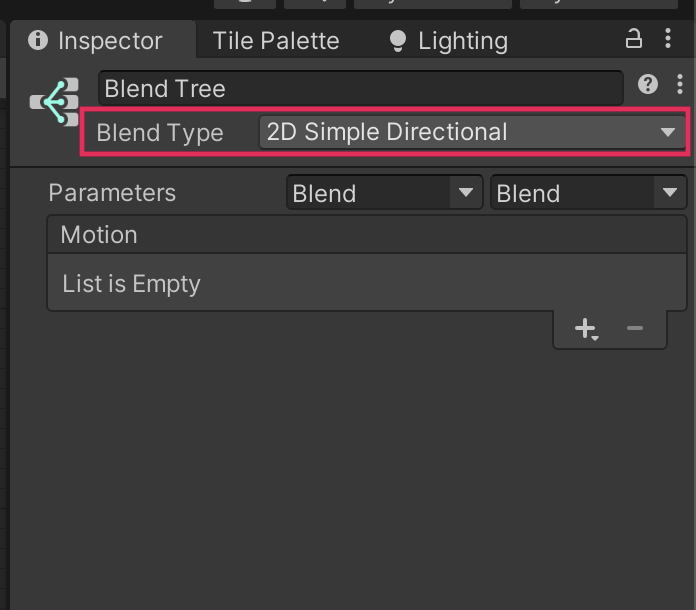
The Blend Type property defines how many parameters the Blend Tree uses to select the correct animation to play. 2D Simple Directional provides two parameters to control horizontal and vertical direction changes, which is exactly what you need to do.
7. Next steps
In this tutorial you’ve created two animations for the enemy that will be paired with the two preconfigured animations supplied in the asset package. Next, you’ll configure those animations to play based on in-game data — in this case, the Enemy GameObject’s direction of movement.