Get started with hand-drawn animation
Tutorial
·
Beginner
·
+10XP
·
45 mins
·
(284)
Unity Technologies
In this tutorial, you’ll explore how to begin using your own hand-drawn 2D animations in Unity, working through the example of a walk cycle.
By the end of this tutorial, you’ll be able to do the following:
- Describe the basic workflow for creating custom 2D animations for Unity.
- Create and export your own custom 2D animation sprite art from your 2D creation software.
- Configure your animation sprites in Unity.
Important: This tutorial provides guidance on the sprite import workflow for animation, but you’ll need to have at least basic experience creating 2D digital art to get the most out of this tutorial.
1. Overview
In 2D Beginner: Adventure Game, you’ve created animations using sprites that we’ve provided — or possibly other sprites that you’ve sourced yourself. But what if you want to create 2D sprite animations using your own art? In this tutorial, you’ll explore how to begin using your own hand-drawn 2D animations in Unity, working through the example of a walk cycle.
By the end of this tutorial, you’ll be able to do the following:
- Describe the basic workflow for creating custom 2D animations for Unity.
- Create and export your own custom 2D animation sprite art from your 2D creation software.
- Configure your animation sprites in Unity.
2. Before you begin
Prerequisites
You’ll need to have at least basic experience creating 2D digital art to get the most out of this tutorial — we’ll guide you through the artist’s workflow for animation, but we won’t provide specific support for developing your skills at creating art for animation in terms of your technique or critical evaluation.
Third-party software
We have used Photoshop to prepare the animation sprite assets in this tutorial, but you can use your 2D creation software of choice. You may find that you need to adjust export settings in different ways, depending on the software that you’re using.
Working on your own project?
This tutorial is part of Beginner 2D: Adventure Game and refers to the game project for that course, but you can follow this tutorial in any 2D Unity project.
Note: For the purposes of this tutorial, we chose to use the Ruby’s Adventure asset set, and the file paths used in instructions will reflect this. If you chose another asset set, the file names will be the same, but in your corresponding theme folder.
3. The workflow for using basic hand-drawn animations in Unity
Before you begin creating your animation, it will be helpful to have an idea of the workflow that you’ll follow. At a high level, you can break down the process of getting your hand-drawn art into a Unity game or other real-time experience into the following stages:
- Plan your animation and identify the keyframes
- Prepare your keyframe sprites in your 2D creation software
- Export the sprites as a single sprite atlas (sprite sheet)
- Import the sprite atlas into Unity
- Slice the sprite atlas and configure the import settings
- Create animations using your keyframe sprites
Plan for the example animation
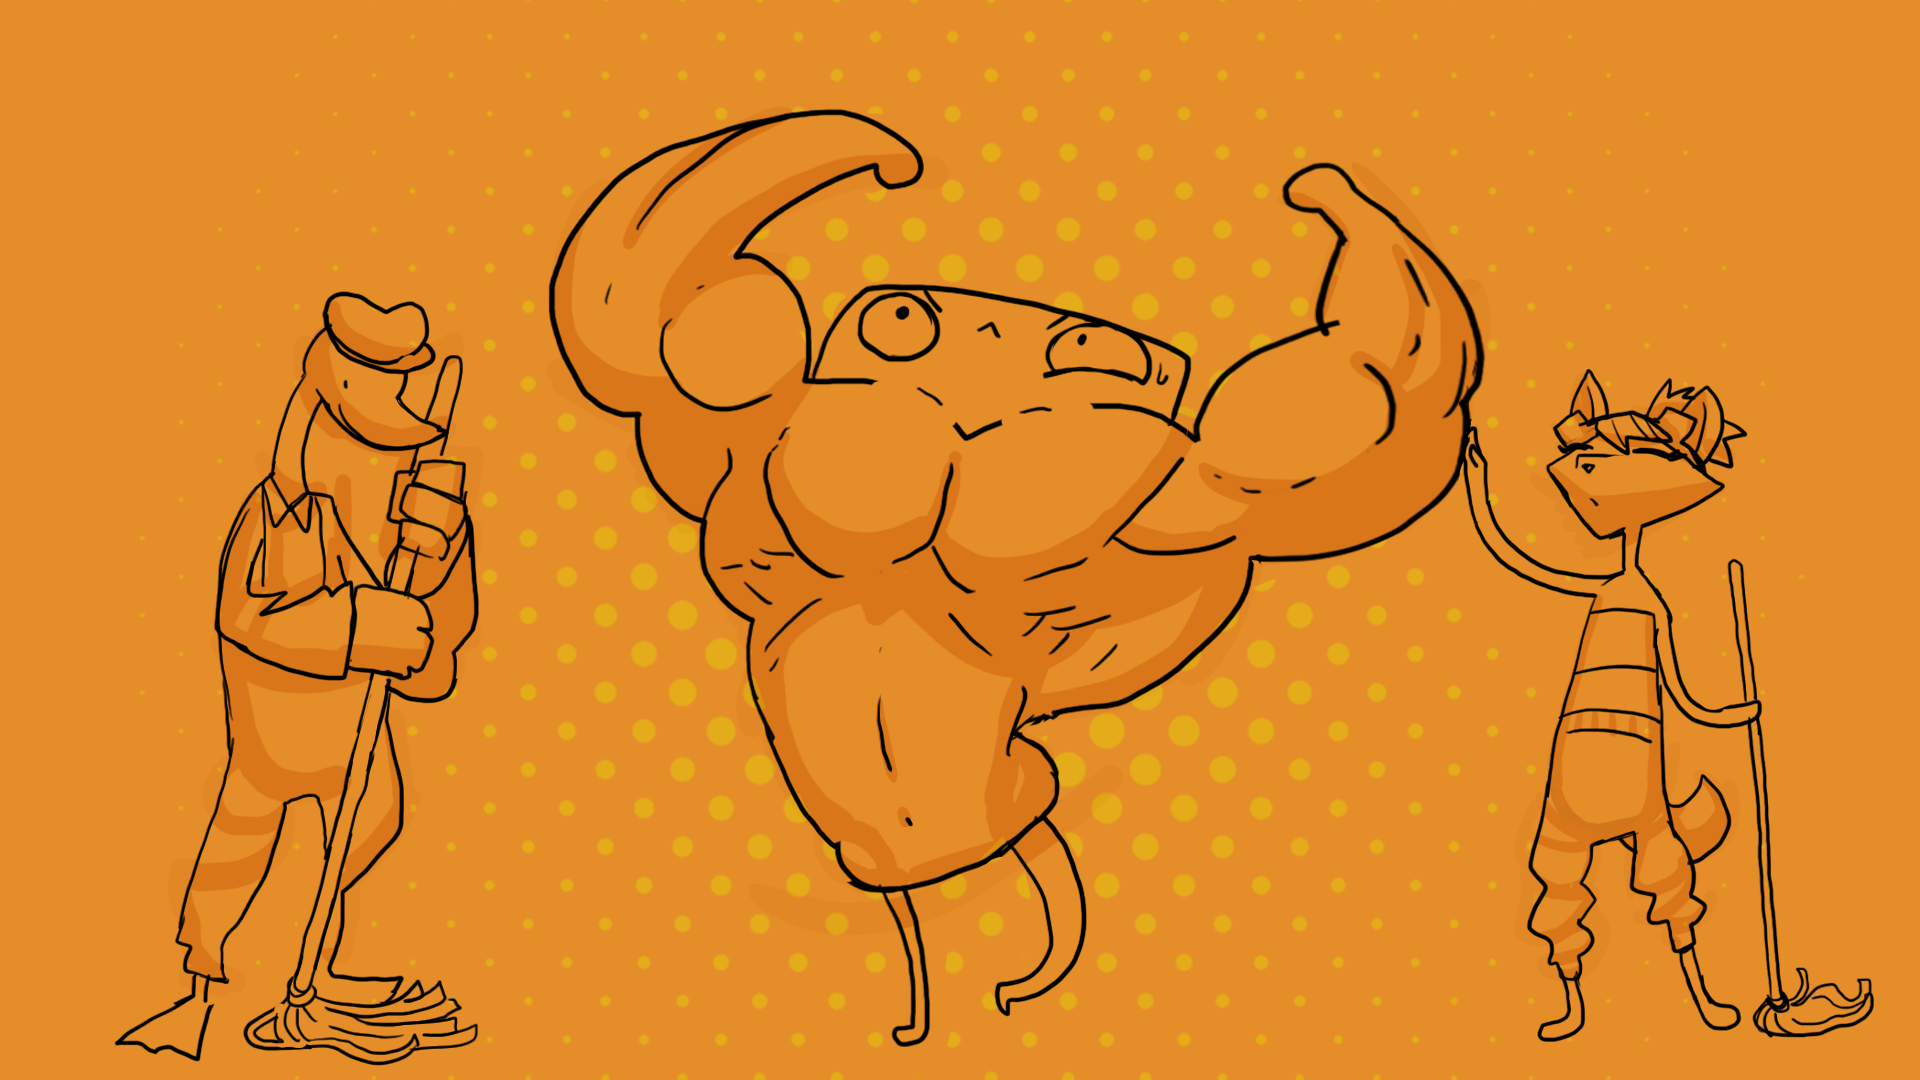
In this tutorial, we’re going to use a walk cycle for the enemy in the Ducko asset pack: a malfunctioning boiler.
A basic walk cycle for a character has the following four poses:
- Forward contact: The front foot (1) is just connecting to the ground, the back foot (2) is just rising from the ground.
- Passing pose: The character’s weight is now on the front foot (1), and the back foot (2) is moving forward and crossing (passing) the front leg.
- Back contact: The foot that was previously at the back (2) is now just connecting to the ground at the front, the other foot (1) is just rising from the ground.
- Passing pose: The character’s weight is now on the front foot (2), and the back foot (1) is moving forward and crossing (passing) the front leg. The cycle will restart from the forward contact pose.
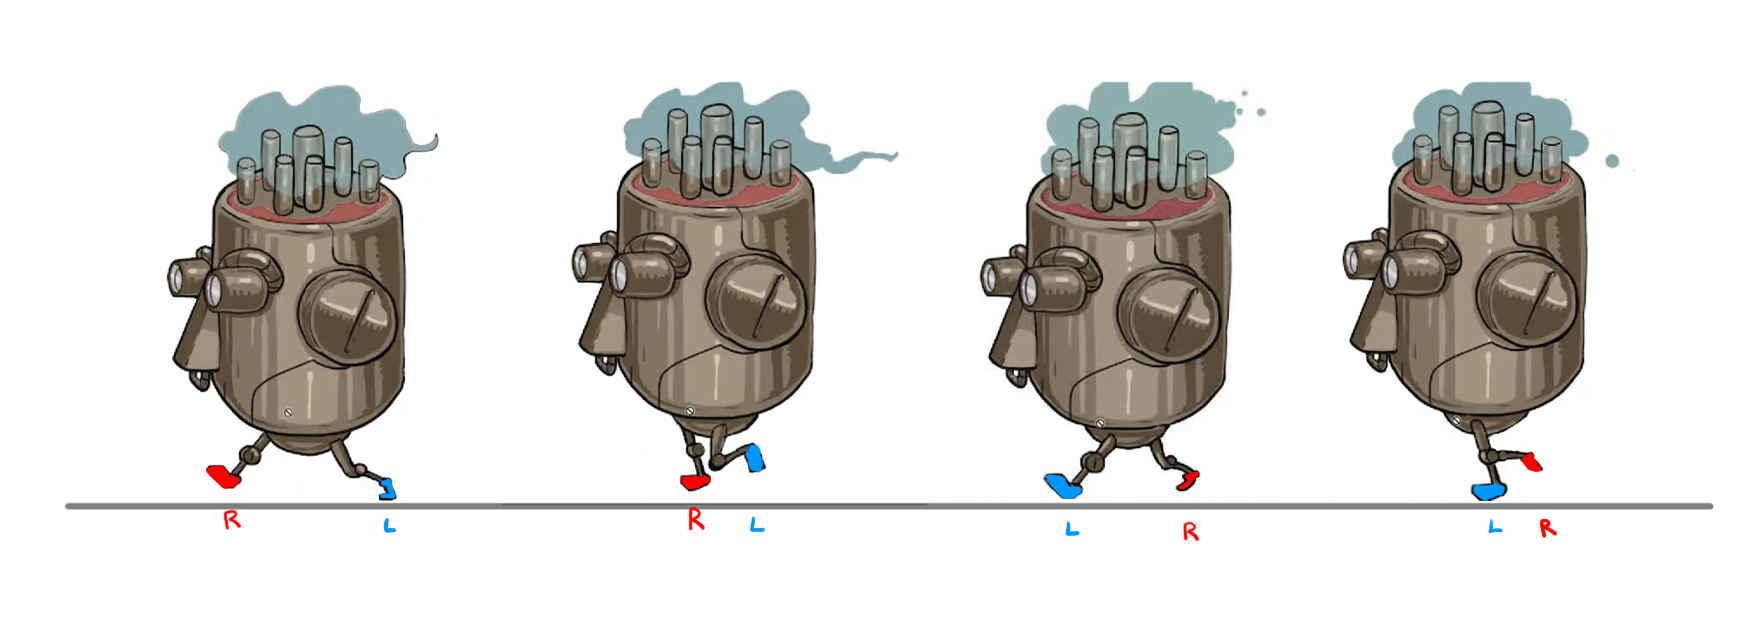
To create a walk cycle animation like this, you’ll need to create a sprite for each pose. From an animation perspective, the contact poses are the keyframes, and the passing poses are the inbetweens. In Unity terminology, each frame in an animation is called a keyframe, so all four of these poses will be called keyframes when you use them to create an animation in Unity.
4. Prepare your animation sprites
First, you need to create a sprite for each of the walk cycle poses. From an art perspective, the process of developing your keyframe sprites will probably involve drawing the outline, adding flat colors, shading, and then final adjustments to polish each sprite.
Important: When you create sprites for Unity, the dimensions of the files are critical for optimal sprite rendering. The height and width of a sprite file should be a power of two size in pixels (2^n). The height and width don’t need to be the same value: both 16 by 16 pixels and 8 by 32 pixels would meet this requirement. For these walk cycle sprites, our animator created 512 by 512 pixel files.
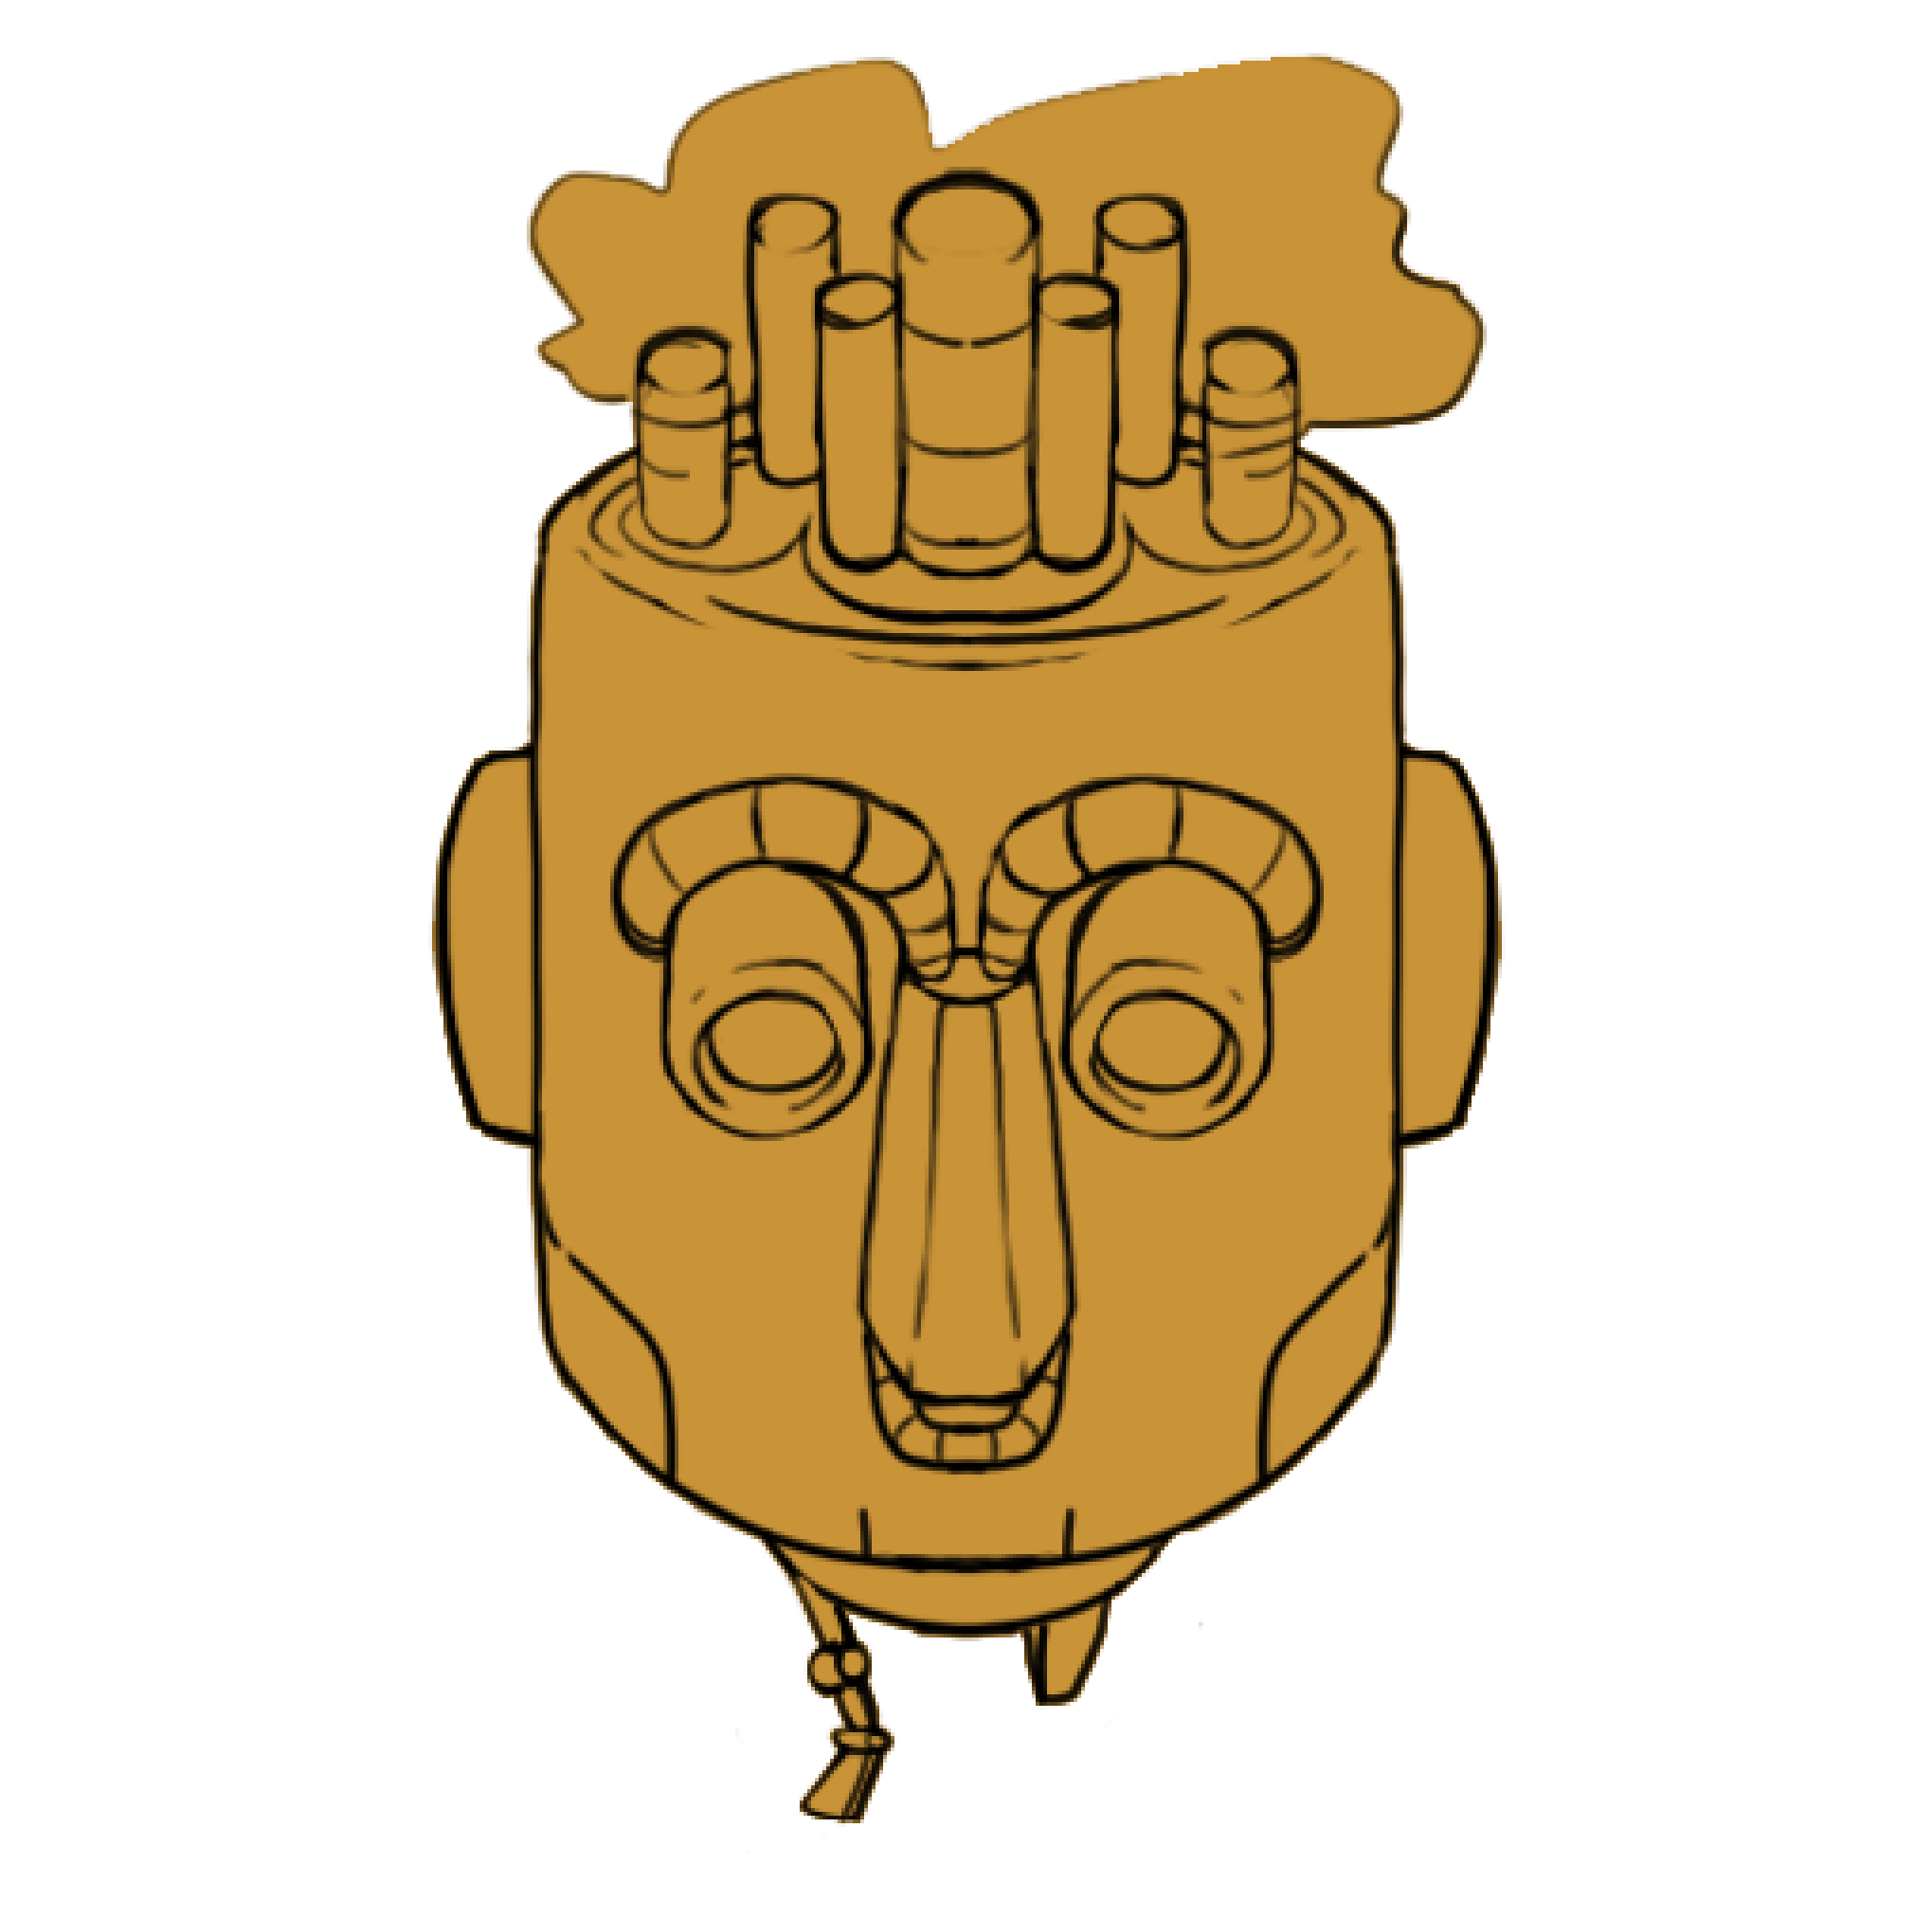
Outline sprites
For the Ducko asset pack enemy, this first video shows the walk cycle with just the outline for the sprites:
Flat colors
The animator then applied flat color to the sprites:
Polished sprites
After adding the flat color, the animator refined and polished the sprites until they were satisfied with the final outcome:
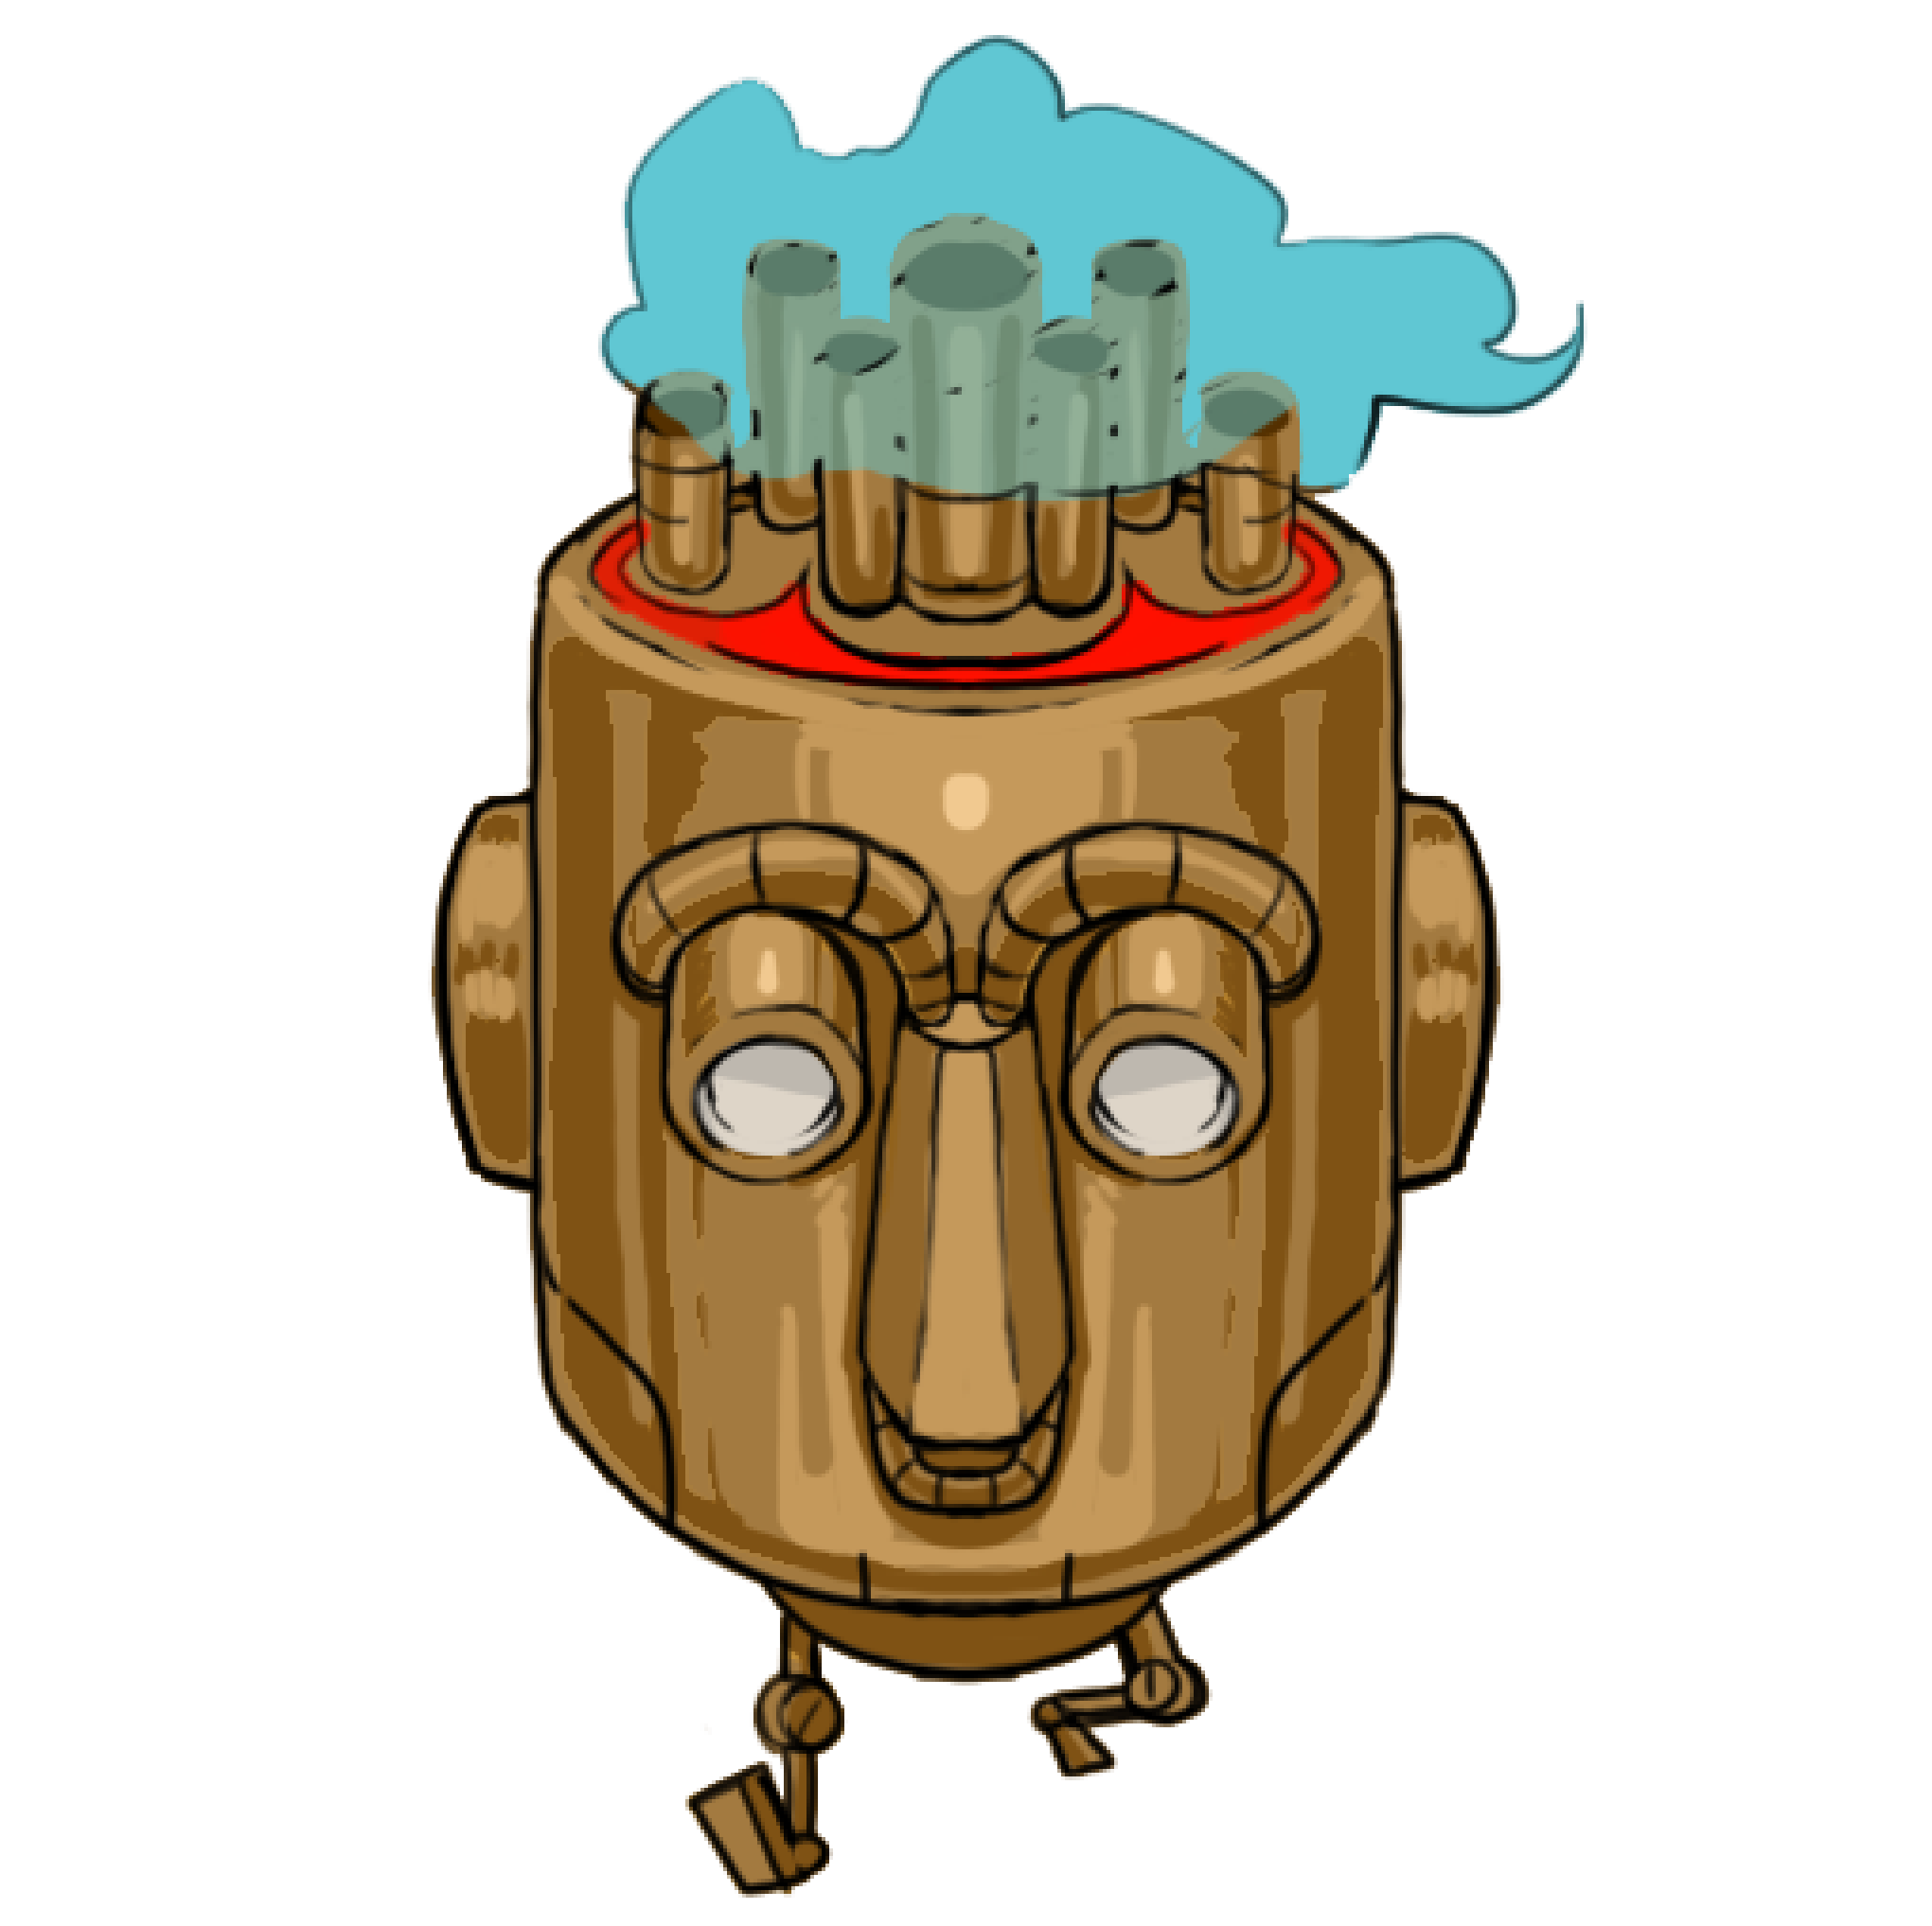
Final walk cycle
In this second and final walk cycle video, the four sprites are fully colored and refined:
5. Export your sprites as a sprite atlas
Once you’ve created the sprites that you need for your animation, the next stage is to export them from your 2D creation software as a sprite atlas (or sprite sheet). Organizing the animation frames in a single file is a much more resource-efficient approach than importing each sprite separately. You can add the sprites for all the animations involving a character to the same sprite atlas asset, just as we did for the pre-created sprites that we provided for you to use in the 2D Beginner: Adventure Game course.
To create a sprite atlas for you animation, follow these high-level instructions:
1. In your 2D creation software, create a new file. Just like the individual sprites that you created for each pose, the dimensions of this file should both be a power of two value (2^n). Remember that you need to arrange your sprites in a grid and choose a size that will work well for you.
2048 by 2048 pixels is a good starting point for a large amount of sprites, but you might want to start with a smaller one the first time you work through this process.
Note: It’s not impossible to work with sprite atlases of different sizes in Unity, but if you are creating assets yourself, always use power of two dimensions.
2. Arrange your pose sprites in a grid in the new file. The layout of this grid is very important: you need to pack the sprites in such a way that they can be cleanly sliced in Unity, with a clear gutter around each sprite. Imagine your sprite grid on a piece of paper that’s going to be cut by a rotary trimmer or craft guillotine — you don’t have the flexibility of scissors when you slice, so you need to make sure that the sprites are exactly aligned.
Important: Make sure that you remove any backgrounds that you used as you worked on the sprites. This file should only include the sprites that you want to import to Unity; the background must be transparent.
3. Export the sprite atlas as a PNG file.
6. Import and configure your sprites in Unity
Once you’ve created the correct file, you’re now ready to import and configure the sprite sheet asset in Unity.
Note: In this step we provide some guidance on setting configuration, but you might find it useful to explore the sprite import settings documentation to develop your understanding of what each import setting does so you can configure your sprites just as you need for your particular game.
To import and configure your animation sprites, follow these instructions:
1. Drag your sprite atlas asset from your Finder or File Explorer window and release it over the Project window in Unity. Remember, sorting your assets into folders will help you keep your project well-organized.
2. In the Project window, select the sprite atlas asset. Review the Import Settings in the Inspector window.

3. Open the Sprite Mode property dropdown and select Multiple.
4. Adjust the Pixels Per Unit value, if you need to. The value for this setting will be based on how you organize your project.
5. Set the Filter Mode property to Bilinear or Point (for pixel art). These options preserve the pixels of the sprite atlas in the animation as rendered by Unity.
6. If you need to, you can use the Max Size property to downscale the sprite sheet in-game. Right now, set this property to the largest dimension size of your sprite atlas.
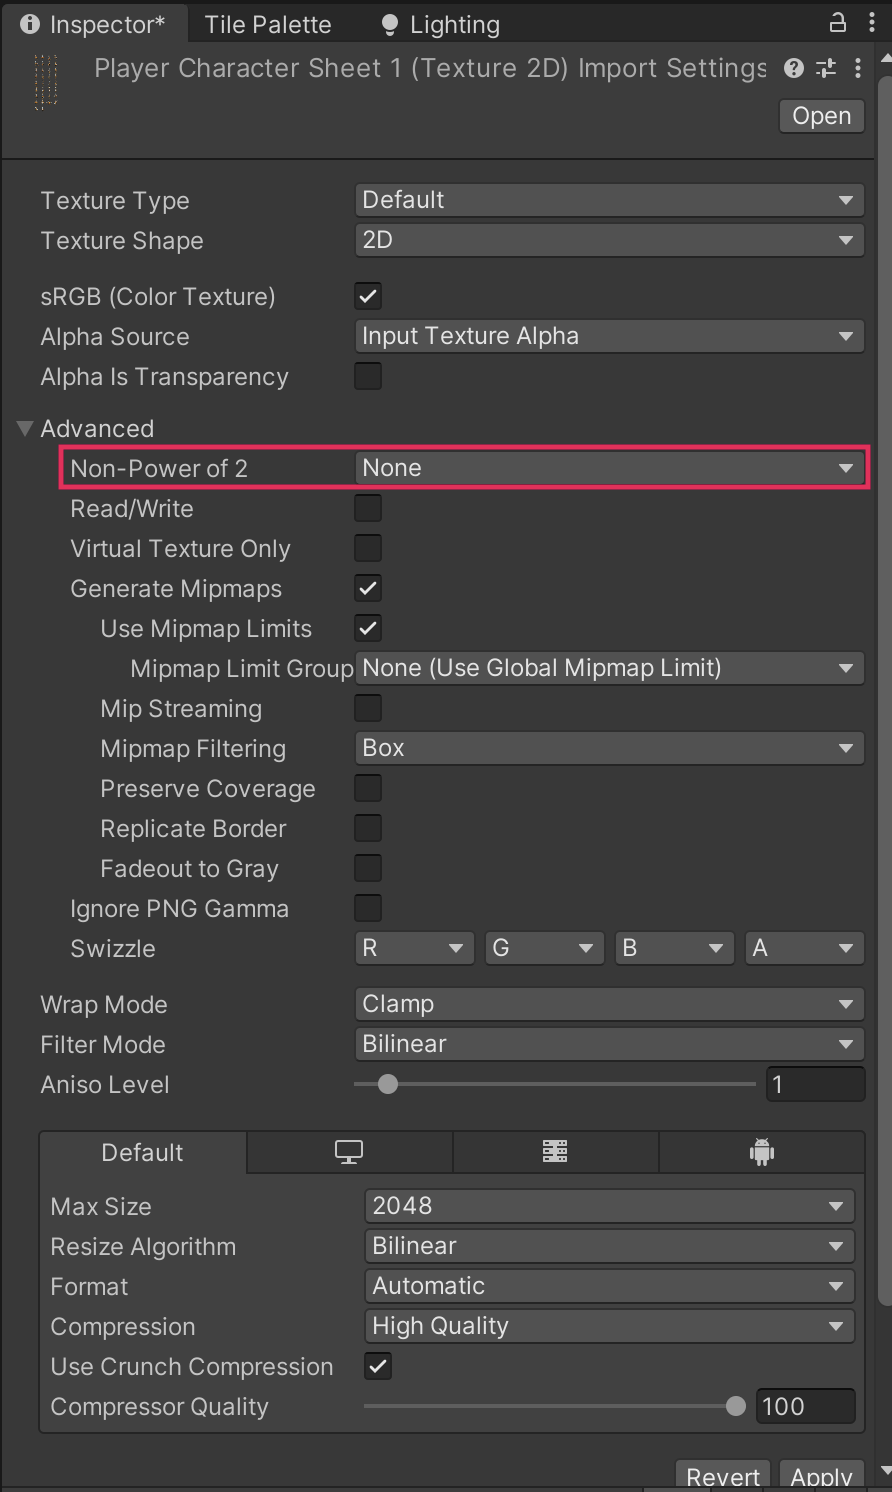
7. If you are using an asset that hasn’t been saved at a power of two size, use the foldout (triangle) to expand the Advanced setting. Open the Non-Power of 2 property dropdown and select ToNearest to scale the sprite size to the closest power or two.
8. Select Apply to save your setting changes.
9. Open the Sprite Editor, slice your sprite sheet, and open the Pivot property dropdown and select Bottom. Apply your changes and close the window.
Once you’ve completed this setup process, you’ll be ready to create animations with your hand-drawn keyframe sprites.
7. More things to try
If you want to further develop your skills, explore new concepts, or improve your project, check out some of the optional activities below. Each one is tagged as either Easy, Medium, or Difficult, so you can choose the level of challenge.
These activities are entirely optional, so if you’re not interested, no problem — just skip this step. We do recommend attempting at least one of them in order to get the most out of this learning experience. Good luck!
Easy: Animate sprite decorations for your world
To practice your hand-drawn animation for Unity skills without needing to create a whole walk cycle, try to create some animated decorations for your gameplay environment. For example, you could create a plant that slowly sways in the wind or an animal that occasionally wiggles.
Tip: You can use the same quick approach to creating an animated GameObject that you used for the friendly NPC to create this animation, once you have configured the sprites in Unity.
Medium: Create a victory pose animation
Now that you’ve created a walk cycle, try defining keyframes and working through the same process to create a victory animation for the player character in your game. Think about what your choices communicate — what characterisation work can your animation do to tell the player more about the character?
Difficult: Create a more complex walk cycle
For a very distinctive walk cycle animation, you could move beyond the four basic keyframes and work on a more complex walk cycle that could be used for a boss character. There are a wide variety of resources that you can find online to help you break down more detailed cycle stages to identify suitable keyframes.
8. Next steps
This tutorial is just a starting point for your hand-drawn animation journey — take time to experiment as you practice the basic workflow here to develop your experience and confidence working with animation in Unity.
If you’re completing the 2D Beginner: Adventure Game course, this is the final optional tutorial. You’re now ready to build and publish your game to share with others.