Optional bonus features
Tutorial
Beginner
+10XP
60 mins
239
Unity Technologies

Take your project to the next level with optional bonus features.
Materials
1. Overview
In this optional tutorial, you’ll find a collection of bonus features you can add to your 2D Sprite Flight project. These features are your opportunity to personalize your game, explore new creative directions, and push your Unity skills further.
The features below are grouped in an order that reflects how you might logically approach expanding or polishing your game — from conceptual changes to visual polish, difficulty balancing, and platform support.
You can see most of the features below highlighted in this demo version of the game on Unity Play. You can also watch this video showcasing that demo game:
You can choose to add none, some, or all of these features — or even come up with completely new ideas of your own!
If you like your game just the way it is and don’t want to add anything else, just scroll down to the bottom of this tutorial, mark it as complete, and move on to the final tutorial where you’ll build and share your game.
Bonus feature list:
- Change the entire game concept
- Swap out the sprites
- Create a cohesive color scheme
- Increase difficulty over time
- Destroy the borders on game over
- Add sound effects and background music
- Add ambient background particles
- Animate the booster graphic with audio
- Make your game compatible with mobile
Note: These steps won’t include the same level of step-by-step guidance or screenshots as earlier tutorials. They're meant to be more open-ended and challenging. Don’t be afraid to do some research, revisit earlier tutorials, or use an LLM (like ChatGPT) to help figure things out — for example, try pasting in your script and asking how to implement a new feature.
2. Change your entire game concept
At this point, you’ve built a solid game system — a player-controlled, triangle-shaped ship that must dodge flying asteroid-type obstacles. But what if your game was about something totally different?
By changing just the visuals and theme, you can completely transform your game’s identity. Since your characters and obstacles are made from simple shapes, it’s easy to reimagine them into something new: a mouse escaping hungry cats, an alien dodging meteors, or even a pizza slice flying through space!
This kind of reskinning is common in game development and is a fun way to stretch your creativity.
1. Think of a new theme:
- Is your game still happening in space? Or is it now on land, in water, or underground?
- Who is the player, and what are they escaping from?
2. Update your GameObjects using simple 2D shapes:
- Just like you did with your ship, use child GameObjects and scale/rotate 2D primitives like triangles, rectangles, capsules, or hexagons to create your new character or obstacles.
- Group them under a parent GameObject to retain their behaviour.
Note: You might need to remove, replace, or adjust the colliders based on the new shapes.
Tip: You don’t have to change any code for this step — but it might inspire future changes. A fresh theme could lead to new gameplay ideas, visuals, or sound effects.
3. Swap out your sprites
Your game is currently built using Unity’s default shapes — and that’s a great way to prototype. But now that you have a full game loop, it’s a good time to replace those shapes with custom sprites or artwork. Whether you create your own or use free or paid assets, swapping visuals is an easy way to make your game feel more polished and original.
1. Find or create new sprites:
- You can create your own sprites in a tool like Photoshop, Aseprite, or even MS Paint.
- You can also browse free asset sites like the following:
2. Add new sprites as child GameObjects:
- In the Hierarchy window, select the Player, Obstacle, or Borders GameObject you want to reskin.
Tip: If you want to add a custom background, add a new square sprite and set its Order in Layer property to a negative number. This will make sure it appears behind the other sprites.
- Add a new sprite child GameObject.
- Assign your custom sprite in the Inspector window.
- Disable the old Sprite Renderer component (used for the default shape).
3. Adjust size, position, and rotation:
- You might need to tweak the Transform component on your new sprite to match your existing hitboxes or layout.
- Use Unity’s 2D tools to align the visual element with the functional one.
4. (Optional) Try animated sprite sheets:
- If you want more visual flair, try replacing your thruster or obstacles with animated 2D sprite sheets.
- Unity’s 2D Animation or Animator tools can help you play looping animations during gameplay.
4. Create a cohesive color scheme
One of the easiest ways to give your game a more polished and professional look is to choose a cohesive color palette. Coordinating the colors of your player, obstacles, background, and UI elements can help everything feel like it belongs in the same world — even if you’re still using simple shapes.

1. Generate a color palette online:
- Search online for “color palette generator” and explore some of the results.
- Choose a palette that fits the mood of your game.
2. Apply the colors in Unity:
- Copy the Hex code (for example. #FF6B6B) from the palette site.
- In Unity, select a GameObject and select the Color swatch from its Sprite Renderer component.
- Paste the Hex code into the Hexadecimal box.
- Repeat this process for your Player, Obstacles, Borders, GameUI GameObjects, and the Main Camera GameObject’s Background color.
3. Test the contrast:
- Make sure your score is readable against the background.
- Use brighter or bolder colors for gameplay-critical elements.
5. Increase difficulty over time
Want to make your game feel more intense the longer a player survives? You can add difficulty progression by tweaking how obstacles behave. One surprisingly effective trick is to adjust the bounciness of their physics material — which gradually increases their speed with each bounce.
1. Select your Physics Material:
- In the Project window, locate the 2D Physics Material used by your obstacles (The one you named PhysMat_Bouncy in the Make a flying obstacle prefab tutorial).
2. Increase the bounciness value:
- In the Inspector window, set Bounciness property to something slightly higher than 1.0, like 1.05 or 1.1.
- This will cause the obstacles to gain speed each time they bounce off a surface.
Note: Too much bounciness can make GameObjects get out of control quickly — test different values to find a fun balance.
3. (Optional) Clamp max speed in code:
- If the Obstacle GameObjects become too fast, the game can effectively become impossible. You can modify your obstacle script to limit their velocity using Rigidbody2D.linearVelocity.magnitude.
- Try searching online or pasting your script into your AI chatbot of choice and ask how to clamp velocity in Unity.
Tip: This technique works best when combined with other features like player upgrades to give the player a chance of surviving in more difficult circumstances.
6. Destroy the borders on game over
If you added the increasing difficulty feature above, you might have noticed that the obstacles keep bouncing around the screen even after the player is destroyed. This can feel distracting or messy. One simple fix is to make the screen borders disappear on game over so obstacles fly off-screen instead of endlessly rebounding.
1. Create a reference in your script to the Borders parent GameObject:
- In PlayerController.cs, add the following new public GameObject variable:
public GameObject borderParent;- Drag the Borders GameObject into the Player GameObject’s Border Parent box in the Inspector window.
2. Disable the borders when the Player GameObject is destroyed:
- In OnCollisionEnter2D(), before or after the explosion is triggered, add the following line of code:
borderParent.SetActive(false);7. Add sound effects and background music
Sound instantly makes your game feel more complete and satisfying. You can add background music to set the mood, and a sound effect to play when the player explodes. These little touches go a long way in making your game feel polished.
1. Add background music to your scene:
- Right-click in the Hierarchy window and select Audio > Audio Source.
- Download this demo music track, drag it into your Assets folder, and assign it to the Audio Resource box in the Audio Source component.
- Enable Loop and reduce Volume to around 0.3 to avoid overpowering the sound effects.
- Select the Play button to test it out.
2. Add a sound effect to the explosion:
- Select the ExplosionEffect prefab in the Project window.
- Add an Audio Source component directly to the prefab.
- Download this demo explosion sound effect, drag it into your Assets folder, and assign it to the Audio Resource box in the Audio Source component.
Note: Since the prefab is instantiated when the Player GameObject is destroyed, the sound will play automatically when it appears.
3. Find alternative free audio:
- Try one of the following resources for free sounds and music:
8. Add ambient background particles
Want to make your game world feel more alive without changing how it plays? Adding a background particle system — like drifting stars, dust, or sparkles — can bring motion and atmosphere to your scene. It’s subtle, but it makes a big difference in how polished your game feels.
1. Add a new particle system:
- In the Hierarchy window, right-click and select Effects > Particle System.
- Rename it “StarryBackground” (or something similar).
2. Resize the emission area:
- In the Inspector window, open the Shape section.
- Set the Shape property to Box and set the Scale property so it matches your screen bounds.
3. Adjust visual settings:
- In the Main section:
- Adjust the Start Speed property.
- Set the Start Size property to something small like 0.05.
- Adjust the Start Lifetime property.
Note: The Main section at the top of the Particle System component with the header that matches the name of the GameObject.
- (Optional) In the Color over Lifetime section:
- Add a fade-in and fade-out gradient using the Alpha curve.
4. Make the particles go in random directions:
- Enable the Velocity over Lifetime section.
- Set the Linear property Random Between Two Constants.
- Set the minimum and maximum X and Y values to -1.0 and 1.0 to have the particles moving randomly in all 2D directions.
9. Animated booster graphic with audio
Adding a small burst of animation and sound when the player moves can make the controls feel more responsive and fun. You can create a booster flame that appears when the player applies thrust and that disappears when they release the mouse button, along with a matching sound effect. The best way to experience this impact of this feature is by playing the demo on Unity Play.

1. Create a booster graphic:
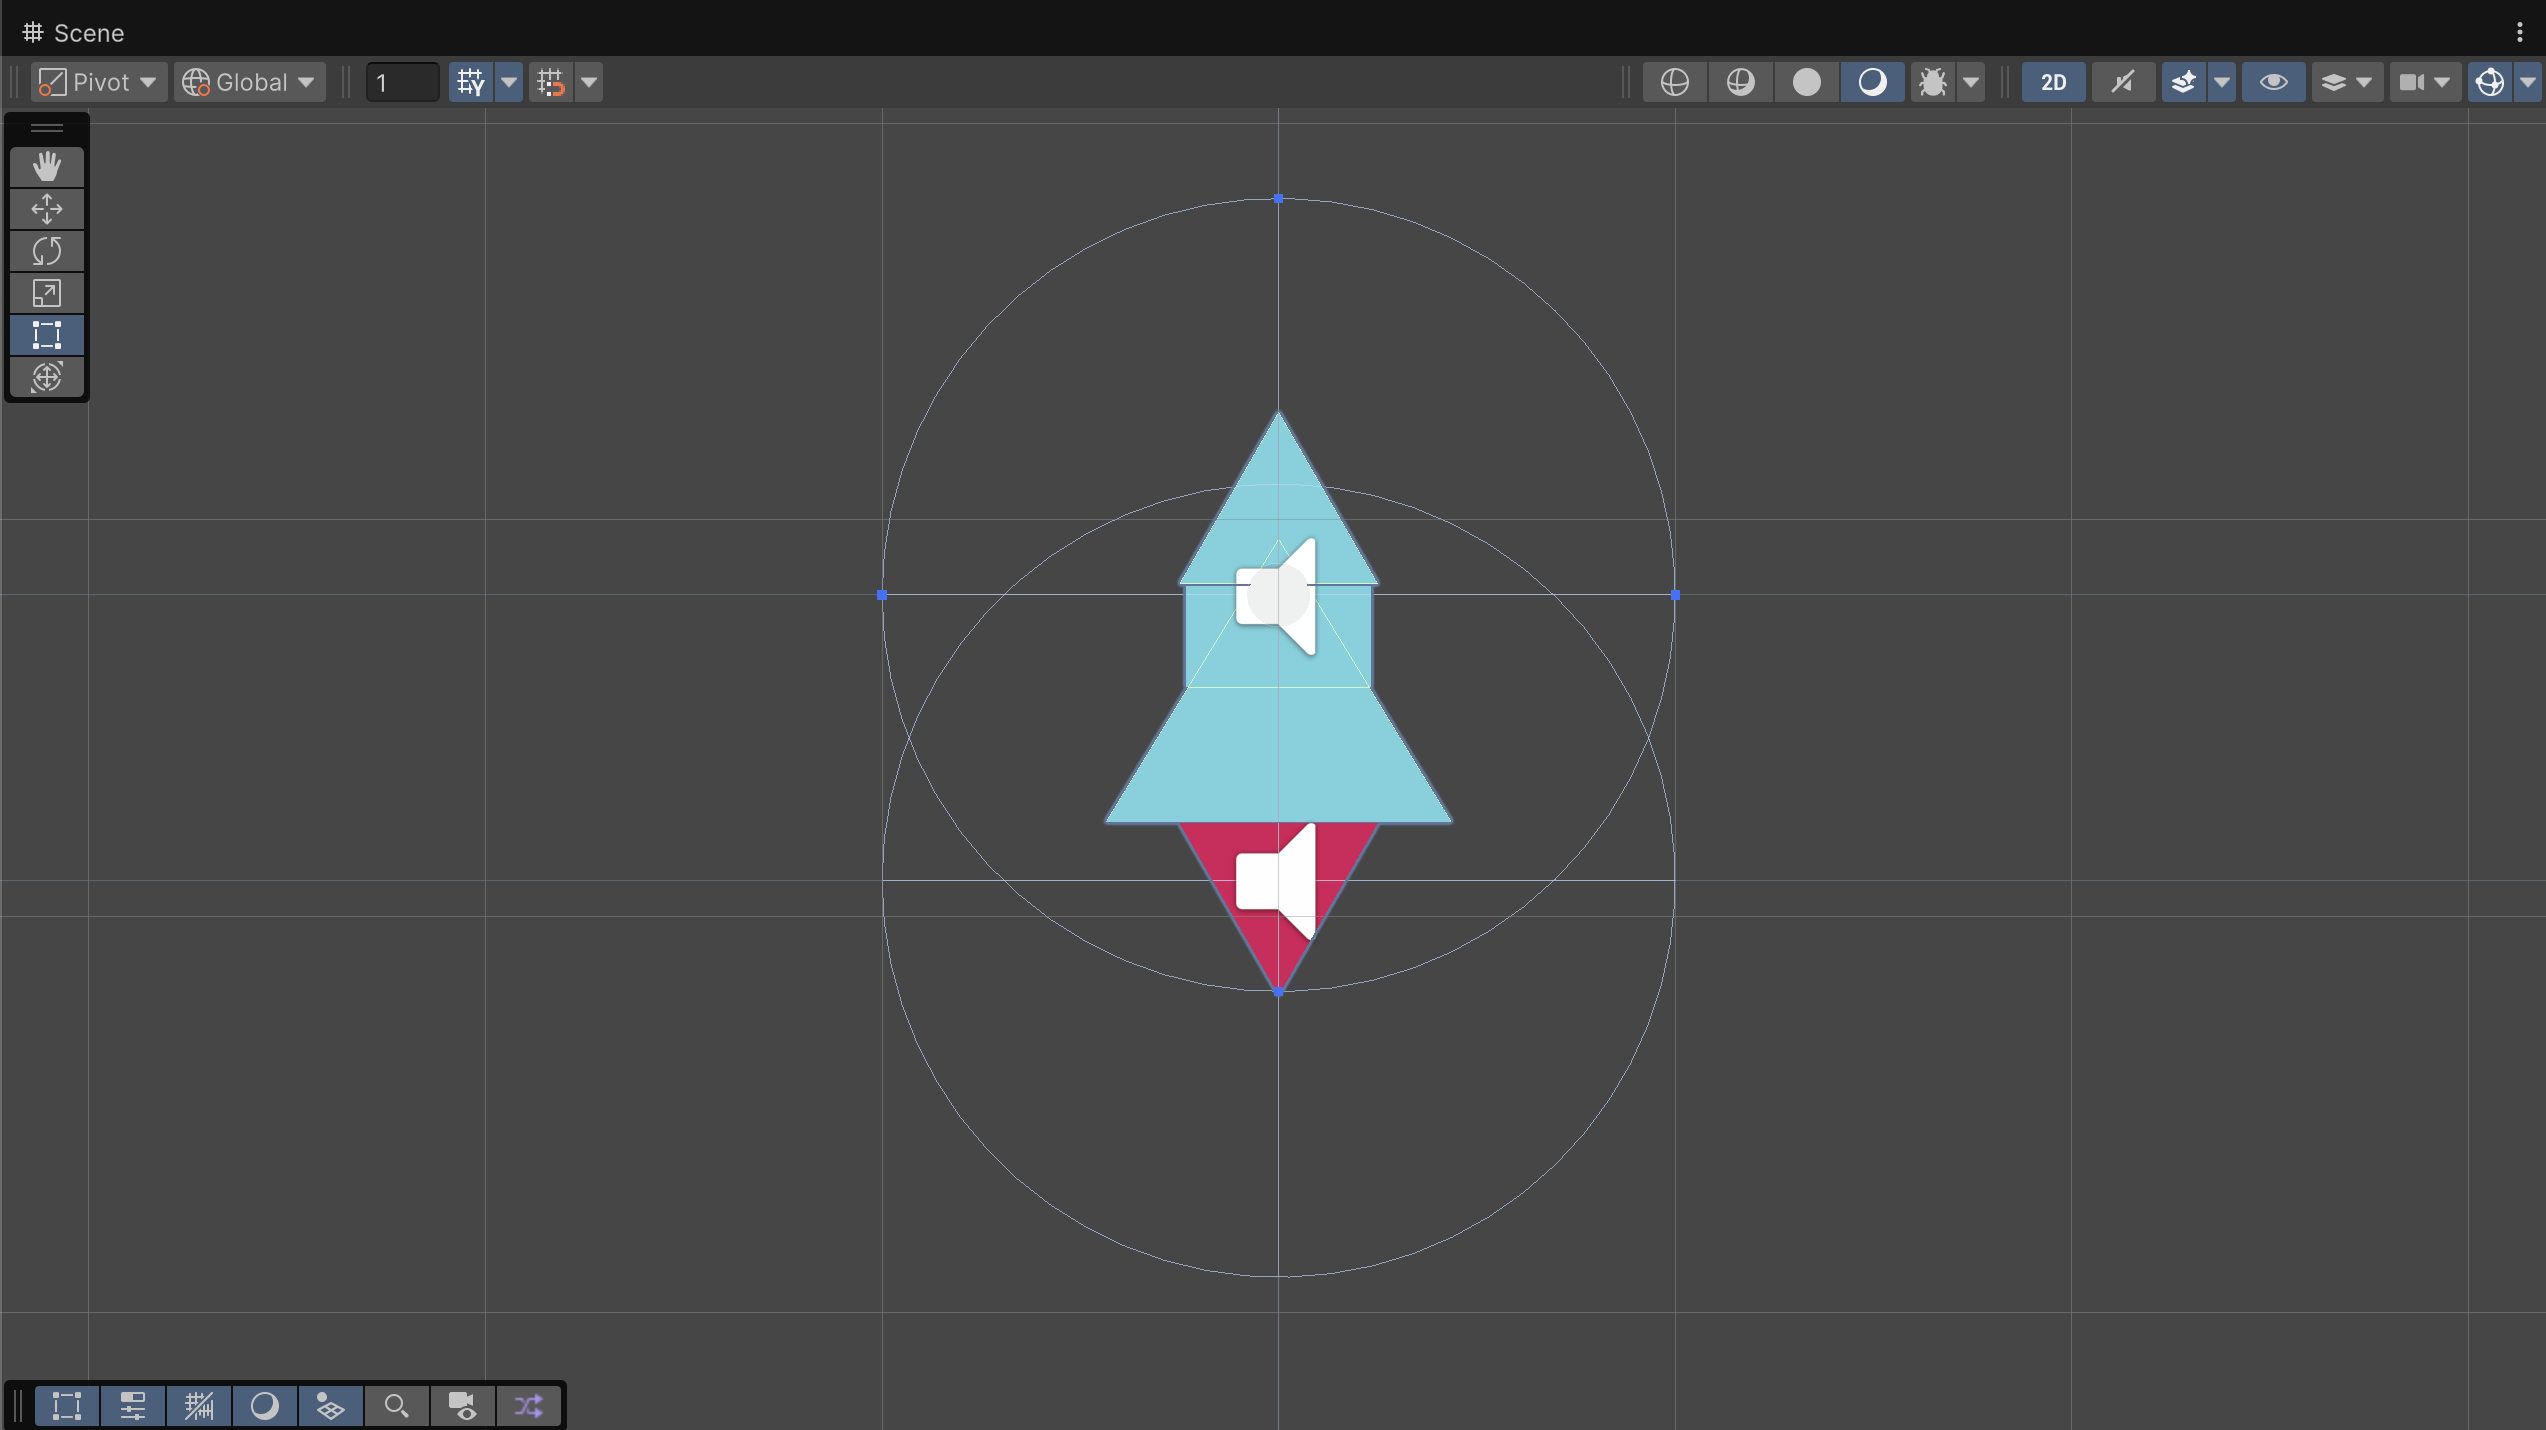
- If you haven’t already added a booster graphic, in the Hierarchy window, select your Player GameObject, add a child GameObject, and name it “BoosterFlame”.
- Use a triangle or capsule shape (or a small flame sprite) and scale/rotate it to appear behind the Player GameObject.
- Disable the BoosterFlame GameObject in the Inspector (disable the checkbox at the top).
2. Activate and deactivate it in code:
- In your PlayerController.cs script, add the following public reference:
public GameObject boosterFlame;- Assign the reference in the Inspector window by dragging in the BoosterFlame child GameObject.
- In Update(), check for input by adding the following lines of code:
if (Mouse.current.leftButton.wasPressedThisFrame) {
{
boosterFlame.SetActive(true);
}
else if (Mouse.current.leftButton.wasReleasedThisFrame)
{
boosterFlame.SetActive(false);
}
3. Add a booster sound:
- Add an Audio Source to the BoosterFlame GameObject.
- Download this demo thruster sound effect, drag it into your Assets folder, and assign it to the Audio Resource box in the Audio Source component.
- Enable Looping so the sound plays as long as the thruster is active.
- You can also find another looping booster sound from the Unity Asset store or other online sound resources.
4. Add animation (optional):
- You can use the Animator system to scale or flicker the flame over time.
- You could also use a script to randomly change the flame’s size slightly every few frames for a random scaling or flickering effect.
10. Make your game compatible with mobile
If you’d like to publish your game to mobile or WebGL with touch controls, this bonus feature shows you how to swap out the simpler mouse input for a more versatile Input Action. This Input Action allows you to track screen taps for thrust and finger position for aim, just like you did with a mouse.

1. Create two Input Action variables:
- In your PlayerController script, add the following public variables:
public InputAction moveForward;
public InputAction lookPosition;- Add the following using directive at the top of your script (if not already there):
using UnityEngine.InputSystem;2. Add bindings in the Inspector window:
- In the Inspector window, under your Player GameObject, find the two new action fields.
- For moveForward, set the action type to Button, and add a binding with the path: Pointer > Press.
- For lookPosition, set the action type to Value, and use the binding path: Pointer > Position.
Note: The Pointer input works for both mouse or touch on mobile.
3. Enable the actions in Start():
- Inside Start(), enable both actions by adding the following code:
moveForward.Enable();
lookPosition.Enable();
4. Update your input logic in Update():
- Locate your current input check:
if (Mouse.current.leftButton.isPressed)- Replace it with the following line of code:
if (moveForward.IsPressed())- Locate your mouse position code:
Vector3 mousePos = Camera.main.ScreenToWorldPoint(Mouse.current.position.value);- Replace it with the following line of code:
Vector3 mousePos = Camera.main.ScreenToWorldPoint(lookPosition.ReadValue<Vector2>());Note: If you’re detecting mouse press and release on this frame for activating and deactivating the thruster, you’ll also need to replace that code with the following alternative code:
if (moveForward.WasPressedThisFrame())
if (moveForward.WasReleasedThisFrame())
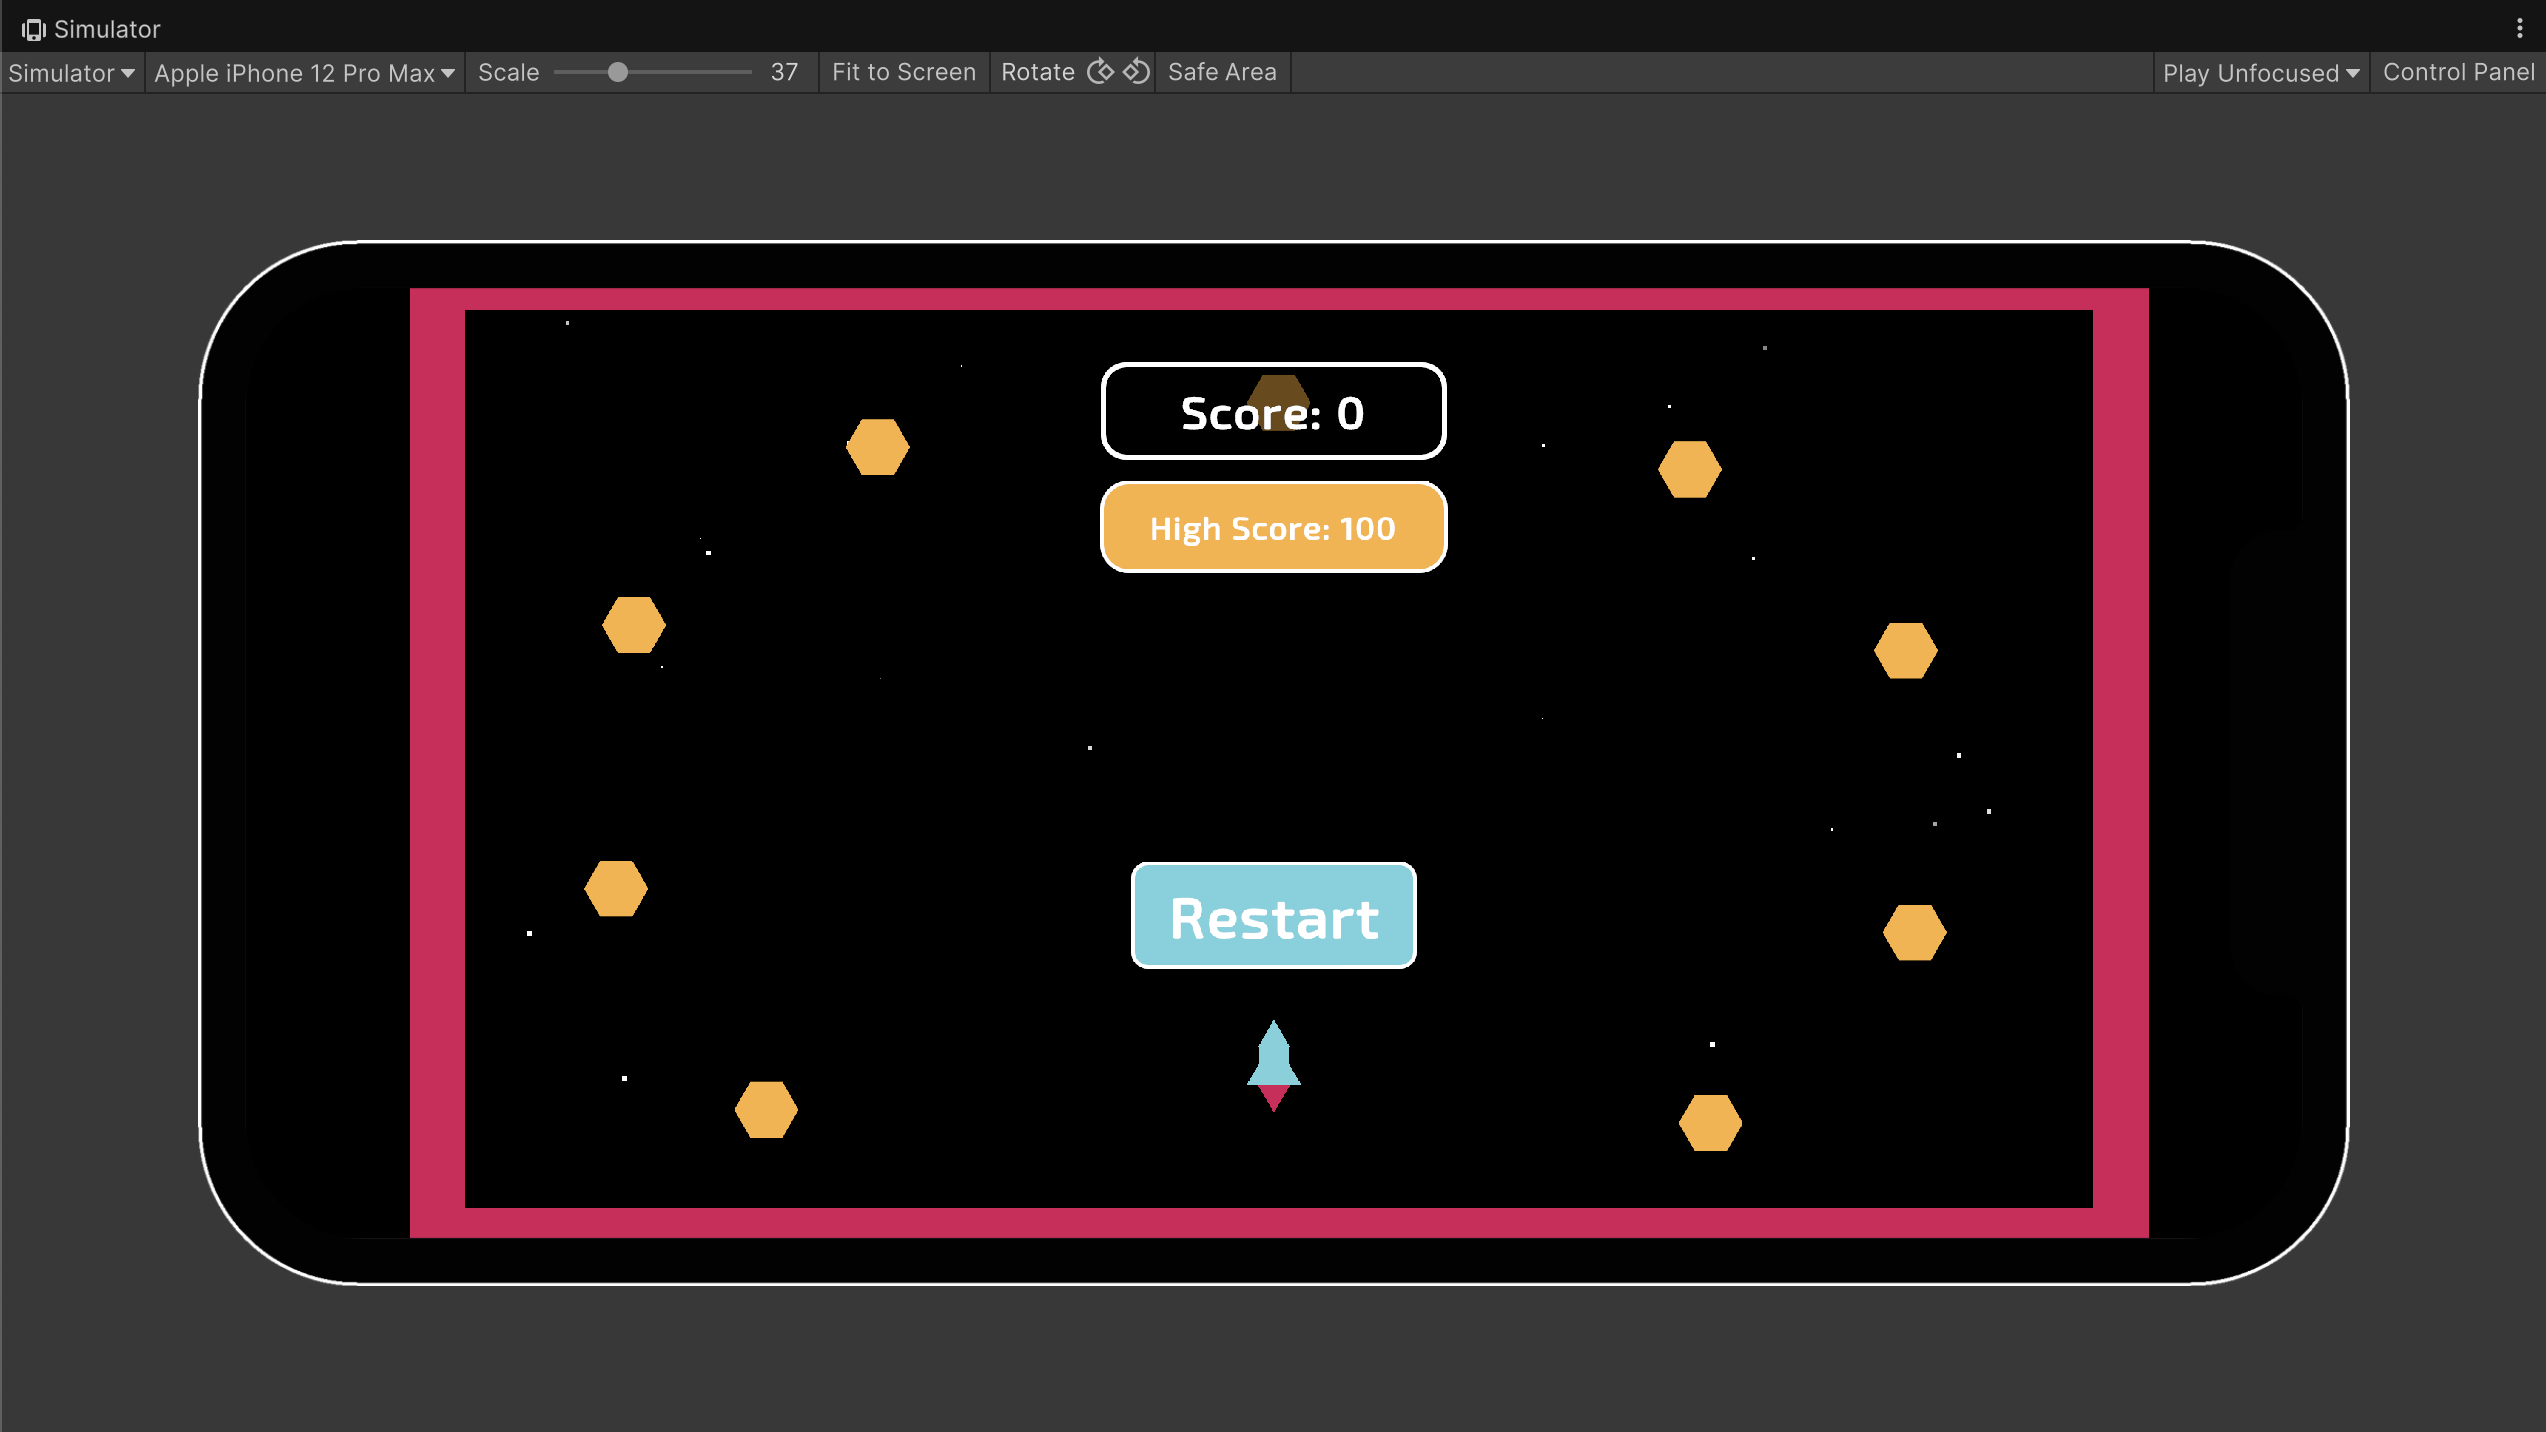
5. Test the mobile controls in the Simulator view:
- To test that your new mobile touch inputs are working, you can use the Simulator view.
- Set the Simulator to a mobile device of your choosing, rotate to the landscape orientation, and test the game.
- If you’ve done everything correctly, the game will function as it did before even in a mobile device simulator.
11. Next steps
Whether you added all of these bonus features, some of them, or all of them, you’re ready to move on to the final tutorial, where you’ll publish your game to Unity Play and complete the course.