
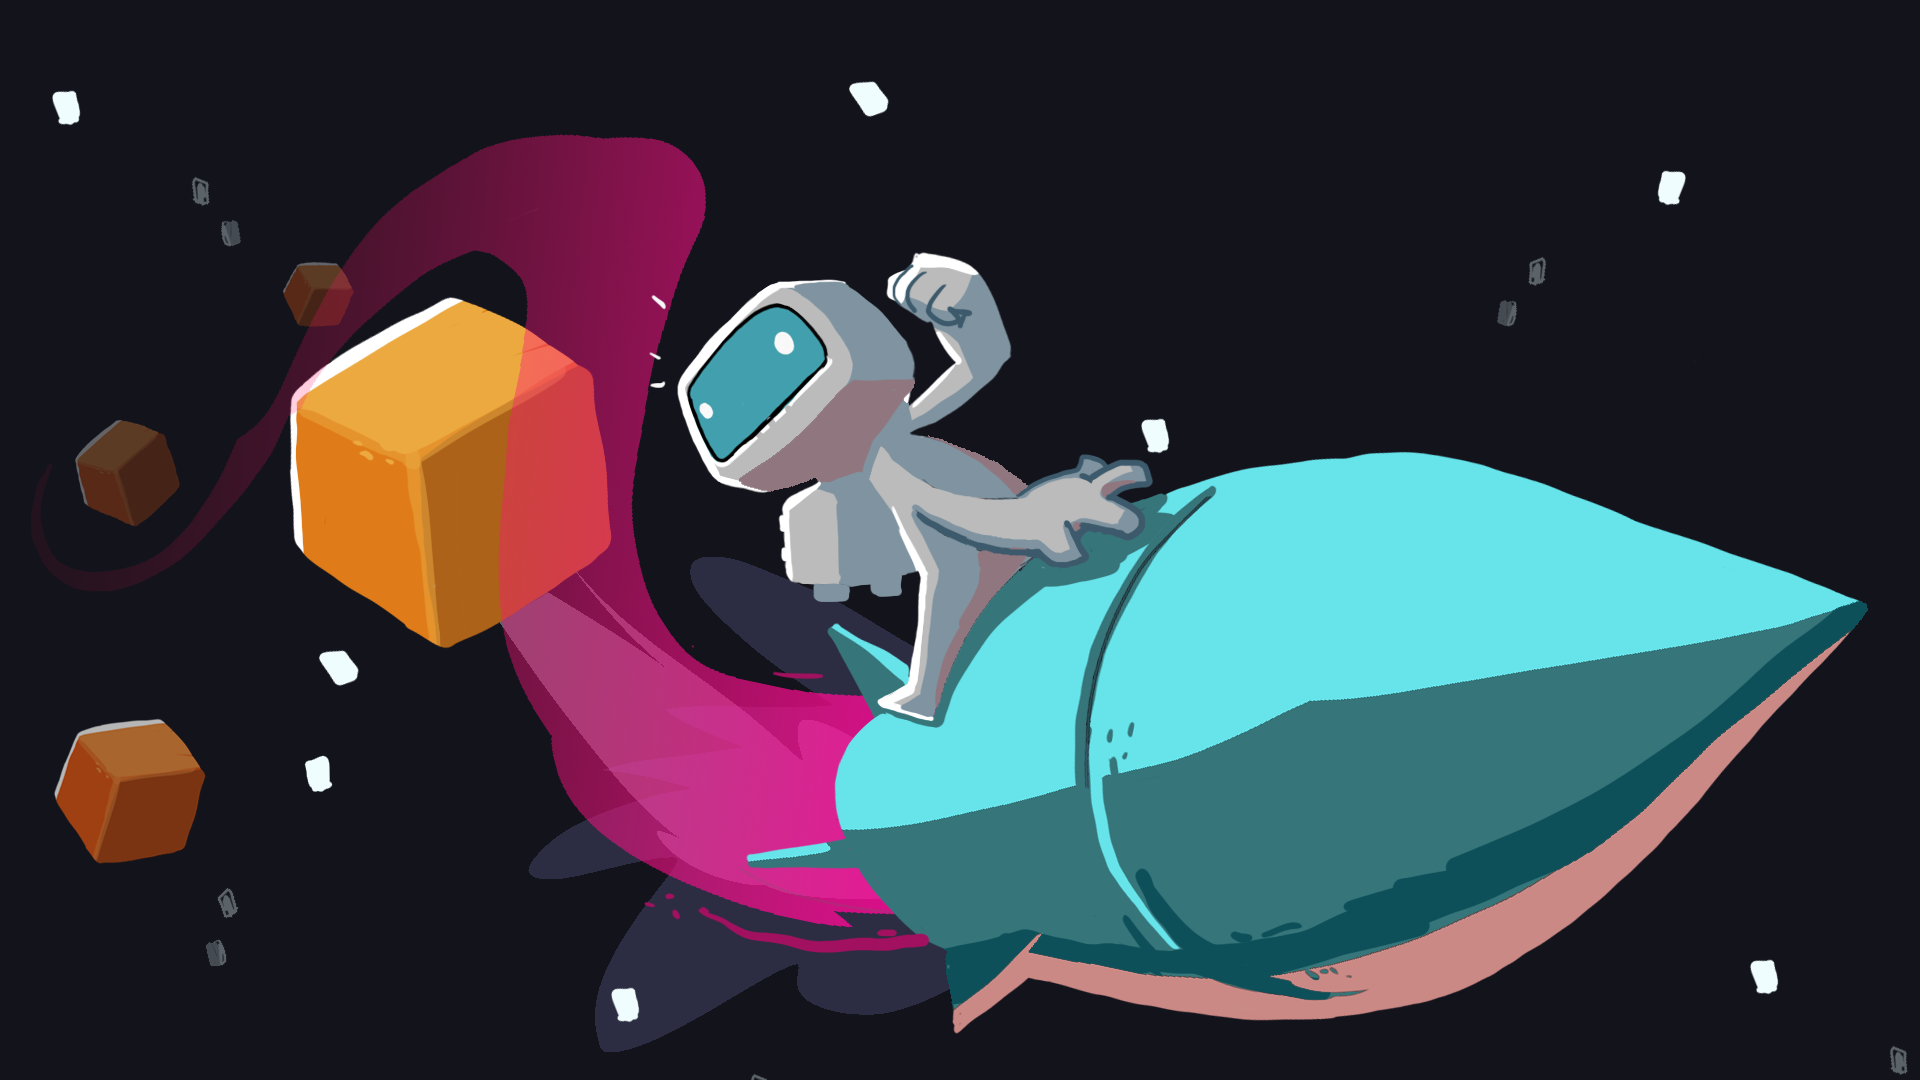
Steer the player
Tutorial
Beginner
+10XP
45 mins
(1331)
Unity Technologies
In this tutorial, you’ll create a controllable player ship that turns to face your cursor and moves in that direction when you click the left mouse button. Along the way, you’ll learn how to detect input, convert mouse cursor position into world space, apply directional thrust, and respond to collisions — all using Unity’s physics and input systems.
1. Overview
In this tutorial, you’ll create a controllable player ship that turns to face your cursor and moves in that direction when you click the left mouse button. Along the way, you’ll learn how to detect input, convert mouse cursor position into world space, apply directional thrust, and respond to collisions — all using Unity’s physics and input systems.
2. Set up the Player GameObject
Before you can control the player, you need something to control. In this step, you’ll create a triangle-shaped Player GameObject, made up of multiple simple 2D shapes. This GameObject will represent the player’s ship and point in the direction it moves.
1. Create an empty parent GameObject:
- Right-click in the Hierarchy window and select Create Empty.
- Rename it “Player”.
- With the Player GameObject selected, in the Inspector set the Transform component’s Position property values to X = 0, Y = -4, and Z = 0.
Note: Positioning the Player GameObject at a negative Y value will move it down on the screen, giving the player a bit more room in front from their starting position.
2. Add a triangle sprite as the main shape:
- In the Hierarchy window, right-click the Player GameObject and select 2D Object > Sprites > Triangle.
Note: The problem with using a simple triangle like the default 2D sprite GameObject is that it would not be able to convey which direction the ship is facing. You need to add more shapes to make that more clear.
3. Add more shapes to show direction:
- In the Hierarchy window, right-click the Player GameObject again and add another 2D sprite (like a square, capsule, or another triangle).
- Move, rotate, and scale the additional shape using the Rect tool (T).
- Adding another shape helps visually indicate the ship's forward direction, which will become important when you apply thrust.
4. Scale and position as needed:
- Use the Move tool (W), the Rotate tool (E) and the Scale tool (R) to adjust the shapes so the Player GameObject looks like a small ship, and the pointer clearly shows which way it's facing.
Tip: You can also scale the entire multi-part ship up or down by adjusting the Scale property values of the parent Player GameObject.
5. (Optional) Edit the Player’s sprite colors
- Select all of the Player GameObject’s child GameObjects, select the Color swatch in their Sprite Renderer component, and change their color.
You now have a visible player ship made from grouped sprites that’s ready for physics and input control in the next steps.
3. Add required physics components
Now that your player ship is built, it needs physical properties so it can move and collide with other GameObjects. In this step, you’ll add a Rigidbody 2D component and collider components to allow the Player GameObject to interact with the physics system.
Because your ship is made of multiple parts, you’ll use compound colliders — separate colliders attached to each child GameObject. Unity treats the combined colliders as one when physics is applied to the parent.
1. Add a Rigidbody 2D component to the Player GameObject:
- Select the Player GameObject.
- In the Inspector window, select Add Component and select Rigidbody 2D.
- Set the Gravity Scale property to 0 — this ship will fly, not fall.
2. Add colliders to all child GameObjects:
- Hold Ctrl (macOS: Cmd) and select all the child GameObjects of the Player GameObject.
- In the Inspector window, select Add Component > Polygon Collider 2D (or any other collider shape that fits).
Tip: The Polygon Collider 2D component is a flexible option that fits most sprite shapes closely.
3. Enter Play mode to test:
- The player won’t move yet, but it should now respond to physics — See what happens when one of the flying obstacles collides with the Player GameObject.
- Exit Play mode when you’re done.
You’ve now given your player a physical presence in the world, using Rigidbody and compound collider components. Next, you’ll start scripting input so the ship can detect mouse clicks and respond.
4. Create the PlayerController script
In this step, you’ll create a new C# script called PlayerController and attach it to the Player GameObject. This script will handle all of the player’s input, movement, and collision logic.
This script is a custom component — a set of instructions you write that Unity will run during the game.
1. Create the PlayerController script:
- Right-click in the Scripts folder and select Create > MonoBehaviour Script.
- Name the script “PlayerController”.
Important: Make sure the filename is spelled correctly when you rename the script (PlayerController). Unity requires that the script name exactly matches the class name inside it. If the names don’t match, you’ll get an error. If you make a mistake on its spelling, delete the script and create it again with the correct name.
2. Attach the script to the Player GameObject:
- In the Hierarchy window, select the Player GameObject.
- Drag the PlayerController script onto an empty space in the Inspector window or select Add Component and search for “PlayerController”.
3. Confirm it’s attached:
- You will now see the PlayerController script listed as a component on the Player GameObject.
- You’ll edit this script over the next several steps to handle input and movement.
5. Detect mouse clicks
In this step, you’ll write your first input detection code — specifically when the mouse is clicked. To do that, you’ll use the Unity Input System, which requires adding a special using statement (like importing a library) at the top of your script.
You’ll also be working inside the Update() method for the first time. Update() is one of Unity’s lifecycle methods, and it runs once per frame — making it ideal for checking input, which can change at any time.
You’ll use the Console window to print a message every time the mouse is clicked so you can test that the mouse clicks are being detected correctly.
1. Open the PlayerController script:
- In the Scripts folder, double-click PlayerController.cs to open it in your code editor.
2. Add code to detect clicks inside Update():
- Inside your script, locate the Update() method.
- Then, add the following lines of code inside the braces ({ }):
if (Mouse.current.leftButton.isPressed)
{
Debug.Log("Mouse was pressed");
}
Explanation:
- This checks if the left mouse button is currently being pressed down.
- Debug.Log() sends a message to Unity’s Console window, which you can use for testing.
3. If you see an error under “Mouse”:
- You might get a red underline or error in the Console window that says Mouse doesn’t exist — that’s expected!
- To fix this error, add the following line of code at the very top of your script:
using UnityEngine.InputSystem;Tip: If you’re using a modern code editor like Visual Studio or VS Code, you might be able to hover over the error and select a Quick Fix to automatically add this line. If you don’t see an error under “Mouse”, it likely means your editor already added the correct using directive automatically for you as you were typing.
4. Save and test:
- Press Ctrl+S (macOS: Cmd+S) to save your script.
- Return to the Editor and enter Play mode.
- While the game is playing, click in the Game view, then open the Console window by selecting the Debug message that appears underneath the Game view.
- Look for the message: "Mouse was pressed"
You’ve now detected real-time input using Unity’s Input System. Next we have to actually do something with that input.
6. Log the mouse position
Now that your script can detect mouse clicks, it’s time to figure out where the mouse is clicking. In this step, you’ll log the mouse position when clicked.
By default, Unity detects mouse position as a Vector3 (X, Y, and Z coordinate), but it does so in screen space — a coordinate system based on pixels where (0, 0) starts at the lower-left corner of the screen.
This is different from Unity’s world space, where (0, 0) is usually in the center of the scene. You’ll learn how to log the screen-space position now — and convert it to world space in the following step.
1. Update your if block to store the mouse position:
- Inside the if (Mouse.current.leftButton.isPressed) block, above your Debug.Log code, add the following line of code to declare a new mousePos variable:
Vector3 mousePos = Mouse.current.position.value;Explanation:
- A Vector3 is a structure that stores 3 values (X, Y, Z). Mouse position is given as a Vector3, even in 2D games.
- This gives you the screen-space coordinates — based on the resolution of the Game view.
2. Log the mouse position to the Console message:
- Below the line you just added, edit the Debug.Log code to now display the mouse position, in addition to the fact that the mouse was pressed:
Debug.Log("Mouse position: " + mousePos);Note: This is called string concatenation — combining a string ("Mouse position: ") with a variable (mousePos) to create a readable message in the Console.
3. Save and enter Play mode:
- Press Ctrl+S (macOS: Cmd+S) to save your script, then return to Unity and enter Play mode.
- Click in the Game view and check the Console window. You’ll see coordinates like (245, 123,-10).
Notice how the numbers increase as you move the mouse to the right (X) and up (Y). This is different from Unity’s world space, which centers around (0, 0) — we’ll fix that in the next step.
7. Convert mouse position to world space
You’ve logged the mouse position in screen space — but your Player GameObject moves in world space, so you need to convert those coordinates. In this step, you’ll use Unity’s Camera.main.ScreenToWorldPoint() function to translate the mouse’s position from screen space to a point in the game world.
This is one of the most important transformations in Unity when dealing with player input.
1. Replace the old mouse position line with a world-space version:
- Inside the if block, wrap your Mouse.current.position.value into the following new function:
Vector3 mousePos = Camera.main.ScreenToWorldPoint(Mouse.current.position.value);Explanation:
- Camera.main accesses your scene’s Main Camera GameObject.
- ScreenToWorldPoint() takes screen coordinates (from the mouse) and converts them to world coordinates that match your scene layout.
2. Save and enter Play mode:
- Press Ctrl+S (macOS: Cmd+S) to save, then return to Unity and enter Play mode.
- Click in the Game view and check the Console window. When you click the center of the screen, you’ll now see values centered closer to (0, 0) — which match your scene layout.
Note: The result is still a Vector3, and you might notice the Z position might be at an unexpected value — that’s okay in 2D! Since your game takes place in the X-Y plane, Z doesn’t affect gameplay here.
You’ve now successfully converted input from screen space to world space — which means your Player GameObject can begin responding to mouse position in a meaningful way.
8. Rotate the Player GameObject to face the mouse
Now that you know the position of the mouse in world space, you can rotate the player to face that position. You’ll do that by calculating the direction vector between the Player GameObject’s position and the mouse position, then setting the Player GameObject’s transform.up to that direction.
In Unity, transform.up controls which way a GameObject is facing in 2D — it’s the local Y-axis direction. When you set transform.up = direction, you’re telling Unity to rotate the GameObject so that its upward axis points toward that direction vector.
1. Calculate the direction to the mouse:
- Inside your if block (after getting the mouse position in world space), add the following line of code:
Vector2 direction = mousePos - transform.position;Explanation:
- This line subtracts two positions: the mouse's position minus the Player GameObject’s position.
- The result is a 2D direction vector — a 2D line pointing from the Player GameObject to the mouse.
2. Set the Player GameObject’s facing direction:
- Add the following line of code underneath the previous one:
transform.up = direction;Explanation:
- This tells Unity to rotate the player so that its “up” direction now points along the direction vector.
- This is an easy way to rotate a GameObject without using angles or complex math.
3. Save and enter Play mode.
- Press Ctrl+S (macOS: Cmd+S) to save, then return to Unity and enter Play mode.
- Click in the Game view — the Player GameObject will now visually rotate to point toward the mouse.
You’ve now used vector subtraction and transform.up to align the player’s rotation with a direction — a fast and effective way to handle orientation in 2D games.
9. Apply thrust in mouse direction
Now that your Player GameObject rotates to face the mouse, it’s time to make it move. In this step, you’ll apply force in the direction of the mouse click using Unity’s physics system.
Rather than hardcoding the strength, you’ll create a public variable so you can adjust the thrust directly in the Inspector window later — a good coding habit for tuning gameplay.
1. Add variables at the top of your script:
- After the first opening curly brace ({) in your PlayerController class, add the following lines of code:
public float thrustForce = 1f;
Rigidbody2D rb;
2. Get the Rigidbody 2D component in Start():
- Inside your Start() method, add the following line of code to assign the Rigidbody 2D component to the variable:
rb = GetComponent<Rigidbody2D>();3. Apply thrust inside the if-statement block:
- After the line that sets transform.up = direction, add the following line of code:
rb.AddForce(direction * thrustForce);Explanation:
- direction is the vector pointing toward the mouse.
- Multiplying by thrustForce controls how strongly the force is applied.
4. Save and enter Play mode.
- Press Ctrl+S (macOS: Cmd+S) to save, then return to Unity and enter Play mode.
- Click around the screen — the Player GameObject should rotate and move toward the mouse when clicked.
Note: You might notice the Player GameObject becomes hard to control and goes too fast — don’t worry! You’ll fix that in a future step.
10. Normalize the direction variable
Right now, your Player GameObject’s speed depends on how far you click from the ship. That’s because longer direction vectors apply more force. In this step, you’ll fix that by normalizing the direction vector — a technique that keeps the direction the same but limits its length to 1.
This means your Player GameObject will always move at a consistent speed, no matter where you click.
1. Update the direction line to normalize the vector:
- Find the following line of code in your if block:
Vector2 direction = mousePos - transform.position;- Surround the subtraction calculation in parentheses and normalize the value:
Vector2 direction = (mousePos - transform.position).normalized;Explanation:
- normalized is a vector property that resizes the vector to a length of 1 (but keeps its direction).
- This ensures that all clicks apply the same amount of thrust, regardless of distance.
2. Save and enter Play mode to test:
- Press Ctrl+S (macOS: Cmd+S) to save, then return to Unity and enter Play mode.
- Click near the ship, then far away — your Player GameObject will now move at the same speed no matter where you click.
3. Adjust thrust if it feels too weak:
- Select the Player GameObject in the Hierarchy window.
- In the Inspector window, look for the thrustForce value on your PlayerController script component.
- Try increasing or decreasing the value until the controls feel intuitive.
Important: Changes you make during Play mode will not be saved. You can experiment in Play mode, then set the value you want after exiting Play mode.
11. Handle collisions
Now that your Player GameObject moves around the world, it needs to respond to collisions. In this step, you’ll add a method called OnCollisionEnter2D() — one of Unity’s built-in event methods that gets triggered automatically when a collision happens.
Inside that method, you’ll use Destroy(gameObject); to remove the Player GameObject from the scene when it hits another GameObject with a collider — either an obstacle or an outer wall — simulating a game-over effect.
1. Add the OnCollisionEnter2D method:
- Inside your PlayerController script before the final closing curly brace (outside of Start() or Update()), add the following lines of code:
void OnCollisionEnter2D(Collision2D collision)
{
Destroy(gameObject);
}
Tip: If autocomplete in your code editor is working, try entering “OnColl…” and selecting OnCollisionEnter2D from the suggestion list. This ensures you get the spelling and function formatting correct. If your autocomplete isn’t working, you can just copy and paste the code above.
Explanation:
- Unity calls this method automatically when a 2D collider hits another 2D collider, but only if one of them has a Rigidbody component.
2. Save and enter Play mode:
- Press Ctrl+S (macOS: Cmd+S) to save, then go back to Unity and enter Play mode.
- Click around to move the Player GameObject— when you hit a wall or obstacle, the Player GameObject will be instantly destroyed.
12. Clean up your code
Before you move on, it’s a good habit to clean up your script. In this step, you’ll remove old Debug.Log() statements that you used for testing and add a few code comments to make your script easier to read.
Code comments are a core part of writing clean code — they help explain what your code does without affecting how it runs. This is especially helpful when you come back to your project later or share your work with others.
1. Remove any Debug.Log() calls:
- Find and delete any Debug calls. Now that you know everything is working as expected, they’re not needed any more and will clutter the Console.
Debug.Log("Mouse position: " + mousePos);2. Add helpful comments throughout your script:
- Use two forward slashes (//) to add short notes above important lines of code.
- The following examples are good to include:
// Calculate mouse direction
Vector3 mousePos = Camera.main.ScreenToWorldPoint(Mouse.current.position.value);
Vector2 direction = (mousePos - transform.position).normalized;

// Move player in direction of mouse
transform.up = direction;
rb.AddForce(direction * thrustForce);
3. Save your script:
- Press Ctrl+S (macOS: Cmd+S) to save.
- Make sure the Unity Editor updates and there are no errors in the Console.
13. Final script sample
If you have any errors in your code or you just want to make sure your script matches exactly what has been taught up to this point, feel free to reference or copy the final code sample below.
PlayerController.cs
using UnityEngine;
using UnityEngine.InputSystem;

public class PlayerController : MonoBehaviour
{
    public float thrustForce = 1f;
    Rigidbody2D rb;

    void Start()
    {
        rb = GetComponent<Rigidbody2D>();
    }

    void Update()
    {
        if (Mouse.current.leftButton.isPressed)
        {
            // Calculate mouse direction
            Vector3 mousePos = Camera.main.ScreenToWorldPoint(Mouse.current.position.value);
            Vector2 direction = (mousePos - transform.position).normalized;

            // Move player in direction of mouse
            transform.up = direction;
            rb.AddForce(direction * thrustForce);
        }
    }

    void OnCollisionEnter2D(Collision2D collision)
    {
        Destroy(gameObject);
    }
}14. Optional: More things to try
Try these optional activities to challenge yourself, build your skills, and improve your project.
Each challenge is tagged as Easy, Medium, or Expert difficulty so that you know what to expect. You can complete one, all, or none of them — it’s totally up to you. If you’re not interested in doing these challenges, mark this step as complete and proceed to the next tutorial.
Medium: Clamp the Player GameObject’s max speed
If you hold the mouse for a while, your ship can accelerate endlessly. You can clamp the maximum speed to prevent it from becoming uncontrollable.
- In your PlayerController.cs, add the following new variable:
public float maxSpeed = 5f;- Then, after AddForce() in Update(), add the following:
if (rb.linearVelocity.magnitude > maxSpeed)
{
rb.linearVelocity = rb.linearVelocity.normalized * maxSpeed;
}
With this code, the ship can still accelerate, but it won’t go faster than your defined top speed — making movement feel tighter and more intentional.
Expert: Add a visual booster flame
Add a little visual flair when the ship is accelerating — just like a jet engine firing.
1. Create a booster Flame GameObject:
- In the Hierarchy window, right-click the Player GameObject and create a new triangle sprite as a child GameObject, then rename it “BoosterFlame”.
- Scale and rotate the sprite so it appears behind the ship.
- Set the BoosterFlame GameObject as inactive in the Inspector window by disabling the checkbox next to its name so that the flame is hidden by default.
2. Control the booster in code:
- In the PlayerController script, add a public reference to the BoosterFlame GameObject:
public GameObject boosterFlame;- In the Inspector window, assign the BoosterFlame child GameObject to the new variable.
- In Update(), but outside of the other check for if (Mouse.current.leftButton.isPressed), add the following if-else statement:
if (Mouse.current.leftButton.wasPressedThisFrame)
{
boosterFlame.SetActive(true);
}
else if (Mouse.current.leftButton.wasReleasedThisFrame)
{
boosterFlame.SetActive(false);
}15. Next steps
You’ve created a controllable player ship that rotates toward the mouse, applies thrust when clicked, and responds to collisions. In the next tutorial, you’ll build a scoring system that tracks how long the player survives and displays that score on screen in real time.