
Restart the game with a bang
Tutorial
Beginner
+10XP
30m
(737)
Unity Technologies
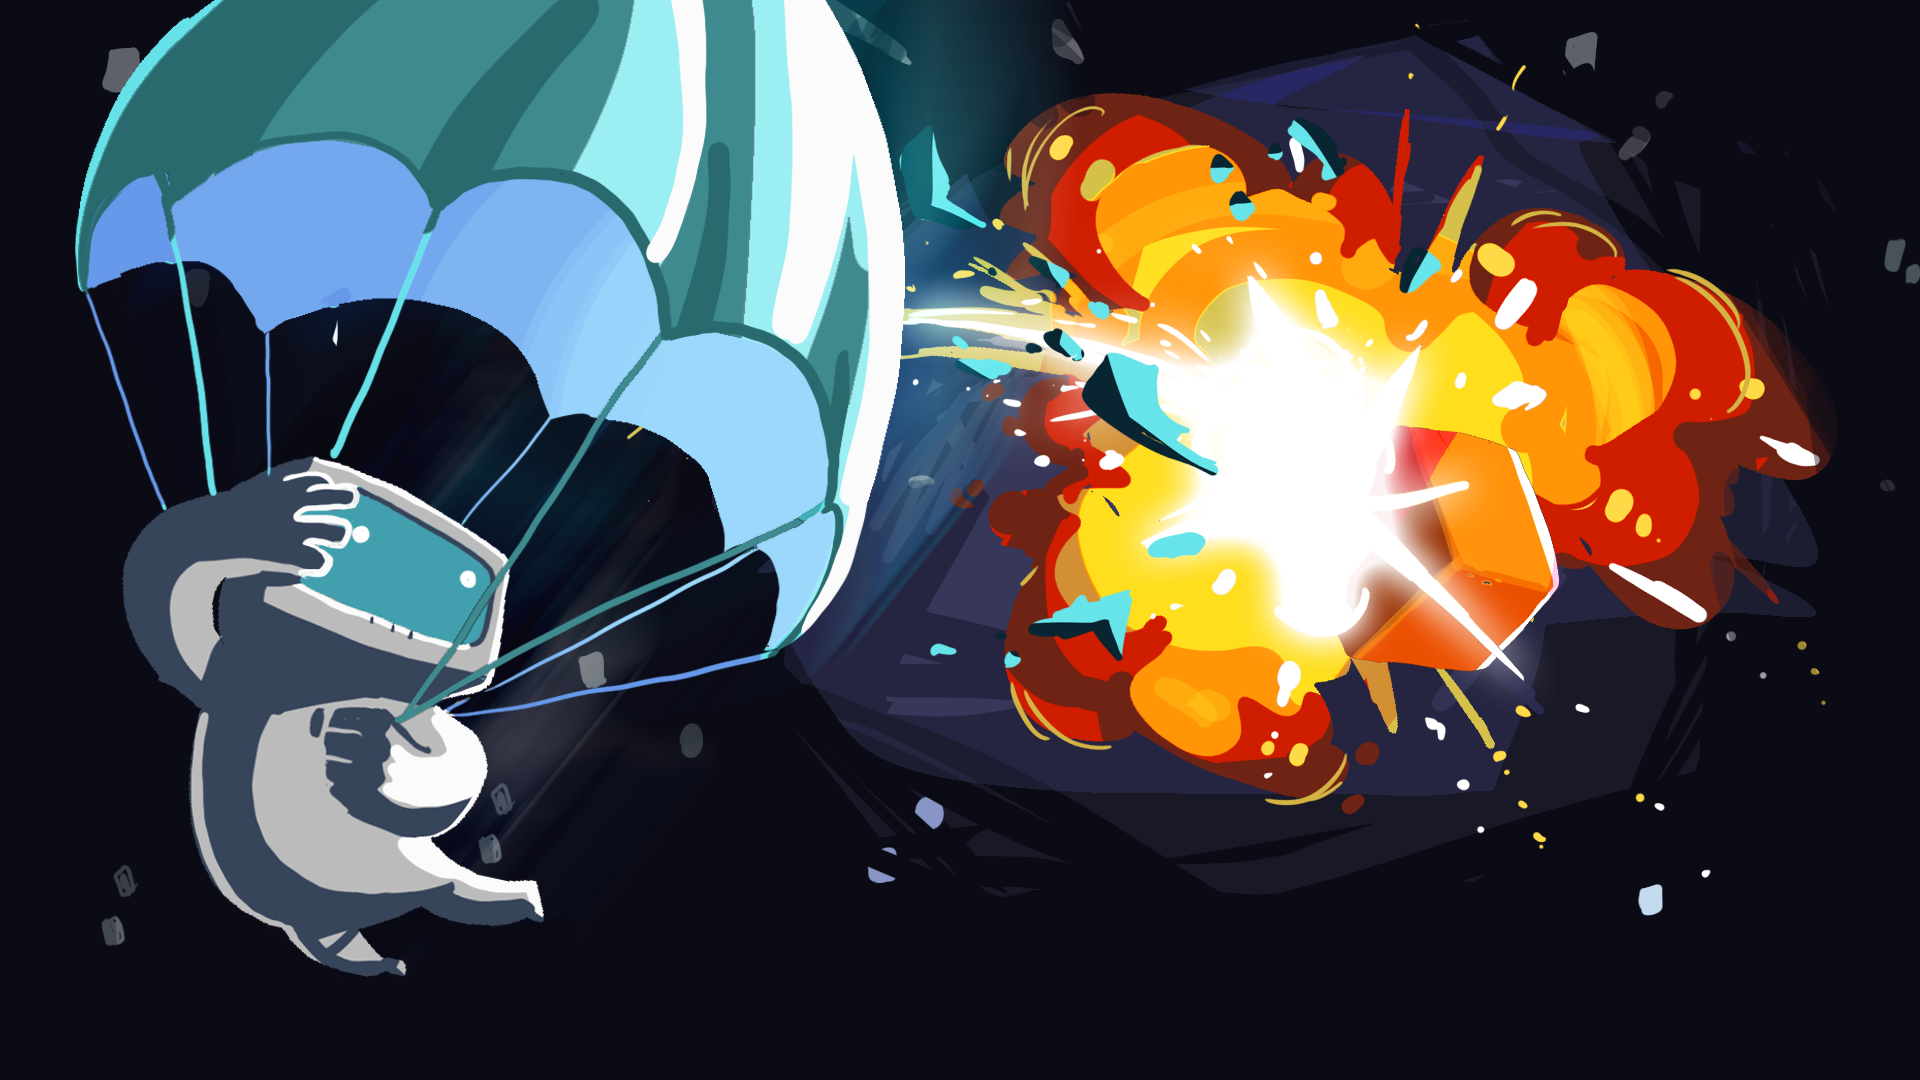
In this tutorial, you’ll add a particle explosion that triggers when the player is destroyed, then use UI Toolkit to create a Restart button that reloads the scene — giving your game a clean and satisfying game-over flow.
1. Overview
In this tutorial, you’ll add a particle explosion that triggers when the player is destroyed, then use UI Toolkit to create a Restart button that reloads the scene — giving your game a clean and satisfying game-over flow.
2. Add a basic particle system
To get started with your explosion effect, you’ll add a basic particle system using the Built-in Particle System, Unity's visual effects tool. In this initial step, you’ll set up a simple burst of particles then in the following step, you’ll refine that burst to look like a massive explosion.
1. Add a Particle System to the scene:
- Right-click in the Hierarchy window and select Effects > Particle System.
- Rename the new GameObject “ExplosionEffect”.
- With the ExplosionEffect GameObject selected, in the Inspector window, set its Transform component’s Position property to X = 0, Y = 0, and Z = 0.
Note: When you create a particle system, Unity also opens a Particles overlay in the Scene view that lets you play, pause, and restart the effect to preview it live.
2. Adjust the basic settings:
- With the ExplosionEffect GameObject selected in the Hierarchy window, make the following changes in the Inspector window:
- Disable Looping — you only want the effect to emit particles once in a burst.
- Reduce Duration to 0.25 — This is how long the system will emit particles.
- Reduce Start Size to 0.1 — This will make the particles a more appropriate size.
Tip: You can hover your cursor over any property label in the Inspector window to view a tooltip that briefly explains what it does — this is useful when exploring new particle system settings.
3. Preview the particle system:
- In the Particles overlay, select Restart to see the updated effect.
You now have a short, contained burst of a few particles — this is a good base for your explosion.
3. Edit Emission, Shape, and Randomization
Now that you’ve got a basic particle system in place, you’ll enhance it by adjusting how the particles are emitted and how they spread. In this step, you’ll create a short burst of particles, change the emission shape from a cone to a sphere, and add randomness to make the explosion look more dynamic.
1. Configure the Emission burst:
- With the ExplosionEffect GameObject selected in the Hierarchy window, select the Emission section in the Inspector window to expand it.
- Select the Add (+) button under the Bursts property to add a new burst.
- Set the Count to something like 50.
Note: A burst emits all the particles at once, instead of gradually over time — perfect for explosions.
2. Change the shape of the particle spread:
- Select the Shape module to expand it.
- Change the Shape property from Cone to Sphere.
3. Add randomness to particle size:
- In the Explosion Effect section, open the Start Size dropdown and select Random Between Two Constants.
- Set the range to something like (0 to 0.25).
Tip: Small, randomized particles help make the explosion look more organic and less uniform.
After this step, your explosion will feel much more satisfying — a quick, randomized burst that’s ready to be initiated whenever the player is destroyed.
4. Make the explosion a prefab
Now that your explosion looks the way you want, you’ll turn it into a prefab — a reusable GameObject template. Prefabs are essential when you want to create and reuse the same GameObject multiple times in your game, like spawning an explosion every time the player is destroyed.
1. Turn ExplosionEffect into a prefab:
- Drag the ExplosionEffect GameObject from the Hierarchy window into the Prefabs folder in the Project window.
- You’ll see the name turn blue in the Hierarchy window, indicating the ExplosionEffect GameObject is now an instance of a prefab.
2. Clean up the scene:
- After confirming the prefab was created, delete the ExplosionEffect GameObject from the Hierarchy window — you’ll spawn it from code later.
Note: When a GameObject is saved as a prefab, you can safely delete it from the scene. You’ll still be able to access and instantiate it during gameplay using scripts.
5. Trigger the explosion from your script
Now that your explosion is a prefab, you’ll trigger it from code when the player is destroyed. You’ll use Unity’s Instantiate() method to create a copy of the prefab at the Player GameObject’s position right before it disappears. To do this, you'll add a reference to the prefab in your script and assign it using the Inspector window.
1. Add a public reference to the ExplosionEffect prefab:
- Open the PlayerController script.
- Near your other variable declarations, add the following line of code:
public GameObject explosionEffect;Note: Declaring the variable as public makes it visible in the Inspector window so you can assign the prefab without needing to find it in code.
2. Instantiate the ExplosionEffect prefab when the Player GameObject is destroyed:
- Inside your OnCollisionEnter2D() method, add the following line of code before the Destroy(gameObject); line:
Instantiate(explosionEffect, transform.position, transform.rotation);Explanation:
- Instantiate() creates a copy of the ExplosionEffect prefab.
- transform.position places the ExplosionEffect prefab where the Player GameObject is, and transform.rotation sets its rotation to match the Player GameObject’s rotation. However, since the particle system is in the shape of the sphere, its rotation actually doesn’t matter.
3. Assign the prefab in the Inspector window and test:
- In the Hierarchy window, select the Player GameObject.
- In the Inspector window, locate the PlayerController script component.
- Drag the ExplosionEffect prefab from the Project window into the Explosion Effect box.
- Enter Play mode to test your explosion.
Tip: If you forget this step, the explosion won’t appear — Unity can’t instantiate a prefab it doesn’t know about.
The explosion effect now plays when the Player GameObject is destroyed — giving instant visual feedback and making the collision event feel more complete.
6. Add and style the Restart button
After the player explodes, you’ll want to give them a clear, easy way to try again. In this step, you’ll add a Restart button to your existing UI document, position it near the center of the screen, and apply some basic styling to make it visible and clickable.
1. Open your UILayout in UI Builder:
- In the Project window, double-click the UILayout asset to open it in the UI Builder window.
2. Add a new Button to the UI:
- From the Library window, drag a Button element into the Hierarchy window.
- The Button element will appear centered and stretched across the screen in the Viewport window.
3. Rename the button and set its text:
- With the new Button element selected, go to the Inspector window.
- Set the button’s Name to “RestartButton”.
- Set the button’s Text to “Restart”.
Note: The name you assign here (RestartButton) is what your script will use to reference this element — make sure it's spelled correctly.
4. Apply styling to position and format the button:
- With the RestartButton button still selected, use the foldout (triangle) to expand the Inlined Styles section in the Inspector window.
- Use the foldout (triangle) to expand the Align section, then set the Align Self property to Center.
- Use the foldout (triangle) to expand the Position, set the Position Mode property to Absolute, change the Top offset from px to %, then set the Top offset value to 50%. This will position the top of the button 50% down the screen.
- Adjust the Font Size and Color properties (under the Text section) and the Color property (under the Background section) as you like to make the button more readable.
Tip: Select Fit Viewport in the top bar of UI Builder window to help preview the layout if elements appear off-screen.
Save your UI document and return to the Unity Editor. Your Restart button will now be styled and centered.
7. Hide the Restart button at start
The Restart button is now part of the UI, but it shouldn’t be visible until the Player GameObject explodes. In this step, you’ll reference the button in your script and hide it at the start of the game by changing its display style in code.
1. Add a variable for the button:
- In your PlayerController script, add the following line of code with your other UI variables:
private Button restartButton;2. Find the button using its name in Start():
- Inside the Start() method, add the following line of code after retrieving scoreText:
restartButton = uiDocument.rootVisualElement.Q<Button>("RestartButton");Explanation:
- This uses Unity’s query system to find the UI element by its type (Button) and name (RestartButton).
- Make sure the spelling matches exactly with what you set in the UI Builder window.
3. Hide the button at the start of the game:
- Still in Start(), add the following line of code after assigning restartButton:
restartButton.style.display = DisplayStyle.None;Note: Setting the display style to None removes it from the layout completely — it won’t take up any space or be visible.
Save your script and test your game. The Restart button should now disappear when the game starts.
8. Show the Restart button on collision
Now that your Restart button is connected and hidden at the start, it's time to reveal it when the player is destroyed. You'll do this by updating its display style inside the same method that handles collisions — right after playing the explosion effect.
1. Show the button in OnCollisionEnter2D():
- Inside the OnCollisionEnter2D() method (just after the explosion is instantiated), add the following line of code:
restartButton.style.display = DisplayStyle.Flex;Explanation:
- DisplayStyle.Flex makes the button visible and allows it to occupy space in the UI layout.
- The word "Flex" comes from flexbox layout, a system used in UI Toolkit (and CSS) where elements are laid out in a flexible row or column — so DisplayStyle.Flex simply means "display this element using standard flexible layout behavior."
2. Save and test:
- Save your script and enter Play mode in Unity. The Restart button will now appear with the explosion effect.
9. Reload scene on click
Now that your Restart button appears on game over, it’s time to make it functional. In this step, you’ll write a method that reloads the current scene and hook it up to the button’s click event so players can start fresh with a single click of the button.
1. Create a method to reload the scene:
- In your PlayerController script, add the following method inside your class before the final closing curly brace (}):
void ReloadScene()
{
SceneManager.LoadScene(SceneManager.GetActiveScene().name);
}
Explanation:
- This is your first time writing a custom function — a block of code that runs only when it’s called.
- The keyword void means the function doesn’t return a value — it just performs an action. If that’s confusing, don’t worry — you’ll learn more about return types later. For now, just know that “void” is what you use when you’re not expecting any data output.
- The name ReloadScene is something you choose — you can name it anything, but clear names help others (and future you) understand what it does.
- Inside the function, you're calling Unity's built-in scene load command, using the current scene’s name to reload it.
2. Add the SceneManager library (if needed):
- If SceneManager is underlined or causes an error, add the following line of code to the top of your script:
using UnityEngine.SceneManagement;Tip: Some IDEs (like Visual Studio or Rider) may add this automatically as you type the code. You can also hover over the red underline and use a suggested import to resolve it.
3. Register the button’s click event:
- In your Start() method, after assigning restartButton, add the following line of code:
restartButton.clicked += ReloadScene;Explanation:
- This connects the button’s clicked event to your ReloadScene() method, so the scene reloads when the player selects the Restart button.
- The += symbol is the same one you used earlier to increment elapsedTime. Here, it means "add this method to the list of things that happen when the Restart button is selected." You're not adding numbers — you're adding functionality.
After this step, selecting the Restart button will reset the game and return everything to its initial state — completing the core game loop.
10. Final script sample
If you have any errors in your code or you just want to make sure your script matches exactly what has been taught up to this point, feel free to reference or copy the final code sample below.
PlayerController.cs
using UnityEngine;
using UnityEngine.InputSystem;
using UnityEngine.SceneManagement;
using UnityEngine.UIElements;

public class PlayerController : MonoBehaviour
{
    private float elapsedTime = 0f;
    private float score = 0f;

    public float scoreMultiplier = 10f;
    public float thrustForce = 1f;

    Rigidbody2D rb;

    public UIDocument uiDocument;
    private Label scoreText;
    private Button restartButton;

    public GameObject explosionEffect;

    void Start()
    {
        rb = GetComponent<Rigidbody2D>();
        scoreText = uiDocument.rootVisualElement.Q<Label>("ScoreLabel");
        restartButton = uiDocument.rootVisualElement.Q<Button>("RestartButton");
        restartButton.style.display = DisplayStyle.None;
        restartButton.clicked += ReloadScene;

    }

    // Update is called once per frame
    void Update()
    {
        elapsedTime += Time.deltaTime;
        score = Mathf.FloorToInt(elapsedTime * scoreMultiplier);
        scoreText.text = "Score: " + score;

        if (Mouse.current.leftButton.isPressed) {

            // Calculate mouse direction
            Vector3 mousePos = Camera.main.ScreenToWorldPoint(Mouse.current.position.value);
            Vector2 direction = (mousePos - transform.position).normalized;

            // Move player in direction of mouse
            transform.up = direction;
            rb.AddForce(direction * thrustForce);

        }

    }

    void OnCollisionEnter2D(Collision2D collision)
    {
        Destroy(gameObject);
        Instantiate(explosionEffect, transform.position, transform.rotation);
        restartButton.style.display = DisplayStyle.Flex;
    }

    void ReloadScene() {
        SceneManager.LoadScene(SceneManager.GetActiveScene().name);
    }

}11. Optional: More things to try
Try these optional activities to challenge yourself, build your skills, and improve your project.
Each challenge is tagged as Easy, Medium, or Expert difficulty so that you know what to expect. You can complete one, all, or none of them — it’s totally up to you. If you’re not interested in doing these challenges, mark this step as complete and proceed to the next tutorial.
Easy: Create a UI Builder layout preset
Switching back and forth between the UI Builder window and Game view can get a little tedious. Try creating a custom Editor Layout just for UI editing.
- Open the UI Builder window and arrange it to take up one side of your screen in the Unity Editor.
- Keep the Game view visible somewhere on the other side.
When you're happy with the layout, go to the upper-right corner of the Editor, open the Layout dropdown, and select Save Layout….
Expert: Add impact effects when obstacles collide
Make your game feel more reactive by spawning small bursts of particles every time obstacles bounce off walls.
- Create a small impact particle effect prefab (similar to your explosion but scaled down).
- In your obstacle script, use OnCollisionEnter2D() to instantiate the small impact particle effect prefab at the collision point.
void OnCollisionEnter2D(Collision2D collision)
{
Vector2 contactPoint = collision.GetContact(0).point;
  GameObject bounceEffect = Instantiate(bounceEffectPrefab, contactPoint, Quaternion.identity);

 // Destroy the effect after 1 second
   Destroy(bounceEffect, 1f);
}
Tip: You can even scale the effect based on rb.linearVelocity.magnitude to make bigger impacts for stronger impacts. To avoid spawning two particle effects for every collision, you could further optimize this by comparing the two colliding obstacles’ linear velocity and only spawning the particle effect for the faster-moving one.
Expert: Show the high score on game over
Combine your score system with PlayerPrefs to display the player’s best score ever.
- Store the high score in PlayerPrefs (if it doesn’t already exist).
- When the game ends, compare the current score with the saved one.
- Update the saved high score if needed.
- Add a new UI Label to display the high score along with the current score.
Note: You’ll likely need to do some online research and consult the Unity Manual for PlayerPrefs to achieve this.
Tip: Want to challenge yourself? Use UI Toolkit animation to make the high score fade in or flash if it gets beaten.
12. Next steps
In this tutorial, you added an explosion effect and a Restart button to complete your game loop. In the next tutorial, you’ll have the chance to add some more optional features to your game.