
2.1 - Audio and Haptics
Tutorial
Beginner
+10XP
1h 30m
(52)
Unity Technologies
In this lesson, you will learn how to increase the immersion of your project through touch and audio stimuli. By the end of this lesson, the user will receive haptic and auditory feedback when they hover over or grab an object. There will also be 3D spatial ambient sound in the scene.
This lesson is part of the Create with VR course.
Overview Video
1. Add haptics on hover and select
Haptic and audio feedback help make interactions feel more realistic and responsive, giving users a stronger sense of presence in VR.
You can add haptics on hover enter and select enter to give physical feedback to the user’s hands when they touch or grab GameObjects.
Note: If you are using the OpenXR Plugin for development on devices like the HTC Vive or Valve index, this feature might not work.
1. Edit both controller GameObjects at the same time:
- In the Hierarchy window, use the foldout (triangle) to expand the XR Origin (VR) GameObject, then Ctrl+select (macOS: Cmd+select) both the Right Hand Controller and Left Hand Controller GameObjects so they are both selected.
2. Add a Haptic Impulse Player component:
The Haptic Impulse Player component lets you create vibration feedback in VR controllers. The Amplitude Controller property adjusts how strong the vibration is, letting you control the intensity of haptic feedback for different interactions.
- With both controllers still selected, select Add Component in the Inspector window, then search for and add a Haptic Impulse Player component.
3. Add the Input assets:
- Select the Right Hand Controller GameObject.
- In the Inspector window, in the Haptic Impulse Player component, select the Haptic Output picker (⊙).
- Search for and add the XRI Right/Haptic Device preset.
- Repeat for the Left Hand Controller GameObject and add the XRI Left/Haptic Device preset.
4. Add Simple Haptic Feedback components:
Now that you have the Haptic Impulse Player components added, you can add Simple Haptic Feedback components to the Interactors. These components will allow the Interactors to trigger the haptic feedback.
- In the Hierarchy window, Ctrl+Select (macOS: Cmd+Select) both the Right Ray Interactor and Left Ray Interactor GameObjects.
- Add a Simple Haptic Feedback component.
- Enable the Play Hover Entered property.
- Set the Duration to a very low value (for example, 0.1 seconds).
- The Duration property in the Simple Haptic Feedback component determines how long the vibration lasts when triggered, and you should choose a setting that feels natural and doesn't overwhelm the user with excessive feedback.
5. Create more noticeable feedback when the user grabs a GameObject:
- Enable the Play Select Entered property.
Set the Amplitude and Duration property values to slightly higher values (for example, 0.25 seconds). Amplitude determines the strength of the vibrations, while Duration controls how long they last.
2. Add audio on hover or select
Now that you have haptic feedback, you can enhance the user experience (UX) with audio feedback.
Note: If you’re using the OpenXR Plugin for development on devices like the HTC Vive or Valve index, this feature might not work.
1. Select the sound you want to use:
- In the Project window, open the _Course Library > Audio > FX folders and determine which subtle UI sound effect you want for the hover or select event.
- To preview the sound, you might need to drag up the Preview panel from the bottom of the Inspector window.
2. Apply this sound effect to both controllers:
- From the Hierarchy window, select the Right Hand Controller GameObject.
- Add a Simple Audio Feedback component.
- Add the relevant Right Ray Interactor GameObject in the Interactor Source property box.
- Decide whether to enable either the Play Select Entered or the Play Hover Entered property.
- Assign your chosen sound effect.
- Repeat this procedure for the Left Hand Controller GameObject.
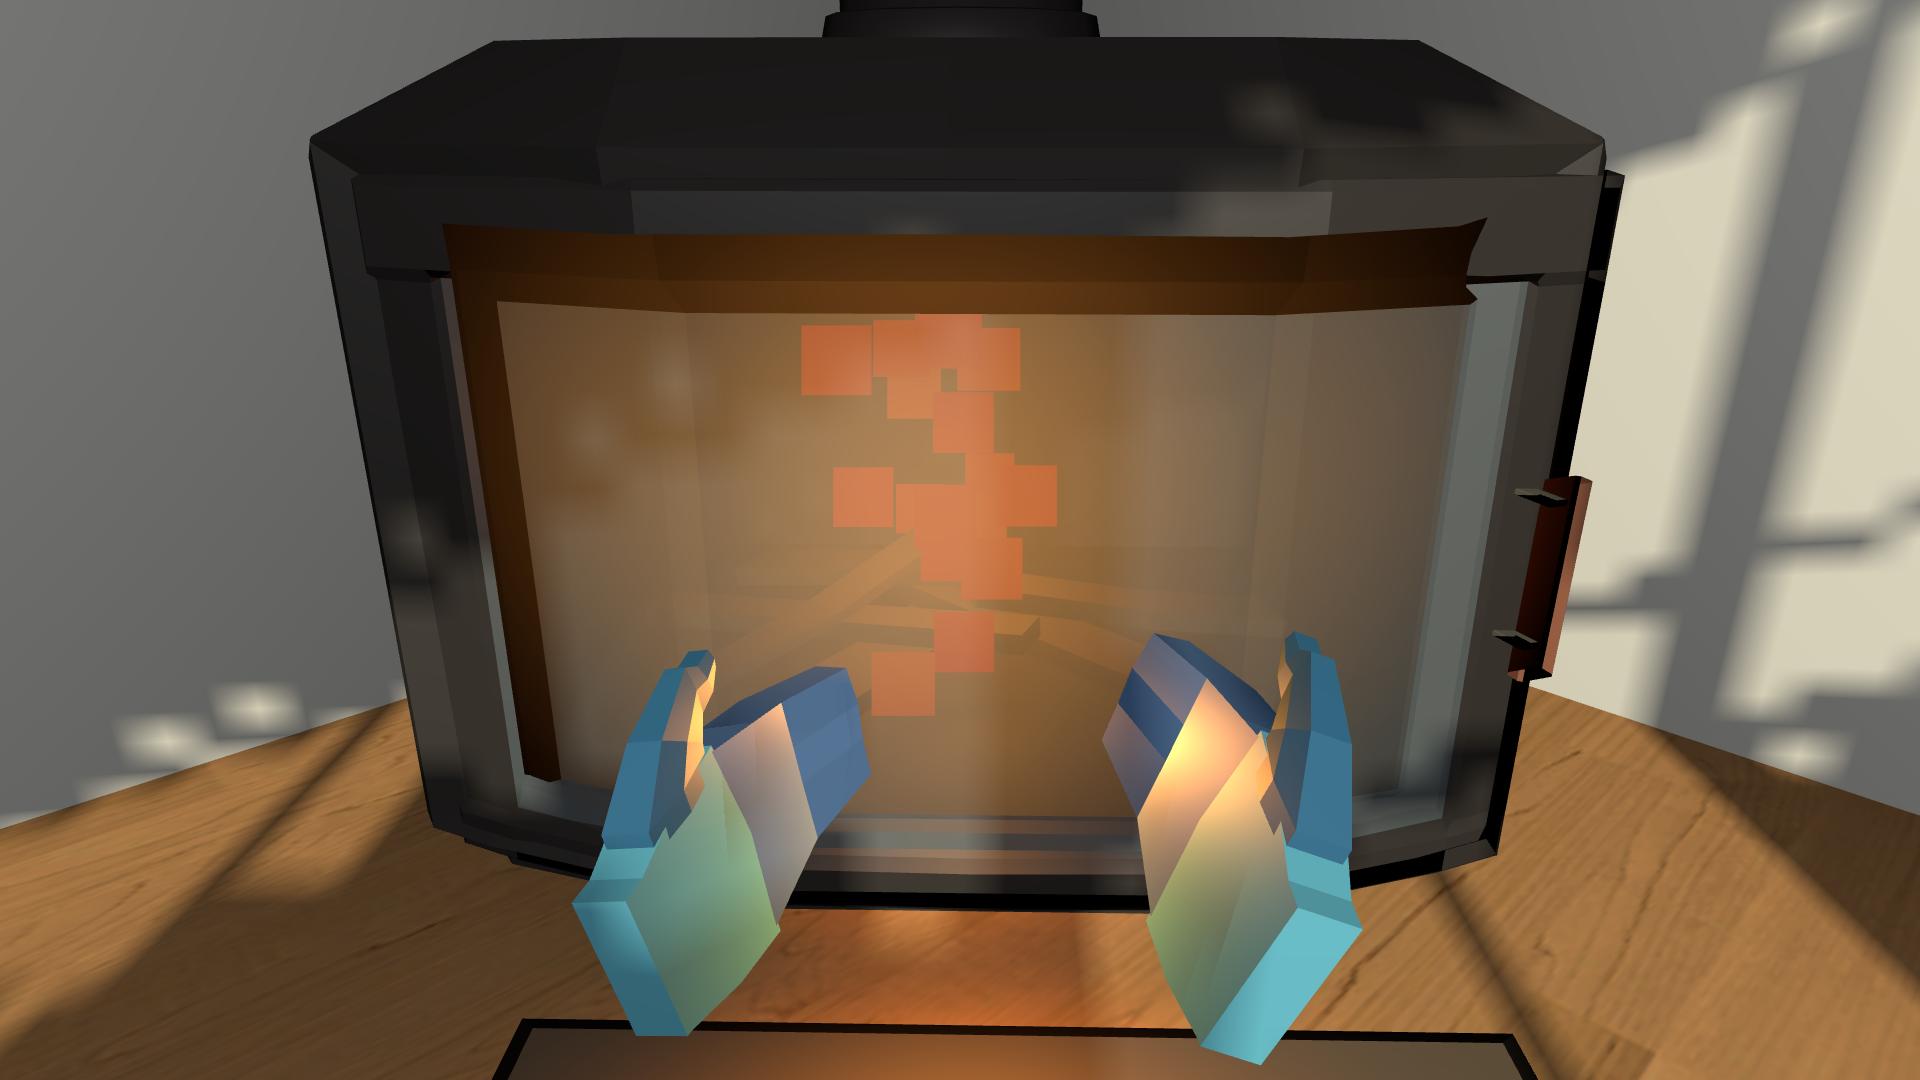
3. Add 3D audio from the fireplace
In addition to audio feedback on events, you can add 3D spatial audio into the scene emanating from the fireplace to increase immersion.
1. Give the fire a sound effect:
- Add an Audio Source component to the Particle GameObject.
- For the AudioResource property, assign the SFX_Loop_Fire sound effect from the _Course Library > Audio > FX folder.
2. Make the sound play automatically and loop:
- In the Audio Source component, make sure both the Play on Awake and Loop properties are enabled.
3. Configure this component as a 3D sound:
- Adjust the Spatial Blend property by dragging the slider all the way to the right 3D setting (or by setting the slider to 1).
4. Edit the overall volume and volume roll-off of the fireplace:
- Edit the Volume property.
- Use the foldout (triangle) to expand 3D Sound Settings section, then adjust the Min Distance and Max Distance property values.
The fireplace should now make a crackling sound, which should change in volume and left/right balance depending on where you are located and oriented in the scene.
Related resources:
4. Add a reverb zone
To maintain a sense of presence in VR, it’s especially important to make sure audio behaves the way it would in the real world. This includes considering how sounds might reverberate around different kinds of rooms.
1. Add a new Audio Reverb Zone as a child GameObject of the Room GameObject:
- In the Hierarchy window, right-click the Room_[style] GameObject.
- Select Audio > Audio Reverb Zone.
2. Make sure the reverb zone encompasses your whole room:
- In the Audio Reverb Zone component, make sure the Min Distance property is set to at least the width of your room.
Note: To visualize the zone, you might need to turn on gizmos and zoom out.
In Unity 6 LTS, the Gizmos button is represented by a sphere icon with dots on its vertices:
3. Make your reverb zone match your room:
- Open the Reverb Presets dropdown and experiment with different styles of reverb.
- Select a setting that matches your room (Room or Living Room).
You should now have a reverb zone set up in your room to make the 3D sound even more realistic.
Related resources:
5. Experiment with spatializer plugins [optional]
In addition to Unity’s built-in 3D sound, which changes the volume in the left and right ears depending on user distance and orientation, there are additional spatializer plugins that you can install to make the sound even more realistic.
1. Download and import a plugin:
- From the links below, download the relevant spatializer plugin for your platform.
- Import the package into your project.
2. Enable the plugin:
- From the main menu, select Edit > Project Settings.
- In the leftmost panel, select Audio.
- Open the Spatializer Plugin dropdown and select your plugin.
3. Implement the plug-in on your fire particle:
- Follow the instructions relevant to your device to implement spatialized audio.
You should now have even more realistic sounding audio in your scene, taking into account the user’s head-related transfer function (HRTF).
Related resources:
6. Recap
New Functionality:
- Haptic feedback on controllers
- Audio feedback on controllers
- Realistic 3D Audio from fireplace
New Concepts & Skills:
- Importance of haptics and audio for immersion
- 3d vs 2d audio
- Reverb zones
- Spatialized audio with head-related transfer function (HRTF)
Technical Skills:
- Audio & Haptic events
7. Extension activities
If you want to further develop your skills, explore new concepts, and improve your project, check out some of the optional extension activities below.
Each one is tagged as [Easy], [Medium], [Difficult], or [Expert] and will also include a [Requires Programming] tag if some coding is required.
1. Add realistic bouncing sounds [Medium] [Requires programming]
Add a bouncing sound for your ball so that you hear it bounce every time it hits the floor:
- You might want to download and import a new sound effect.
- Add an Audio Source component to your ball just like you did for your fireplace.
- To make it play a sound when it hits the ground, you’ll probably want to use the OnCollisionEnter function and PlayOneShot method.
- Bonus: if you want to make the volume change based on the speed the ball is moving, try using rigidbody.linearVelocity.magnitude.
2. Add a speaker [Expert] [Requires programming]
Add a speaker to the room that plays music - or even a record player that actually rotates:
- Find a speaker from the _Course Library > _Prefabs > Objects > Speakers folder.
- Find music options from the _Course Library > Audio > Music folder.
Bonus: If you use the Record Player prefab, you’ll need a simple script to rotate the platter the record spins on.