
Get started with Odin Inspector and Validator
Tutorial
intermediate
+0XP
15m
(35)
Unity Technologies
In this tutorial, we will go over how to install and configure Odin Inspector and Validator within Unity.
1. Install Odin Inspector
Note: Skip to the next step if you’ve purchased Odin through the Unity Asset Store.
A. Install from Odin’s own website
If you’ve bought or acquired Odin through their website or through an educational program, then the package will not be available in your package manager, instead, you’ll have to download the package from odininspector.com/download.
By clicking on the link above, you'll be presented with various customization options. One of these is the inclusion of the Odin Validator - if you have access to this tool, go ahead and include it. As for the serializer, you can leave it enabled if you expect to handle more complex data types in the future. However, for the purposes of this course, it's not necessary to include it.
Once you’ve successfully downloaded the Odin package, open the project where you want to install Odin. After this, proceed to open the downloaded file. Unity will then display an Import dialogue.
B. Install from the Asset Store
If you’ve purchased Odin Inspector and Serializer from the Unity Asset Store, you can import them directly from the Package Manager.
1. Navigate to Window > Package Manager in Unity.
2. Find Odin Inspector and Serializer in the list and select Import.
The Import Process
You should now see an Import Unity Package dialogue.
After clicking import, you may encounter a popup regarding an Assembly Updater. If this popup appears, it is crucial that you confirm the action by selecting yes. The Assembly Updater updates Odin to be compatible with your version of Unity. If you do not confirm this action, Odin may throw errors, which could disrupt the setup and use of the software.
If everything has worked correctly, a getting started popup should appear.
2. Install and configure Odin Validator
Odin Validator is an optional yet powerful tool for Odin Inspector and Serializer, scanning and analyzing your Unity project data. It validates attributes and data structures, detects common Unity issues like missing references or invalid values with built-in validators, and allows custom validator creation for unique project needs. It not only identifies issues but also offers solutions, streamlining development and enhancing project quality.
Odin Validator installation
For those who downloaded Odin from the Odin Inspector website, Odin Validator should already be installed and you can skip to the configuration step. However, if you’ve purchased Odin Inspector and Serializer from the Unity Asset Store, you’ll need to import Odin Validator separately. Follow the same steps as you did when importing Odin Inspector and Serializer.
After Odin Validator is installed, the “Getting Started” popup should appear again, but now with Odin Validator turned from gray to green, indicating it’s active and ready to be used.
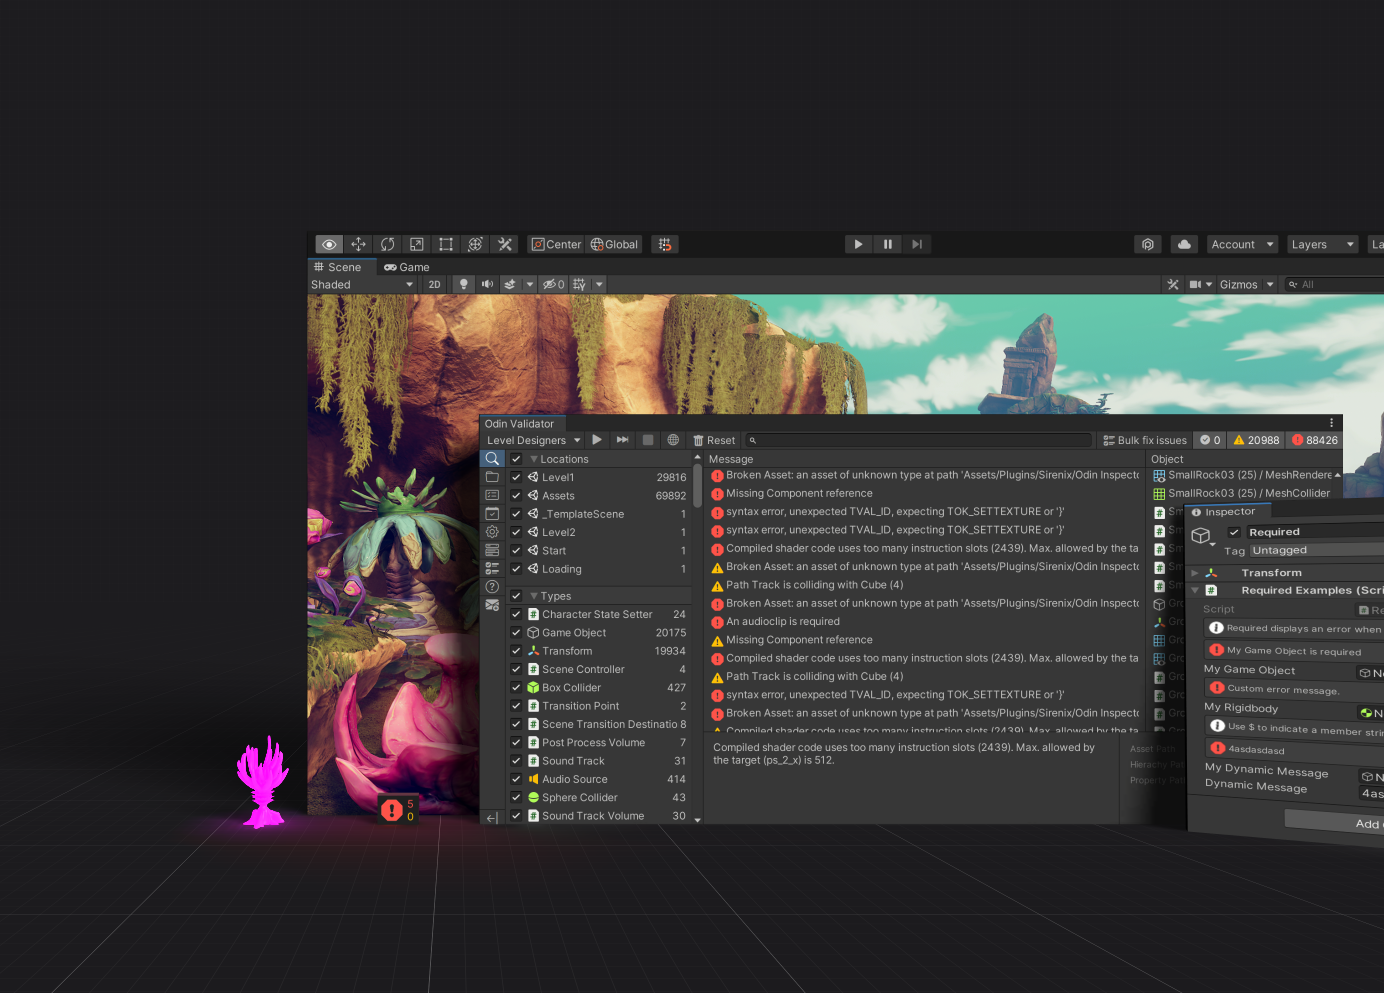
After installing Odin Validator, you should notice a small red error widget in the bottom left corner of the Unity scene view. Clicking on this widget will bring up the Odin Validator window, and the error message will instruct you to configure Odin Validator from the “Setup Wizard” on the getting started popup. Please go ahead and do so, and follow the instructions of the setup wizard carefully. It is fine to leave everything as default, but do take some time to read what the wizard has to say.
After the setup has been completed, the error message will turn green.
Configure Odin Validator
To configure Odin Validator, follow the setup wizard instructions as well as the instructions in the introductory error message. This configuration process ensures that Odin Validator is appropriately set up to check for errors and issues in your project.