
Use Material and Texture Generators to make the environment
Tutorial
Beginner
+0XP
(29)
Unity Technologies
Customize the look of your scene by generating a background texture and a ground material.
1. Overview
In this tutorial, you’ll generate both materials and textures to make your project unique and give it a cohesive look.
You’ll use the Texture Generator to create an image-based texture for the background, and the Material Generator to create a seamless surface for the floor.
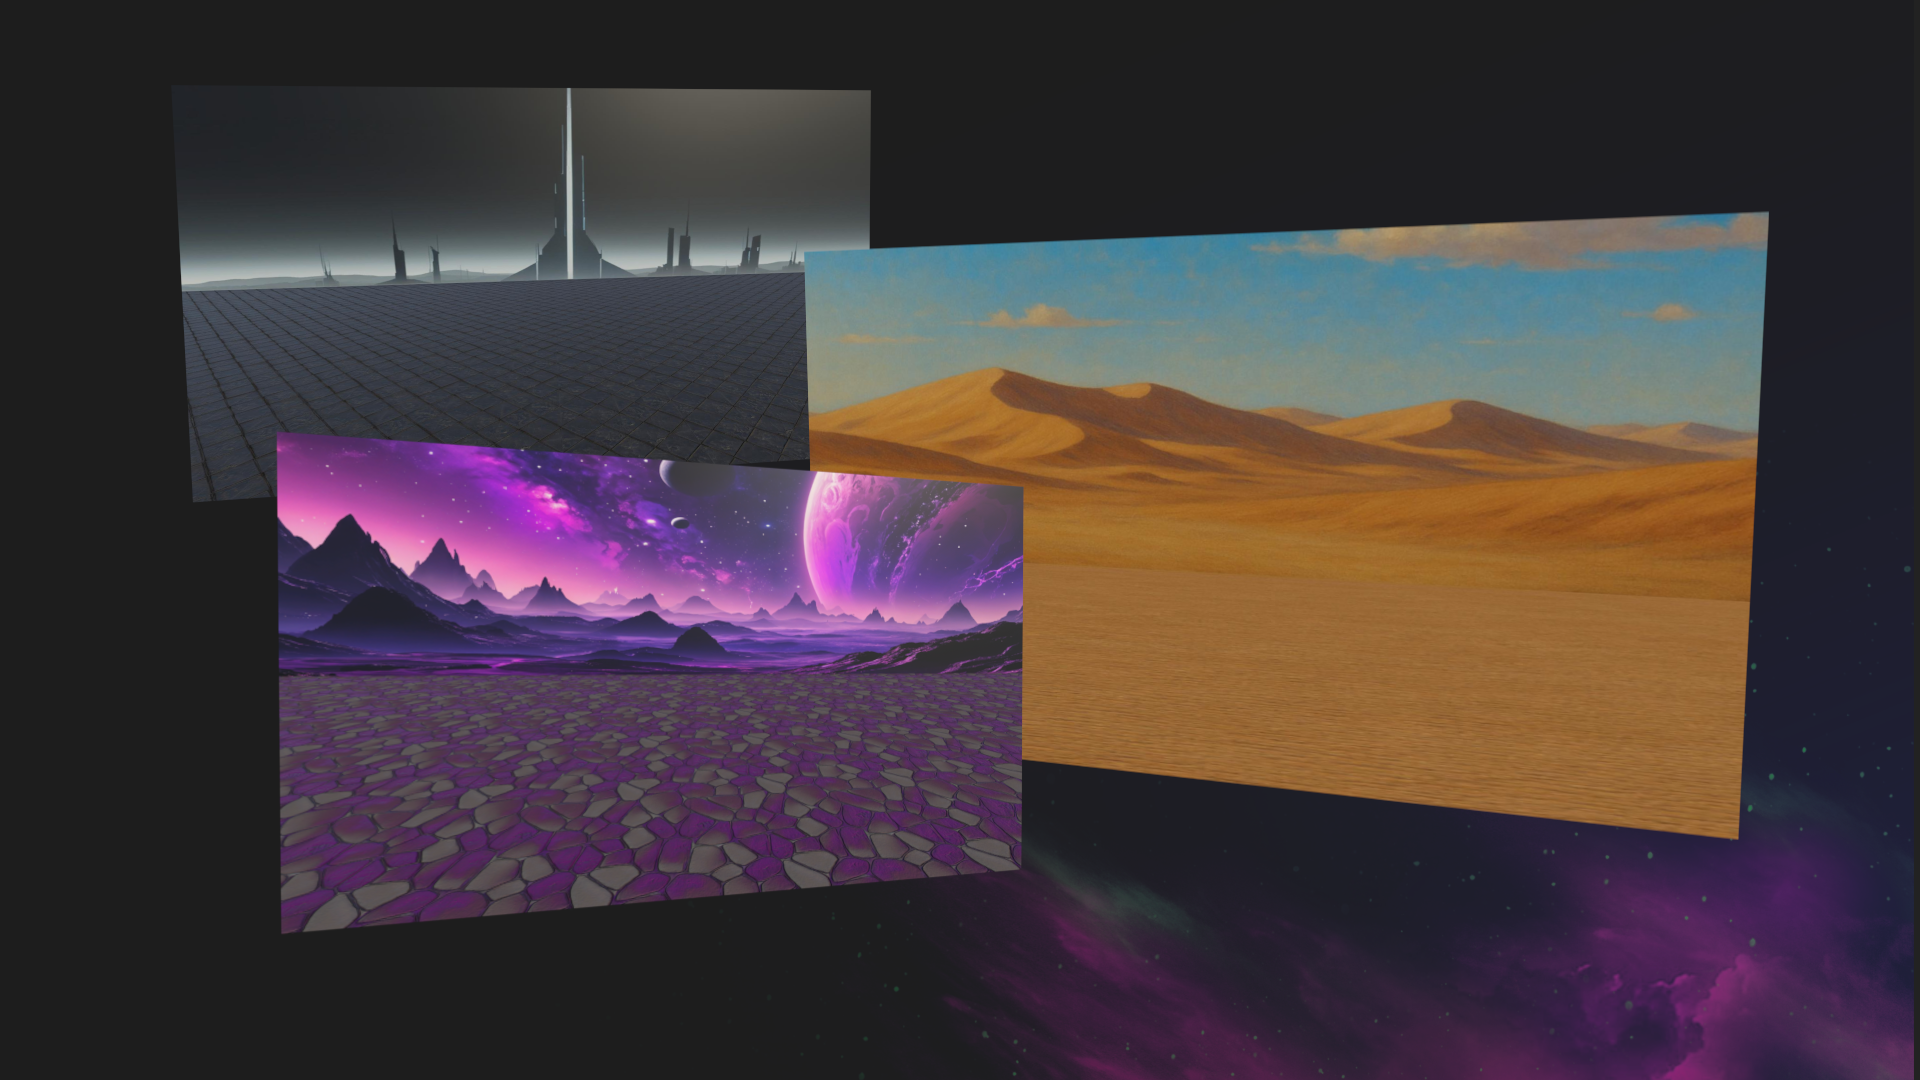
Below are examples of the type of materials and textures you could generate for your scene.
2. What can you do with these generators?
The Texture Generator
The Texture2D Generator lets you create high-quality textures using natural-language prompts and optional reference images. You can control resolution, visual style, and even use negative prompts to refine results.
In this tutorial, you’ll use the Texture Generator to create a backdrop texture for your stage.
The Material Generator
While textures define how a surface looks, materials control how that surface behaves with light — how shiny, bumpy, metallic, or transparent it appears.
You can create realistic or stylized materials that automatically include common physically based rendering (PBR) maps, like the following:
- Base color
- Normal (bump)
- Metallic
- Roughness
- Ambient occlusion
You’ll use the Material Generator to create a seamless surface for the ground beneath your character.
3. Best practices for prompts when using the Texture and Material Generator
Both the Texture and Material Generators respond best to short, clear prompts that describe the visual or physical qualities you want to achieve. Prompts should focus on surface appearance, material type, and stylistic elements.
Here are some best practices:
- Use negative prompts to remove unwanted features: For example: - “Negative Prompt: scratches, dirt, writing”
- Reference images and patterns: You can guide the visual structure of the output using uploaded reference images or with patterns included with the Generators package.
- Choose an appropriate model: You can select models trained on specific styles — such as stylized or realistic — depending on your visual goals.
4. Generate a texture for the background
In this step, you’ll generate a 2D texture to use as the background of your stage. Ideally, this texture should complement the look and style of the character you’ve chosen.
Instructions
1. Open the Texture Generator:
- From the main menu, select AI > Generate New > Texture, then name the new texture something like “Background_Tex”.
- This opens the Texture Generator window.
2. Choose an image model:
- Select Change to choose an image model.
- Browse one that looks interesting.
- For typical results that you would expect with default image generation tools, select one of the “GPT” models.
3. Write a prompt to describe your background:
- In the Prompt box, enter a short, descriptive phrase, such as the following:
vibrant gradient sky with warm tones- (Optional) In the Negative Prompt box, add unwanted elements; for example:
text, clouds, birdsThis might sound surprising, but you can actually use the AI chat to help you generate prompts to then use for the AI texture generation.
For example, you enter the following prompt into the Unity AI Assistant Prompt box:
/ask write me a prompt to provide an AI texture generator tool that would provide a vibrant gradient sky with warm tones. Include a list of things, separated by commas, to write in the ‘negative prompt’ field.The result will resemble the below output, which will probably be too much detail or include details you don’t want. However, this can be a helpful starting point for generating a highly detailed prompt:
Generate a high-resolution texture of a vibrant gradient sky. The gradient should transition smoothly from deep orange at the bottom to bright pink and soft purple in the middle, fading into a light golden yellow at the top. The overall tone should evoke a warm, serene sunset atmosphere with a soft glow effect. Ensure the colors are vivid and well-blended, with no harsh lines or artifacts.4. Match the background aspect ratio:
- Set the Dimensions property to something wider than tall, such as 1536 × 1024 to more closely match a 16:9 layout.
Note: Since the available dimensions depend on which model you choose, you might not see the specific image aspect ratio shown in the example. Just select one where the first number (width) is larger than the second number (height) for a landscape orientation.
5. Generate your texture:
- Increase the Count property if you want to see a few variations on the same theme. Note that the higher the count, the longer it will take to generate results.
- Select Generate to create the new textures.
- When you find one you like, right-click it and select Promote to current asset.
6. Apply the texture to your background:
- Drag the texture from the Project window onto your Background GameObject in the Scene view.
- Unity will automatically create a Material for it and apply it.
- Adjust the position or scale of the Background GameObject as needed to get the look you want.
Your stage now has a unique, textured backdrop, generated entirely from your prompt.
5. Generate a material for the ground
Now that your background is textured, it’s time to generate a material for the ground. Using additional information like Normal Maps, Height Maps, and Metallic maps, you can add realistic surface details that respond to lighting — creating the illusion of depth, texture, and reflectivity without increasing the geometry of your scene.
Instructions
1. Open the Material Generator:
- From the main menu, select AI > Generate New > Material, then name the new material something like “Ground_Mat”.
- This opens the Material Generator window.
2. Describe the material you want:
- In the Prompt box, enter a clear, specific description; for example:
seamless grass-covered dirt with scattered pebbles- (Optional) Use the Negative Prompt box to refine results; for example:
water, metal, trash- (Optional) For the Pattern Reference property, use the object picker (⊙) and search for “Pattern” to use one of the reference patterns provided with the Generators package.
3. Generate the material with PBR maps:
- Select Generate to produce one or more materials.
- When you're happy with one, select it, then select the PBR tab. This tab will generate the additional detailed maps that allow it to react to light.
- In the PBR tab, select Generate PBR and wait for the additional maps to generate.
4. Apply the material to the ground:
- Drag the generated material from the Project window onto the Ground GameObject in the Scene view.
5. Adjust tiling to control surface scale:
- With the Ground GameObject still selected, go to the Inspector window and use the foldout (triangle) to expand the Material settings section.
- Use the foldout (triangle) to expand the Surface Inputs section and adjust the Tiling values (for example, X = 10, Y = 10) to decrease the size of the repeating pattern across the surface more naturally.
6. Organize your textures and materials
Let’s quickly organize the assets you just generated. Keeping textures and materials in separate folders will make them easier to find later.
Instructions
1. Create new folders:
- Right-click in the Assets folder and select Create > Folder, then rename it to “Textures”.
- If there’s no Materials folder, create another new folder and name it “Materials”.
2. Sort your assets:
- Move your generated background textures into the Textures folder.
- Move your ground material and all associated PBR maps (Normal, Height, Metallic) into the Materials folder.
7. Next steps
You’ve now customized your stage with AI-generated textures and materials. To explore additional features and customization options, check out the Texture Generator documentation and the Material Generator documentation.
In the next tutorial, you’ll create a character avatar using the Sprite Generator and apply it as a UI element in your scene.