
Finalize and share your project
Exercise
Beginner
+60XP
Unity Technologies
Add optional final polish or bonus features to your project, make a screen recording, then share your project with others.
1. Overview
Congratulations — you’ve completed your basic character customization prototype using the Unity AI Assistant!
In this tutorial, you’ll explore optional bonus features that can make your project stand out. Then, you’ll create a screen recording of your project or publish it to Unity Play so you can easily share it with others.
2. Add optional bonus features
This step is all about taking your project to the next level. Below are listed a bunch of bonus features you could add to your project, all of which are completely optional — if you're happy with your project, feel free to skip this step. But if you want to get more practice and make your work really stand out, these ideas are a great place to start.
The features are listed in order from easiest to most complex. Some will require coding or more advanced tools, but with the Unity AI Assistant, you can use /ask to get help and /code to generate scripts.
You can try just one idea, combine a few, or invent your own to make this project uniquely yours.
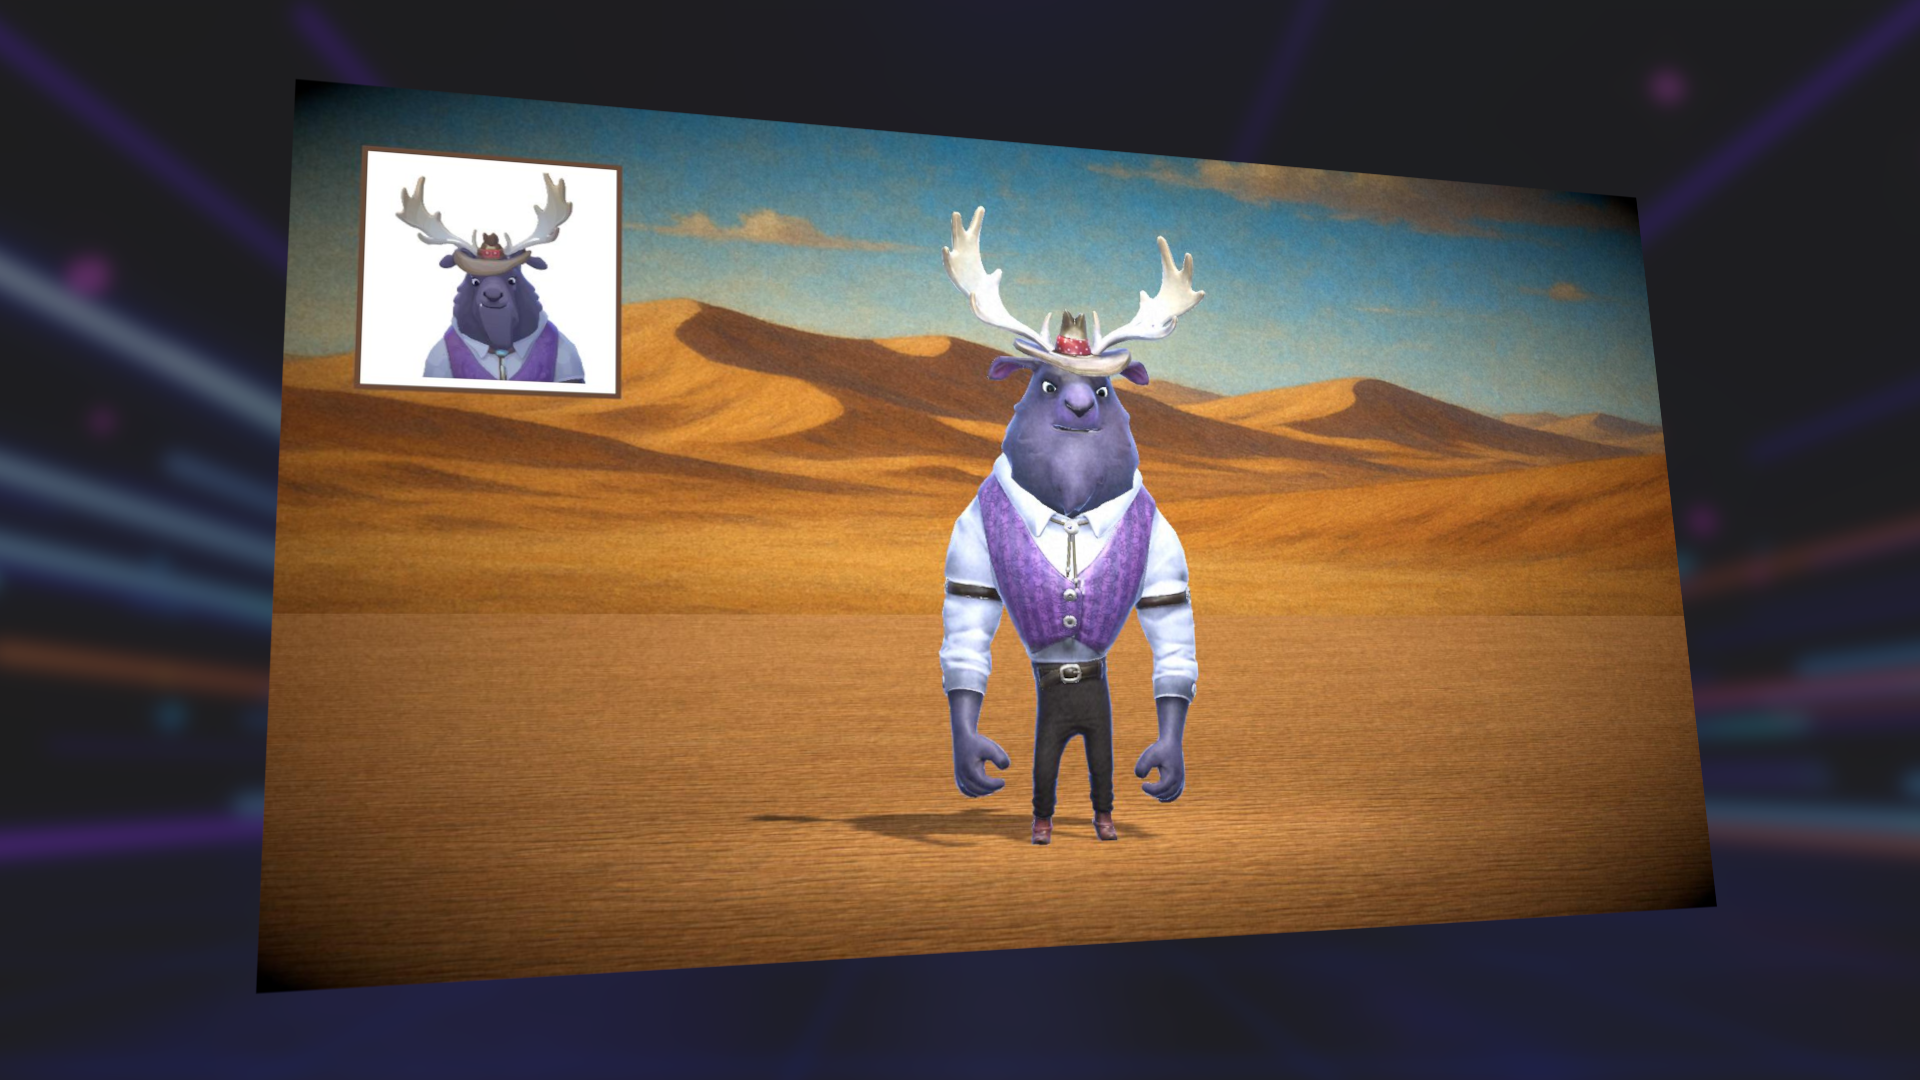
Check out the video below for a sample of a project that has incorporated some of these bonus features.
Add a frame to your avatar image
Use the Sprite Generator to create a frame for your avatar icon. This gives the icon a more finished look.
Add character rotation and zoom controls
Add UI buttons to let the player rotate the character left or right, or to zoom in and out on the character’s face. For additional polish, add sound effects to the button clicks for more feedback.
Record or upload a dance move
Use the Animation Generator’s Video to Motion tool to animate your character. You could record yourself performing a movement or upload an existing video of a favorite dance move. For more control, add UI buttons to trigger specific animations.
Add post-processing to your scene
Use /ask in the Assistant window to get guidance on how to implement post-processing in your scene. This can give your scene a distinct and higher production look, especially with effects like bloom, depth of field, or color adjustments. The images below show an example scene before (left) and after (right) post-processing.
Create alternate environments
Generate new background textures and ground materials to create different stage environments. This adds more variety and makes your world more interactive. Then, add buttons to switch between those environments.
Remember, these are just a few ideas. We encourage you to come up with your own new features to personalize your project even more.
3. Record your project in action
Recording a short video is one of the easiest ways to share your work. You can use either your computer’s built-in recording tools or Unity’s Recorder package. Choose the method that works best for you.
Option 1: Use built-in screen recording tools
You can capture your screen using built-in recording software for your operating system.
- Windows: Use the Xbox Game Bar by pressing Windows+G.
- macOS: Use QuickTime Player and select File > New Screen Recording.
For more detailed instructions, use the following documentation:
Option 2: Use Unity's Recorder package
This option allows you to export a high-quality video of your scene directly from the Unity Editor:
1. Add the Recorder package using the Package Manager:
- From the main menu, select Window > Package Management > Package Manager.
- From the leftmost panel, select Unity Registry.
- Search for “Recorder”, then select Install.
2. Open the Recorder window:
- From the main menu, select Window > General > Recorder > Recorder Window.
- Dock the Recorder window next to the Inspector window for easy access.
3. Configure and capture your video:
- In the Recorder window, select Add Recorder > Movie.
- Choose your Output Resolution (HD or Full HD).
- Select Start Recording, then Stop Recording when finished.
- Use the folder icon next to Path to open the save location for your video.
You should now have a video file of your project you can share with others.
4. (Optional) Publish to Unity Play
Publishing to Unity Play makes your project interactive and easily shareable with a link. People can play it right in their browser — no need to download anything.
For instructions on how to build and upload your project on Unity Play, follow this tutorial.
5. Share your project
Here's where you’ll upload your screen recording and any other details you want to share about your project. When you share your project, you may inspire others, and you’ll demonstrate that you’ve mastered the basics of using Unity’s AI tools.
Please check out and respond to what others in the Learn community have uploaded. You might be inspired by others’ creations!
Instructions
1. Locate the screen recordings you created.
2. Add a submission title and description below:
- Make sure to include the screenshots or video recording.
- If you have additional details to share about your process or the project that you have created, like the WebGL link for your published project, you can share them in the description too.
3. Set who can view your submission:
- Public: Anyone who views this tutorial.
- Private: Just you.
4. Select Save and preview submission.
5. Check your submission preview, complete the CAPTCHA test, and select Submit and continue.
Please login to submit
Complete this Tutorial
Submission Gallery

hgf
ghfh
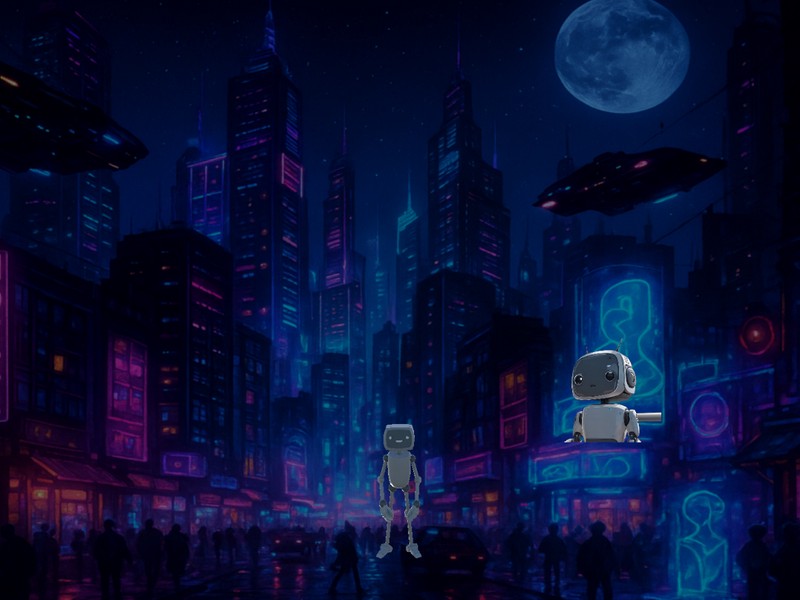
Robot Furioso
Un robot enojado en una ciudad futurista

ynized2025
ynized2025

Futbol
Shshsnensbsn

Witch model dancing
A witch model is dancing before a beautiful an Asian city background.

S
Mahfuj