
Lesson 2.4 - Creating and Altering Materials to Establish a Look
Tutorial
Beginner
+10XP
10 mins
Unity Technologies
In this lesson, we will cover creating basic Materials, organizing our Hierarchy, and applying the Materials to the objects in our Scene.
1. Lesson Overview
2. Working with Materials
A Material defines how objects (such as Unity’s primitives and those created by ProBuilder) appear in a Scene. While Materials have many properties, for now we will focus on creating Materials of various colors.
Now that we have the pre-vis Scene well underway, we need to add Materials to differentiate between different foreground buildings and the various middleground buildings. Adding Materials will also help add depth and interest to our Scene.
The only objects in our Scene that currently have Materials assigned are the CityBackground objects — which came with their Material attached — and the objects we created within ProBuilder, which received a Material by default upon creation.
Let’s create a few new Materials.
1. Right-click anywhere in the Project window and navigate to Create > Material.
2. This will create a new Material in your Project. Let’s rename it Foreground.
3. Create five more Materials and name them Foreground2, MiddleHighRise, MiddleMulti, Plane, and SpaceNeedle.
4. Select a Material and, in the Inspector, change the color with the Color Picker by clicking on the colour box next to the Base Map. Do this for each Material to differentiate between the elements. You can use our Material color scheme or your own. Here are our hexadecimal color values:
Foreground: 8E8E8E
Foreground2: 656A71
MiddleHighRise: 616471
MiddleMulti: 4F4F4F
Plane: 1B1F2A
SpaceNeedle: 677578
You can type the hexadecimal code directly into the Color Picker window (Figure 01).
5. Move your materials to the Materials folder to keep things organized.
3. Organizing the Hierarchy
At this stage, we should further organize the structures in our Hierarchy into foreground, middleground, and background elements. We can create three new GameObjects for our Foreground, MiddleGround, and Background objects.
1. Create a new empty GameObject by going to GameObject > Create Empty. Rename it Background. In the Inspector, position it at 0, 0, 0.
2. Duplicate this GameObject two more times and rename them Foreground and Middleground (Figure 02).
3. In the Hierarchy, place the CityBackground Prefab into the Background GameObject (Figure 03).
4. Next, Ctrl/Cmd + left-click the HighRises GameObject, the Space Needle and the Multi-rise GameObjects and place them into the Middleground GameObject (Figure 04).
5. Last, Ctrl/Cmd + left-click all of the unique shapes in the Hierarchy that we modified with ProBuilder and place them into the Foreground GameObject (Figure 05).
4. Applying the Materials
Let’s apply the Materials. We can do this one object at a time, or in bulk. Let’s try in bulk first.
1. Ctrl/Cmd + left-click to select all the Cubes in the Multi-Highrise GameObjects (Figure 06).
2. In the Inspector, with only the Cubes and not their parent objects selected (Figure 06), locate the Materials section and drag and drop the MiddleMulti Material from the Project view into the Element 0 slot (Figure 07).
You can assign Materials to multiple objects at a time, as long as the object has a MeshRenderer component. You can also assign them individually, or you can drag-and-drop Materials directly onto objects in the Scene view.
3. Apply the rest of your Materials to the Middleground and Foreground elements.
4. Save your work. Go to File > Save.
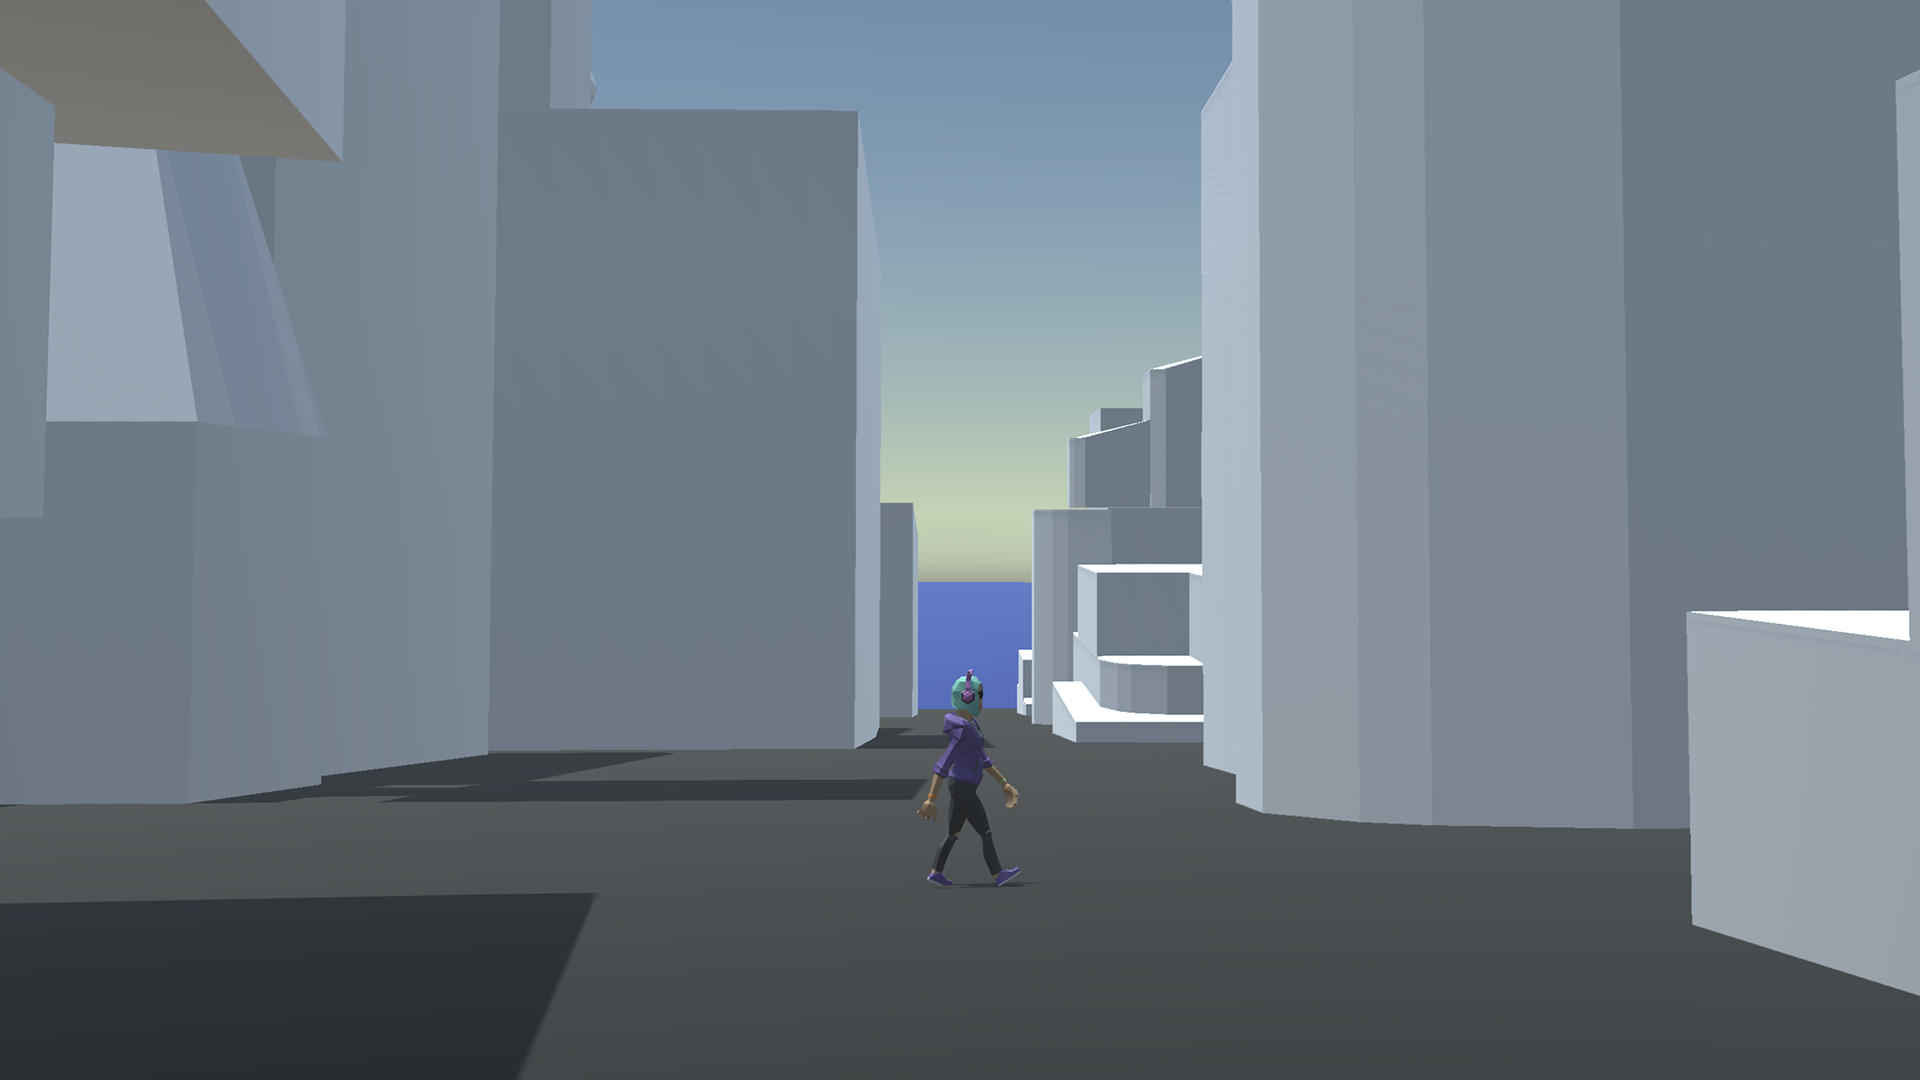
Here’s how our pre-vis Scene is looking with Materials applied (Figure 08).
5. Recap
Even at a basic level, Materials can help focus our eye in a composition and provide visual clarity to a Scene. In the next lesson, we'll learn how to control the Directional Light to change the overall lighting of the Scene.