
Lesson 2.5 - Adjusting the Directional Light
Tutorial
Beginner
+10XP
10 mins
(528)
Unity Technologies
In this lesson, you’ll dramatically change the mood of your Scene by adjusting the Directional Light. This light is meant to behave like the sun and can dramatically change your Scene from day to night or dawn to dusk.
1. Lesson Overview
2. Adjusting the Directional Light
Each new Unity Scene comes with a Directional Light by default (Figure 01).
The Directional Light is emitted from an arbitrarily distant point outside the Scene and casts light infinitely. As a result, modifying the Position and Scale values will have no effect, and the light will be cast in the direction of the arrows in the Gizmo. By modifying the Directional Light’s Rotation, however, we can mimic sky conditions, such as sunset.
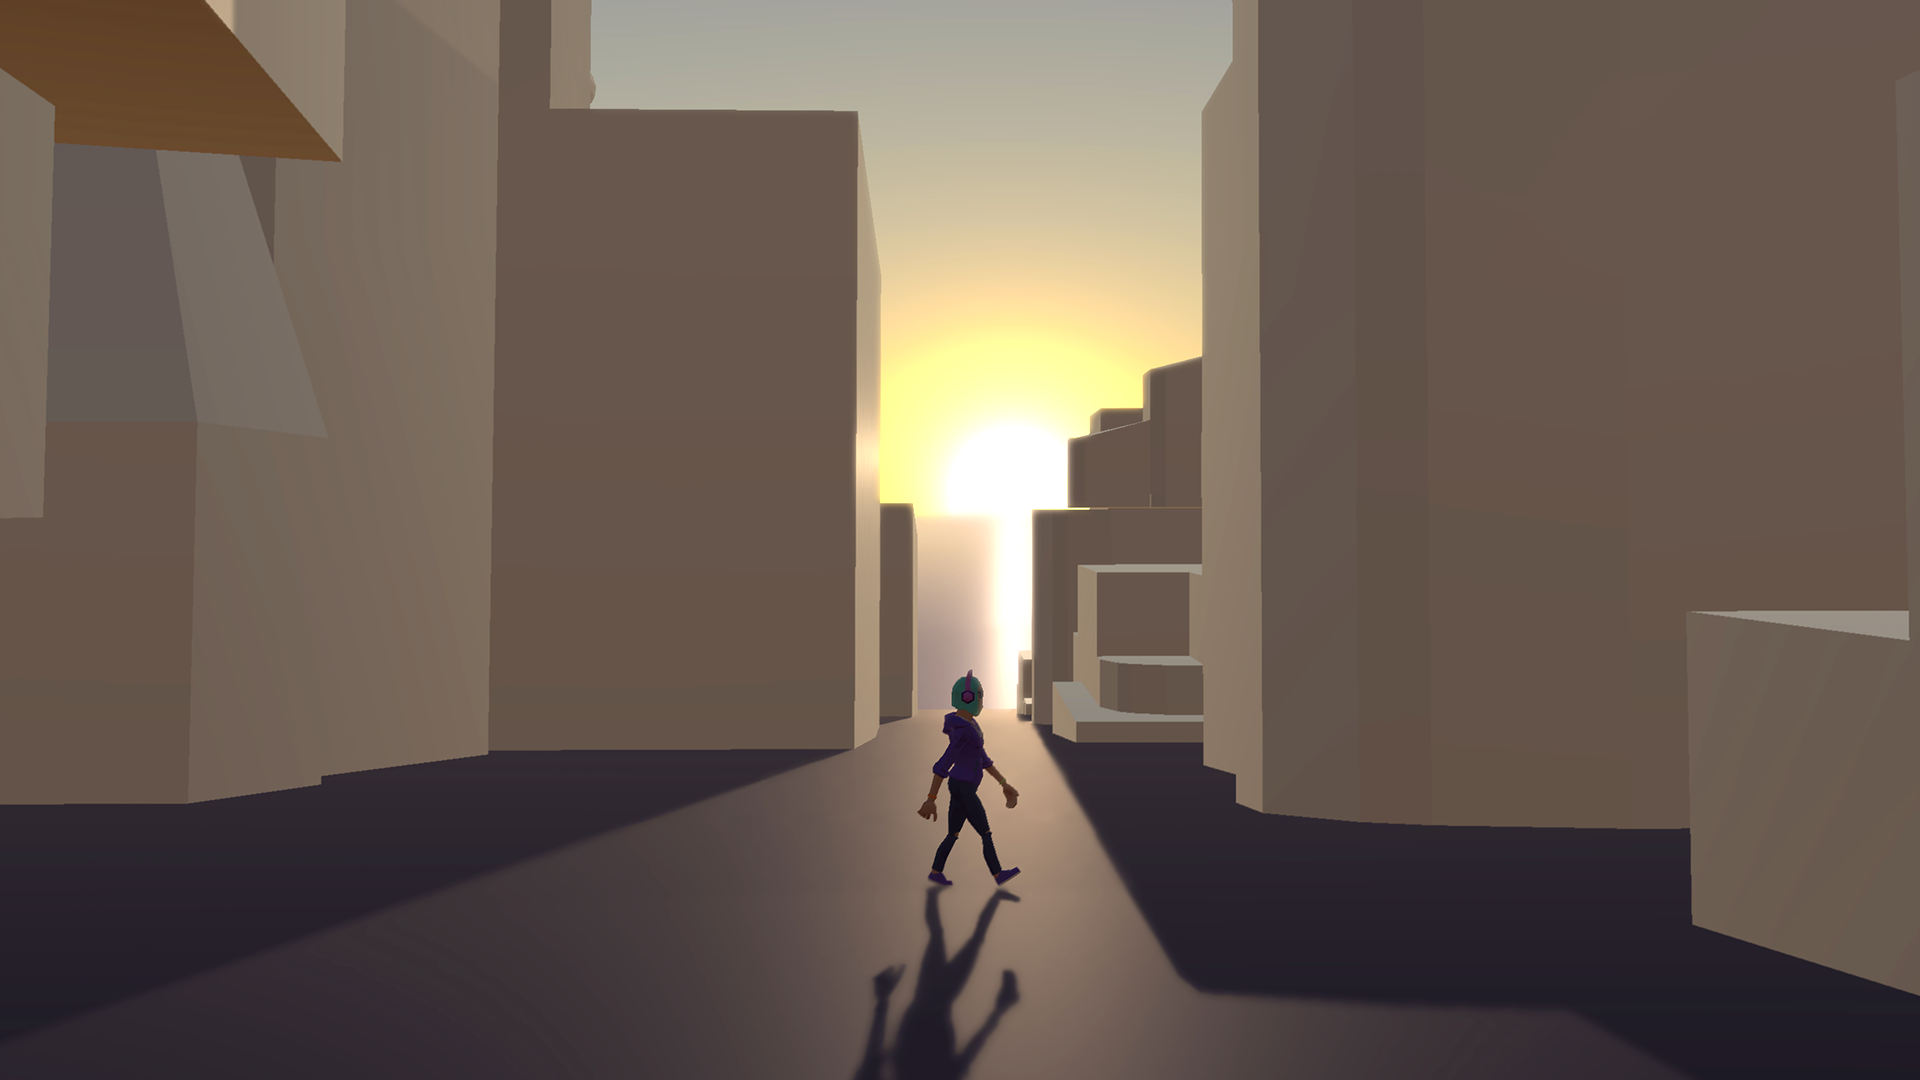
1. Rotate the Directional Light so the arrows in the Gizmo are parallel to the Skybox’s horizon. You’ll get the look of dawn or dusk with the Rotation set to something close to X:-2, Y:66, Z:90.
Notice the dramatic shift in the lighting within your Scene compared to the Directional Light’s default values (Figure 02).
2. You can also adjust the color of the Directional Light giving it a slight tint or a dramatic color change almost like color grading. You’ll learn more about Unity’s color grading tools later in this course.
3. Go to File > Save to save your work. Please note, this is the last time we will remind you to save your work throughout this course. Please remember to save your work regularly.
3. Recap
We've learned the basics of lighting in Unity through the Directional Light. Exteriors are primarily lit by a Directional Light, as it acts like the sun (or moon). The Directional Light is only the beginning when it comes to lighting Scenes in Unity. We will revisit these principles to learn about different light types in Unit 5.