
Work with GameObjects in a 3D Scene
Tutorial
foundational
+10XP
60 mins
(18733)
Unity Technologies
In this tutorial, you’ll begin working in the Unity Editor with more independence than you experienced with the Microgames. You will start by creating a new Unity project and 3D Scene from scratch. Then, you will work with GameObjects and explore the various ways you can manipulate them in the Unity Editor. In this tutorial, you will:
- Create a new 3D project and Scene.
- Create new 3D GameObjects.
- Select 3D objects in both the Hierarchy and Inspector windows of the Unity Editor.
- Move, rotate, and scale 3D objects using numerical values using the Transform Component in the Inspector window.
- Move, rotate, and scale 3D objects in the Scene view using the Unity transform tools.
- Link GameObjects in parent-child relationships using the Hierarchy window to create complex GameObjects.
- Identify the relationship between the properties displayed in the Inspector and the display of GameObjects in the Scene.
1. Overview
Now that you have sampled the Unity Editor in a Microgame, and you’ve seen what real-time creation can do, you’re ready to start working in the Unity Editor the way experienced creators do: in a new empty Scene, with simple GameObjects.
2. Before you begin
In whichever Microgame you created, you got to bring new GameObjects into your game, change some of their properties, and play a functioning game. But you were probably wondering: How did these GameObjects get built to start with? What are all these other options in the Inspector? How can I make my own world, with all these details? In these tutorials, you won’t start with anything pre-built — you will start where all Unity creators start: in empty space. We’ll show you how you can build real-time projects from scratch.
Microgame first
If you are new to Unity and you haven’t already taken the tutorials in one of the Microgames available in the Unity Hub, we highly recommend them — especially the LEGO® Microgame! Any of these Microgames will give you a good introduction to the Unity Editor. As we go through the next learning projects, we assume that you have taken a set of the Microgame tutorials, or you have a little Unity experience already.
About the LEGO® experience
If you have completed the LEGO® Microgame, you used some custom functionality that recreates the experience of using physical LEGO® bricks inside the Unity Editor. This includes the custom brick building system, the Behaviour Bricks available in the LEGO® Microgame template, and some other adjustments to streamline this experience. If you enjoyed the LEGO® Microgame, we hope you’ll continue to mod your game, and later explore the Unity x LEGO® Live Learning Series!
From here forward, you will not see the special LEGO enhancements — you’ll be using the uncustomized Unity Editor.
3. Create a new 3D project and Scene
In the Unity Hub, create a new Unity project using the 3D template.
Select the 3D template option (1), give your project a name (2), select the location you wish to save the project (3), and select Create (4). Your new project will contain one Scene.
Note: You might see a prompt to download the 3D Template if this is the first time you have used it. Look for this prompt on the 3D card when you select it.
The default 3D Scene
In the Microgames, you started in a Scene that was already built for you, with characters that moved and responded to your commands, a rigid ground on which they traveled, and goals and obstacles to make the game interesting. Now, however, you are starting from the very beginning. The default Scene in the 3D Template only gives you vast, boundless, empty space. A plane that looks like the ground is just for reference — it is not even a rigid surface.
The default 3D Scene comes equipped with two important GameObjects, which are listed in the Hierarchy window:
- Main Camera, which controls what your players will see in the Game view (Play mode)
- Directional Light, which simulates the sun and provides light that will reflect off 3D your GameObjects to create realistic visual effects
We will return to these after you have added some GameObjects to your Scene — so that the Main Camera has something to view and the Directional Light has something off which to reflect.
4. Create simple 3D objects
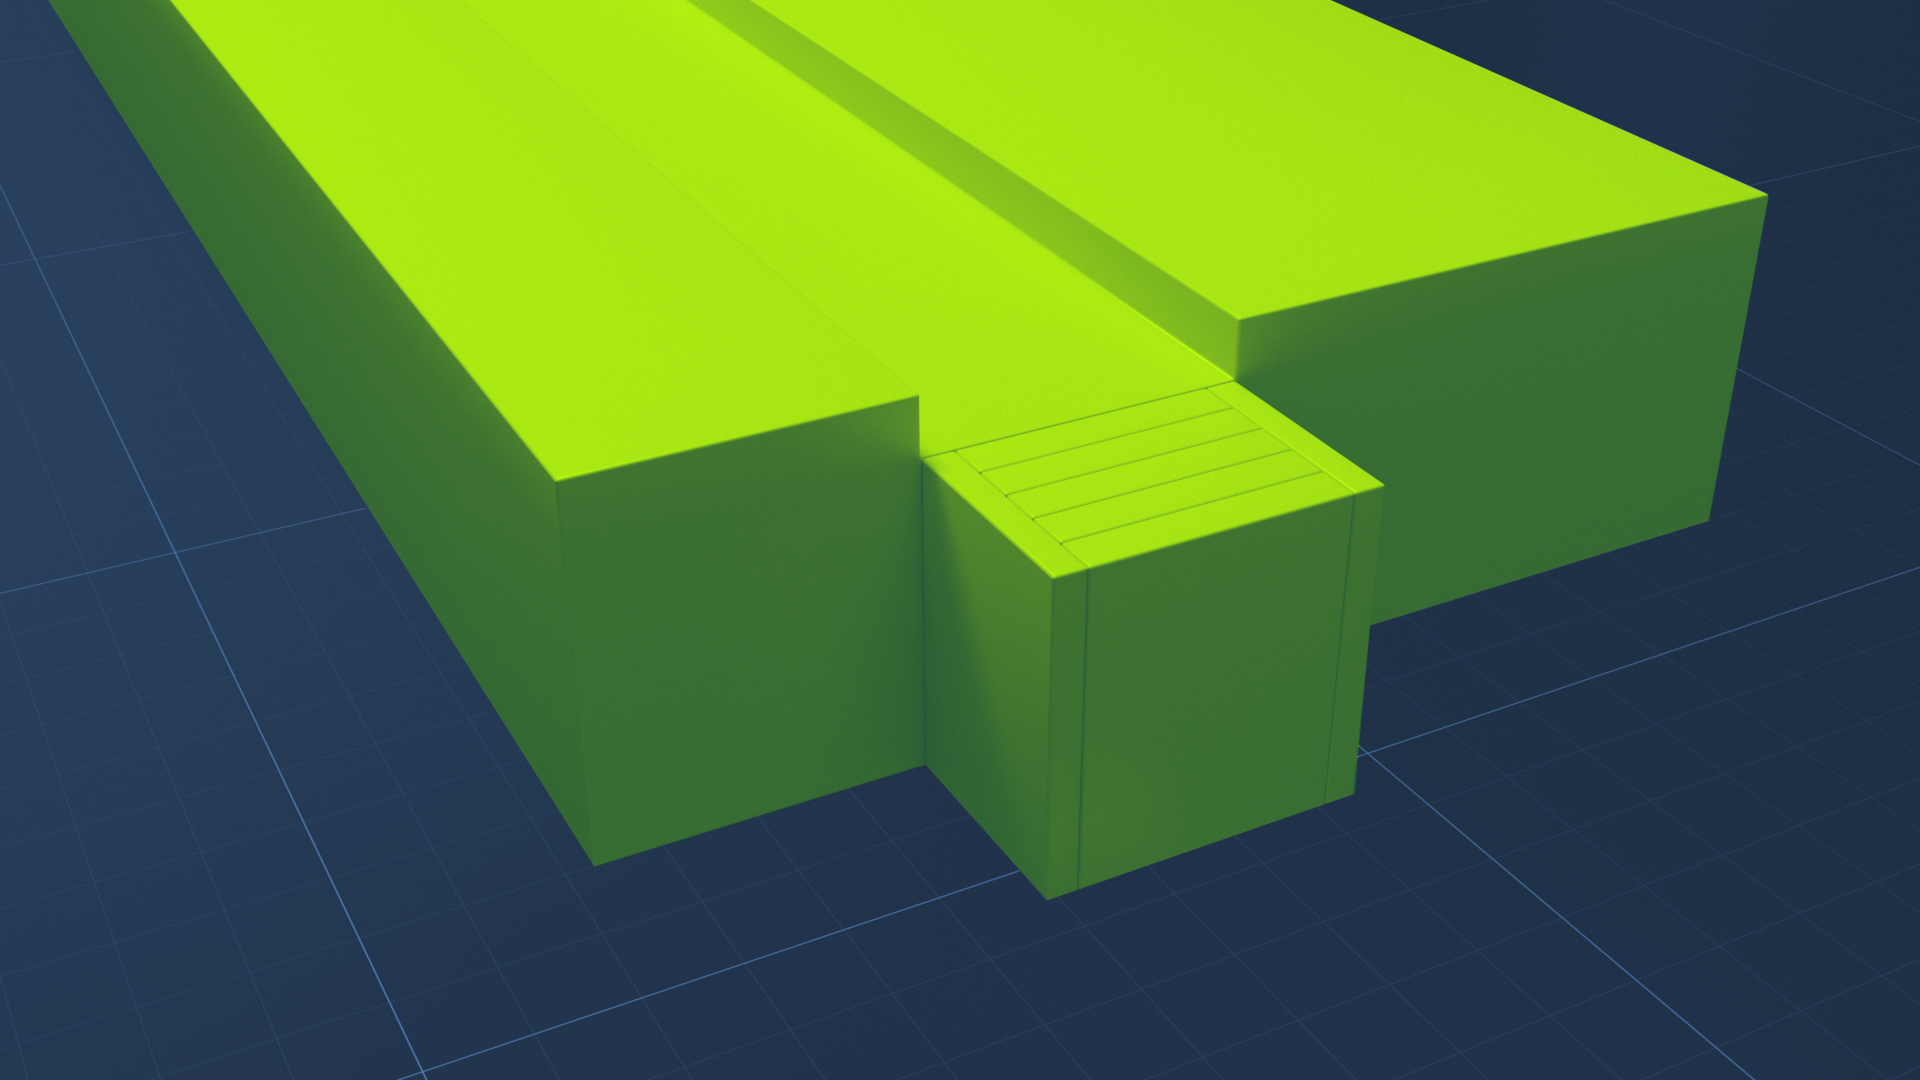
Primitives are GameObjects in basic 3D shapes, such as cubes and spheres, that you can add to a Scene to create simple objects and placeholders for assets you import later. You’ll use cube and sphere primitives throughout this project. See Primitive and placeholder objects to learn more about the other primitives available.
1. To create a cube primitive in the Scene, right-click an empty section in the Hierarchy and select 3D Object > Cube.
The GameObject named Cube now appears in the Hierarchy, and a Cube appears in the Scene view.
2. With Cube selected, look at the Inspector window, which displays the GameObject’s properties.
Each section of the Inspector represents a component, which is a set of properties and behaviors of the selected GameObject. Some components are built-in to primitives like the ones you see here. Later, you will add more components to give GameObjects more sophisticated properties and behaviors.
With the Cube selected, the Transform Component displays the size, rotation, and position of the Cube in the Scene using X,Y, and Z values. By default, these values are meters.
Note: Unity uses a Y-up coordinate system. This means that in the Editor screen space, the Y direction is vertical and X and Z represent the horizontal plane (similar to north, south, east, and west). Some 3D applications, such as 3DsMax, use Z as the vertical.
3. Select F on the keyboard to focus on the Cube. (Tip: The Scene view window must be activated; you can select a GameObject in Scene view, or right-click anywhere, to activate the window.)
By default, the Move tool is selected, and its Gizmo is located in the center of the cube. The arrows point in the positive directions in each dimension. The dimensions are color coded. You can always get your bearings by looking at the Scene Gizmo in the upper right corner of the Scene view.
4. With the Cube selected, change the Y value of the Scale in the Transform Component to 4. The Cube height will change to 4. Zoom out as needed.
5. Organize GameObjects in the Hierarchy
You can use the Hierarchy window to organize your GameObjects and define their relationships to each other. You can group them in the Hierarchy to create more complex GameObjects.
1. Right-click the Cube in the Hierarchy window so that it is selected.
2. Select 3D Object > Sphere.
As shown in the Hierarchy, the Sphere is a child GameObject of the Cube. These two objects are now linked. You can operate on them as a unit.
3. Sphere is inside the Cube where you can’t see it. Select Sphere in the Hierarchy, and the Gizmo will appear so that you can move it in the Scene view to a location at least partially visible outside of Cube. It will be tall, not spherical, because its initial dimensions were based on its parent.
4. Select the parent object, Cube, and move it. Cube and Sphere will move together. Try scaling and rotating your object, too.
To remove the parent-child relationship, drag the Sphere in the Hierarchy up and all the way to the left, to indicate the root level. Both GameObjects now appear as independent GameObjects in the Hierarchy.
6. Master the tools
Mastery of the transform and Scene navigation tools is an essential skill in Unity, which allows you to position, scale, and view your GameObjects efficiently in 3D space. With these tools and some practice, you can develop habits to get the results you want quickly and easily.
The keyboard shortcuts for the toolbars correspond to the QWERTY keys at the top left of a standard keyboard. Using these keys, you can switch quickly between the tools and keep your mouse in the Scene view.
Q: Hand tool, to pan your view
W: Move tool, to select and change position
E: Rotate tool, to select and rotate
R: Scale tool, to select and change size
T: Rect Transform tool, to scale in 2D
Y: Transform tool, to move, scale, and rotate with one Gizmo
For each of the transform tools, a Gizmo appears that allows you to manipulate the GameObject along each specific axis. As you manipulate these controls, the values in the Transform Component change accordingly.
Review the shortcuts for navigating the Scene view and refer to the cheat sheet below for a summary of the commonly used shortcuts for both navigating your view and manipulating GameObjects.
You will discover your own system for navigating the Scene view and manipulating GameObjects efficiently. For example, your system might be to rest the fingers of your non-mouse hand on the QWER keys to change tools, rest your thumb on the ALT key to orbit your view of the Scene, and move your index finger to the F key to focus on a GameObject as needed.
In the tutorials ahead, remember to practice your own system so that you can master the tools.
7. Next steps
You’ve seen how to add simple GameObjects, called primitives, to your Scene, and you’ve seen the ways these GameObjects are represented in the Hierarchy and Inspector windows. You’ve seen how to move, rotate, and scale GameObjects two ways: with numbers in the Inspector, or by physically changing them in the Scene view.
Now you’re ready for a practical exercise: building a structure using primitives.