
Add audio to your game (Game Dev)
Tutorial
foundational
+10XP
60 mins
(61)
Unity Technologies
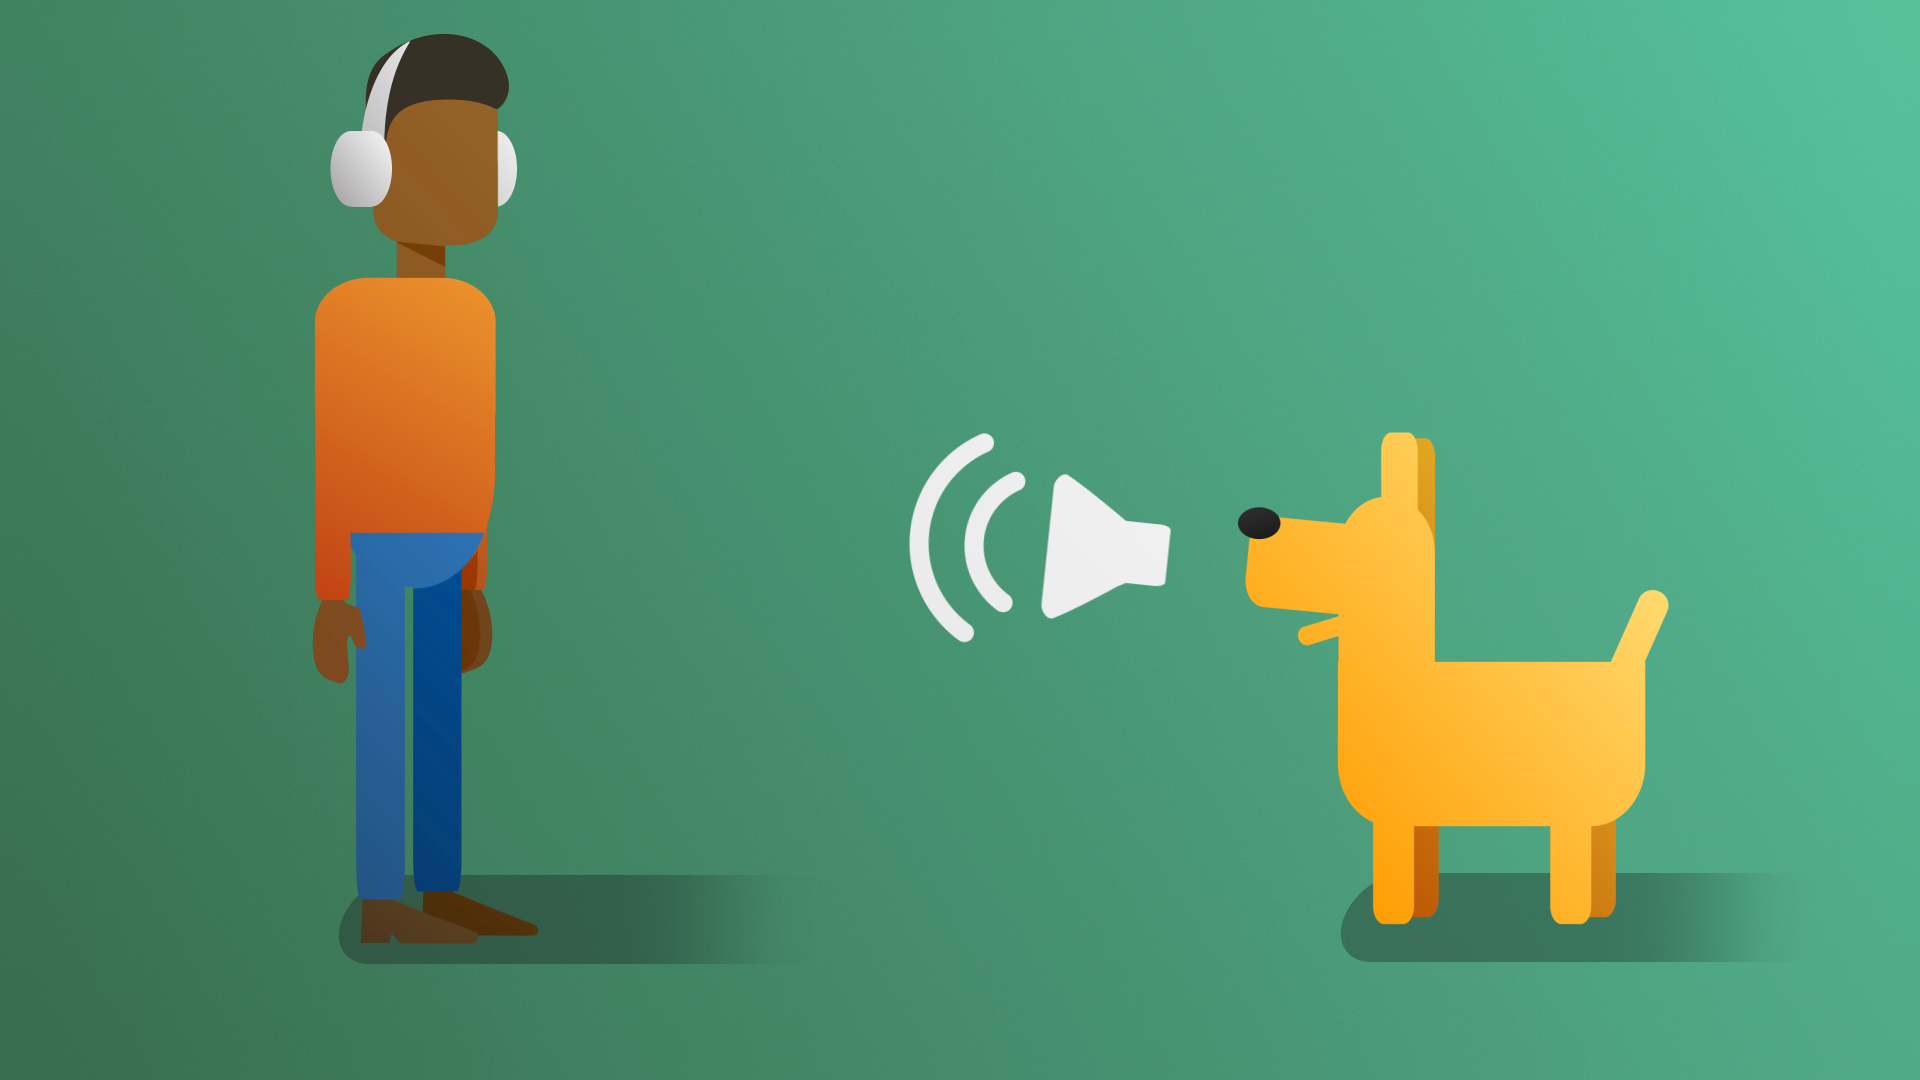
You've learned how to implement Audio in 3D and 2D projects. In this tutorial, you’ll add some sound to your 2D or 3D game.
1. Overview
In this tutorial, you’ll add sound to your game, whether you’re working in 2D, 3D, or decided to try both. By the end, your project will have fully functional game audio, just like the example projects shown below.
2. Requirements
Your game design document (GDD) is still a work in progress. Take a moment to open your GDD now and review it.
Depending on the design decisions you make, your soundscape could be completely different. A horror-themed game will have a very different soundscape from a lighthearted, unicorn-themed game. Some sounds are so iconic that you immediately associate them with a specific game.
Now, think about your specific theme and the type of sounds that make sense for your game, whether you’re building it in 2D, 3D, or both
Ask yourself the following questions:
- Will your game have continuous background music, or should it play only at certain moments?
- Should the music shift to signal tension, danger, or special events such as a boss encounter?
- Which gameplay moments — pickups, hits, warnings, game over — deserve clear audio cues to reinforce success or failure?
- Should certain objects or characters have distinctive sounds that help players identify them quickly?
- How often should sounds play? Constantly, occasionally, or only when the player triggers them?
- Should volume or intensity change based on distance, speed, or danger?
3. Review possible assets
3D game
Take some time to review the assets provided in the UCU Game Developer package that you downloaded and imported earlier..
If you haven’t downloaded and imported those assets, you can do that now.
In the asset pack, you can browse the entire Sound folder, which contains a Music and SoundFX folder. These might give you ideas for audio you could add to your game.
2D game
You can also take a look at some of these free assets to inspire you and get you started:
4. Challenge guidance
The following sections will provide you with some guidance on implementing audio into your game:
Background music
- Create a new GameObject to hold the Audio Source component.
- Enable the Play on Awake property to make sure the music plays when the game starts.
- If you need a reminder on how to do this, review the Audio mission in the Creative Core pathway on Unity Learn.
Pickup sound (3D)
- Play on Awake won't work in this case. You need a way to play the sound only when needed. There’s a pickup function that manages the pickup event in the PlayerController script. This would be a great place to activate a sound.
- You can stop and start a sound with the <yoursoundcomponent>.Play() and <yoursoundcomponent>.Stop() methods.
- You can access the Audio Source component on a GameObject with the GetComponent<AudioSource>(); method. It is best practice to do this in the Awake function of a script since the Awake method is called when a scene is loaded. Add the following line to your Awake function:
audioSource = GetComponent<AudioSource>();Lose sound (3D)
- In this case, you can’t use the Player GameObject to hold the Audio Source component since it will be destroyed on the game-over event.
- Remember that the collision function holds a reference to the object it collided with; in this case, the Enemy GameObject.
- Need more help? Here’s the full line of code:
collision.gameObject.GetComponent<AudioSource>().Play();Lose sound (2D)
- Because the Player GameObject is destroyed the moment it collides with an enemy, it can’t host the Audio Source component for the lose sound. To keep the sound playing after the player is gone, the Audio Source component is hosted on the explosion vfx prefab instead.
- No scripting is needed. The Audio Source component on the explosion GameObject can be set to Play On Awake, so when the prefab is instantiated at the collision point, the sound begins automatically and finishes even after the player is removed from the scene.
5. More things to try
If you want to further develop your skills, explore new concepts, or improve your project, check out some of the optional activities below. Each activity is identified as being either Easy, Medium, or Difficult, so you know what level of difficulty to expect.
These activities are entirely optional, so if you’re not interested, no problem – just skip this step. We do recommend attempting at least one of them in order to get the most out of this learning experience. Good luck!
Easy: Play a new sound on win
Set a sound effect to play when the win condition is achieved. You already have a function that sets the winText GameObject in the PlayerController script. You can also use that function to play a sound.
Remember you may need to switch off the theme music as well.
Medium: Play a sound when the player hits the boundary walls.
In the assets for the 3D project, you were provided with a library of sounds. If you’re doing the 2D game, you can use the sounds from the 3D asset pack or use one of the resources listed below. You can select one of these sounds and use it to indicate when the ball or player hits an obstacle. For this to work, you can add the sound to the obstacles or walls and then use tags to identify the collision object, then play the audio source on that object.
Sound assets:
- Free Sound Effects Pack | Audio Sound FX | Unity Asset Store
- Nature Sound FX - Audio
- Cartoon Game Sound | Audio Sound FX | Unity Asset Store
- …and many more
Hard: Proximity alert
This is a more advanced feature, but it shows how sound can be an integral part of the game loop and not just background fill. In this case, a beeping sound gets higher and more frequent as enemies get nearer to the player.