
Add materials to your game
Tutorial
Beginner
+10XP
60 mins
Unity Technologies
You've learned how to implement materials in 3D and 2D projects. In this tutorial, you'll apply those skills to add materials to your game.
1. Overview
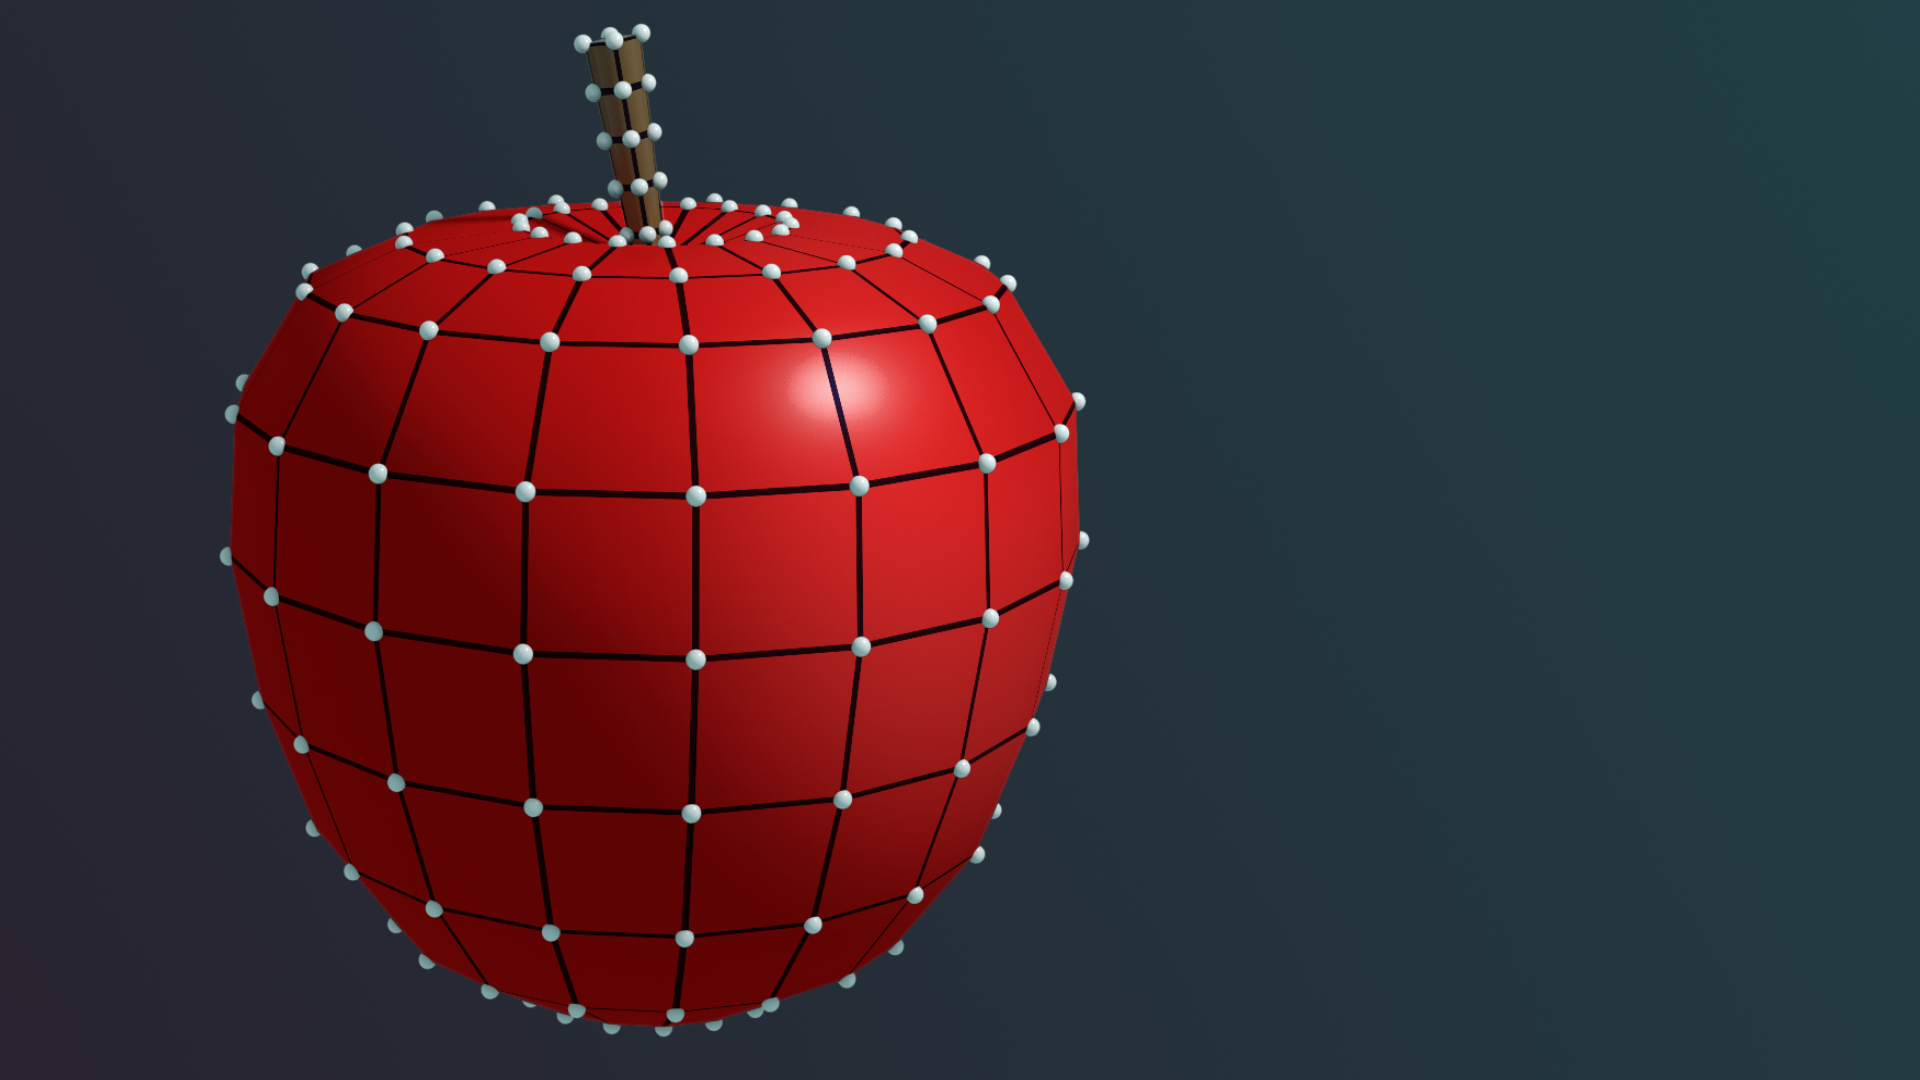
In this tutorial, you’ll add materials to your game, whether you’re working in 2D, 3D, or decided to try both. By the end, your project will have materials, just like the example projects shown below.
3D
If you’re doing the 3D game, you’ll add materials to the project according to the theme you selected.
2D
If you’re doing the 2D game, you’ll add materials to the project according to the theme you selected.
2. Requirements
Your game design document (GDD) is still evolving, so take a moment to revisit how your material choices support the overall look and readability of your game.
Materials do far more than define colour — they shape atmosphere and style. A gritty survival game leans on rough, desaturated surfaces, while a playful fantasy game often uses bright colours, clean highlights, and stylized textures.
Now, think about the material style that fits your project, whether you’re building in 2D, 3D, or both.
Ask yourself the following questions:
- Should your materials be realistic, stylised, flat-shaded, or hand-painted?
- Do characters, enemies, or key items need standout materials to make them easy to identify?
- Should certain objects react to lighting in specific ways (glow, shimmer, metallic highlights)?
3. Review possible assets
3D game
Take some time to review the assets provided in the UCU Game Developer package that you downloaded and imported earlier in the Fill out a game design document tutorial.
If you haven’t downloaded and imported those assets, you can do that now.
In the asset pack, you can browse the Materials > RepeatingPatterns folder, which contains a wide variety of environmental repeating materials for you to use. Feel free to use these or create your own materials from scratch.
2D game
Take some time to find sprites you can use in your own 2D game that align with your selected theme.
You can create your own sprite textures using specialized graphic design applications like the following:
- Adobe Photoshop
- GIMP (a free, open-source alternative)
- Aseprite (specifically designed for pixel art and sprites)
- Krita (a free, open-source painting program)
Below are a few links to sites that contain both free and commercial 2D assets.
4. Challenge guidance
The following sections will provide you with some guidance on each of the tasks in this challenge.
Add a custom material to your game (2D and 3D)
Create a custom material for your game that will simulate a surface related to your chosen theme. If you are doing the 3D game, your material needs to use at least one texture applied to the Base Map slot of the material. If you’re doing a 2D game, your material needs at least one sprite texture assigned.
Add a repeating pattern material to the game (2D and 3D)
Add a tiling (or repeating) material to simulate a surface in your game.
Tip: To adjust tiling, check the following sections based on your material type:
- For 3D Materials: Look under the Surface Inputs section.
- For Sprite/2D Materials: Look under the Sprite Texture section.
5. More things to try
If you want to develop your skills further, explore new concepts, or improve your project, check out some of the optional activities below. Each activity is identified as being either Easy, Medium, or Difficult, so you know what level of difficulty to expect.
These activities are entirely optional, so if you’re not interested, no problem – just skip this step. We do recommend attempting at least one of them in order to get the most out of this learning experience. Good luck!
Medium: Add an emissive material to your game
Incorporate an emissive material into your game to make an object glow. To ensure the emissive property becomes visible during gameplay, make sure to include post-processing in your game, with at least the Bloom effect enabled.
6. Next steps
In this tutorial, you created materials to add to the theme and aesthetic of your game. In the next unit, you'll learn how to add lighting to your game.