Selecting an orientation for your AR game
Tutorial
Beginner
+0XP
30 mins
Unity Technologies

One of the most obvious differences between a desktop and mobile game is the screen from which the game is played. As the AR designer, you must decide what orientation will work best for the port of the UFO game and implement it.
In this tutorial you'll do the following:
- Explore different aspect ratios and orientations
- Apply your selected orientation to the game
- Adjust the game UI to match the new orientation
1. Overview
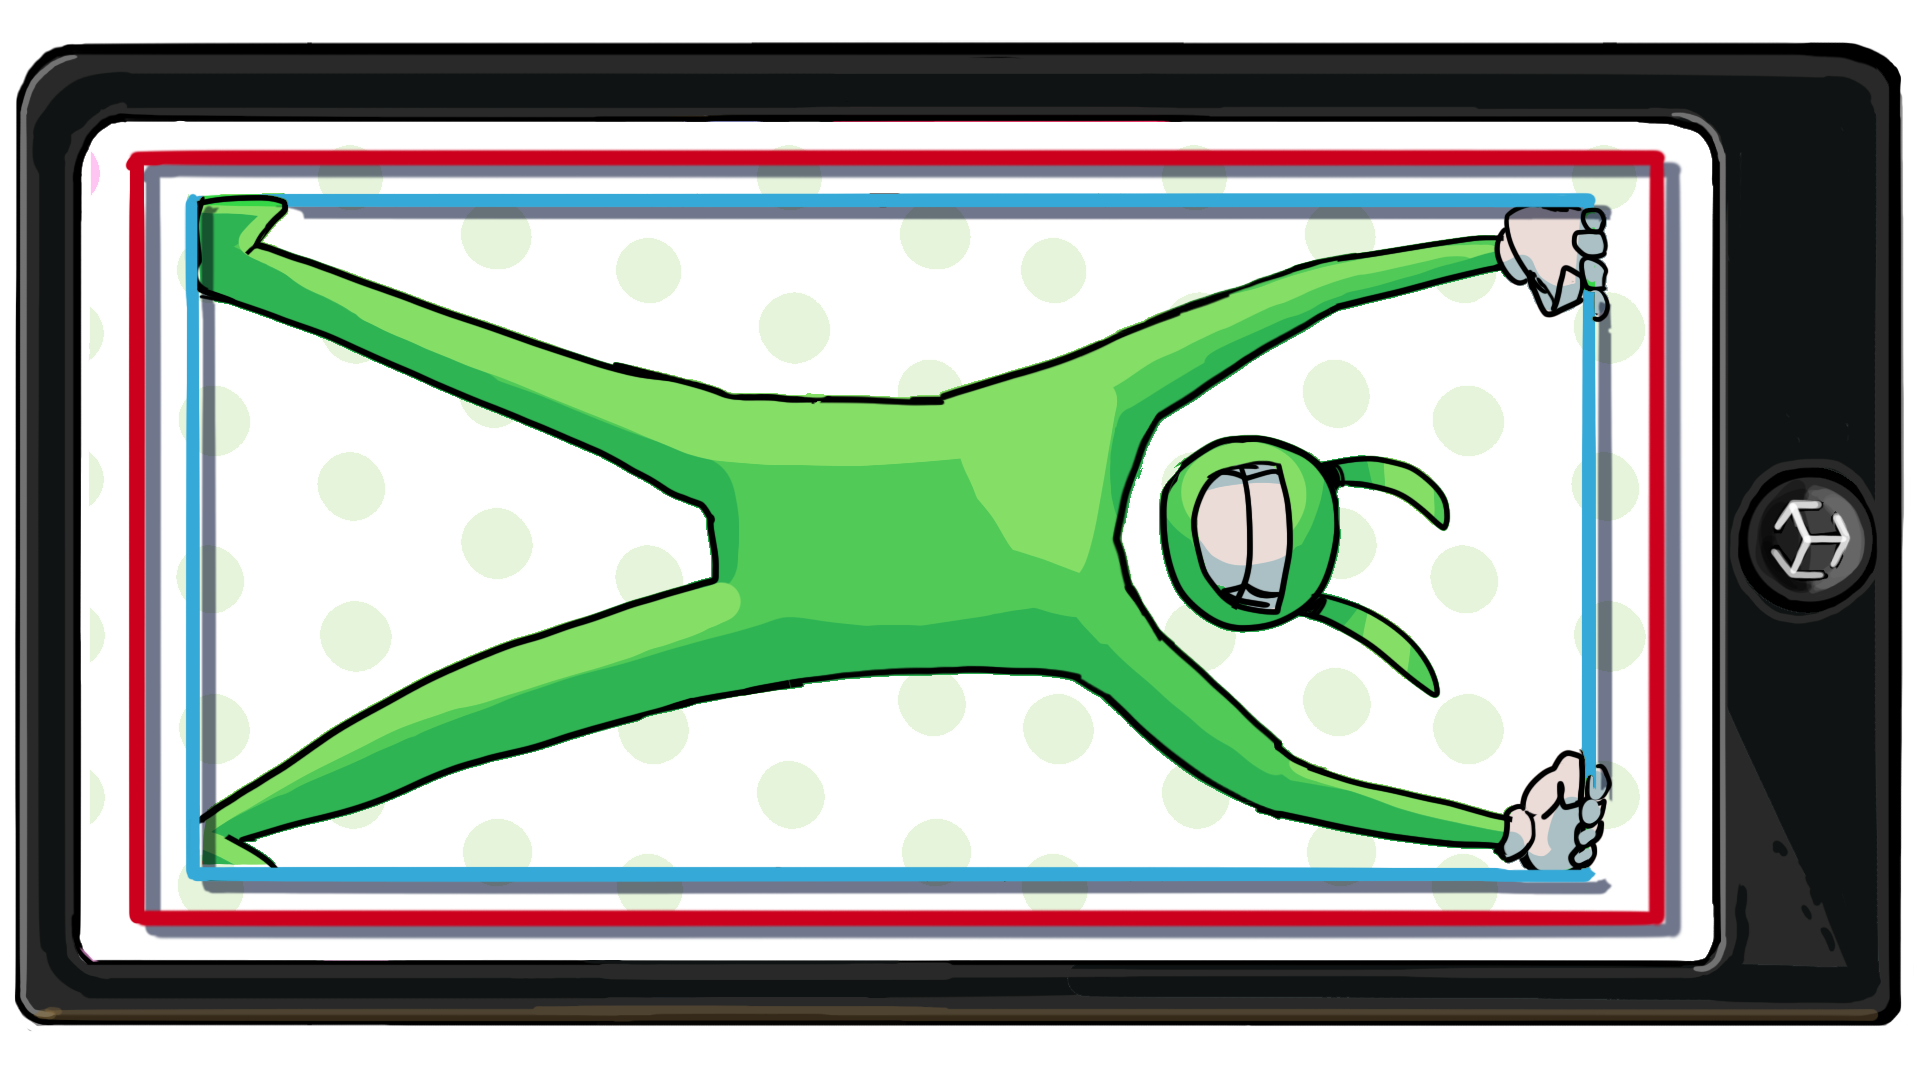
The first decision you need to make for your AR game port is choosing an appropriate game orientation and aspect ratio. The orientation of your game determines whether it can be played in portrait mode or landscape mode. Your game could look and feel very different depending on which orientation and aspect ratio you design for.

In this tutorial you will determine an appropriate orientation and aspect ratio and will also adjust the game UI components to reflect this choice.
2. What is an aspect ratio?
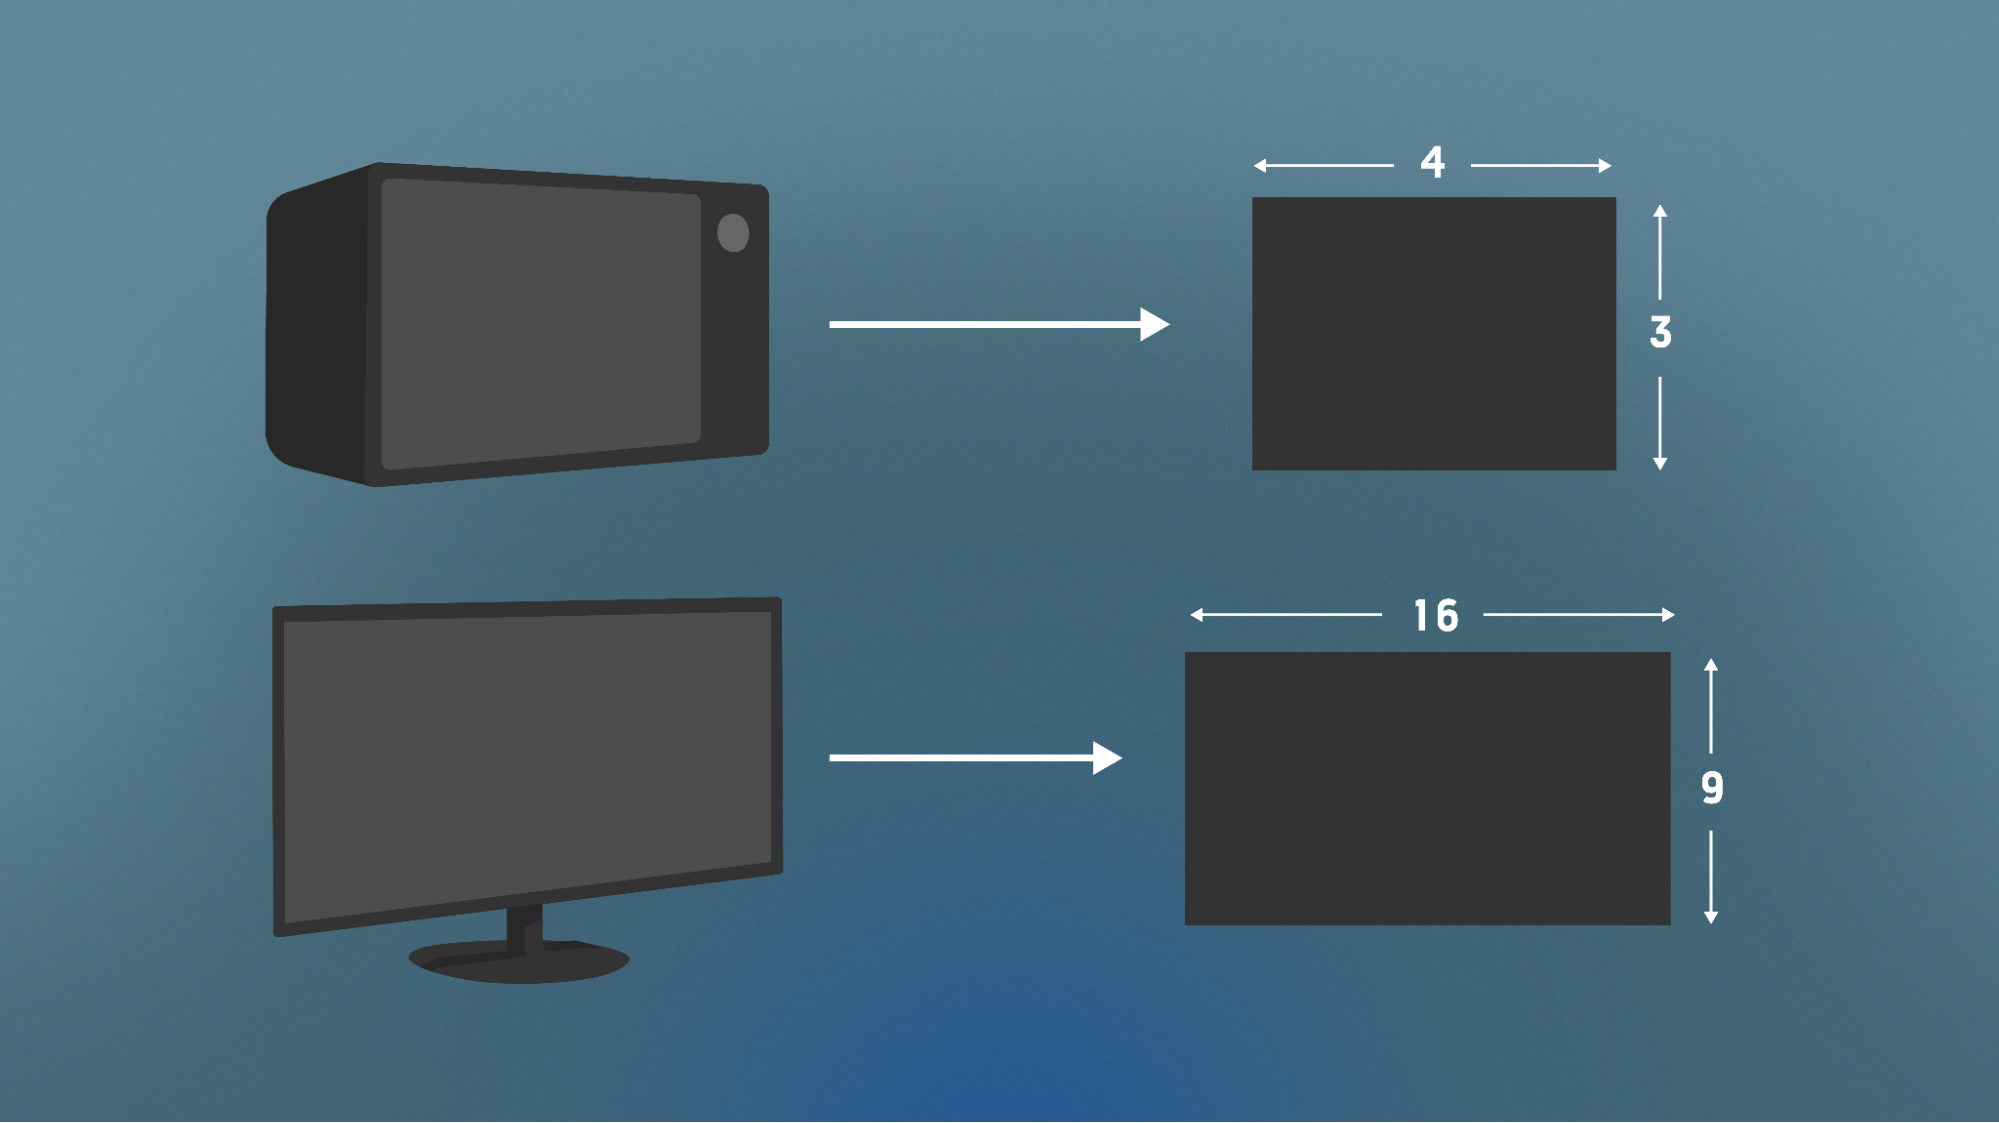
The aspect ratio of your game is the specific ratio between the width and height of the screen. Old-fashioned TVs and the very first films, for example, used a 4:3 aspect ratio. That means that the screen was 4 units wide and 3 units high. However, modern widescreen TVs and most new films use a wider 16:9 aspect ratio.

Modern mobile devices tend to have aspect ratios that are similar to standard 16:9 widescreens, but there is still a wide range of aspect ratios. For this reason, it will be important to test your app on a wide range of aspect ratios, even after you have selected an orientation.
3. Game orientation options
The most significant decision is your choice between the landscape or portrait default orientation.
Landscape orientation on a mobile device refers to the display mode where the device's screen is rotated 90 degrees from its default orientation and is wider than it is tall.
Portrait orientation refers to the display mode where the device's screen is held vertically and is taller than it is wide. This orientation is typically used for applications that require texting or browsing, since the display fits more easily in the user's hand.
You will need to set up your UI in a way that supports the orientation approach that you have chosen for users.
Guidance to help you select a game orientation
If you’re not sure which approach you want to take for your port, consider the answers to the following questions:
- Is this experience going to be better or easier to use in landscape mode or portrait mode?
- Can the game be played successfully in either mode?
- How might the orientation options impact UI button positioning?
Since the desktop version of the game was set up in landscape mode, using only landscape mode for your port will be the simplest option by far. If you feel strongly that the game should be played in portrait mode, it is possible, but requires more design work.
4. Set the default orientation
You will need to set the default orientation, which is the orientation your app will start with when the user opens it.
Follow these instructions to change the default orientation in the project settings:
1. In the Unity Editor, go to Edit > Project Setting.
2. In the Project Settings window, select Player and then expand the Resolution and Presentation settings.
3. In the Orientation section, set the Default Orientation to your desired option using the dropdown. You can choose from the following options:
- Portrait: The phone must be held upright with the top of the phone pointing upwards.
- Portrait Upside Down: The phone must be held upside down — this is very unusual.
- Landscape Right: The phone must be held sideways with the top of the phone pointing right.
- Landscape Left: The phone must be held sideways with the top of the phone pointing left.
- Auto Rotation: The game will automatically rotate to one of the orientations listed above depending on how the user holds it – you can select which orientations are possible.

If you chose Auto Rotation, you’ll need to decide which orientations are allowed to be used when the phone rotates.
4. In the Allowed Orientations for Auto Rotation setting section, enable the orientations that best match your desired design.
In our example, we will keep the rotations set to Landscape only.
Important: We don’t recommend that you allow for both portrait and landscape orientations at this time unless you are very comfortable with Unity’s UI systems. This approach also requires a lot of extra design work.

5. Build and test the experience on your device to ensure that your selected rotations work correctly.
6. Note how the UI displays for each desired orientation and make sure to test each orientation for the StartScene and MainScene in the experience.
If you selected only landscape orientations, the required revisions will be minor. If you allowed for portrait orientations, more edits will be required.
Since you cannot actually play the game on mobile right now, you won’t be able to test WinScene or LoseScene.
7. To test WinScene or LoseScene at this point, select only the scene you want to test in the Scenes in Build panel and build again.

5. Other things to consider
The general orientation and aspect ratio configuration that you have made is something you need to consider regardless of the kind of device your player will be using. However, you should also consider the specific designs of devices that your users might have.
Consider the notch on the device, for example, which is the area on a phone that typically surrounds the camera or speakers on the front facing screen and can’t be clicked on. Look at how much more usable and readable StartScene is with the Landscape Left orientation compared with the Landscape Right orientation, where the text and buttons are cut off by the notch.

The locations of the camera, buttons, and other interactable elements of the screen can have a significant negative impact on the user experience if you don’t consider them carefully.
Do a quick search for the layout of phone cameras and notches to get an idea of where those elements might be for your desired platform to help you place UI elements for your users.
Use the following questions to help guide your research:
- Does the platform I am developing for (iOS, Android) have specific camera holes or notches that I need to be aware of?
- Does the hand placement for the orientations I have selected naturally lead to the user putting their thumb over an important UI element?
- Do I need to adjust the UI to accommodate different natural hand placements for each orientation?
6. Adjust the game UI components
Now that you have selected your allowed orientations and tested the UI in each scene, you will need to make any necessary modifications to the game UI. Remember that limiting the possible orientation to either landscape or portrait can minimize the need for additional UI development.
Follow these instructions to configure the game UI components:
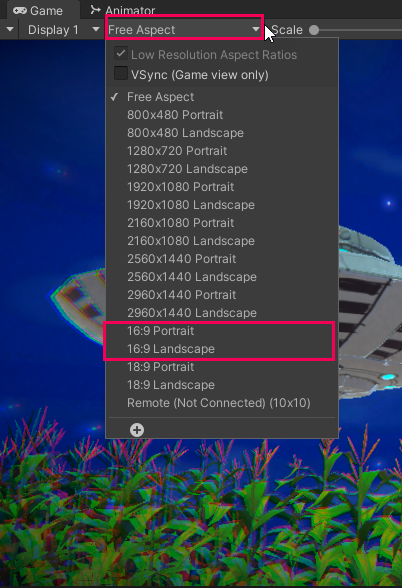
1. In the Game view, select the Aspect Ratio dropdown and set the aspect ratio to match one of the orientations that you have selected for the game.
Start with either 16:9 Portrait or 16:9 Landscape, since the 16:9 ratio is pretty close to the aspect ratio on a wide range of mobile devices.

2. Review each UI component and adjust as needed for the aspect ratio and orientation you selected.
3. After you've adjusted the UI for the generic 16:9 ratio, test how the scenes look in various other aspect ratios for your platform (for example, iPhone 12 Pro for iOS or Samsung Galaxy for Android).
4. If you are having trouble, review the Creative Core: UI course to learn more about designing and developing responsive UI for applications.
7. More things to try
If you want to further develop your skills, explore new concepts, or improve your project, check out some of the optional activities below. Each activity is identified as being either Easy, Medium, or Difficult so you know what level of difficulty to expect.
These activities are entirely optional, so if you’re not interested, no problem — just skip this step.
We do recommend attempting at least one of them in order to get the most out of this learning experience, however. Good luck!
Medium: Add a settings menu to MainScene
Allowing a player to control settings in a game is a standard part of well-made applications. Being able to turn features of the game on and off can be very important in a mobile experience. For example, being able to disable and enable game audio without affecting other audio on the device ensures that users can make and receive calls but play their game silently in different environments. There are many additional settings that can be equally important for a mobile game.
To complete this challenge, add a settings menu to MainScene and create new script graphs to control the audio settings.
Difficult: Allow for portrait and landscape orientations
Allowing the user to choose between playing your game in portrait or landscape mode is ideal, assuming that you can actually make the user experience enjoyable in both orientations. To enable this setting, you need to enable Auto Rotation in the Player settings, then enable both Portrait and Landscape for the Allowed Orientations.
For help achieving this result, review the Creative Core: UI course to learn more about designing and developing responsive UI for applications. You can also explore Designing for Multiple Resolutions to learn about how the Canvas Scaler component works.
8. Next steps
Great job! Now you have a UI that is prepared and ready for your user to interact with in whatever orientation you have selected. In the next tutorial you will allow the user to spawn the play area in their physical environment.