Adding Company Branding to the UI
Tutorial
intermediate
+10XP
15 mins
(16)
Unity Technologies

In this tutorial, we will look at various ways to add company branding to the Reflect Viewer user interface.
Resources
1. Overview
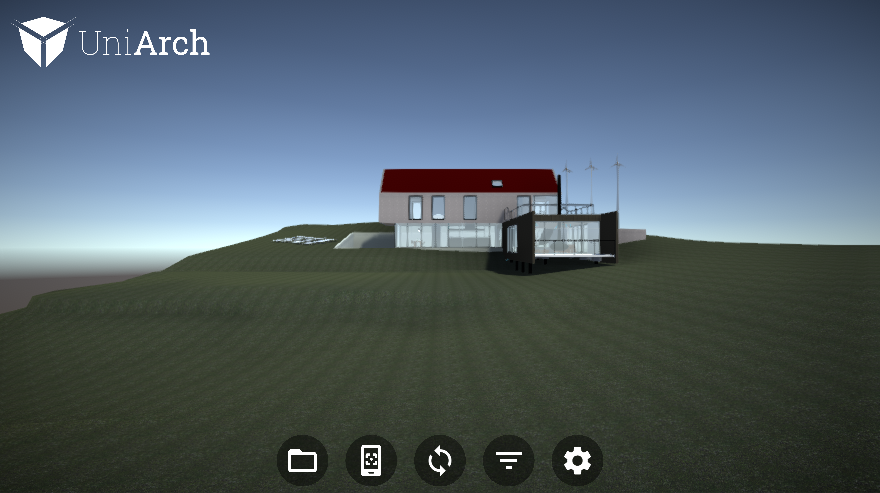
Building on what you learned from the Anatomy of the Reflect Viewer Prefab tutorial, you will now add company branding to the user interface. This will allow you to customize the Viewer for clients and make things a bit more personal. The two places where you would typically want to add branding is on the splash screen and in the general user interface. In this tutorial, you will add a company logo to the general user interface.
1. To start, you need somewhere to save the new Assets. In the Reflect folder, create two new folders, one called Images and one called Prefabs (Figure 01).
2. Drag the logo image you would like to add to the Scene into the Images folder. You may use your own image or the one provided with the tutorial exercise files (Figure 02).
3. At this point, you need to change the image to an object that you can use on the canvas, so you’re going to turn it into a Sprite. Select the image and, in the Properties Inspector (Figure 03), change the Texture type to Sprite (2D and IU).
4. The next step is to create the UI element in the Reflect Viewer Prefab. Deciding where to put it is important, as it will determine when the logo shows up when you run the Viewer.
Adding the logo as a child to the Canvas GameObject will make it visible immediately when the project runs. That means it will show up in the splash page as well. For this tutorial, however, you want the logo to only show up after the splash page, once the user gets to the login screen.
5. The simplest way to do this is to add the logo as a child UI element of one of the child canvas objects already created in the Prefab. In this case, you will do it under the Projects Canvas (Figure 04).
6. Select the Projects Canvas folder, then right-click and select UI > Image (Figure 05).
7. Select the newly created Image object and, in the Inspector window, change the name to Logo. For the source, select the Sprite you created earlier (Figure 06).
8. Still in the Properties Inspector, select the Preserve Aspect box (Figure 07).
9. Drag the new Logo object to the Prefabs folder created in Step 1 to turn it into a Prefab (Figure 08).
10. In the Scene, move the new Logo UI element to the top-right corner, then scale and anchor as needed (Figure 09).
2. Next Steps
This tutorial covered one of the simplest ways to personalize and customize the Reflect Viewer. Using this process, you can quickly make the Viewer more aligned to your client’s brand. Moving forward, it’s worth exploring the other UI elements of the Reflect Viewer Prefab. Once you understand the underlying structure, you will be able to customize the Viewer even further.