
Anatomy of the Reflect Viewer
Tutorial
intermediate
+10XP
20 mins
(26)
Unity Technologies
The Unity Reflect Viewer Prefab comes with the Reflect package from the Unity Package Manager. This Prefab contains all of the Reflect Viewer’s UI elements and allows you to run the Viewer in the Unity Editor with the same functionality as the standalone viewer.
1. Introduction
The Reflect Viewer Prefab is the “raw” version of the standalone viewer and is the project on which the standalone viewer is built. By understanding the different parts of this Prefab, you can start customizing it and building your own version. You could build, for example:
- A viewer that displays a customer’s branding
- A viewer with a different layout and functionality
- UI elements with a different visual style
For this tutorial, you will need:
- The Reflect Package installed via the Package Manager
- A Pro license for the Unity Editor
- To sign in to the account that has the Reflect Projects assigned to it.
2. The Reflect Prefab
After importing the Unity Reflect Prefab using Unity’s Package Manager, you will find the Reflect package in your project assets folder (Figure 01).
When you expand this folder and navigate to the Runtime folder, you’ll find the Reflect Prefab (Figure 02).
From here, you can drag the Prefab into your project Scene Hierarchy to add it to the Scene (Figure 03).
Now we’ll explore the different parts of the Reflect Viewer Prefab.
The first thing to understand is that you are currently looking at the Reflect Viewer as a Unity project. Should you decide to build it now, you will have the exact same viewer application that clients use to look at the CAD and BIM models you export from Revit or other Reflect-compatible applications.
Play the Scene to see the viewer in action. Note that the account the Viewer uses is the same account you used to sign in to the Unity Editor. In order to see your projects, make sure they are assigned to the same account you use in the Unity Editor (Figure 04).
Stop the program to return to the Editor. The Reflect Viewer canvas will now be visible in the Scene (Figure 05).
Looking at the Reflect Prefab in the Scene explorer, you’ll notice there are child elements broken into multiple parts (Figure 06).
3. Elements of the Reflect Viewer Prefab
Managers
This GameObject contains the scripts that manage the Reflect Viewer at runtime (Figure 07).
Canvas
This is the focus of this tutorial. When you expand the canvas object, you will see a list of additional child canvases. They are as follow:
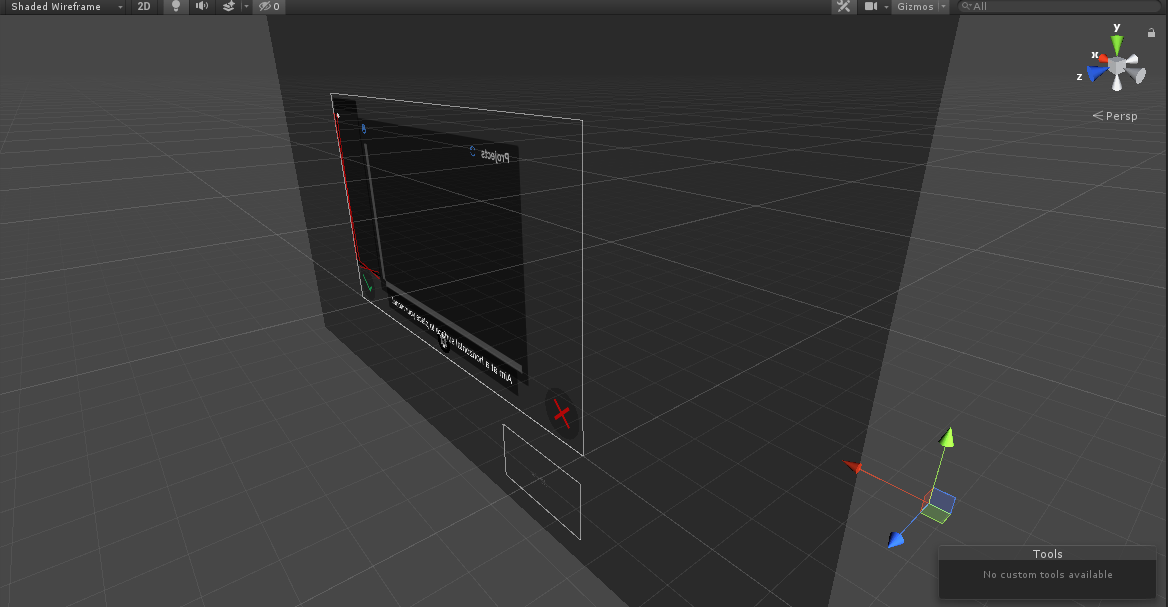
Project Canvas
This object contains the visual elements that are shown when you select a project to open (Figure 08).
ARMode Canvas
This canvas contains all of the UI elements that are visible when the AR mode is activated. Changing or adding to these elements will change the AR mode’s user interface (Figure 09).
Sync Canvas
This contains the elements that make up the sync button. Changing these elements will allow you to change the look of the Sync Button (Figure 10).
Metadata Canvas
This canvas contains all the elements that make up the metadata menu that allows the user to filter the Scene by category, manufacturer, family type, etc. (Figure 11).
Settings Canvas
This canvas contains the elements that make up the settings menu (Figure 12).
Progress Canvas
This object contains all the elements that make up the progress bar when importing a new project (Figure 13).
Tabletop Canvas
This object contains all the elements that make up the UI when tabletop AR mode is activated (Figure 14).
Confirm Canvas
This canvas contains the confirmation and cancel buttons (Figure 15).
Splash Screen
This object contains all the elements that are shown on the Splash Screen during startup. The default is the Reflect logo (Figure 16).
Alerts Canvas
This object contains all the UI elements for alert pop-ups when errors occur.
Events system
This is the container for all the scripts that handle events in the Reflect Viewer.
AR Mode
This object contains all the scripts and non-visual elements required to run AR Mode in the Reflect Viewer.
VR Mode
This object contains all the scripts and non-visual elements required to run Virtual Reality Mode in the Reflect viewer
AR Session
This contains the script that controls the lifecycle and configuration options for an AR session when the AR Mode is activated.
Target
This object contains the Material that is used to show the target rectangle during the surface recognition phase of the AR session.
Root
The Root GameObject is a bit different from the rest. This object does not house anything in edit mode. At runtime, when a project is downloaded, this object is used to contain all the geometry, Materials and metadata of the model (Figure 17).
4. Next Steps
You should now have a firm grasp of the Unity Reflect Viewer Prefab and how the different components fit together. Use that knowledge to explore how to customize the viewer user interface to your specific needs using the basic Unity canvas tools.