
Detect when the user touches a plane
Tutorial
Beginner
+10XP
60 mins
(56)
Unity Technologies
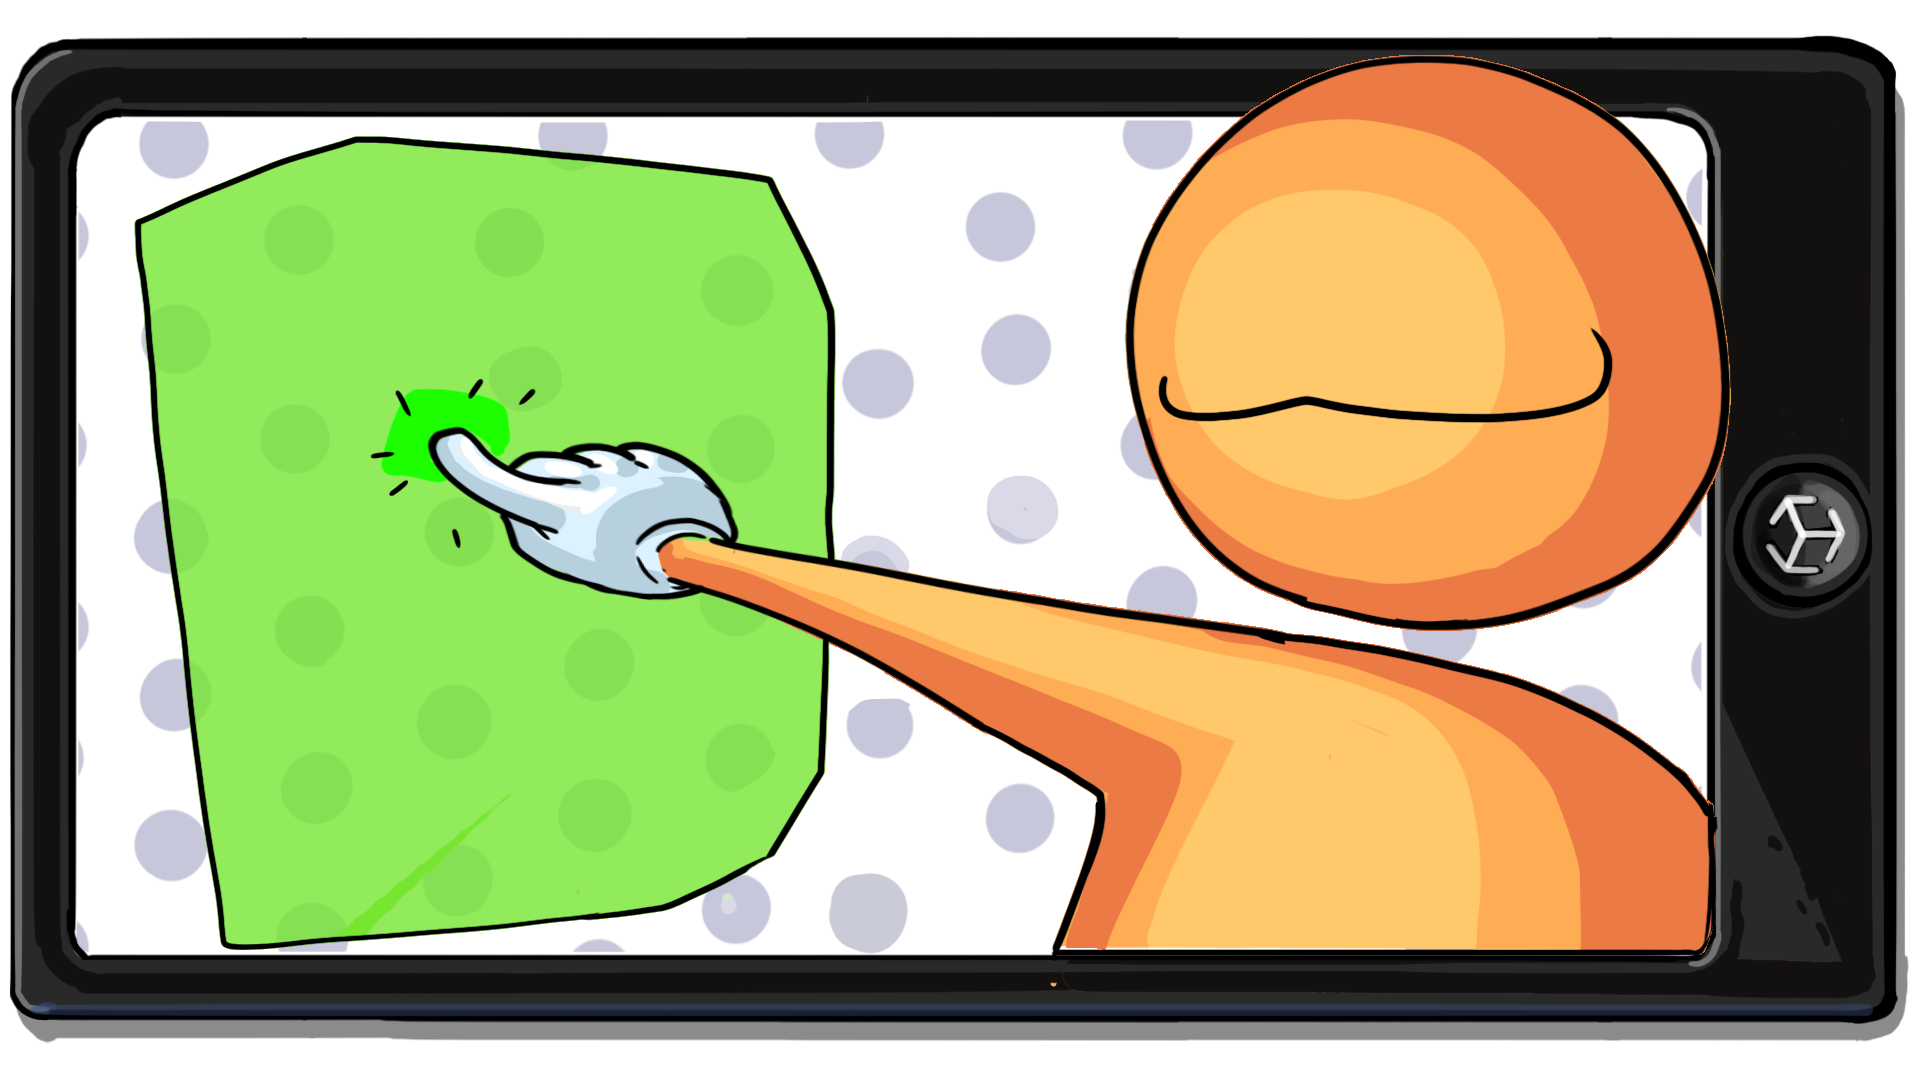
Eventually, the user’s touch on a plane will spawn a portal. In this tutorial, you will first determine whether or not the user has successfully touched a plane detected in the environment.
To implement this functionality, you will use a technique called raycasting.
1. Overview
Your app detects vertical or horizontal planes in the environment. It also detects the position of a user’s touch on the screen. Now you need to use those two features to determine whether the user has successfully touched one of the planes.
Later on, the user’s touch on a plane will spawn a portal so the user can view a virtual world through a surface in their physical environment.
To implement this functionality, you will use a technique called raycasting.
2. What is raycasting?
Raycasting is the process of projecting an invisible straight line (a ray) from an origin point through a scene to determine what that line would hit. It’s a little similar to fishing, where you cast a line to see what fish you can catch. With raycasting, you cast a ray to see what that ray would hit in the scene.
All of the objects hit by a raycast are usually stored in a List variable. You can then access the objects within that list and do whatever you want with them.
Raycasts are very useful in video game development. For example, casting a ray can help determine if a weapon would hit its target or if there are objects close by.
In the case of your app, raycasts will help you to determine whether something on the screen was successfully touched by the user. When the user touches the screen, the app will cast a ray straight into the scene using the touch position as the origin point. If that ray hits a plane, the app will register this as a successful touch.
3. Add an AR Raycast Manager
Previously, you added an AR Plane Manager component to manage planes detected in your scene. Similarly, you will need an AR Raycast Manager component to manage the rays cast in your scene. The AR Raycast Manager provides precisely the functionality that you need: it casts a ray from a screen touch position and determines whether that ray intersects with a trackable object, like a horizontal or vertical plane.
Follow these instructions to add the new component:
1. In the Hierarchy window, select the XR Session Origin (AR Rig) GameObject.
2. In the Inspector window, add a new AR Raycast Manager component.
4. Add the AR Foundation Visual Scripting node
In order to complete this functionality, you will need to make use of the AR Raycast Manager: Raycast Visual Scripting node.
However, if you try to add this node to a script graph, you won’t find it in the node library. Try searching for the node in the Graph Editor right now — there are no results.
Up to this point, you have not actually used any nodes that are unique to AR development or the AR Foundation package. The Visual Scripting library does not come with AR-specific nodes by default. You have to manually import the AR Foundation node library, and then you will be able to add AR-specific nodes.
Add the AR Foundation node library
Watch the video or follow the instructions below to import the AR Foundation node library:
1. From the main menu, go to Edit > Project settings.
2. In the left panel of the Project Settings window, select Visual Scripting.
3. Use the foldout (triangle) to expand the Node Library section, then scroll to the bottom of the list of node assemblies.
4. At the bottom of the list, select Add (+) to add a new item to the list.
5. Select the new item’s assembly dropdown, then search for “AR Foundation” and select Unity.XR.ARFoundation.
6. Beneath the list, select Regenerate Nodes to load the AR Foundation nodes into the toolset.
Add specific AR Foundation node types
Now that you have the node library in your project, you can add the specific node types that you’ll need.
Watch the video or follow the instructions below to add new node type options:
1. Expand the Type Options, located directly above the Node Library. Now that the nodes have been added, we’ll add the specific components that will be used in the visual script being worked on.
2. At the bottom of the list, select the Add (+) button three times to add three new items to the list.
3. Select the first new Type dropdown and search for AR Raycast Manager.
4. For the remaining two type fields, add AR Plane Manger and AR Plane.
5. Beneath the list, select Regenerate Nodes to make the new nodes accessible in the Script Graph window.
6. In the Graph Editor, use the fuzzy finder to search for “AR Raycast Manager” and verify that AR-specific nodes are now available.
5. Add variables for raycasting
In order to complete this functionality, you will need two new Object variables in your visual script: one for the AR Raycast Manager component you just added and another for the List that will store the objects hit by the raycast.
Remember, when a raycast goes into the scene on a mission to hit objects, the raycast will produce a list of objects that it hits. You need to be ready to store that list in a new variable. In this case, you’re going to use a specific type of list called an Aot List. Aot stands for Ahead Of Time, since the list is defined ahead of time — before the application is run.
Follow these instructions to create new variables for the AR Raycast Manager and Aot List:
1. Check that the TapToPlace script is open in the Script Graph window.
2. In the Blackboard, select the Object variable tab.
3. Create a new variable named “arRaycastManager” and set its Type to AR Raycast Manager.
4. Select the Value object picker (⊙) and choose the XR Origin (AR Rig).
XR Origin (AR Rig) contains the AR Raycast Manager component.
5. Create another new variable named “hits” and set its Type to Aot List, but leave its Value empty.
The raycast will add objects to the list while the app is running.
You now have all the variables you need to implement the raycast.
6. Add the Raycast node to the node sequence
Your app will perform the raycast right after it determines the position of the user’s touch, but before it sends a message to the debug UI.
Watch the video or follow the instructions below to add the Raycast node to your graph:
1. In the Graph Editor, make room for the new Raycast node after the On Input System Event Vector2 node.
2. Add an AR Raycast Manager: Raycast (Screen Point, Hit Results, Trackable Types) node using the fuzzy finder.
Important: Make sure to select the Raycast node with the specific inputs noted above – there are others with very similar inputs that don’t provide the same functionality.
3. Disconnect and reconnect the nodes so that the raycast is performed after the On Input System Event Vector2 node, but before the To String node.
Your Raycast node is now in the correct position in the sequence.
7. Configure the Raycast node inputs
You’re now ready to configure the raycast with your specific inputs. You can review all of the inputs required for this node in the Graph Inspector when you select the Raycast node.
Watch the video or follow the instructions below to configure your Raycast node inputs:
1. Go to the Object tab of the Blackboard. Click and drag the arRaycastManager and hits variables into the Graph Editor.
2. Connect the Target input to the arRaycastManager variable node.
3. Connect the Screen Point input to the Vector 2 output node of the On Input System Event Vector2 node and delete the link with the input of the Vector2 to String.
4. Connect the Hit Results input to the hits variable node.
5. Set the Raycast node’s Trackable Types property to None to deselect all available options, then select Plane Within Polygon.
8. Display the raycast result on the debug UI
Once again, you will use the debug UI to confirm that your app is functioning as expected. You’re going to configure the debug UI to display true if the user touches a valid plane and display false if the user touches something that is not a valid plane. This will confirm that the app is correctly recording whether or not the user is selecting a plane where the app could place a portal.
Previously, you used the Vector 2: To String node to convert the touch position to text that could be displayed in the UI. However, you can use the Raycast node to take a different approach.
If you select the Raycast node and check the Graph Inspector, you’ll notice that the output is a Boolean — a true or false value indicating whether or not the raycast hit a plane or not.
Instead of displaying the touch position in the debug UI, you’re now going to display that Boolean. This means that you need to use a Boolean: To String node, instead of the Vector 2: To String node.
Watch the video or follow the instructions below to replace the debug UI’s message with the Raycast node’s output Boolean:
1. In the Graph Editor, right-click on the Vector 2: To String node and select Replace. Search for and select the Boolean: To String () node instead.
2. Connect the Raycast output to the To String input. The output of the To String node should still be connected to the Set Text node.
3. Build and run the app to preview the new functionality. When you touch a valid plane, the UI should display True. When you touch outside of a valid plane, the UI should display False.
Congratulations! You have successfully used raycasting to detect what a user has touched on the screen.
9. More things to try
If you want to further develop your skills, explore new concepts, or improve your project, check out the optional activity below.
This activity is entirely optional, so if you’re not interested, no problem – just skip this step.
We do recommend attempting this kind of challenge to get the most out of this learning experience. Good luck!
Medium: Concatenate a more specific debug message
In this tutorial, you displayed a boolean value on the debug UI, which said either “true” or “false”. This is not a very clear debug message – It should say something more specific, like “plane touched: true” or “ plane touched: false”.
In order to display this kind of message, you’ll need to use concatenation. In programming terminology, concatenation usually refers to the process of joining multiple strings of characters together. You often concatenate plain text strings (like “plane touched:”) with more dynamic data (like the Boolean value) to make that data more readable. See if you can implement a more useful concatenated debug message in your app.
Use the following guidance for help completing this challenge:
- Use the String: Concat (arg 0, arg 1) node.
- Connect a simple string that says “plane touched: “ to the first input and the Raycast Boolean to the second input.
- Connect the Concat node output to the Set Text node.
10. Next steps
In this tutorial you used a raycast to determine whether or not the user touched a valid plane target on the screen. In the next tutorial, you will actually spawn the portal GameObject into the scene, positioning it on the plane selected by the user.