
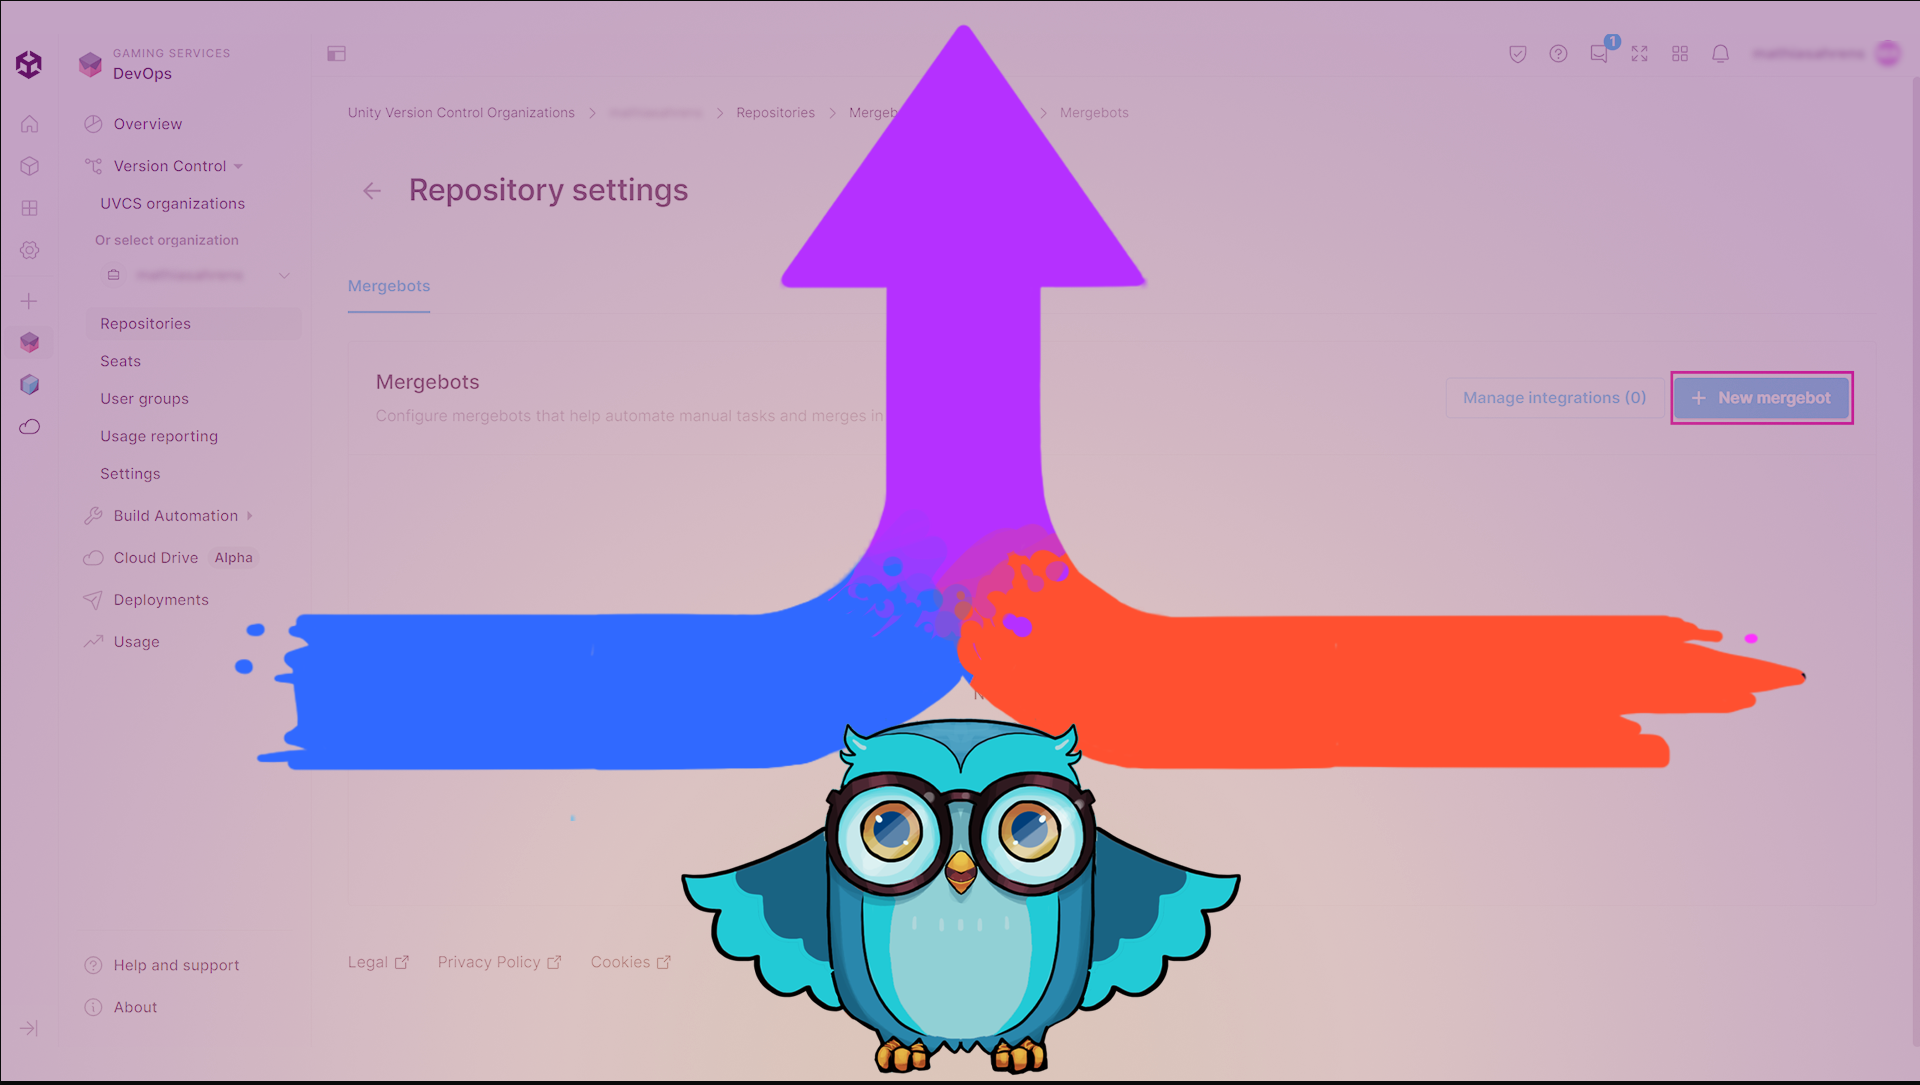
Create a mergebot
Tutorial
intermediate
+0XP
20m
(80)
Unity Technologies
When you’re working on a project with collaborators, it’s important that your workflow is as smooth and efficient as possible. In this tutorial, you’ll get started with Unity Version Control’s new Cloud Mergebots feature, which has been designed to support efficient automated merging.
Note: This tutorial is part of Get started with Unity DevOps. Explore the rest of the course to learn more about how DevOps can support your work as a creator.
1. Overview
When you’re working on a project with collaborators, it’s important that your workflow is as smooth and efficient as possible. Unity Version Control’s new Cloud Mergebots feature has been designed to support efficient automated merging that meets your specific needs and reduces the room for errors.
By the end of this tutorial, you’ll be able to do the following:
- Explain the role of cloud mergebots within the Unity DevOps system.
- Configure a cloud mergebot using relevant rules.
- Follow the Unity Version Control automated merge workflow and address errors if merging fails.
2. Before you begin
Confirm access to the Unity Dashboard
To review the Unity DevOps tools and workflows on the Unity Dashboard as you work through this tutorial, you’ll need to activate a subscription for Unity DevOps and access your account on the Unity Dashboard.
Important: Unity DevOps is free to use and doesn't require a credit card. The paid version will only be required if you add more than three users to or use more than 5 GB data on the DevOps account.
Sign in to Unity DevOps
Follow these instructions to sign in to your Unity DevOps Dashboard if you have an active DevOps subscription:
1. In your browser, navigate to the Unity DevOps page.
2. If you’re not already signed in to your Unity account, select Sign in. Once you’re signed in, your Unity Dashboard will be visible.
3. Select the DevOps tab on the leftmost menu to display your DevOps Dashboard.
Set up your Unity project
You will need a Unity project set up with Unity Version Control (formerly Plastic SCM) for this tutorial. If you are completing the full Get started with DevOps course, you will have already prepared this.
Follow these instructions if you do not have a Unity project set up for this tutorial:
1. Create a new Unity project or choose one of your existing projects.
2. Set up a Unity Version Control repository for the project.
3. What are mergebots?
In this tutorial, you will learn how to set up a mergebot. Mergebots are a feature available to Unity Version Control users. Mergebots allow you to work faster and make fewer mistakes when collaborating with others.
Why are mergebots useful?
Each time you or a team member tries to merge content in your repository, the mergebot will check a series of conditions before the merge request is completed. This is useful because you can avoid merge conflicts and make sure that your branches stay clean. Mergebots can be used to do the following tasks:
- Check for created and approved code reviews.
- Check for merge conflicts.
- Check for individual status parameter attributes and values in order to be triggered and start the merge request automatically (Status, Resolved, Failed, Merged, and Testing).
- Re-enqueue failed merge requests if these were due to new changesets found in the destination branch.
In addition, once a merge request has been successfully completed, the mergebot will also notify your team and trigger your external tools dedicated to continuous integration.
What types of mergebots are there?
In general, there are three types of mergebots: trunk, conflict and multiliner.
In this tutorial, we will look at the most frequently used one, the trunk mergebot.
A trunk mergebot will look at your repository and make sure that everyone who interacts with it follows a set of guidelines. This is very useful when you work with other people on a project.
This way, mergebots act as a kind of security barrier and you can keep healthy branches.
Let’s see how to set them up.
Note: If you’ve joined a project that someone else has configured, there may already be a mergebot enabled. You may need to have the Admin role in the Organization in order to configure a new mergebot.
4. Create and configure a trunk mergebot
For this tutorial, we will use a new repository (check out the Create a Unity Version Control workspace and repository tutorial to learn more about repositories). To create a new repository, follow these instructions:
1. Create a new 3D project in the Unity Editor and name it “Mergebot test”.
2. Link Mergebot test project to your Unity Version Control organization by selecting your organization in the Hub dropdown menu in the lower right corner.
3. Once the project has been launched and the Unity Editor is open, select the Check In Changes button to check in the main scene configuration files to the Mergebot test repository.
4. Navigate to the Unity Cloud and select Mergebot test repository.
5. Select the Attributes tab.
6. Select the New attribute button and enter “status” in the Name box. In the Comments box, enter “resolved, failed, merged”. Then, select the Save button.
7. Select the Settings button in the upper-right corner.
This configuration settings menu of the mergebot helps automate your merge workflow and adds notifications and external CI tools integration.
8. Select the + New mergebot button to create your first mergebot.
9. Select Trunk bot as the Mergebot type.
10. Enter “Trunkbot” in the Name box.
11. Select /main from the Destination branch box dropdown.
12. Enter “Testing my trunkbot” in the Description box.
13. In the Bot configuration section, enable the three checkboxes and enter the following text in the Label Pattern box: “LABEL.${AUTO_INCREMENT_NUMBER}_${BUILD_DATE_FORMATTED, yyyy-MM-dd}”
Note: If you would like to use more advanced capabilities of the mergebots, such as notifications or continuous integration (for example, Jenkins, Team City, Bamboo) you can configure those settings from this menu.
14. Select the Save changes button in the upper-right corner.
Good job, you have configured your mergebot successfully!
5. Prepare a branch for merging in your project
1. In the Unity Editor, select the Unity Version Control tab, then select the Branches tab and right-click the /main branch. Then, select Create child branch.
2. Enter “Task001” in the Branch name box. Make sure that Switch workspace to this branch is enabled, then, select the Create button.
3. Make sure that you are now working in your newly created Task001 child branch. In the Unity Editor, add a new cube in the main scene.
4. Select save, select the Pending changes tab, enter the checkin comment and check in your changes in your repository.
The new cube should now be added to your Task001 child branch!
6. Merge the branch
Now, you will see how the mergebot will check the conditions that you have configured in the previous section of the tutorial.
1. In the Unity Cloud, select your repository and select the Branches menu.
2. Navigate to the Task001 child branch and select the arrow icon next to the branch name to expand the menu.
3. Select the Attributes tab. Select status from the Name dropdown and enter “resolved” in the Value box, then select the Add button.
Once you select the Add button, you should see the following confirmation screen:
4. Now, select the Branches tab and select the Request a review button for the /main/Task001 branch.
5. In the Request a review screen, select the Manage button in the Reviewer section.
6. In the Search users or groups box, enter your email address and select yourself. Close the search dropdown and select the Request review button.
You should now be redirected to the Code reviews screen.
Notice that the Merge button is grayed out, and if you hover your cursor over the button a tooltip will be displayed that explains that the merge cannot happen. Your mergebot also has the orange pending label. This is because your mergebot has detected that you have not completed the code review yet and therefore cannot merge your Task001 branch back into main yet.
7. In the Code reviews screen, select the Mark review button, select Reviewed, and then select Mark as Reviewed.
8. Once you have selected the Reviewed button, wait for the page to refresh and display a Reviewed label in the upper left.
Now, the mergebot will take over, detect that the code review is approved, and automatically merge the associated branch if no merge conflicts are detected.
9. Press the F5 key to refresh the page.
The Mergebot status window will change from Pending to Merged.
This change in the mergebot status label indicates that in the background, the mergebot has proceeded with its validation check and has executed your merge request! Check out the green labels added by the mergebot to confirm that everything is OK.
In this section, you learned that if you try to merge a child branch into the main branch, the mergebot will take care of it for you once it detects that the code review has been approved.
The mergebot will also check whether there are any merge conflicts, which is another useful security gate.
Merge conflicts are very annoying and can result in lost work, which must be overridden when the files are non-mergeable (such as a 3D model or a texture, for example). Mergebots help reduce the occurrences of lost work and ensure that everyone’s work is safe and properly tested before merging.
7. Next steps
Now that you have learned how to set up a mergebot and how mergebots check your merge requests, you can check out the other more advanced options, which are not covered in this tutorial, such as Branch prefixes, re-enqueueing when the merge fails due to a detected change, changeset labeling, and integration notifications (such as Jenkins, Team City, Bamboo, Slack, Email).
Mergebots can be very powerful when they are properly set up and when your team is knowledgeable about the different conditions that the mergebots will check before validating a merge request.
Mergebots also allow for third-party CI tool integration, as well as notification systems, in order to be part of a larger DevOps workflow. This way, mergebots can act as an automated verification step before your new content gets built and deployed to a testing or live environment.