Camera and lighting
Tutorial
Beginner
+10XP
20 mins
559
Unity Technologies

Setting up a dynamic camera system and refining lighting to enhance the game's visuals.
1. Overview
In this tutorial, you’ll configure a camera system that dynamically follows both tanks, ensuring optimal visibility during gameplay. You'll start by creating a CameraRig to control movement and zoom, then add a CameraControl script to automate tracking. After testing and refining your camera settings, you'll move on to lighting adjustments: modifying ambient and directional light to achieve the desired atmosphere. By the end, your game will feature a responsive camera and polished lighting, creating a more immersive experience.
2. Make a second tank
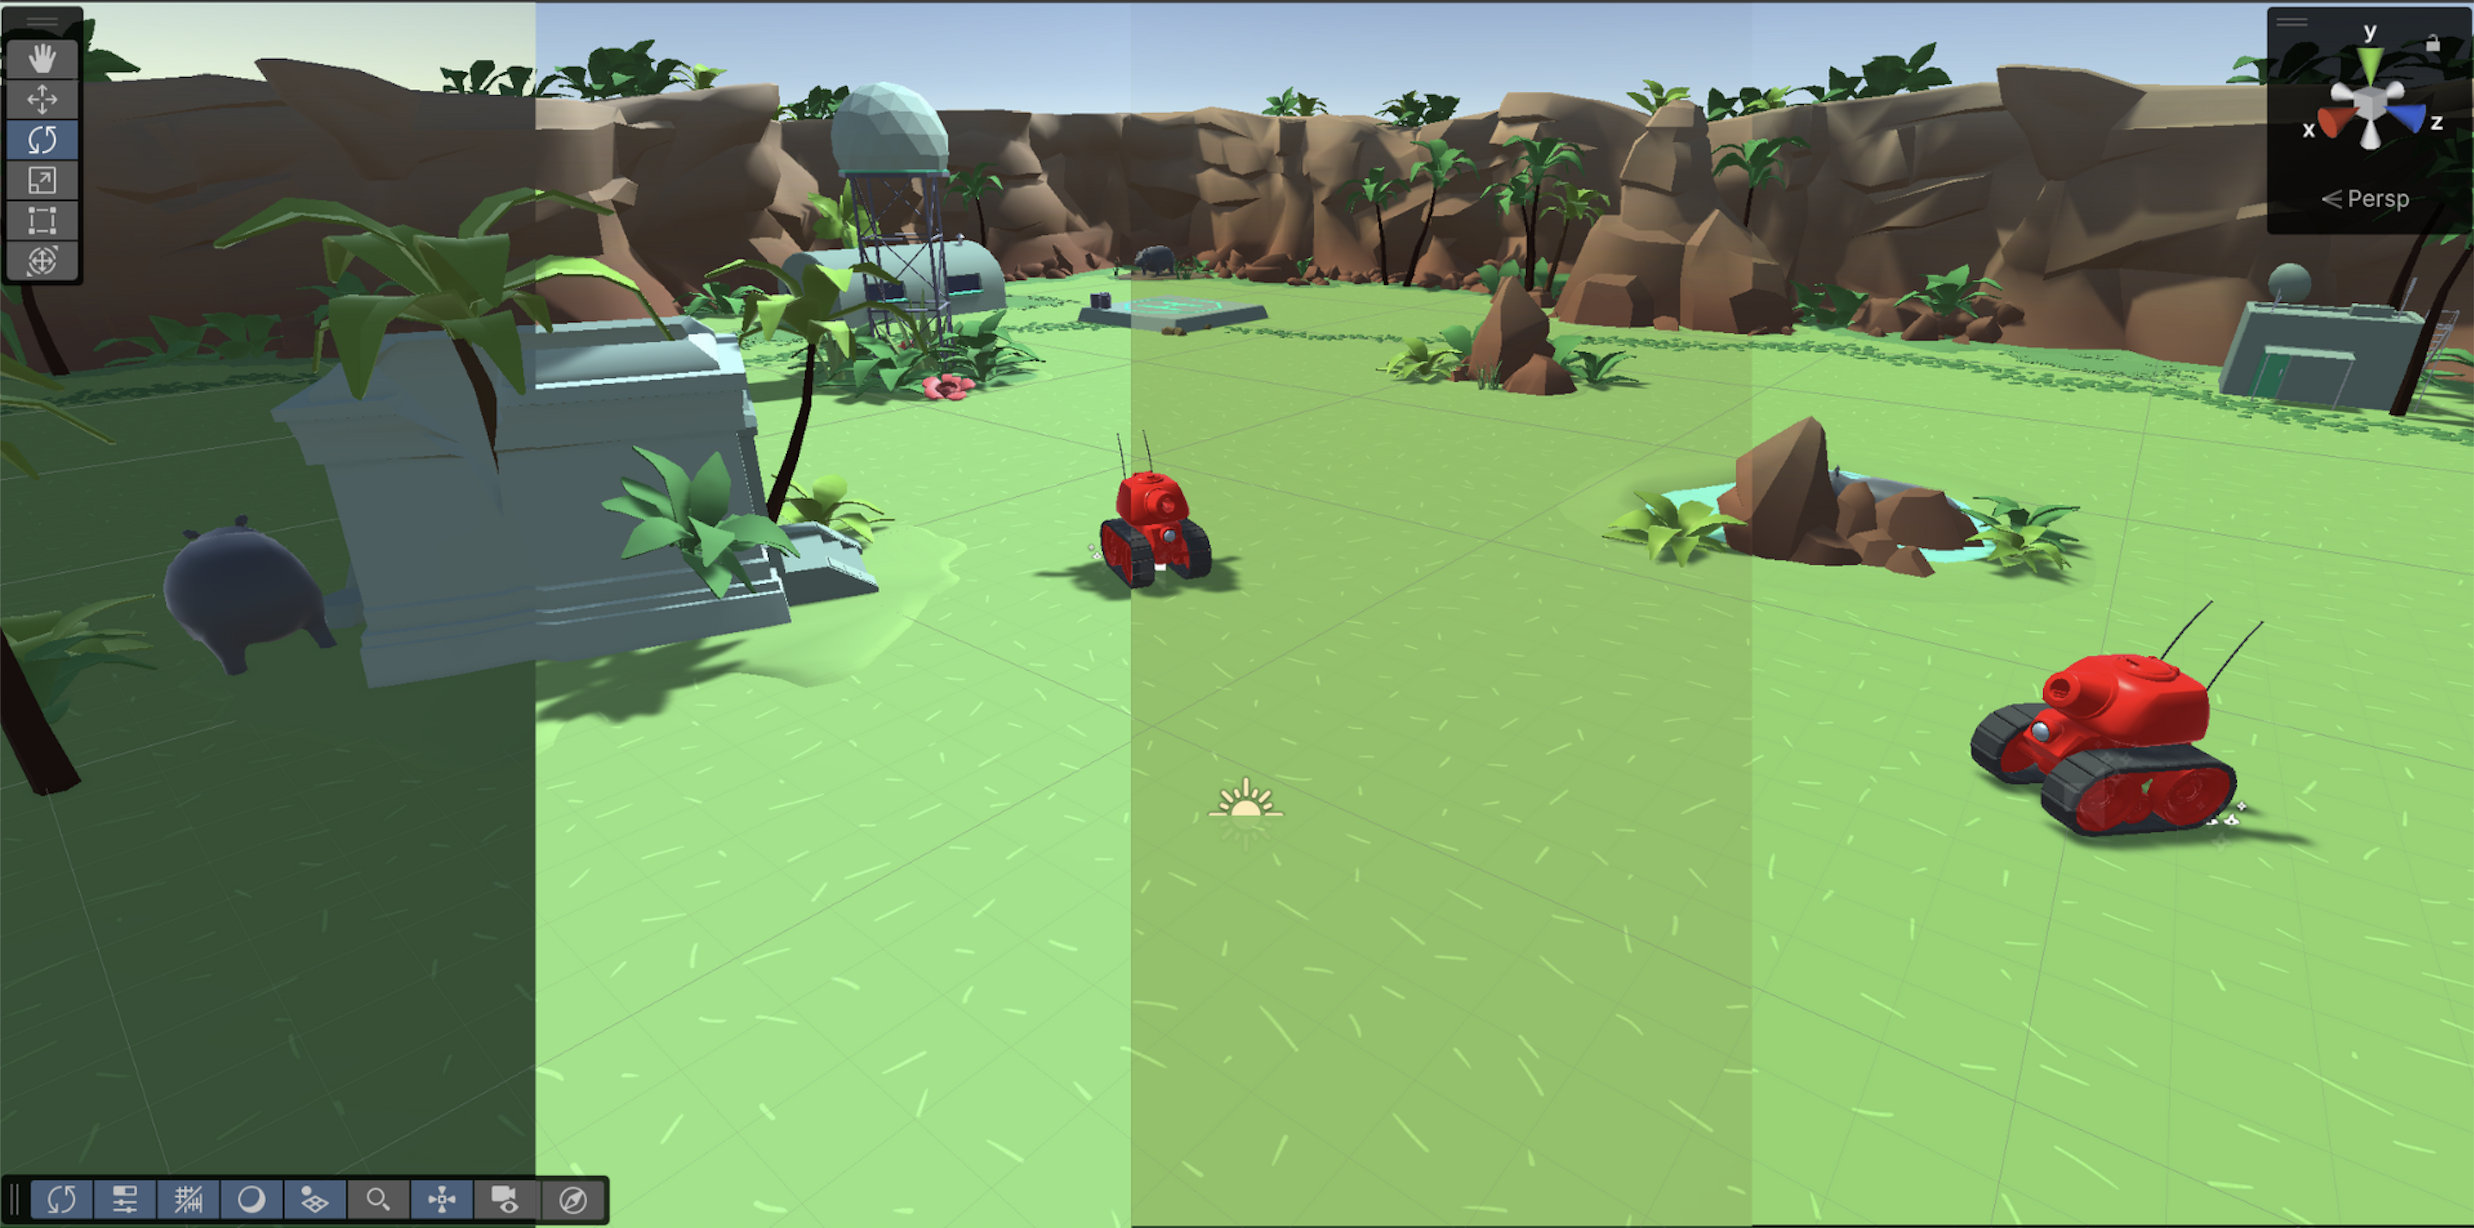
To test the camera system, you need two tanks in the scene. You’ll duplicate the existing tank and assign different controls to each player.
1. Duplicate the tank
- Select the Tank GameObject in the Hierarchy window.
- Press Ctrl+D (macOS: Cmd+D) to duplicate it.
- The new tank will be placed directly on top of the original.
2. Move the new tank
- Select the Move tool.
- Drag the new tank to a different position in the scene.
3. Rotate the new tank
- Select the Rotate tool and drag the green handle.
Tip: Drag in a straight line for smoother rotation.
4. Rename the tanks
- Select the Tank GameObject and rename it “Tank 1”.
- Select the Tank (1) GameObject and rename it “Tank 2”.
5. Assign controls to Tank 2
- Select the Tank 2 GameObject and locate the TankMovement (Script) component in the Inspector window.
- Set the Player Number property to 2.
This assigns the arrow keys as the input instead of the WASD keys.
6. Press Play to test
- Select the Play button to enter Play mode.
- If both tanks move together, ensure the Tank 2 GameObject has its Player Number property set to 2.
Your scene now has two tanks with separate controls that are ready for camera tracking.
3. Create and configure the CameraRig
We are going to create an empty container called CameraRig for our camera. The CameraRig will act as a parent to the Main Camera, allowing scripts to control both camera movement and zoom dynamically.
1. Create the CameraRig
- Right-click in the Hierarchy window and select Create Empty.
- Rename the empty GameObject “CameraRig”.
2. Reset its position
- Select the CameraRig GameObject in the Hierarchy window.
- In the Inspector window, open the Transform component’s More (⋮) menu and select Reset (or manually set the Position property values to X = 0, Y = 0, and X = 0.
3. Test the setup
- In the Hierarchy window, click and drag the Main Camera GameObject onto the CameraRig GameObject to make it a child GameObject.
- Move the CameraRig GameObject in the Scene view and verify that the camera moves along with it in the Game view.
- The CameraRig GameObject will also adjust the camera’s Size property, affecting how much of the scene is visible.
The CameraRig GameObject is now set up to control both movement and zoom, preparing it for scripting in the next step.
4. Add and configure the Camera Control script
Now that the CameraRig is set up, you’ll add a script to dynamically control the camera’s movement and zoom.
1. Add the Camera Control component
- Select the CameraRig GameObject in the Hierarchy window.
- In the Inspector window, select Add Component.
- Search for “Camera Control” and select it.
2. Assign the tanks as tracking targets
- In the Inspector window, in the Camera Control (Script) component, use the foldout (triangle) to expand the Targets section, then select the Add (+) button to add a new entry.
- Click and drag the Tank 1 GameObject from the Hierarchy window into the Element 0 box.
- Select the Add (+) button again and click and drag Tank 2 into the Element 1 box.
3. Press Play to test
- Select the Play button to enter Play mode. And adjust the following settings if needed:
- Screen Edge Buffer: Increases space around the tanks. If the camera isn’t tracking both correctly, try increasing this value.
- Min Size: Limits how zoomed-in the camera can get.
Note: Any changes made in Play mode won’t be saved, so adjust settings outside of Play mode if needed.
Your camera now dynamically follows both tanks, adjusting position and zoom to keep them in view.
5. Adjust the Camera Background Color
When the camera zooms out, areas beyond the environment may become visible. To improve the look of these empty spaces, you’ll change the Main Camera background color.
1. Preview the effect
- In the Hierarchy window, use the foldout (triangle) to expand the Camera Rig GameObject, then select the Main Camera GameObject.
- In the Inspector window, use the foldout to expand the Camera component, then use the foldout (triangle) to expand the Projection section.
- Copy the Camera Size value you currently have and temporarily increase it until you can see the background in the Game window.
2. Change the background type
- In the Camera component, use the foldout (triangle) to expand the Environment section.
- Open the Background Type property dropdown and select Solid Color.
3. Select a background color
- Select the Background dropper and select a color from the scene (grass, cliffs, or buildings).
- Alternatively, select the Background box and select a color from the Color wheel.
- In the Projection section, set the Camera Size value to the one you had before.
Note: If Unity requests screen access, enable it in your system settings.
The camera now displays a custom background color instead of the default skybox when zoomed out.
6. Optional: More things to try
Try these optional activities to challenge yourself, build your skills, and improve your project!
Each challenge is tagged as Easy, Medium, or Expert difficulty so that you know what to expect. You can do one of them, all of them, or none of them — it’s totally up to you!
Easy: Adjust the Directional Light
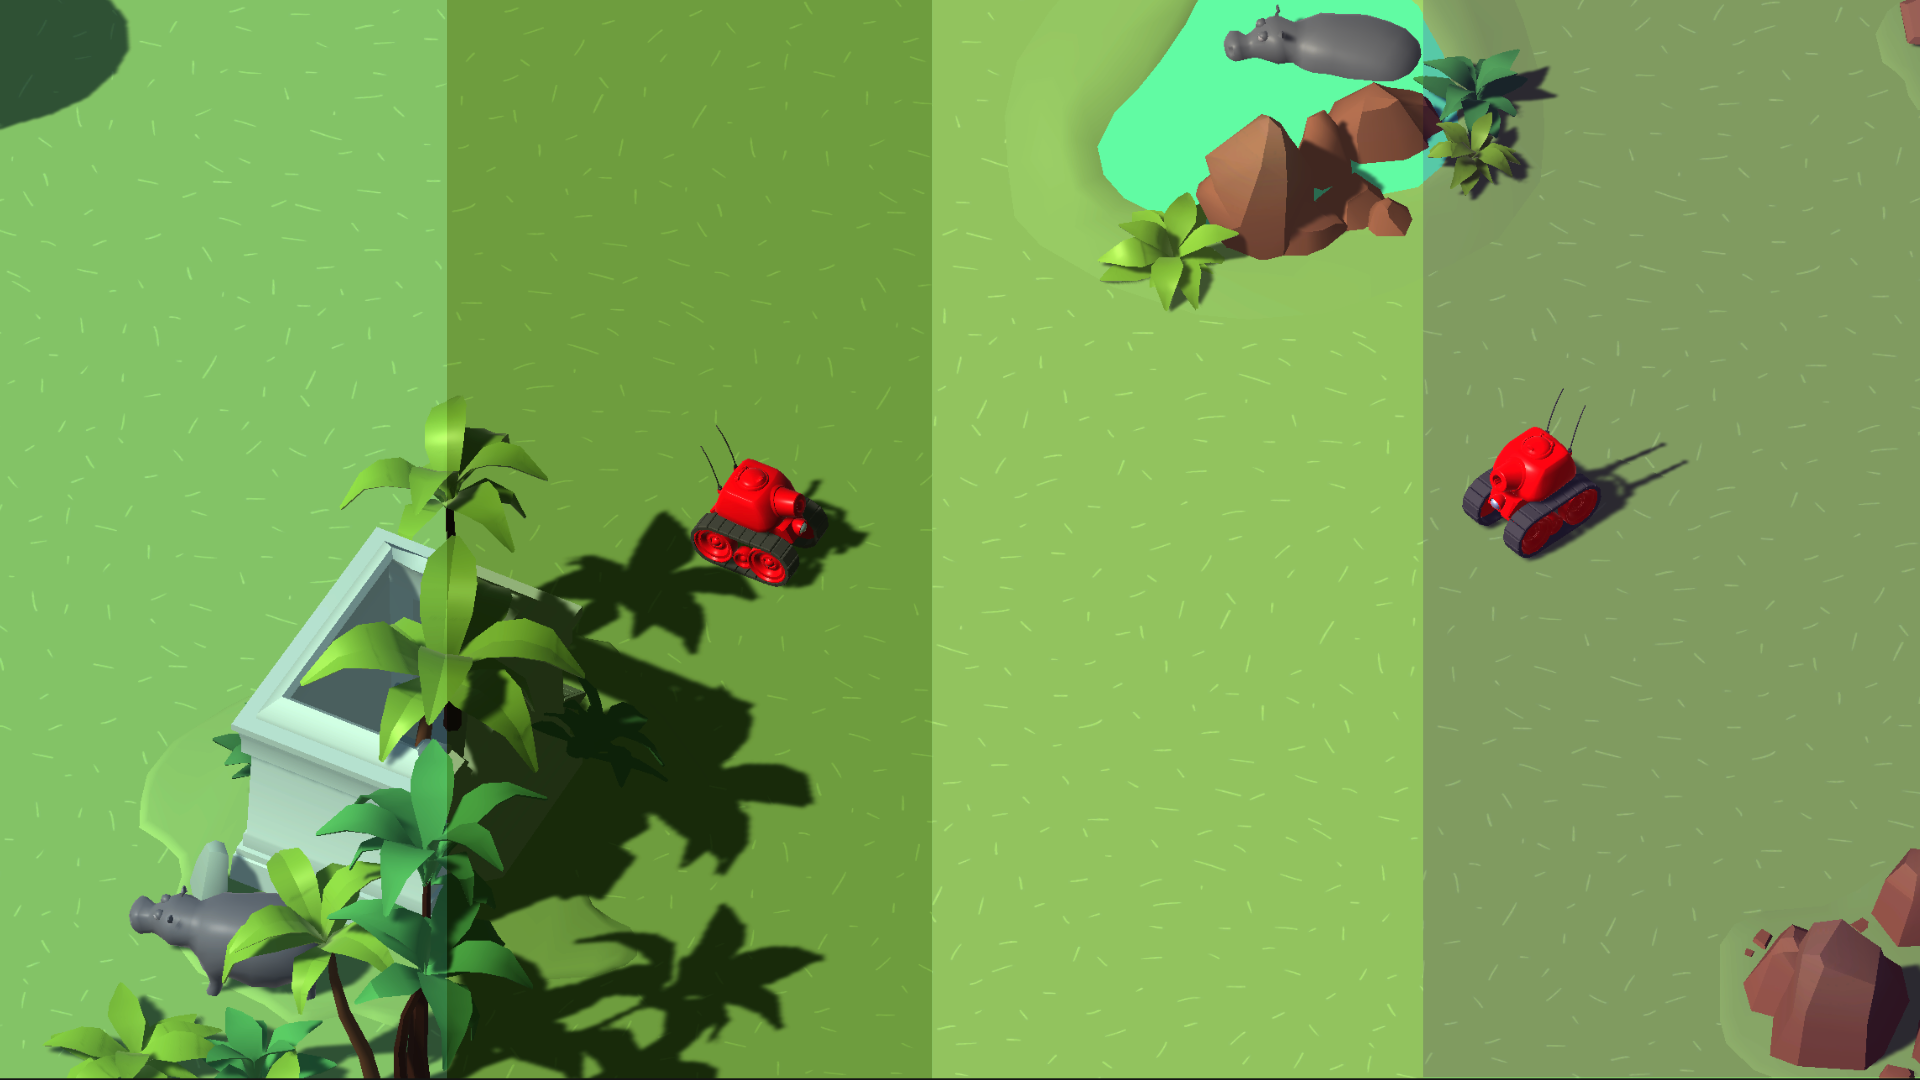
The Directional Light simulates sunlight or moonlight in your scene, casting shadows and defining the overall mood. Adjusting its properties allows you to create different times of the day and atmospheric effects.

Select the Directional Light in the Hierarchy window.
In the Emissions section, adjust the following properties as you like:
- Color: Warmer tones create a sunset effect, while cooler tones simulate moonlight.
- Intensity: Controls the brightness of the light source.
In the Shadows section, adjust the following properties as you like:
- Shadow Type:
- No Shadows: Disables shadows completely.
- Hard Shadows: Creates a cartoony look.
- Soft Shadows: Allows for more customization, making shadows appear more natural (default for this project).
- Strength: Determines how dark or light the shadows appear.
Tip: Rotate the Directional Light to experiment with different shadow angles.
If you need guidance, open the _Tanks > Prefabs > Environment folders. Inside each [Theme] subfolder, you’ll find a DirectionalLight[Theme] prefab, which we’ve already set up to match the specific theme’s atmosphere.
Medium: Change the environment lighting
Lighting settings define the overall brightness, contrast, and atmosphere of the scene. You’ll customize environment lighting to enhance the environment’s appearance.

- From the main menu, select Window > Rendering > Lighting.
- Dock the Lighting window next to the Inspector window for easy access.
- Select the Environment tab in the Lighting window.
- Under the Environment section, set the Environment Lighting Source property to Color.
- Select an appropriate color for the scene.
We previously tested values for each theme and found the following Environment Lighting Source Colors to work well. Feel free to use them if you’d like:
- Moon: RGB(94, 64, 149)
- Jungle: RGB(50, 65, 27)
- Desert: RGB(136, 129, 143)
Your environment's lighting is now customized, improving clarity and visual appeal.
If you’re not interested in doing these challenges, mark this step as complete.
7. Next steps
Congratulations!
With these steps completed, your game now has a fully functional dynamic camera system.
In the next tutorial, you’ll implement a health system for the tanks.