
Firing shells
Tutorial
Beginner
+10XP
45 mins
(469)
Unity Technologies
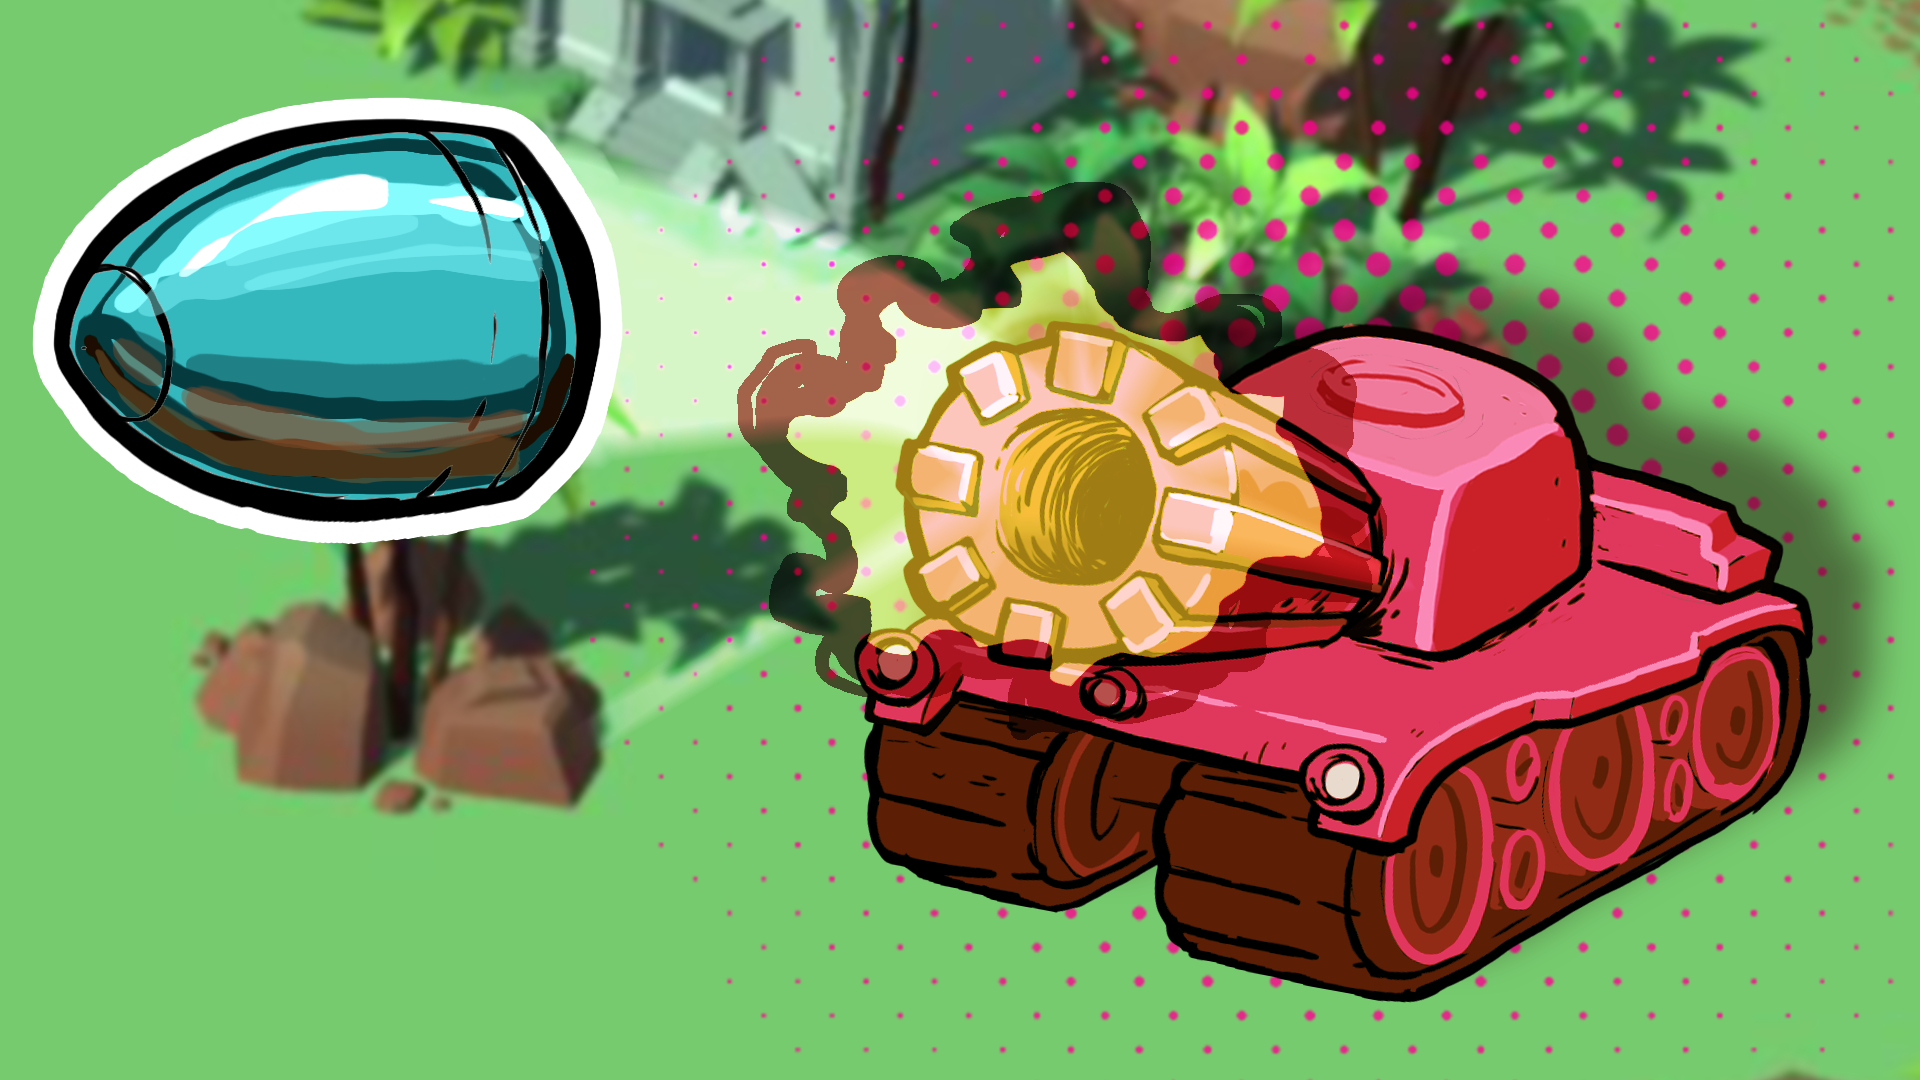
In this tutorial, you’ll set up the tank’s shooting system, allowing your tank to fire shells. You'll create a firing point, add a visual charge indicator, and add the shooting script to handle firing mechanics.
1. Overview
A fully functional shooting system is essential for gameplay in the Tanks project.
This tutorial guides you through creating a FireTransform GameObject, which determines where shells are instantiated, and adding a world space slider GameObject that visually represents shot charge.
You'll add the TankShooting script to control shot power and trajectory while linking it to key GameObjects like the AimSlider and FireTransform GameObjects.
Finally, you’ll test and fine-tune the shooting mechanics by adjusting the script's values. By the end of this tutorial, your tanks will be able to fire shells with adjustable power, setting the foundation for future combat mechanics.
2. Create the FireTransform GameObject
Before your tank can fire shells, you need to establish a spawn point for them. The FireTransform GameObject is an empty GameObject positioned at the tip of the tank’s barrel. This ensures that every shell spawns from the correct location and follows the tank’s aiming direction.
1. Open the Tank prefab in prefab editing mode
- In the Project window, open the _Tanks > Prefabs > Tanks folders and select the Tank prefab.
- Double-click the Tank prefab to enter prefab editing mode.
2. Create the FireTransform GameObject
- While in prefab editing mode, right-click the Tank GameObject in the Hierarchy window.
- Select Create Empty to create a new child GameObject.
- Rename the new GameObject “FireTransform”.
3. Position the FireTransform GameObject at the tank’s barrel
- Use the Move tool (Shortcut: W key) to drag the FireTransform GameObject to the tip of the tank’s barrel.
Tip: Hold Alt (macOS: Option) and drag in the Scene view to orbit around the tank, making positioning easier.
4. Set Local Coordinates
- With the FireTransform GameObject selected, open the Toggle Tool Handle Rotation dropdown located at the top of the Scene view and select Local.
- Ensure the FireTransform GameObject is positioned slightly in front of the barrel, with the blue Z-axis arrow pointing forward.
- If not, use the Rotate tool (Shortcut: E key) to adjust it properly, so the shells spawn facing forward.
5. Avoid collision issues
Important: Make sure FireTransform is not inside the tank's Box Collider component.
- If the FireTransform GameObject is placed inside the Box Collider collider, spawned shells will immediately collide with the tank and explode.
The FireTransform GameObject is now set up as the spawn point for tank shells. Any shell fired will instantiate at this location and follow the correct trajectory.
3. Add a basic world space slider
To give players real-time feedback on shell charge power, you’ll add a world space slider in front of the tank. Unlike traditional UI elements that stay fixed on the screen, a world space UI attaches directly to a GameObject, making it an integral part of the 3D scene.
This slider will stretch dynamically to indicate the charge level of each shot.
Note: This course currently uses uGUI (Unity UI), which is the legacy solution for creating user interfaces in Unity. Unity's new and improved system for creating user interfaces is UI Toolkit, which is intended to become the recommended UI system. While UI Toolkit is nearly at parity with uGUI, its support for UI that exists within the 3D world and UI that requires customized shaders and materials is still in active development and not yet included in a long-term support (LTS) version of Unity. Once these are officially supported in an LTS release, this course will be updated to use UI Toolkit instead of uGUI.
For more information, please refer to this comparison guide to understand which UI system is best suited for you to develop UI in your next project.
1. Add a UI Slider
- Make sure you’re in prefab editing mode for the Tank GameObject.
- In the Hierarchy window, right-click the Tank GameObject and select UI > Slider.
Notice that a Canvas and Slider GameObject are automatically created in the Hierarchy window.
Important: Make sure that the Slider GameObject’s Rect Transform component is set to Pos X = 0, Pos Y = 0, and Pos Z = 0. If not, change it to those values.
2. Convert the Slider to World Space
- Select the Canvas GameObject in the Hierarchy window.
- In the Inspector window, use the foldout (triangle) to expand the Canvas component, open the Render Mode property dropdown, and select World Space.
- Use the foldout (triangle) to expand the Rect Transform component and set it to Pos X = 0, Pos Y = 0.1, and Pos Z = 0 so the slider appears slightly above the ground.
- Set the Width and Height properties to 3.5 to scale it properly.
- Set the Rotation property to X = 90, Y = 0, and Z = 0 to align it correctly.
3. Adjust the Canvas Scaler
- Use the foldout (triangle) to expand the Canvas Scaler component and set the Reference Pixels Per Unit property to 1.
This ensures the slider's size and appearance remain consistent in the world space.
4. Ensure proper alignment
- Make sure the Toggle Tool Handle Position dropdown located at the top of the Scene view is set to Pivot, not Center.
This allows accurate positioning when moving the slider in 3D space.
Your world space slider is now attached to the tank and will provide visual feedback for shell charging.
4. Customize the slider
To make the slider function effectively as an aiming indicator, it needs customization. By removing unnecessary UI elements and adjusting its behavior, you’ll ensure that the slider visually reflects shell charge strength without user interaction.
1. Rename the slider for clarity
- Make sure you’re in prefab editing mode for the Tank GameObject.
- In the Hierarchy window, use the foldout to expand the Canvas GameObject and select the Slider GameObject.
- Rename it “AimSlider”.
2. Remove unnecessary UI elements
- Use the foldout (triangle) to expand the AimSlider GameObject.
- Select the Background GameObject and press Delete (macOS: Cmd+Delete).
- Select the Handle Slide Area GameObject and press Delete (macOS: Cmd+Delete).
3. Adjust the Fill Area
- Multi-select the AimSlider and Fill Area GameObjects by holding Shift and selecting them.
- In the Inspector window, select the square icon in the Rect Transform section to open the Anchor Presets window.
- Hold Alt (macOS: Option) and select the lower-right preset to stretch the elements across the entire canvas.
4. Modify the slider settings
- Select the AimSlider GameObject in the Hierarchy window.
- In the Inspector window, use the foldout (triangle) to expand the Slider component and set the properties as follows:
- Disable Interactable, since the player won’t be directly interacting with the slider.
- Set Transition to None to disable any animations.
- Set Direction to Bottom To Top so the slider fills upward, visually representing the increasing firing force.
- Set Max Value to 20 and Min Value to 5 to match the minimum and maximum force applied when firing shells.
Note: You need to set Max Value before Min Value; if not, the Min Value will reset back to 0.
5. Test the slider behavior
- Move the Value property slider while looking at the tank in the Scene view to ensure that the bar fills from the bottom to top, representing the charge level of the tank's shot.
- After testing, set the Value to 20.
The AimSlider GameObject is now correctly configured as a vertical charge indicator for the tank’s firing system.
5. Position and style the AimSlider GameObject
In this step, you'll refine the AimSlider’s positioning and appearance to align it visually with the tank.
1. Select the Fill GameObject
- Make sure you’re in prefab editing mode for the Tank GameObject.
- In the Hierarchy window, use the foldout to expand the Fill Area GameObject and select the Fill GameObject.
2. Remove the sliders offset
- In the Inspector window, use the foldout (triangle) to expand the Rect Transform component and set the Bottom property to 0.
3. Update the Image component
- Use the foldout (triangle) to expand the Image component and select the Source Image picker (⊙).
- In the Select Sprite window, search for “Aim Arrow” and select it.
4. Adjust the AimSlider’s size and position
- Select the AimSlider GameObject in the Hierarchy window.
- Use the Rect tool (Shortcut: T key) to adjust the Left and Right bounds of the AimSlider GameObject to match the tank’s width.
- Use the Move tool (Shortcut: W key) to position the AimSlider GameObject in front of the tank and slightly up off the ground.
The AimSlider is now properly positioned and styled, providing clear visual feedback on the shell charge and aiming direction.
6. Add and Configure the TankShooting script
Now that the aim slider is in place, the next step is to implement the functionality for charging and firing shells. The TankShooting script handles this process, controlling when and how the tank fires. To complete the setup, you'll link this script to the necessary GameObjects and components.
1. Declutter the Inspector window
- In the Inspector window, use the foldouts (triangles) to collapse components
Keeping the Inspector window organized makes it easier to find and adjust the components you need without unnecessary scrolling.
2. Add the TankShooting script
- Make sure you’re in prefab editing mode for the Tank GameObject.
- Select the Tank GameObject in the Hierarchy window.
- Select the Add Component button.
- Search for “Tank Shooting” and select it.
3. Assign the required components
- In the Inspector window, the TankShooting (Script) component will display several unassigned variables. Assign them as follows:
- Shell: Drag the CompleteShell prefab from _Tanks > Prefabs > Explosives onto the Shell box.
- Fire Transform: Drag the FireTransform GameObject from the Hierarchy window onto the Fire Transform box.
- Aim Slider: Drag the AimSlider GameObject from the Hierarchy window onto the AimSlider box.
4. Add an Audio Source for firing sounds
The firing sounds require a separate Audio Source component.
- In the Inspector window, select Add Component and search for “Audio Source” and select it.
- Click and drag the Audio Source component onto the Shooting Audio Source property box in the TankShooting (Script) component.
5. Assign sound effects
- Select the Charging Clip picker (⊙).
- Search for “ShotCharging” and select it.
- Select the Fire Clip picker (⊙).
- Search for “ShotFiring” and select it.
The TankShooting script is now configured. The tank can charge its shots, update the AimSlider, and fire shells with appropriate sound effects.
7. Test the firing mechanism
Now that the TankShooting script is configured, you need to test its functionality. This step ensures that the tank can charge and fire shells correctly, with proper trajectory, force, and audio feedback. You’ll also verify that the AimSlider updates in real-time as the shot is charged. If needed, adjustments can be made to fine-tune the shooting behavior.
1. Exit prefab editing mode
- At the top of the Hierarchy window, select the left-facing arrow next to the blue square labeled Tank.
2. Enter Play mode and test the firing controls
- Select the Play button in the Unity Editor.
- For Player 1, hold down Space to charge the shell.
- For Player 2, hold down Enter to charge the shell.
- Release the key to fire.
3. Observe firing behavior
- Check that the AimSlider fills as you hold the firing key and resets after firing.
- Watch the shell’s trajectory to ensure it launches from the correct position.
- Listen for the charging and firing sound effects to confirm they play at the right moments.
4. Adjust launch force if needed
- If the shell fires too far or too short, adjust the launch force:
- In the Project window, double-click the Tank prefab to enter prefab editing mode.
- In the Inspector window, use the foldout (triangle) to expand the TankShooting script.
- Modify Min Launch Force and Max Launch Force (default: 5 and 20).
Important: If you change these values in the TankShooting script, you need to also update the AimSlider GameObject’s Slider component’s Min Value and Max Value properties to match.
- If the FireTransform GameObject is too close to the tank, move it slightly forward to prevent shells from colliding with the tank on launch.
Your TankShooting system is now fully tested, ensuring that shells fire with proper force, direction, and feedback. If everything looks correct, you’re ready to proceed!
8. Optional: More things to try
Try these optional activities to challenge yourself, build your skills, and improve your project!
Each challenge is tagged as Easy, Medium, or Expert difficulty so that you know what to expect. You can do one of them, all of them, or none of them — it’s totally up to you!
Easy: Adjust tank shooting variables
Fine-tuning movement values is an essential part of game design. In this case, experimenting with different settings helps you customize how your shells behave.
- In the Project window, double click the Tank prefab.
- In the Hierarchy window, select the Tank GameObject.
- In the Inspector window, use the fallout to expand the TankShooting script.
- Enter Play mode and test different values for the following:
- Min Launch Force and Max Launch Force – Adjust to control how far shells can travel.
- Max Charge Time – Modify how long it takes to reach maximum power.
- Shot Cooldown – Adjust the time delay before you can shoot again after firing.
- Find the settings that achieve the firing style you prefer.
Important: Take notes on the values that feel best, as changes made in Play mode are not saved.
Exit Play mode and update those variables in the Inspector window to apply them permanently.
Medium: Change the AimSlider Image
The AimSlider GameObject helps players gauge the power of their shots. Customizing its appearance can match the overall theme of your game.
- Open the Tank GameObject in prefab editing mode.
- Use the foldouts (triangles) to expand the AimSlider > Fill Area GameObjects.
- Select the Fill GameObject.
- In the Inspector window, under the Image component, select the Source Image picker (⊙) and select a different sprite from the Select Sprite window.
- Enter Play mode to test how your new design looks in action.
Expert: Edit shell explosion particles to match the world
Currently the shell explosion particle effect is one plain color. You can edit its color to better match the environment you chose (green for jungle, grey for moon, and yellow for desert).
- In the Project window, in the _Tanks > Art > Materials folder, find the Explosion_Gray material used for the particle effect. Duplicate it and rename it accordingly (“Explosion_[Theme]”).
- In the Inspector window, under the Surface Inputs section, adjust the Base Map property to match your chosen theme.
- In the Project window, in the _Tanks > Prefab > Explosives folder, locate the CompleteShellExplosion prefab.
- Double-click the CompleteShellExplosion prefab to enter prefab editing mode.
- Replace the current material for both the CompleteShellExplosion and Trails GameObjects with the one you created.
- Enter Play mode to test how your new effect looks in action.
If you’re not interested in doing these challenges, mark this step as complete.
9. Next steps
Congratulations!
With these steps completed, you have a fully functional tank shooting system.
In the next tutorial, you’ll create and implement a health system for the tanks.