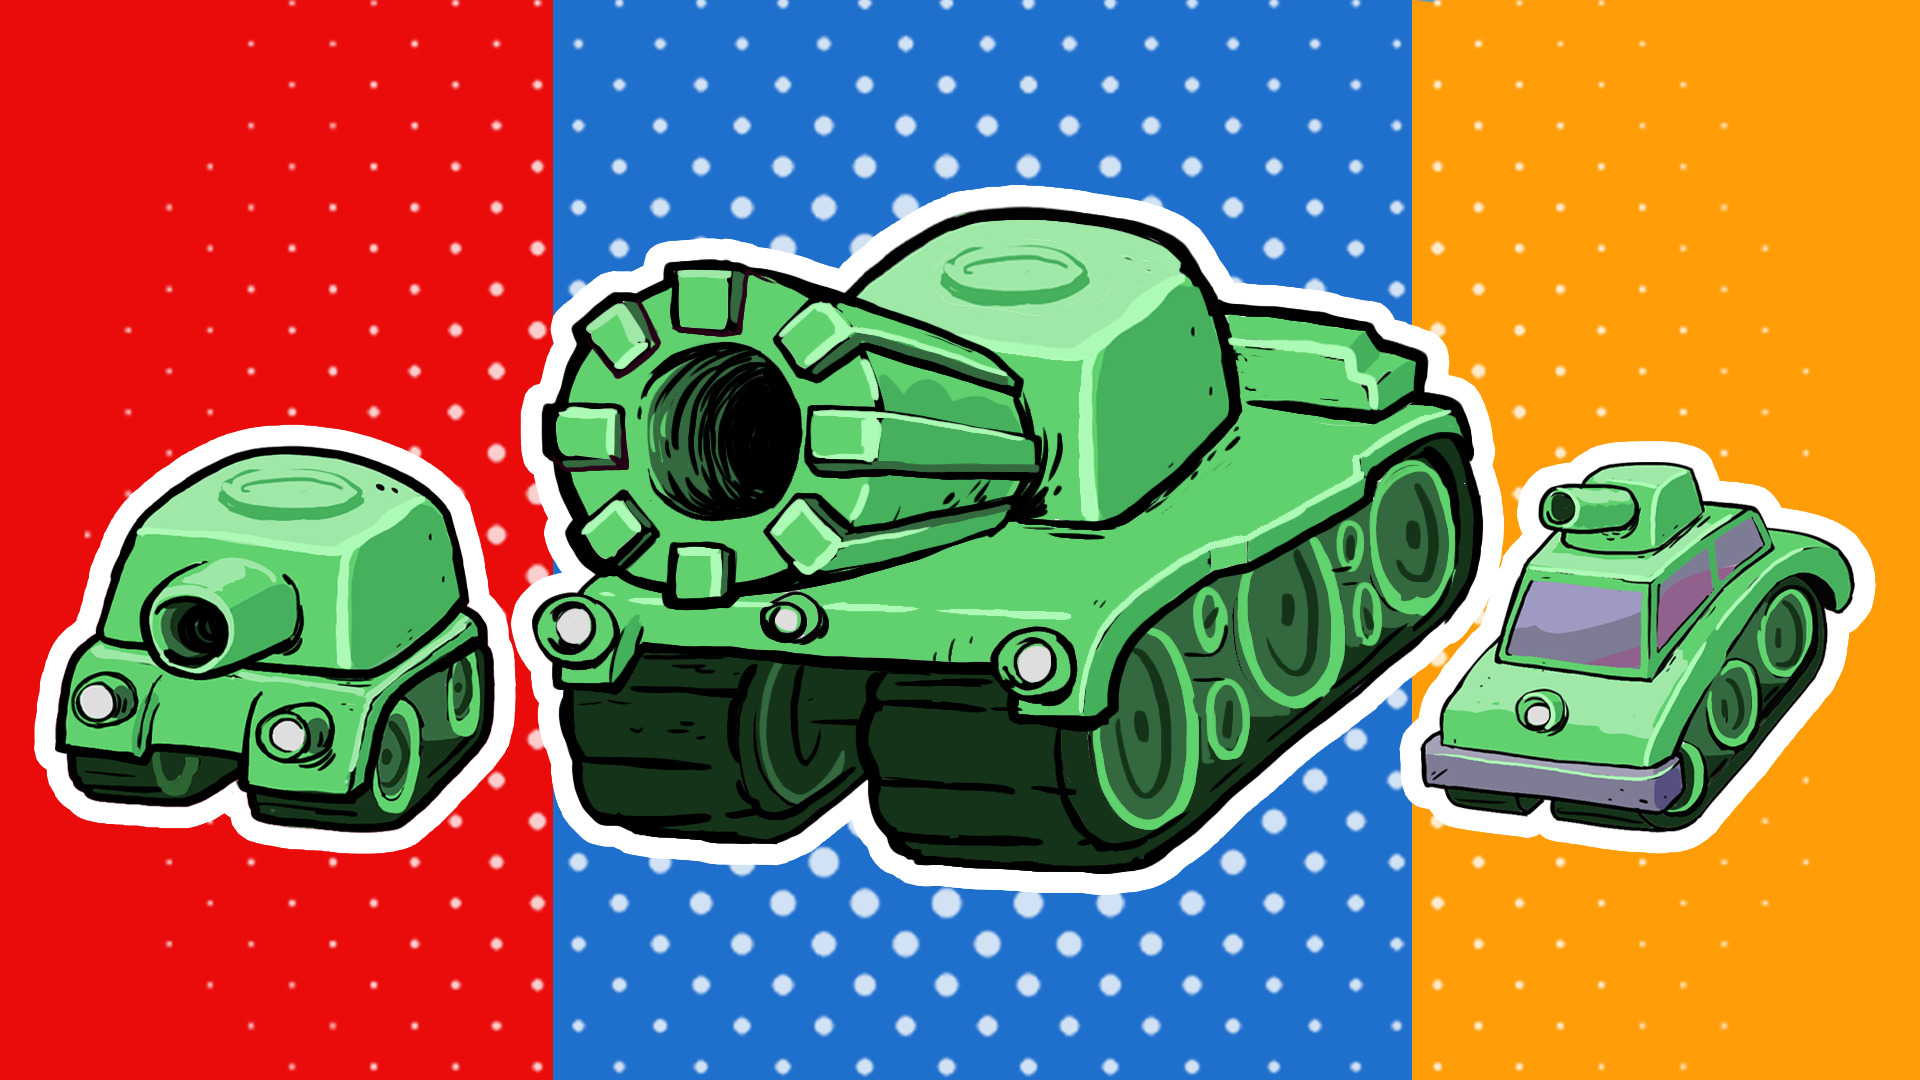
Enemy tank variants
Tutorial
Beginner
+10XP
30 mins
263
Unity Technologies

Add an AI-controlled enemy tank with a new tank model, speed, strength, and health characteristics.
1. Overview
In this tutorial, you’ll enhance the gameplay by introducing enemy tanks with different attributes and styles. Instead of only playing against yourself, you’ll now add AI-controlled tanks that battle against you.
This new tank will also have a different model, and based on which model you choose, the tank can have distinct characteristics, such as strength, speed, and max damage. To enable the AI tanks to navigate the environment, you’ll also learn about Navigation Meshes, a system that defines the walkable areas for non-player agents in the game.
By the end of this tutorial, you’ll have multiple tank variants with unique stats and behaviors, adding more variety and challenge to your game.
2. Create a NavMesh
A Navigation Mesh (NavMesh) is a system that allows AI-controlled objects to move intelligently within a scene. It defines the walkable areas and prevents AI from moving through obstacles such as walls or buildings. In this step, you'll set up a NavMesh Surface for the enemy tanks to move on, ensuring they can navigate the level properly.
1. Select the Ground GameObject in your scene
- In the Hierarchy window, use the foldout (triangle) to expand the Level[Theme] GameObject.
- Use the foldout (triangle) to expand the Ground GameObject, then select the appropriate [Theme]Ground GameObject (that is, MoonGround, DesertGround, or JungleGround).
2. Add a NavMesh Surface component for Tank agents
- In the Inspector window, select Add Component, then search for “NavMesh Surface” and add it.
- Open the Agent Type dropdown and select Tank.
This wider, more stout shape for an agent better approximates the tanks’ shape.
3. Adjust object exclusions for a more accurate NavMesh
- Use the foldout (triangle) to expand the Object Collections section of the NavMesh Surface component.
- Open the Include Layers dropdown and disable Players so that their current positions are not considered as obstacles to avoid.
Note: The Include Layers property box should now display as Mixed...
4. Bake the NavMesh
- Select the Bake button at the bottom of the NavMesh Surface component to generate the walkable area.
5. Visualize the NavMesh in the Scene view
- If you don’t see the generated NavMesh, enable AI Navigation in the Scene view overlay and select Show NavMesh from the Surfaces dropdown.
Your scene is now set up with a functional NavMesh, which will allow AI-controlled tanks to navigate properly.
3. Test the AI-controlled tank
To test AI-controlled tanks, you need to enable the Is Computer Controlled setting, which dynamically adds the Tank AI script when the game starts.
1. Enable AI control for one of the tanks
- Select one of the tanks in the Hierarchy window.
- In the Inspector window, use the foldout to expand the Tank Movement (Script) component and enable the Is Computer Controlled property.
This property makes the tank controlled by AI.
2. Test and observe AI behavior
- Select the Play button to start the game, then press the Pause button to examine the components in-game.
- Note that the Tank AI (Script) component is added dynamically when entering Play mode on a tank with Is Computer Controlled enabled.
- Select the Pause button again to resume gameplay and try to beat the enemy tank!
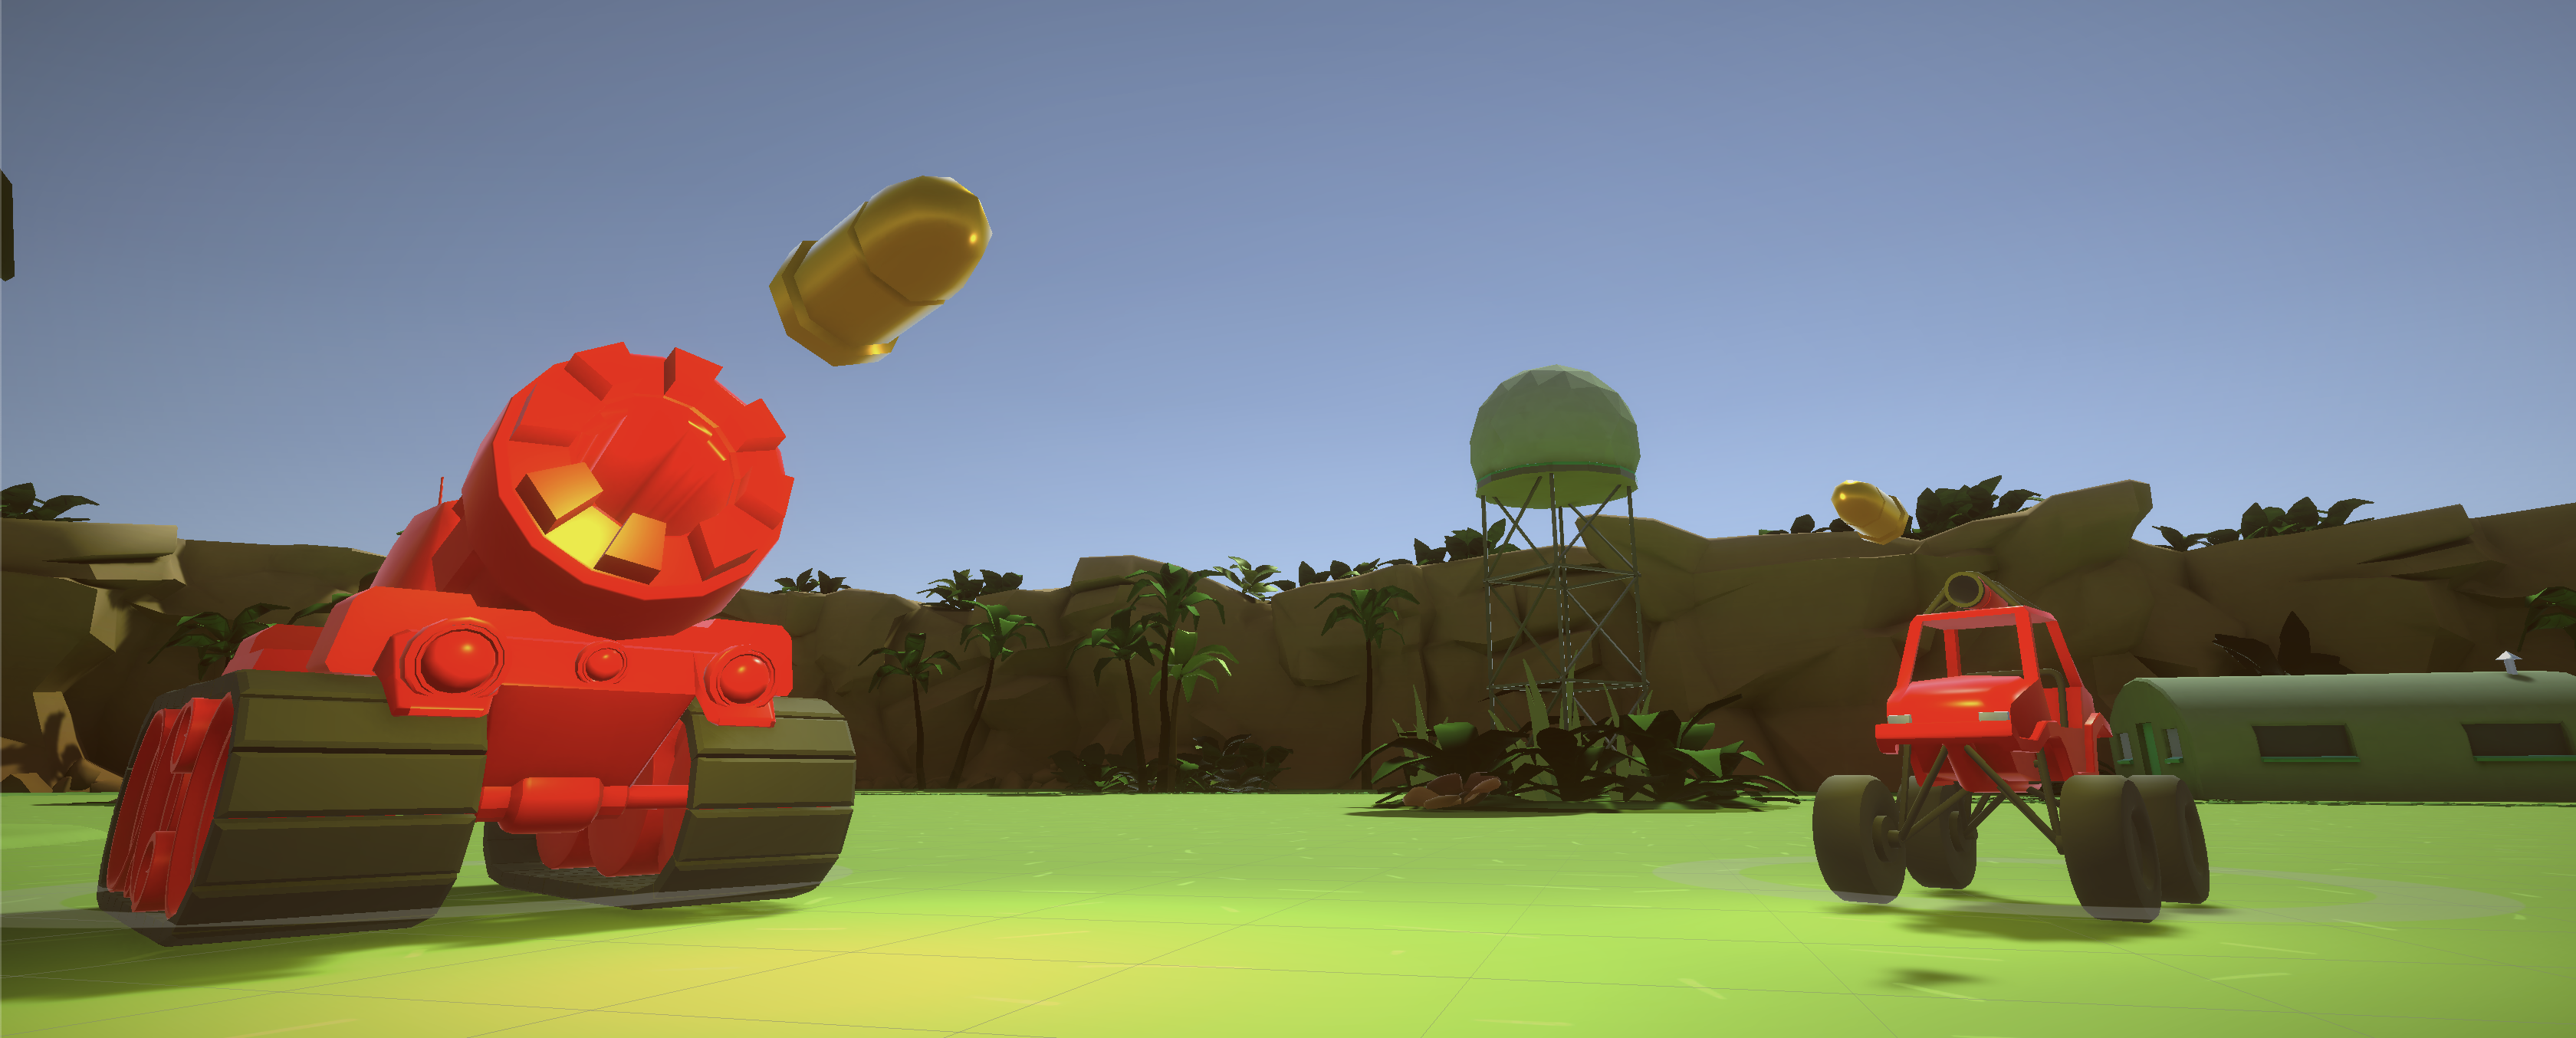
Your AI-controlled tank should now navigate and fight in the game.
4. Swap the enemy tank model
To create visually distinct tanks, you’ll replace one of the existing models with a different one. Having different tank types with their own profile of health, power, and speed will make gameplay a lot more fun.
1. Select Tank 2 and delete its current model
- In the Hierarchy window, use the foldout (triangle) to expand the Tank 2 GameObject to see its child GameObjects.
- Right-click the Tank_[type]_Model GameObject and select Delete.
Note: The tank will now be invisible until a new model is added.
2. Choose a new tank model
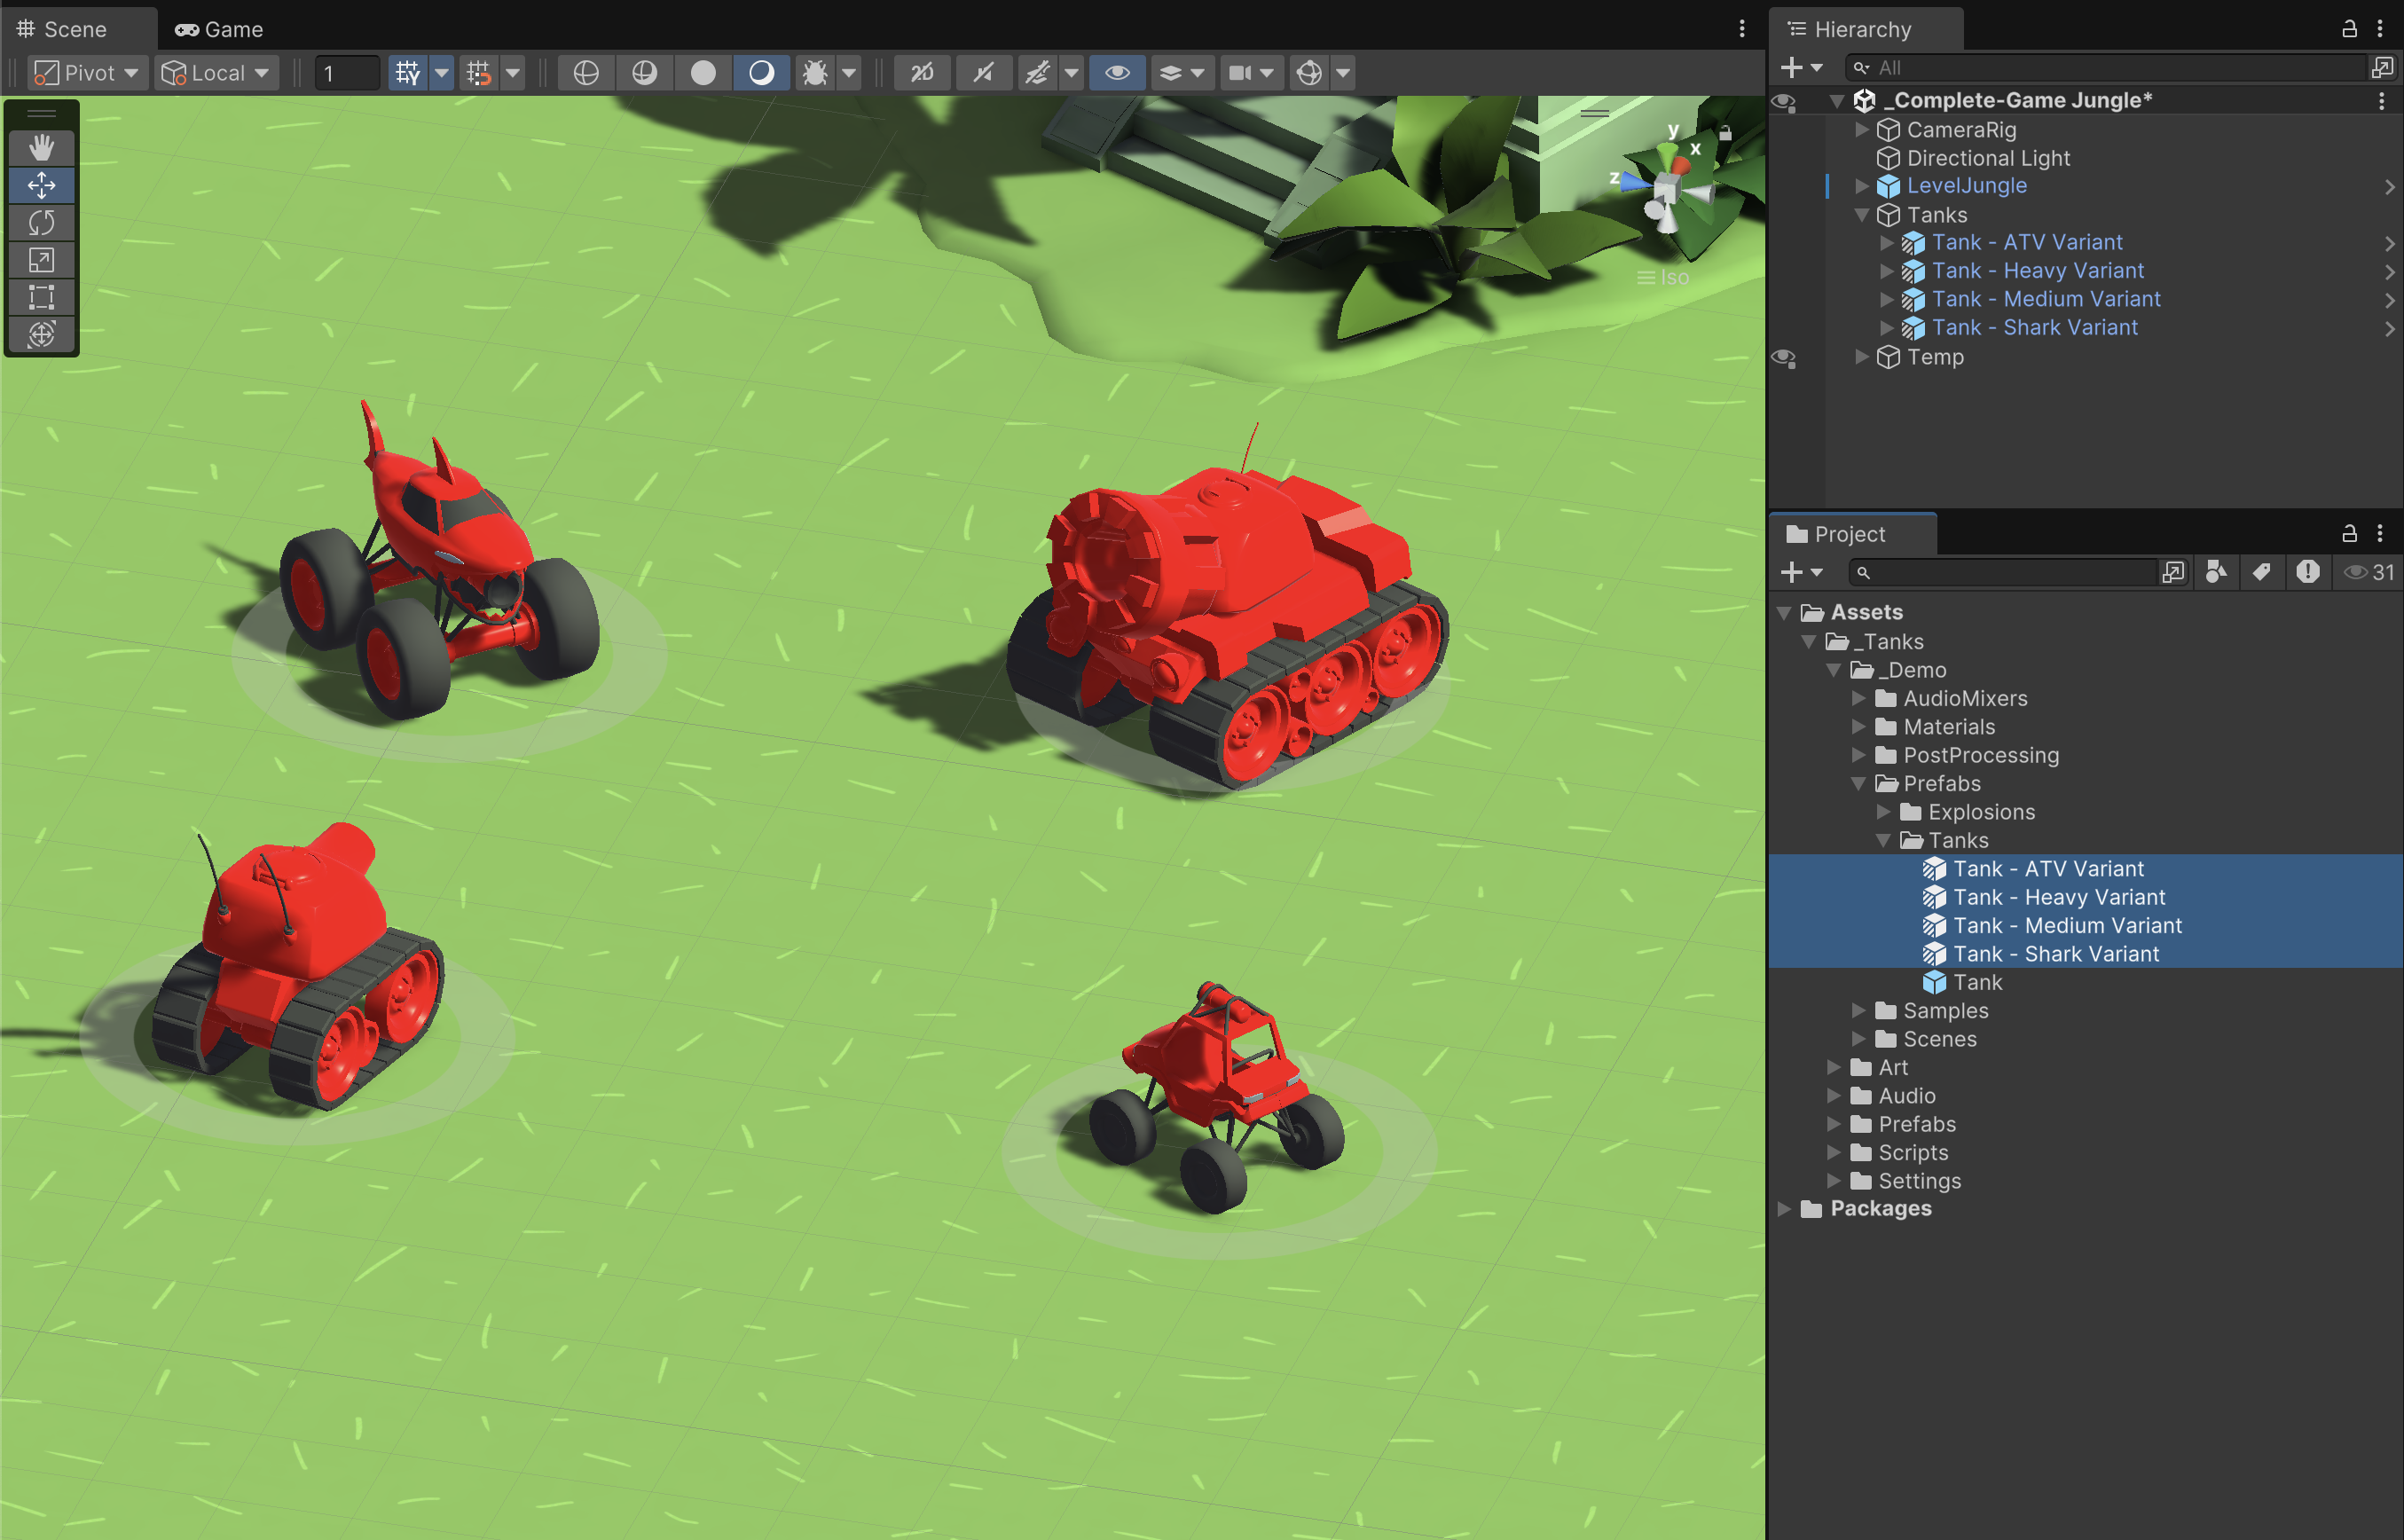
- In the Project window, open the _Tanks > Art > Models > Tanks folders, then review the different tank models available.
Tip: Choose a model that you think would have very different values for health, speed, and power.
3. Add the new model to the tank
- Drag the chosen tank model from the Tanks folder onto the Tank 2 GameObject in the Hierarchy window.
- In the Hierarchy window, make sure that the Tank_[type]_Model GameObject has its Transform component’s Position property set to X = 0, Y = 0, and Z = 0.
- If necessary, rearrange the Tank2 GameObject’s child GameObjects so that the Tank_[type]_Model GameObject is the first child GameObject in the list, consistent with how the Tank 1 GameObject is set up.
- If you want, adjust the new model’s Scale property proportionally on each axis to make it smaller (for example, X = 0.9, Y = 0.9, and Z = 0.9) or larger (for example, X = 1.2, Y = 1.2, and Z = 1.2).
4. Optional adjustments for accuracy
- If the new model’s shape differs significantly from the original one, adjust the FireTransform GameObject's position so that shots fire correctly.
- If necessary, modify the Box Collider component to better fit the new tank shape.
Your second tank should now have a brand new model, properly positioned and ready for battle!
5. Create tank prefab variant
A prefab variant is a special type of prefab that inherits properties from a base prefab while allowing modifications unique to the variant. This lets you create multiple tanks with shared behaviors but different appearances and attributes.
1. Rename your new tank for clarity
- In the Hierarchy window, select the Tank 2 GameObject.
- Rename it something more descriptive, such as “Tank_UFO”, “Tank_Heavy”, or another fitting name based on the model you selected.
2. Create a prefab variant
- Drag the newly renamed Tank_[type] GameObject from the Hierarchy window into the _Tanks > Prefabs > Tanks folder in the Project window.
- A prompt appears, asking whether to create an Original Prefab or Prefab Variant.
- Select Prefab Variant to retain shared behavior from the base tank prefab while allowing modifications.
Note: In the Hierarchy window, observe that the Tank_[type] GameObject’s cube icon now has one side that appears shaded, indicating it is now a prefab variant.
3. Make your original tank a prefab variant
- In the Hierarchy window, select Tank 1 and rename it something more descriptive.
- Drag that tank from the Hierarchy window into the _Tanks > Prefabs > Tanks folder and create another prefab variant.
Now, any changes you make to the original Tank prefab will automatically apply to all prefab variants, while modifications made to the variants will remain unique to them. This system ensures that shared functionality remains consistent across all tanks while allowing for customization of individual tank types.
6. Edit the new tank’s stats
Each tank variant should have unique movement, firepower, and durability to create distinct gameplay experiences.
Heavier tanks might move more slowly than smaller tanks, but they might also deal more damage, while lighter tanks might be more agile than heavier ones, but they might have weaker firepower. In this step, you’ll adjust key attributes to match the look and feel of your new tank.
1. Open your new tank prefab variant
- In the Project window, double-click the new tank prefab variant to enter prefab editing mode.
2. Modify movement settings
- In the Tank Movement (Script) component, adjust the following properties:
- Speed: Set a lower value for heavy tanks, and a higher value for lighter tanks.
- Turn Speed: Reduce this for larger tanks to make them feel weightier; increase for smaller tanks to allow for sharper turns.
3. Adjust health settings
- In the Tank Health (Script) component, increase Starting Health for stronger tanks.
4. Update weapon properties
- In the Tank Shooting (Script) component, adjust the following properties:
- Max Damage: Increase for larger tanks, decrease for smaller tanks.
- Explosion Force: Higher for heavy tanks, lower for light tanks.
- Explosion Radius: Wider for powerful tanks, narrower for weaker tanks.
5. Playtest your tanks for balance
- Test the movement and shooting behaviors to ensure the tank feels distinct.
- Enable the Is Computer Controlled property in the Tank Movement (Script) component to test each tank against a computer-controlled enemy tank.
- Adjust stats further if either tank feels too strong or too weak.
Your new tank now has customized stats that match its design, and ideally both tanks are well balanced for battle, making for a more fun gameplay experience.
7. Optional: More things to try
Try these optional activities to challenge yourself, build your skills, and improve your project.
Each challenge is tagged as Easy, Medium, or Expert difficulty so that you know what to expect. You can complete one, all, or none of them — it’s totally up to you. If you’re not interested in doing these challenges, mark this step as complete and proceed to the next tutorial.
Easy: Create two more Tank prefab variants

Eventually, on your Player Selection screen, there will be four slots for tanks to choose from. Right now, you only have two tank variants, but adding two more will give players more variety. Here’s some guidance on how to create more tank prefabs.
- Drag your original Tank prefab from the Project window into the Scene view two times.
- Move and rotate the duplicates, but make sure to rotate the parent Tank GameObject, not the child GameObjects.
- Replace their models and adjust their stats for balance.
- Rename each one to reflect their new tank type, then drag them into your _Tanks > Prefabs > Tanks folder to create prefab variants for each.
- Once all four tanks are set up, add the new ones to the CameraRig GameObject’s Camera Control (Script) component under the Targets section so that the camera follows all four tanks.
- Playtest to ensure the tanks feel balanced against each other.
Medium: Create new shells for different-sized tanks

Right now, even though the tanks have different power levels, they all use the same-sized shell. You can improve this by creating unique shell sizes for different tanks.
- In the Project window, navigate to _Tanks > Prefabs > Explosives, then select the CompleteShell prefab.
- Duplicate it to create a new Shell prefab, rename it to something like Shell_Small or Shell_Large.
- In the Inspector window, adjust theTransform component’s Scale property to make the new shell larger or smaller.
- Assign the new Shell prefab to the Shell property of the Tank Shooting (Script) component for the appropriate tank(s).
- Test the effect in Play mode. Does the new shell size match the feel of the tank?
8. Optional: Review the TankAI script
This step is entirely optional, but if you’re curious to understand how the TankAI script works, you can find it in the _Tanks >Scripts > Tank folder and open it in an IDE or text editor. The code is thoroughly commented, which helps as you read through it.
Below are a few aspects of the script that you might find particularly interesting:
1. AI target selection and pathfinding
The TankAI script determines which tank to chase using NavMesh pathfinding. It calculates paths to all other tanks and chooses the shortest one.
// Calculate a path to every tank and check the closest
for (var i = 0; i < m_AllTanks.Length; i++)
{
    var tank = m_AllTanks[i].gameObject;

    // we don't want the tank to try to target itself, so ignore itself
    if (tank == gameObject)
        continue;

    // this is a destroyed or deactivated tank, this is not a valid target
    if(tank == null || !tank.activeInHierarchy)
        continue;

    paths[i] = new NavMeshPath();

    // this return true if a path was found
    if (NavMesh.CalculatePath(transform.position, tank.transform.position, ~0, paths[i]))
    {
        // Compute how long the path is...
        float length = GetPathLength(paths[i]);
        // And if it's the shortest path so far, this is the one we want to go after
        if (shortestPath > length)
        {
            // so this path become the used path
            usedPath = i;
            //and its length is now the shortest length to beat
            shortestPath = length;
            target = tank.transform;
        }
    }
}
- The AI scans for all tanks and finds the closest one based on pathfinding calculations.
- It ignores itself and any inactive tanks.
- The NavMesh.CalculatePath() function finds the shortest valid route to the target.
2. AI tank shooting and attack logic
The AI-controlled tank monitors its target’s distance and charges shots when in range.
// We aren't charging yet, so check if the target is closer than our max shooting distance, which mean we can start charging the shot
// (a "smarter" solution would be to compute how early we can charge so we reach max distance already max charged)
if (targetDistance < m_MaxShootingDistance)
{
    // This use the navmesh to check if there are any obstacle between us and the target. If this return false
    // this mean there is no unobstructed path, so there *is* an obstacle, so we shouldn't start shooting yet
    if (!NavMesh.Raycast(transform.position, m_CurrentTarget.position, out var hit, ~0))
    {
        // we stop moving as we can reach our target with our shot
        m_IsMoving = false;

        // if our cooldown is not 0 or below, we have to wait for it to be before shooting. If it is below 0, we start charging
        if (m_ShotCooldown <= 0.0f)
        {
            m_Shooting.StartCharging();
        }
    }
}- If the AI tank is already charging a shot, it checks if the shot distance is enough to hit the target.
- The AI stops moving and fires when it has a clear shot.
3. AI fleeing behavior
If the AI detects that its target has been stationary for too long, it assumes danger and flees in a random direction.
private void StartFleeing()
{
    // To flee, we need to pick a point away from our current target

    // Start by getting the vector *toward* our target...
    var toTarget = (m_CurrentTarget.position - transform.position).normalized;

    // then rotate that vector of a random angle between 90 and 180 degree, which will give us a random direction in the opposite direction
    toTarget = Quaternion.AngleAxis(Random.Range(90.0f, 180.0f) * Mathf.Sign(Random.Range(-1.0f, 1.0f)),
        Vector3.up) * toTarget;

    // then we pick a point in that random direction at a random distance between 5 and 20 units
    toTarget *= Random.Range(5.0f, 20.0f);

    // Finally we compute a path toward that random point, which become our new current path.
    if (NavMesh.CalculatePath(transform.position, transform.position + toTarget, NavMesh.AllAreas,
            m_CurrentPath))
    {
        m_CurrentState = State.Flee;
        m_CurrentCorner = 1;

        m_IsMoving = true;
    }
}- The AI picks a random direction away from its target.
- It calculates a safe path using NavMesh and switches to Flee mode.
- This makes the AI act less predictably, avoiding situations where enemy tanks will stand still and fire at each other over and over.
9. Next steps
You’ve added an AI-controlled enemy tank with a new tank model, speed, strength, and health characteristics.
In the next tutorial, you’ll add background music and configure an Audio Mixer to balance the sounds in your game.