Challenge 4: Setting up for a Gamepad
Tutorial
·
Beginner
·
+0XP
·
15 mins
·
(159)
Unity Technologies
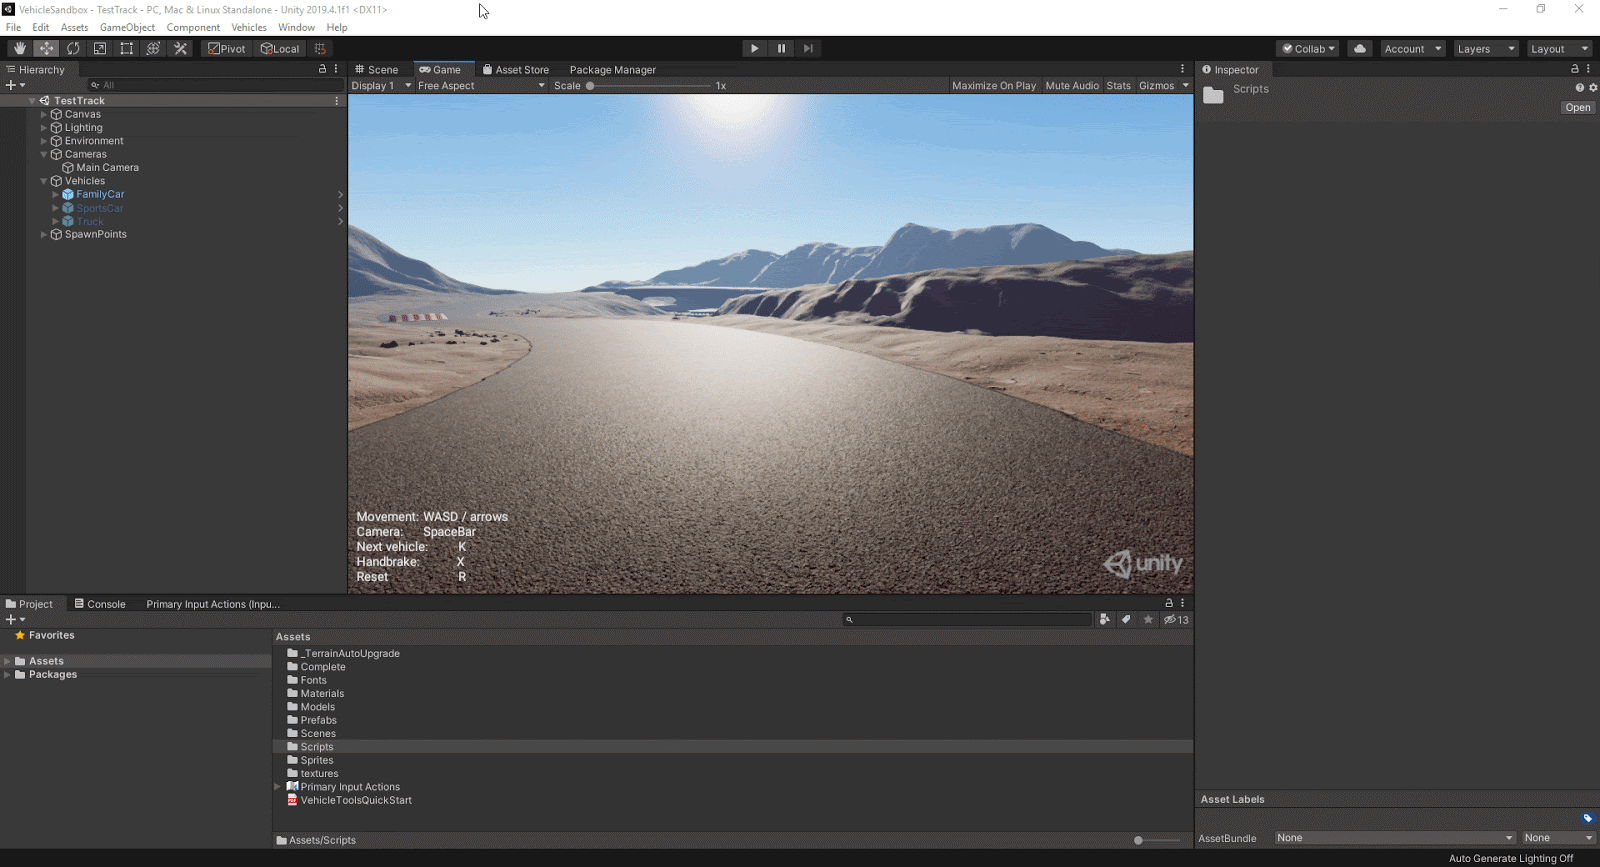
Using the Same Inputs, you will set up a second set of bindings for a gamepad, and trying out the Input Debug System to Inputs Received in Real Time.
1. Setting up a Second set of Bindings for a Gamepad
The beauty of the Input System is the ability to quickly change bindings without the need to further adjust code.
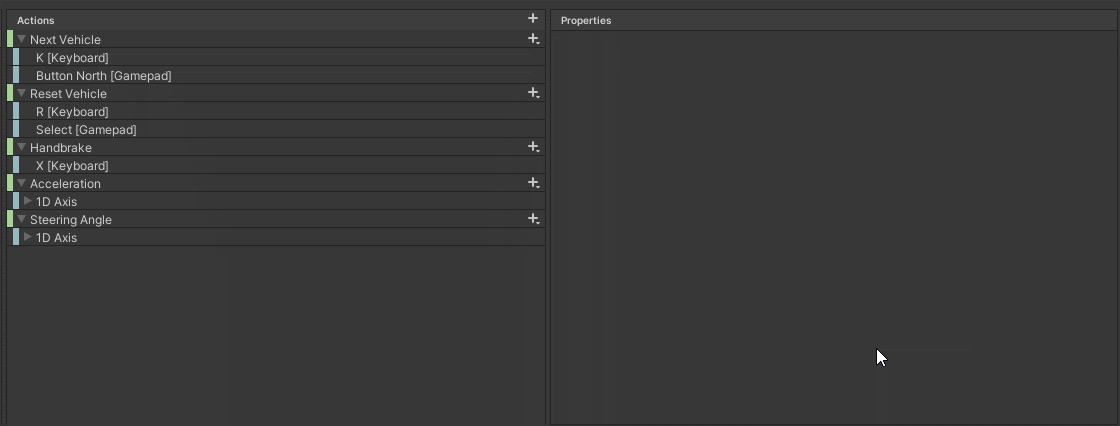
1. In the Primary Input Actions Asset, add a second set of bindings for the Next Vehicle and Reset Vehicle Actions by clicking the “+” button next to “Next Vehicle” and “Reset Vehicle” and setting the bindings to “Button North” and “Select” respectively.
Note: you can set the bindings to any inputs you would like to use. If you don’t have a gamepad or other input system, you can set the inputs to another key on your keyboard.
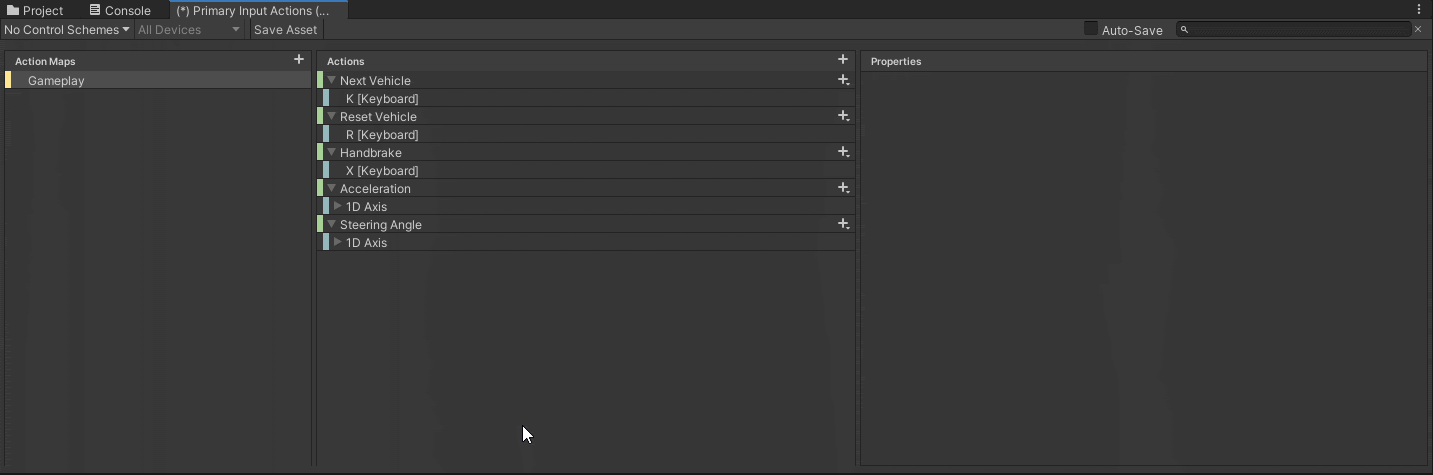
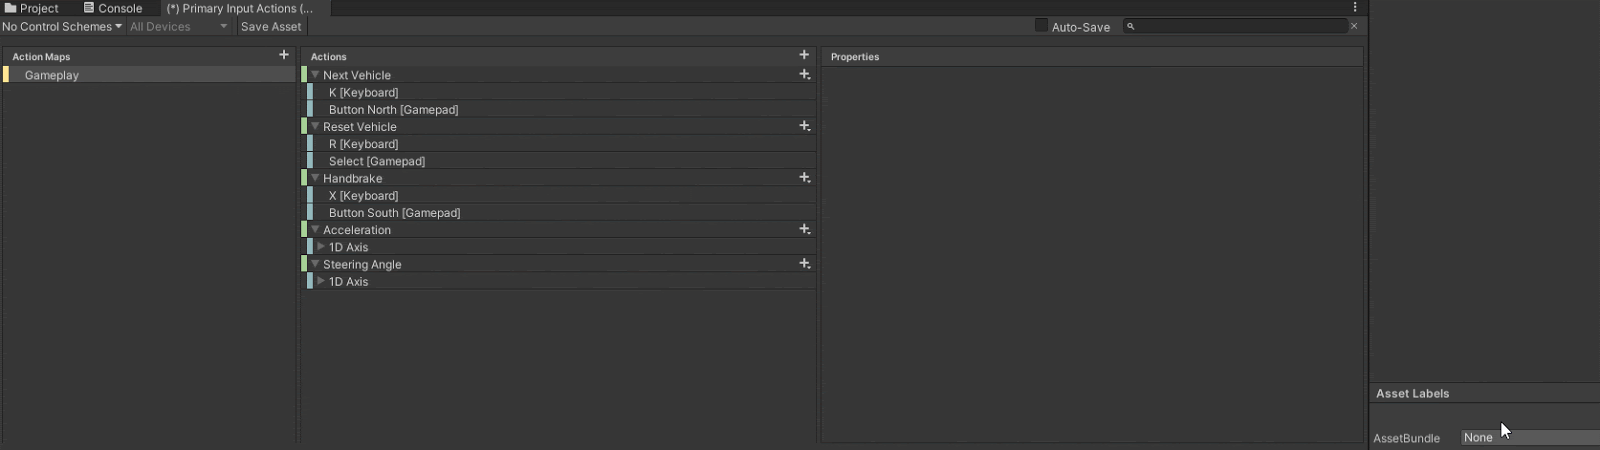
2. Repeat the same process for the Handbrake, setting the input binding to “Button South” or another input of your choice.
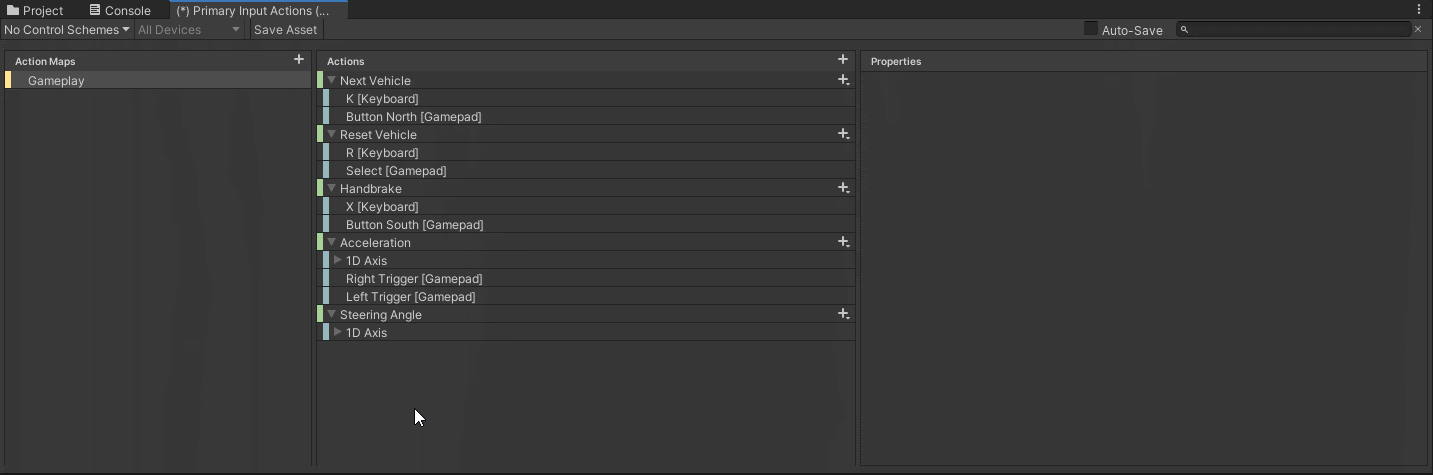
3. On the Acceleration Action, add two new bindings (one for acceleration and the other for deceleration. On the first binding set the Path to Right Trigger to handle acceleration. On the second binding set the Path to Left Trigger and add an Invert Processor so the left trigger is inverted to negative numbers.
4. On the Steering Angle Action add a new binding and set it to the Left Stick / X binding. Click Save Asset.
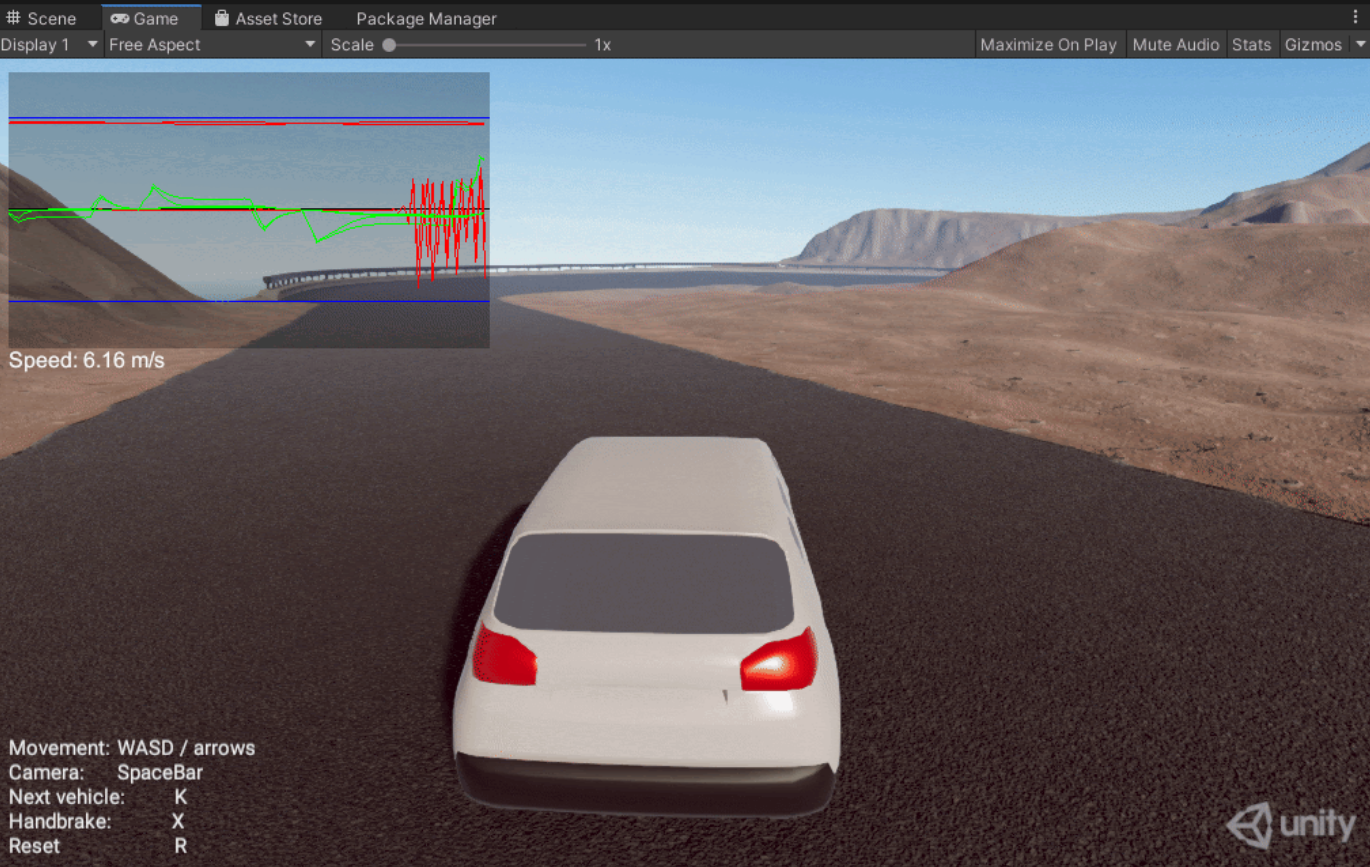
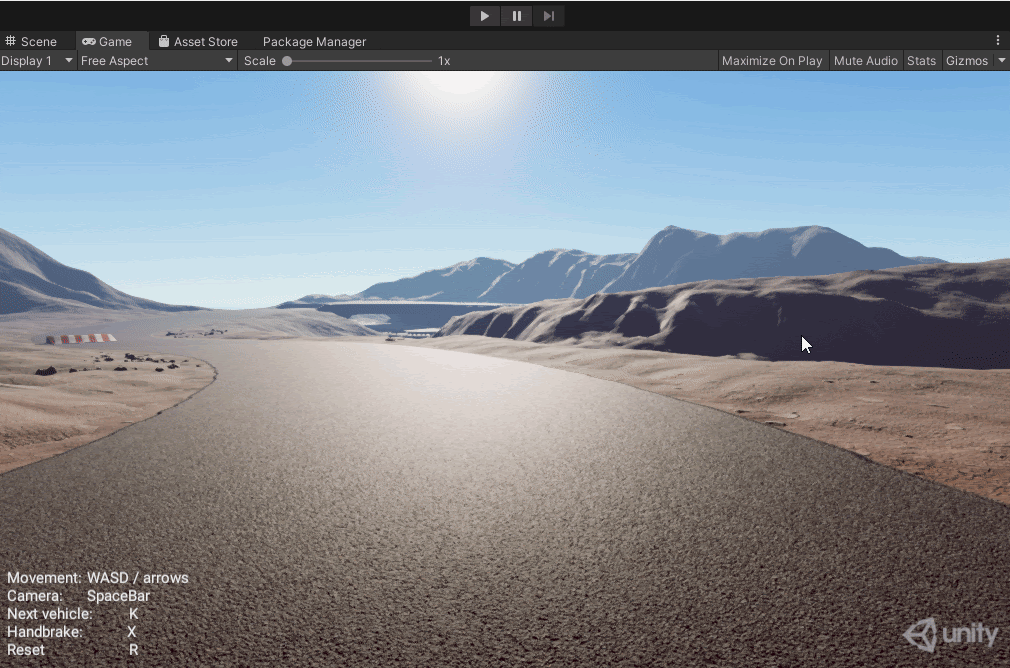
5. Click Play and test it out in the Editor using a connected Gamepad. Exit Play mode.
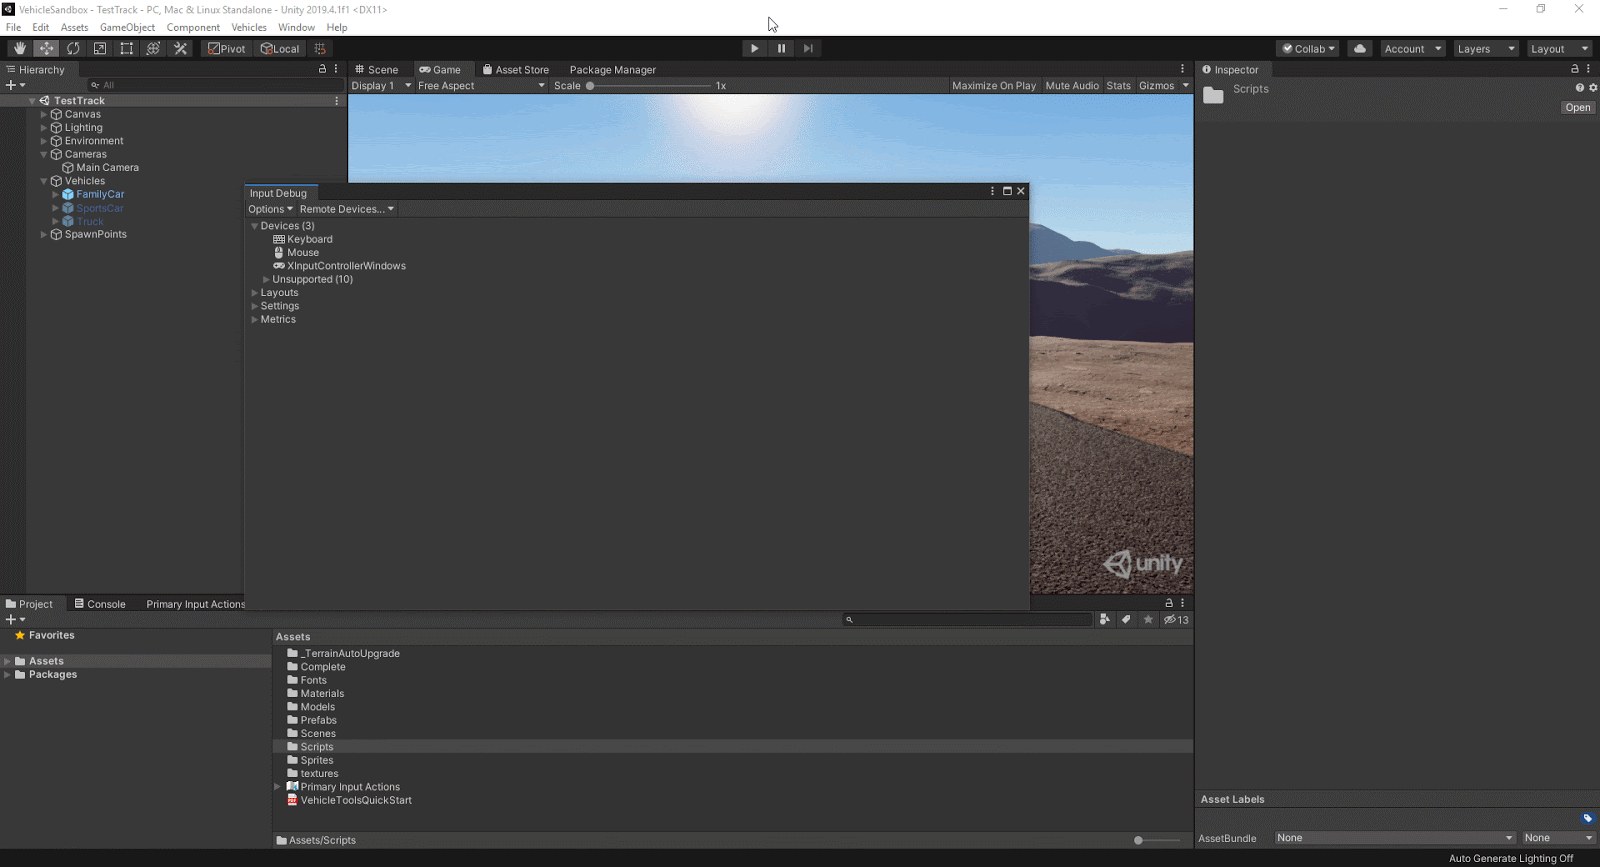
2. Using the Debug System
1. Open the Input Debug window (Window > Analysis > Input Debugger). In the window select the Keyboard (or Gamepad if you have access to one). With that window open you can view the Device inputs. This is helpful for debugging.