
Escape Room project overview
Tutorial
intermediate
+10XP
30m
(21)
Unity Technologies
This project is unlike any you’ve attempted up to this point. You will be given a project brief and a few hints, but then it is up to you to make it happen. Your goal is to implement the final few interactions in an escape room.
In this tutorial, you will get an overview of the project, learn how to use the provided hints properly, and then set up the basic project in Unity.
1. Overview
You now have some experience programming custom VR interactions using the XR Interaction Toolkit API. Next, you will apply what you learned to a new project brief, where you are tasked with coding the functionality for part of an escape room.
As you develop this project, you will be provided with sets of hints, which will help you through some of the more challenging elements of the brief.
In this tutorial, you will get acquainted with the project brief, then get the basic scene set up in Unity.
2. What is a project brief?
A Project Brief is a document that summarizes a project and outlines its core requirements. A project brief operates as a single source of truth for everyone working on a project; without one, you are almost certain to have misunderstandings, inefficiencies, and frustration during development.
When working in VR development, clients will either provide you with a project brief or work with you to develop one. Then it is up to you and your team to build what has been requested.
This learning project is meant to simulate that type of typical client interaction.
In this video, our established creators discuss the role project briefs play in the industry:
3. What is this project about?
For this project, you have been asked to implement the final interactions of an escape room. The user must be able to do the following:
1. Enter a code on a number pad to receive a keycard
2. Use that keycard to unlock a door
3. Slide the door open to exit the room
When completed, it should look something like this:
Each of the following three tutorials is dedicated to one of the project's three core interactions: the number pad, the card reader, and the sliding door. More specific technical requirements for each interaction will be provided in those tutorials, as well as hints to help you along.
If you want to read ahead, download the project brief and skim through the requirements now.
4. How to use the hints
This is not an easy project. It demands that you program functionality you’ve never coded before.
To help you approach these challenges, we will provide you with multiple sets of hints along the way.
In each tutorial, there will be three sets of hints, where each set increases in helpfulness and specifics. Try to get started without using any hints. Then, if you get stuck, you can look at the first set of hints. If you’re still stuck after that, move on to the second set. If you still can’t figure it out, you can check out the last set.
Here’s what you can expect from each set of hints:
- Hint set 1
These are broad, high-level hints to provide guidance on overall code architecture and programming logic. - Hint set 2
These hints will point you to specific methods, classes, or documentation that may be helpful in implementing a feature. - Hint set 3
These will include actual snippets of code that may be especially helpful for more difficult features.
If you were completing this project on a professional team, you'd have colleagues to give you guidance or help with brainstorming when you get stuck. Since you're probably working independently on this project, think of these hints as guidance from a helpful, experienced programmer on your team.
We highly recommend attempting to program each feature before moving on to the next set of hints. Trying to figure out these challenges on your own is the best way to learn.
If you are completely stuck and would like to reference the functional code, we will also provide the completed scripts at the end of each tutorial.
5. Set up your project and scene
Before you get started on the first feature within the project, get your scene set up and ready to go by completing the following steps:
1. Create a new VR-ready project.
You can use the instructions and template starter project from the Project setup tutorial to accomplish this. Remember to configure your plug-ins from the XR Plug-In Management panel.
2. Download the Escape Room Assets and then import them into your new VR-ready project.
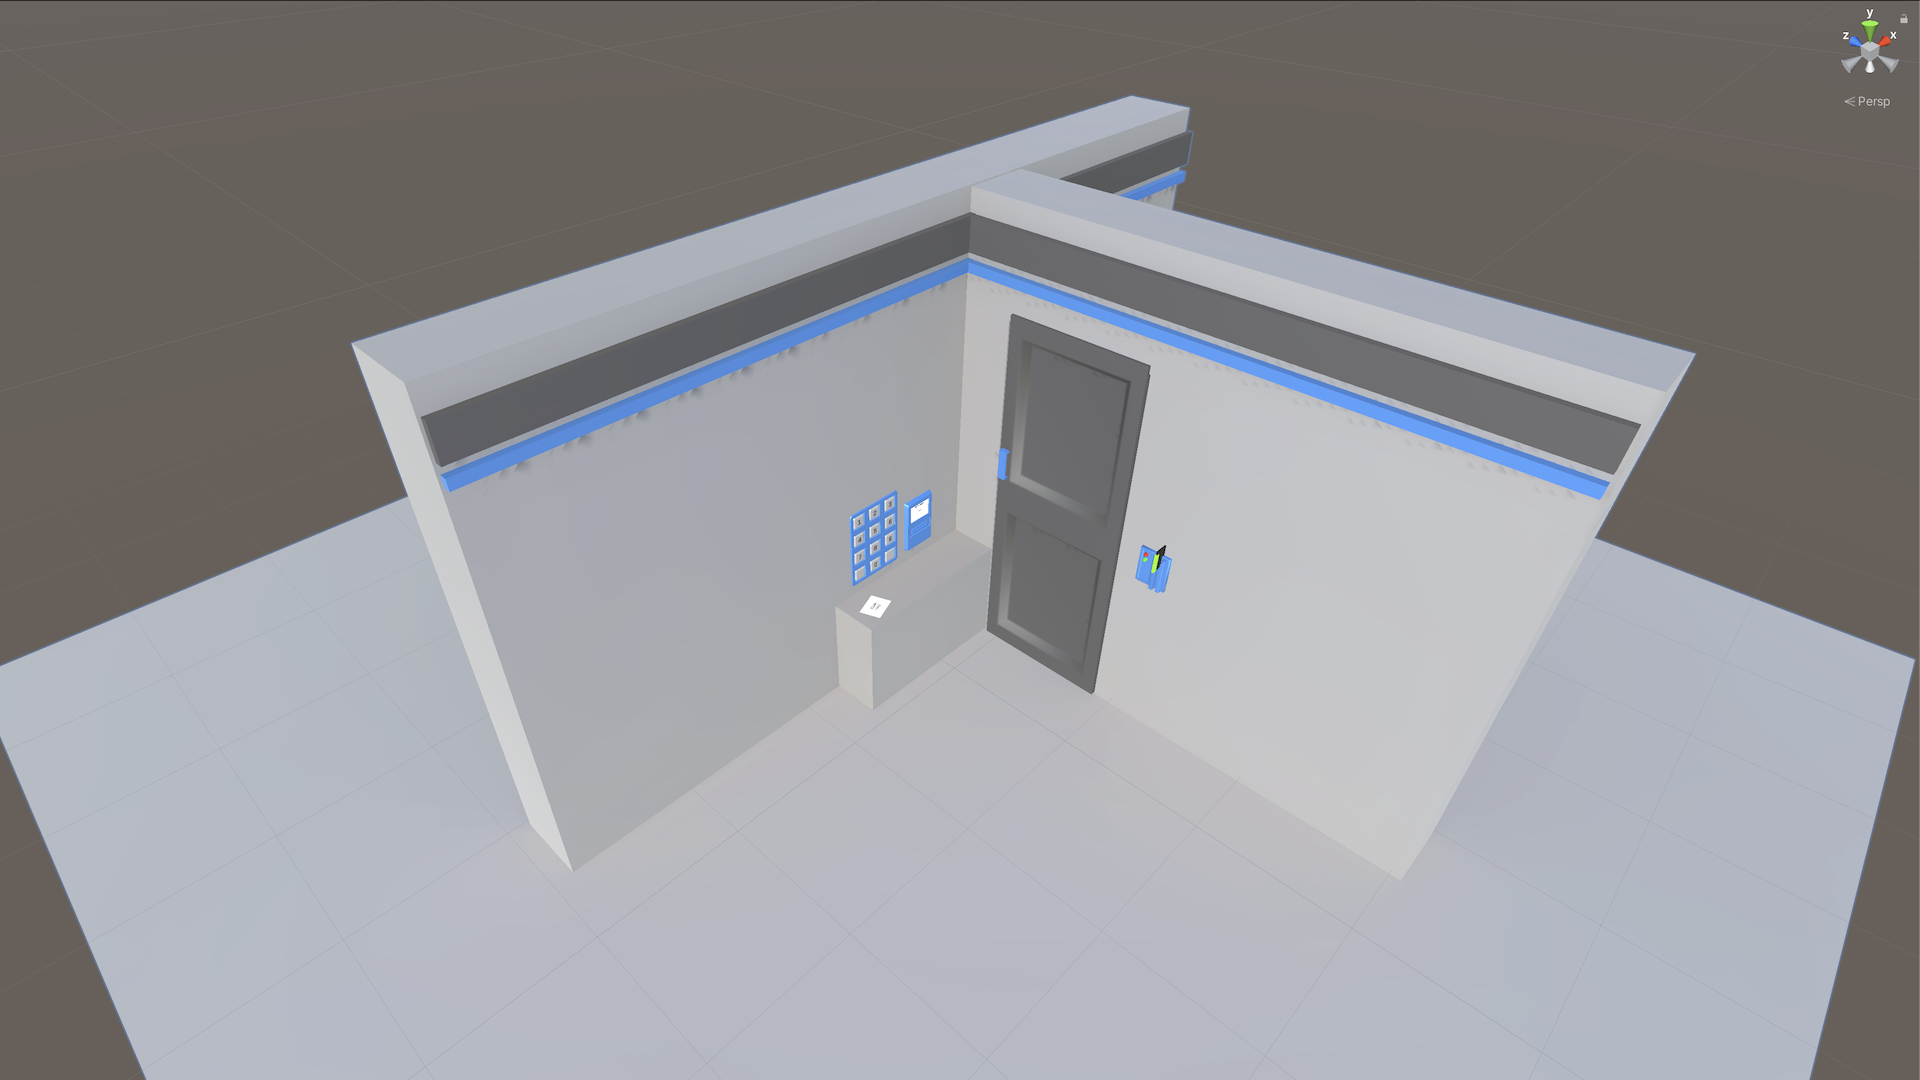
3. From the Scenes folder, open the VREscapeRoom_Start scene.
Your scene should look approximately like this:
Test your project in VR using either your headset or the XR Rig Simulator and make sure it runs successfully.
None of the assets should be functional yet. That’s your job in the following tutorials!
6. Next steps
In the following tutorial, you will implement the functionality for the first feature: the number pad.