
Explore the sample scene
Tutorial
intermediate
+10XP
30m
(28)
Unity Technologies
As a more experienced developer, there’s no better way to learn new programming techniques than working on an existing fully-functional project.
In this tutorial, you will do the following:
- Download and explore the XRI template scene
- Review the online documentation for the XR Interaction Toolkit
Resources
1. Overview
In this first project of this mission, you will explore the example scene created by the XR Interaction Toolkit team. In this scene, there are stations containing a variety of common VR interactions. These range from simple, grabbable objects to complex, multi-layered experiences.
Your task will be to make a new station in this scene with a couple of custom objects:
A helpful scanner that displays other objects' information and a fun little balloon inflator to play around with.
In this tutorial, you will set up the project, explore the scene, and browse through some of the existing code.
2. Download and open the example scene.
This template project – created by the XR Interaction Toolkit team – is an incredibly helpful resource to use as a reference as you develop new projects. It contains an introductory scene with various props and sample interactions that showcase typical VR experiences.
1. Download the XRI Toolkit template project.
2. Open the project in Unity version 6000.2.x.
3. From the Project window, open _VRPathway > Scenes > VRPathway Scene.
You should see the indoor/outdoor environment with stations around the edges.
3. Explore the scene on your device or the rig simulator
Experiencing the scene in the Unity Editor does not quite capture the VR experience. We suggest that you do this with access to a headset.
1. If you do not have a headset, you’ll need to use XR Device Simulator to test the application. The XR Device Simulator object is already in the Hierarchy and is marked as Inactive by default. To test the project with the Device Simulator, simply set that object as Active and select Play. For a reminder on how to use the Device Simulator, check out this simulator keyboard shortcuts cheat sheet.
2. If you do have a headset, you’ll need to configure your project and build settings for your target device.
For instructions on deploying a project to your device, check out step 6 in this project setup tutorial.
3. Explore the scene using your headset or the Device Simulator, trying out the interactions at each station.
As you go through the scene, read the instructions at each station. The stations inside the main structure showcase more basic VR interactions. The stations along the outside track of the structure showcase more complex interactions.
When exploring the scene, ask yourself the following questions:
- Which of these interaction types have I implemented before?
- Which interactions would I feel confident creating? Which ones am I unsure about?
- What do I like or dislike about specific interactions in this demo?
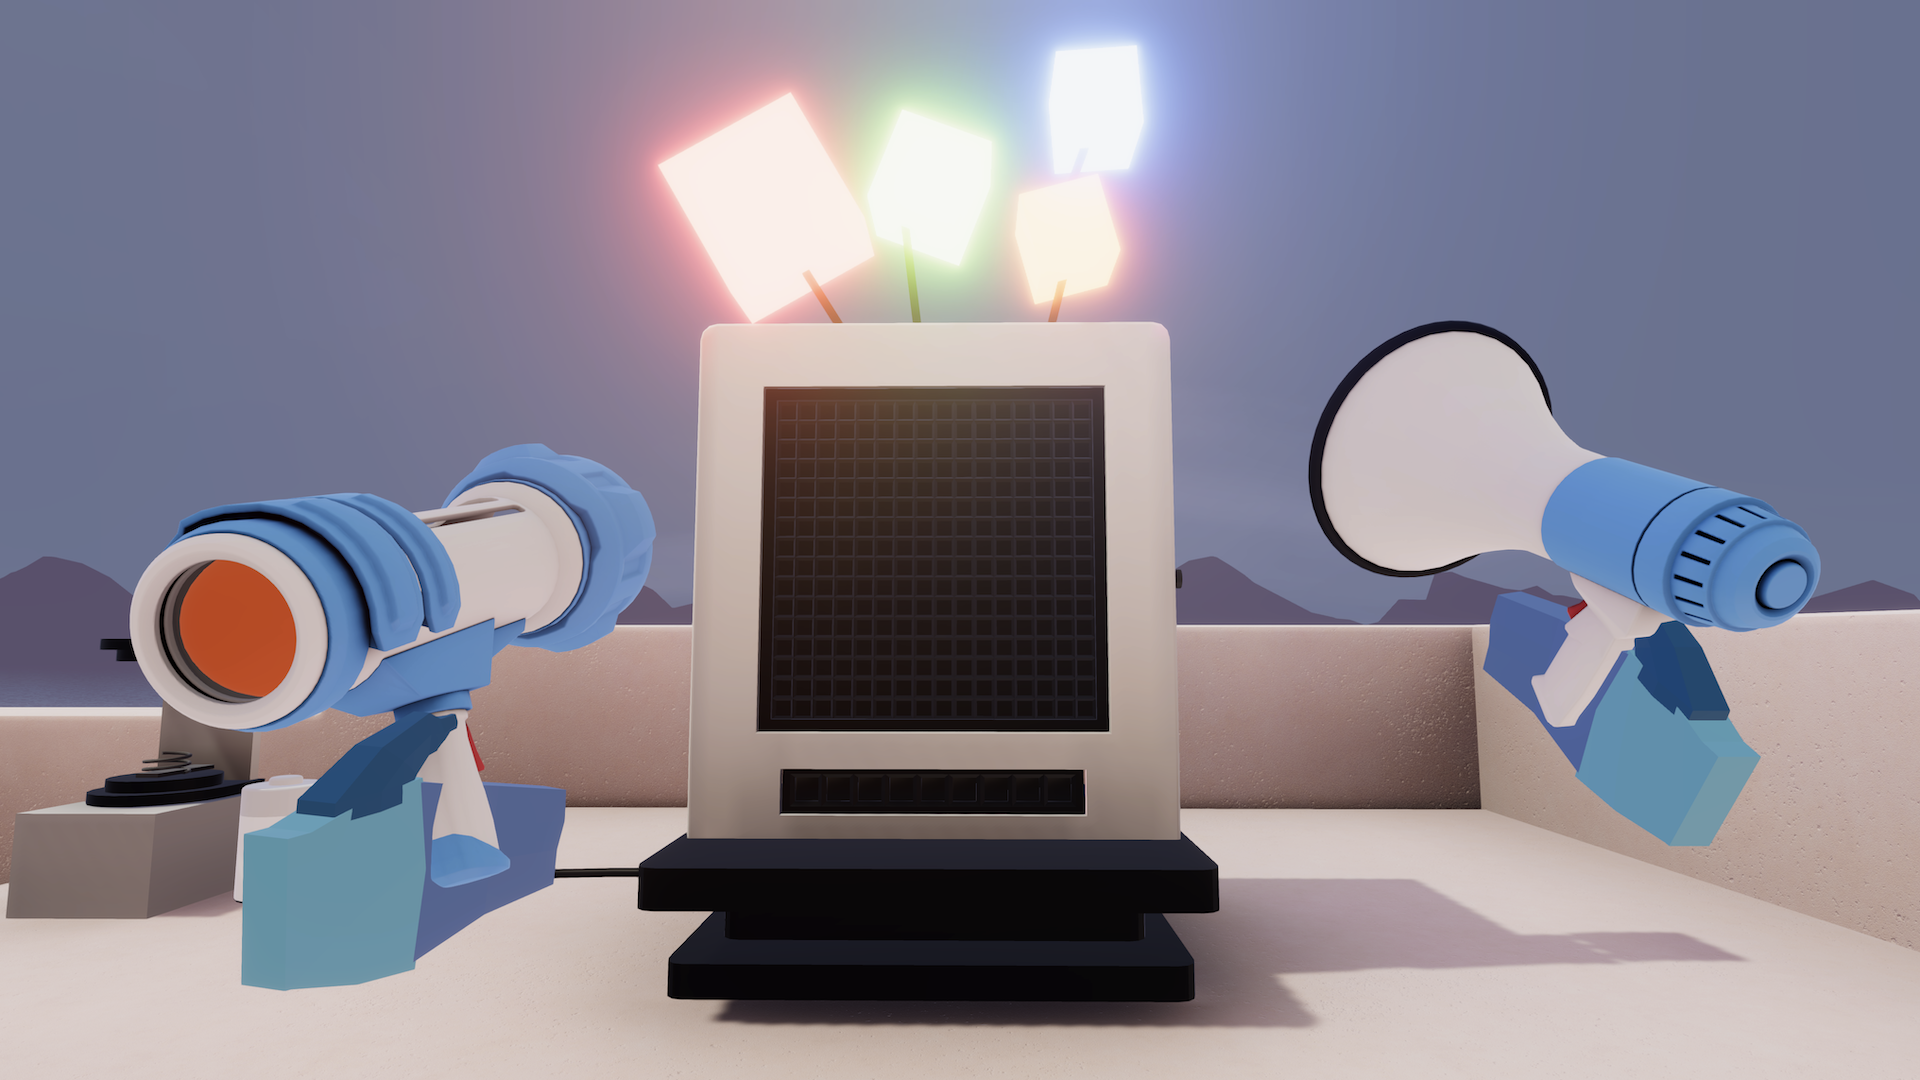
This is approximately what it should look like when you explore the scene:
4. Explore the components
Now that you’ve tested the experience in VR, you’re ready to investigate how the project is set up:
1. Select the Megaphone GameObject located along the outer-left track.
Notice in the Inspector that the Megaphone uses the default XR Grab Interactable component and event system that you’re already familiar with. This was implemented just like many of the interactable objects you’ve put together throughout the pathway, and specifically what you learned in this tutorial.
2. Now locate the 3D UI station and select one of the joysticks, knobs, sliders, or buttons.
When you select these objects, you’ll notice that they have script components with names such as XRJoystick, XRKnob, and XRSlider. These are not default scripts included in the XR Interaction Toolkit; they are custom scripts that extend the core functionality of the toolkit.
3. Locate the XRSlider script in the Project window and open it in a script editor, then read the class declaration line towards the top of the script:
public class XRSlider : XRBaseInteractableThe code XRSlider : XRBaseInteractable means that the XRSlider script extends or inherits from the XRBaseInteractable class. Another way of saying that is that XRSlider is a child of the XRBaseInteractable parent class, inheriting all of its behaviors and properties. If you want a refresher on inheritance in object-oriented programming, check out the tutorial on inheritance in the Junior Programmer pathway.
If all of these objects inherit from XRBaseInteractable, it must be a very important or useful script when trying to code custom scripts for VR. To find out more about that class, and to find out how you might use it, you’ll need to go to the documentation.
5. Explore the Scripting API
When you begin development with a new library or API, it’s helpful to get acquainted with the available documentation. You know that XRBaseInteractable is an important script, so it’s a good place to start. Complete the following steps to explore documentation related to the XRBaseInteractable class:
1. Google “XRBaseInteractable” and select the first result from docs.unity3d.com. It will take you to the Scripting API documentation for the XR Interaction Toolkit.
2. Make sure you are using the correct version of the XRIT documentation using the dropdown menu in the top-left corner.
You should be using version 3.2.X, which matches the version of the package used in the project. Be careful – this is very easy to forget! Make sure you always check this version number when referencing the scripting documentation.
3. Near the top of the page, locate the Inheritance section.
This displays the parent classes of XRBaseInteractable above it and the child classes of XRBaseInteractable below it. For example, you can see in the screenshot above that XRGrabInteractable and XRSimpleInteractable are child classes of XRBaseInteractable.
4. Browse around the documentation to get a sense of the hierarchy of classes within the XR Interaction Toolkit. This will give you an idea of how all of the classes relate to one another. It’s also helpful to read the short descriptions of the classes at the top of the page.
As a challenge, try and figure out the inheritance structure for the XRRayInteractor class. Which classes does it inherit from?
Exploring this documentation can demystify a new API for you. There’s no magic or secrets; it is all written out and searchable. Referencing documentation like this is a critical skill for developers, especially in such a rapidly evolving field like VR, where new frameworks and APIs are released so regularly.
6. More things to try
If you want to further develop your skills, explore new concepts, or improve your project, check out some of the optional activities below. Each one is tagged as either [Easy], [Medium], or [Difficult] so you can choose the level of challenge.
These activities are entirely optional, so if you’re not interested, no problem – just skip this step.
We do recommend attempting at least one of them in order to get the most out of this learning experience. Good luck!
[Easy] Continue exploring the API
Continue browsing through the online documentation of the XR Interaction Toolkit API. Try to understand how the classes interact with and reference each other, including which classes have parent-child relationships.
[Medium] Make an edit to one example interaction
Choose an object you’re interested in and come up with some minor edit you’d like to make to its functionality – then make that happen. For example, change the maximum distance you can move the joystick, change the speed that stuffed animals float upwards in the claw game, or change the speed that the plant grows when you water it with the watering can. The important thing is to come up with the idea before looking at the code, then challenge yourself to figure out how to make that idea happen.
[Difficult] Deeply understand one example interaction
Choose one of the interactive objects in the example scene and try to figure out exactly how it works. You could choose one of the simpler objects like the ball launcher, a slightly more complex object like one of the 3D UI objects, or a highly intricate one like the claw game machine. When you choose an object, expand it in the Hierarchy and examine every component on every child object. Open every custom script and make sure you understand what’s going on. Understand how all the components interact with each other. Try to understand it well enough that you could explain its setup and all of its code to someone else.
7. Next steps
You are now acquainted with the example scene, which has lots of functioning code for your reference. You have also located the relevant documentation and explored some of the available classes. You’re now ready to put the API to use by creating your own custom interactables that extend these classes.