
Keycard reader
Tutorial
intermediate
+10XP
1h 30m
(19)
Unity Technologies
You’re ready to move on to the second, more challenging feature from the project brief: the keycard reader. This feature will require you to detect precise positions and angles as the card enters and exits the reader, so it will require some 3D vector skills.
In this tutorial, you will do the following:
- Program a custom VR keycard reader according to the requirements of the project brief, with the help of optional hints
- Use mathematical formulas, such as dot products, to program custom 3D interactions
1. Overview
The second feature you’ll implement from the project brief is the keycard reader. The user must be able to swipe their keycard through a card reader to unlock the door.
The specific requirements for the key card are listed in the next step.
As a reminder, if you aren’t sure how to implement one of these requirements, three sets of hints are available to you. We recommend that you attempt to get it working before moving on to the next set of hints.
If you go through all three sets of hints and are still stuck, at the very end of this project you will be able to download and inspect the completed scripts. Even if you can’t get it working, you will still learn a lot by attempting it and then reviewing someone else’s functional code.
Good luck!
2. Specific requirements
The must-have requirements for the keycard reader are outlined in the full project brief and listed here for your convenience:
- The keycard should be grabbable.
- The CardReader.cs script must extend the XRSocketInteractor class, but the keycard should not snap into the socket like a typical socket.
- The swipe should only register if the card is swiped down a minimum distance through the reader.
- When a swipe is successful, the lock and bar across the door should disappear.
3. What are dot products?
Using a dot product in your code might be helpful to get the keycard reader functioning correctly.
A dot product is a concept in geometry that tells you how much two vectors point in the same direction. It’s called a dot product because you use a centered dot ( · ) when writing the operation. For example, the dot product of A and B could be written as “A · B”; this would be pronounced “A dot B”.
In this project, using a dot product can help you determine if the keycard is pointing in the same direction as the keycard reader.
If two vectors point in the same direction, the dot product is positive.
If two vectors point in opposite directions, the dot product becomes negative.
If two vectors are perpendicular, the dot product is 0.
If the vectors are somewhere between parallel and perpendicular, the dot product is something in between.
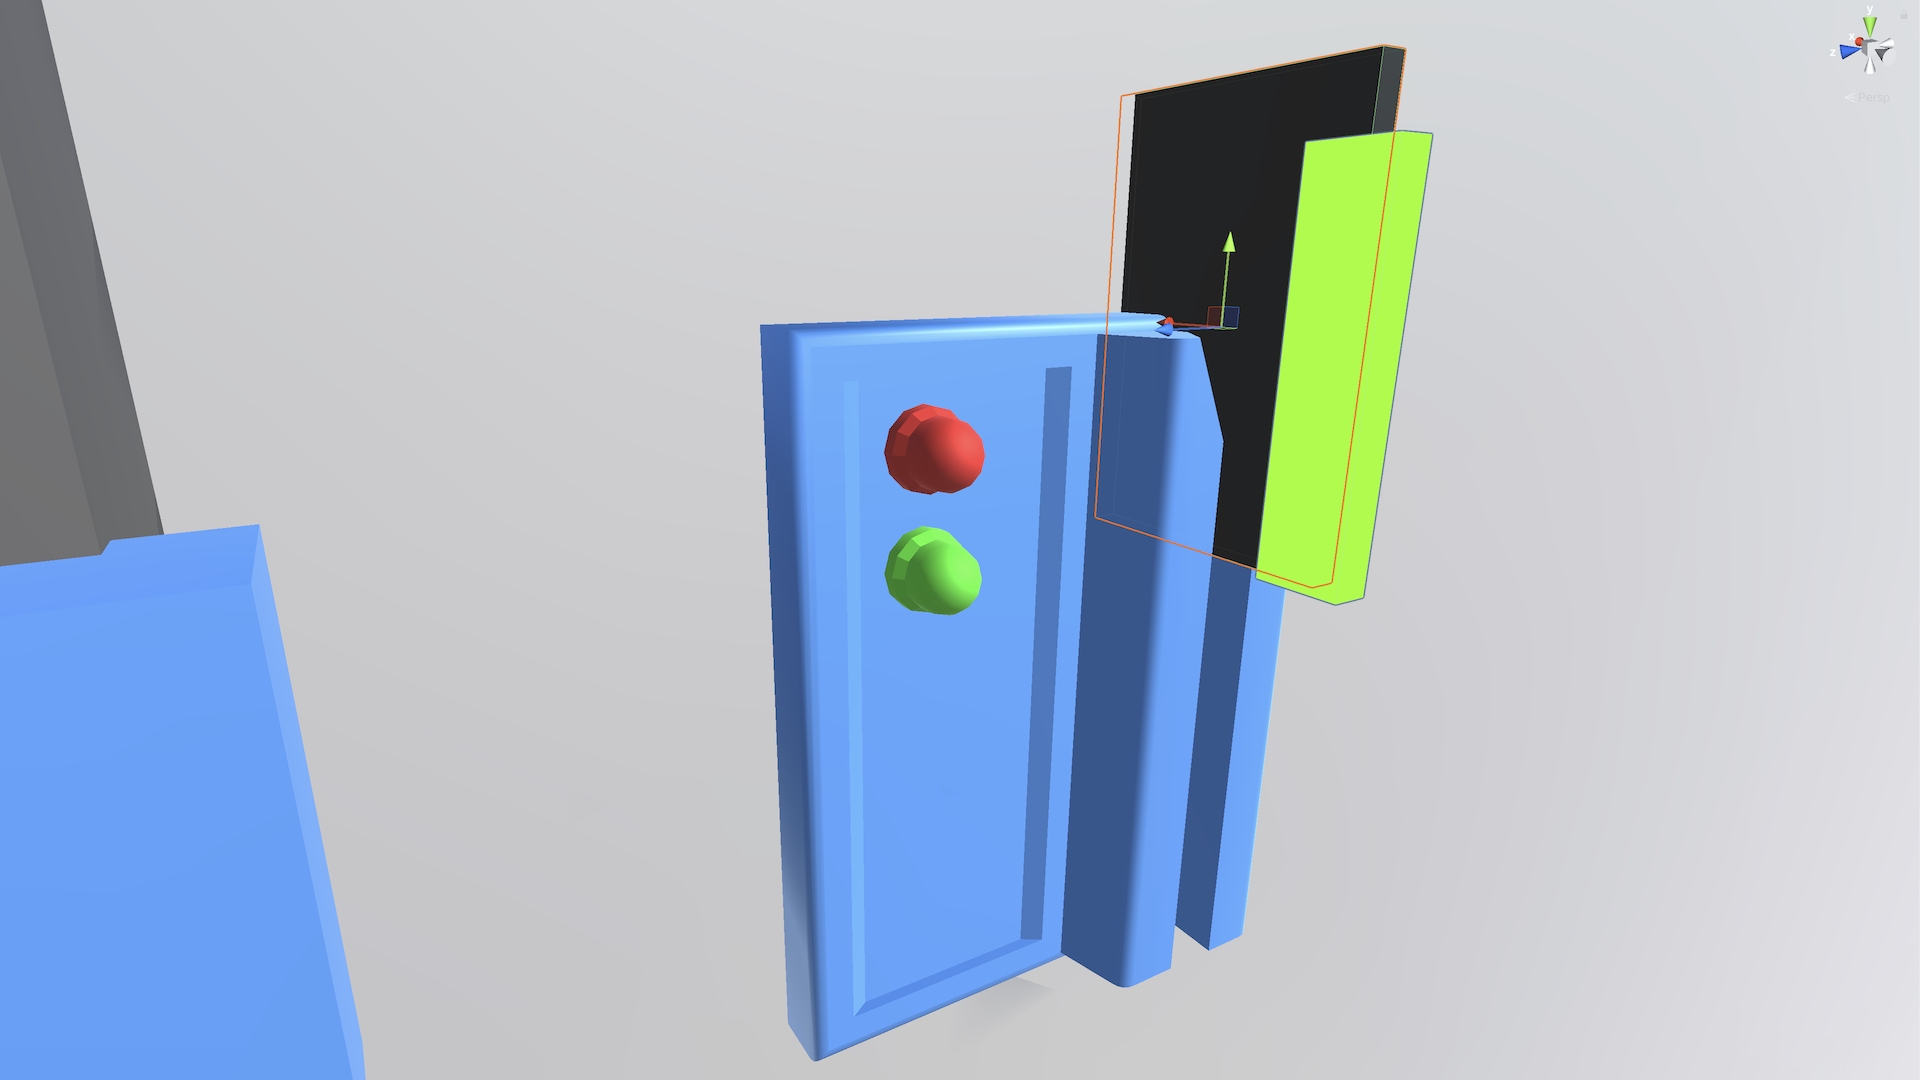
To help you visualize this, check out the demonstration video below:
In the above video, the green line represents the pull direction vector, the sliding door itself represents the actual door direction, and the red line represents the dot product of the pull direction and the door direction (or in other words, pull direction · door direction).
As you probably guessed, this concept will also be helpful when you’re programming the sliding door in the final tutorial.
You can read more about Unity’s implementation of dot products in the documentation.
Programmers of 3D applications – including in VR – commonly use algebraic or geometric operations like this. Being comfortable working with angles, velocities, and rotations is critical for custom VR development, so it’s good to get some practice using them now!
4. Hint set 1
Below is the first set of hints, which includes direction on high-level code architecture and programming logic. Use these hints only after you’ve at least attempted the feature with the guidance above:
- You need to prevent the keycard from snapping into the socket as it would by default – read XRSocketInteractor documentation to figure out how.
- When the card enters the socket, save the position of the keycard.
- When the card exits the socket, save the exit position of the keycard and determine the path traveled.
- Every frame, make sure the angle of the card is appropriate.
- Remove the lock if the Vector’s Y component has traveled a large enough distance downward.
5. Hint set 2
Below is the second set of hints, which will point you to specific methods, classes, and documentation that may be helpful for this feature. Use these hints only after you’ve at least attempted the feature with the guidance above:
- Extending XRSocketInteractor allows you to detect hover events.
- Override CanSelect and return false to prevent objects from snapping to the socket.
- In OnHoverEntered, you can get the interactable object from the “args” parameter passed in the method using args.interactableObject.
- In OnHoverEntered, save the entry position of the keycard as a Vector3.
- In OnHoverExited, subtract the entry position Vector3 from the keycard’s exit position to get the Vector3 traveled by the card.
- If the absolute value of the y component of the Vector traveled by the card is greater than a minimum distance, unlock the door.
- Get the dot product between the keycard’s upward direction and the world up Vector to make sure it’s parallel - if the dot product is less than a certain value, cancel the swipe.
6. Hint set 3
Below is the third set of hints, which includes actual snippets of code that you could use for specific features. Use these hints only after you’ve at least attempted the functionality with the guidance above:
OnHoverEntered function:
protected override void OnHoverEntered(HoverEnterEventArgs args)
{
  base.OnHoverEntered(args);

  m_KeycardTransform = args.interactableObject.transform;
  m_HoverEntry = m_KeycardTransform.position;
  m_SwipIsValid = true;
}
OnHoverExited function:
protected override void OnHoverExited(HoverExitEventArgs args)
{
  base.OnHoverExited(args);

  Vector3 entryToExit = m_KeycardTransform.position - m_HoverEntry;

  if (m_SwipIsValid && entryToExit.y < -0.15f)
  {
    VisualLockToHide.gameObject.SetActive(false);
    HandleToEnable.enabled = true;
  }

  m_KeycardTransform = null;
}
Update function:
private void Update()
{
  if (m_KeycardTransform != null)
  {
    Vector3 keycardUp = m_KeycardTransform.forward;
    float dot = Vector3.Dot(keycardUp, Vector3.up);

    if (dot < 1 - AllowedUprightErrorRange)
    {
      m_SwipIsValid = false;
    }
  }
}7. More things to try
If you want to further develop your skills, explore new concepts, or improve your project, check out some optional activities below. Each one is tagged as either [Easy], [Medium], or [Difficult] so you can choose the level of challenge.
These activities are entirely optional, so if you’re not interested, no problem – just skip this step.
We do recommend attempting at least one of them in order to get the most out of this learning experience. Good luck!
[Easy] Feedback for valid and invalid swipes
There is a red and a green light on the card reader that doesn’t do anything. When the swipe is valid, the green light should come on. When the swipe is invalid, the red light should come on. It would be even more satisfying for the user if sound effects accompanied these.
[Medium] Verify the speed of the swipe
Right now, the user could take 10 seconds to very slowly move the card through the reader. That’s not how most card readers work. The swipe should only be valid if it moves through the reader at an appropriate speed.
[Difficult] Force the card through a particular path
A real card reader only allows the card to pass through a very particular path with the defined track. In the current project, though, the card follows your hand’s location, rather than the track itself. Instead, when you move the card close enough, it could snap into the card reader’s track. Then, as you move your hand downward, as long as your hand is close enough to the reader, it could stay perfectly inside that track rather than following any subtle movements of your hand. This would almost be like there was a magnet holding the card in the appropriate spot as long as your hand movement was approximately accurate.
Note: Although this feature is labeled as Difficult, it would be more accurately described as Very Difficult!
8. Next steps
In the next tutorial, you will add the functionality for the door, allowing the user to slide it open and leave the room.
If you completed the functionality in this tutorial, consider completing the optional features below to develop your skills and the project further.
If you could not successfully meet the requirements or if you’re just curious to see another way to implement the code, you will be able to download the completed scripts and compare your work at the end of this project.