
Cast shadows
Tutorial
intermediate
+10XP
30 mins
(16)
Unity Technologies
In this tutorial, you’ll learn how to cast shadows using the Shadow Caster 2D component.
1. Introduction to shadow caster 2D
Even in 2D environments, shadows play a big role in making the scene feel more complete. That’s where the Shadow Caster 2D component comes in. You may have already noticed that the Witch and Block GameObjects have this component already attached.
The Shadow Caster 2D component creates shadow areas based on its Casting Source property. You can choose from the following options:
- Sprite Renderer: Uses the sprite’s outline to define the shadow area.
- Collider 2D: Generates the shadow area from the shape of the attached Collider 2D component.
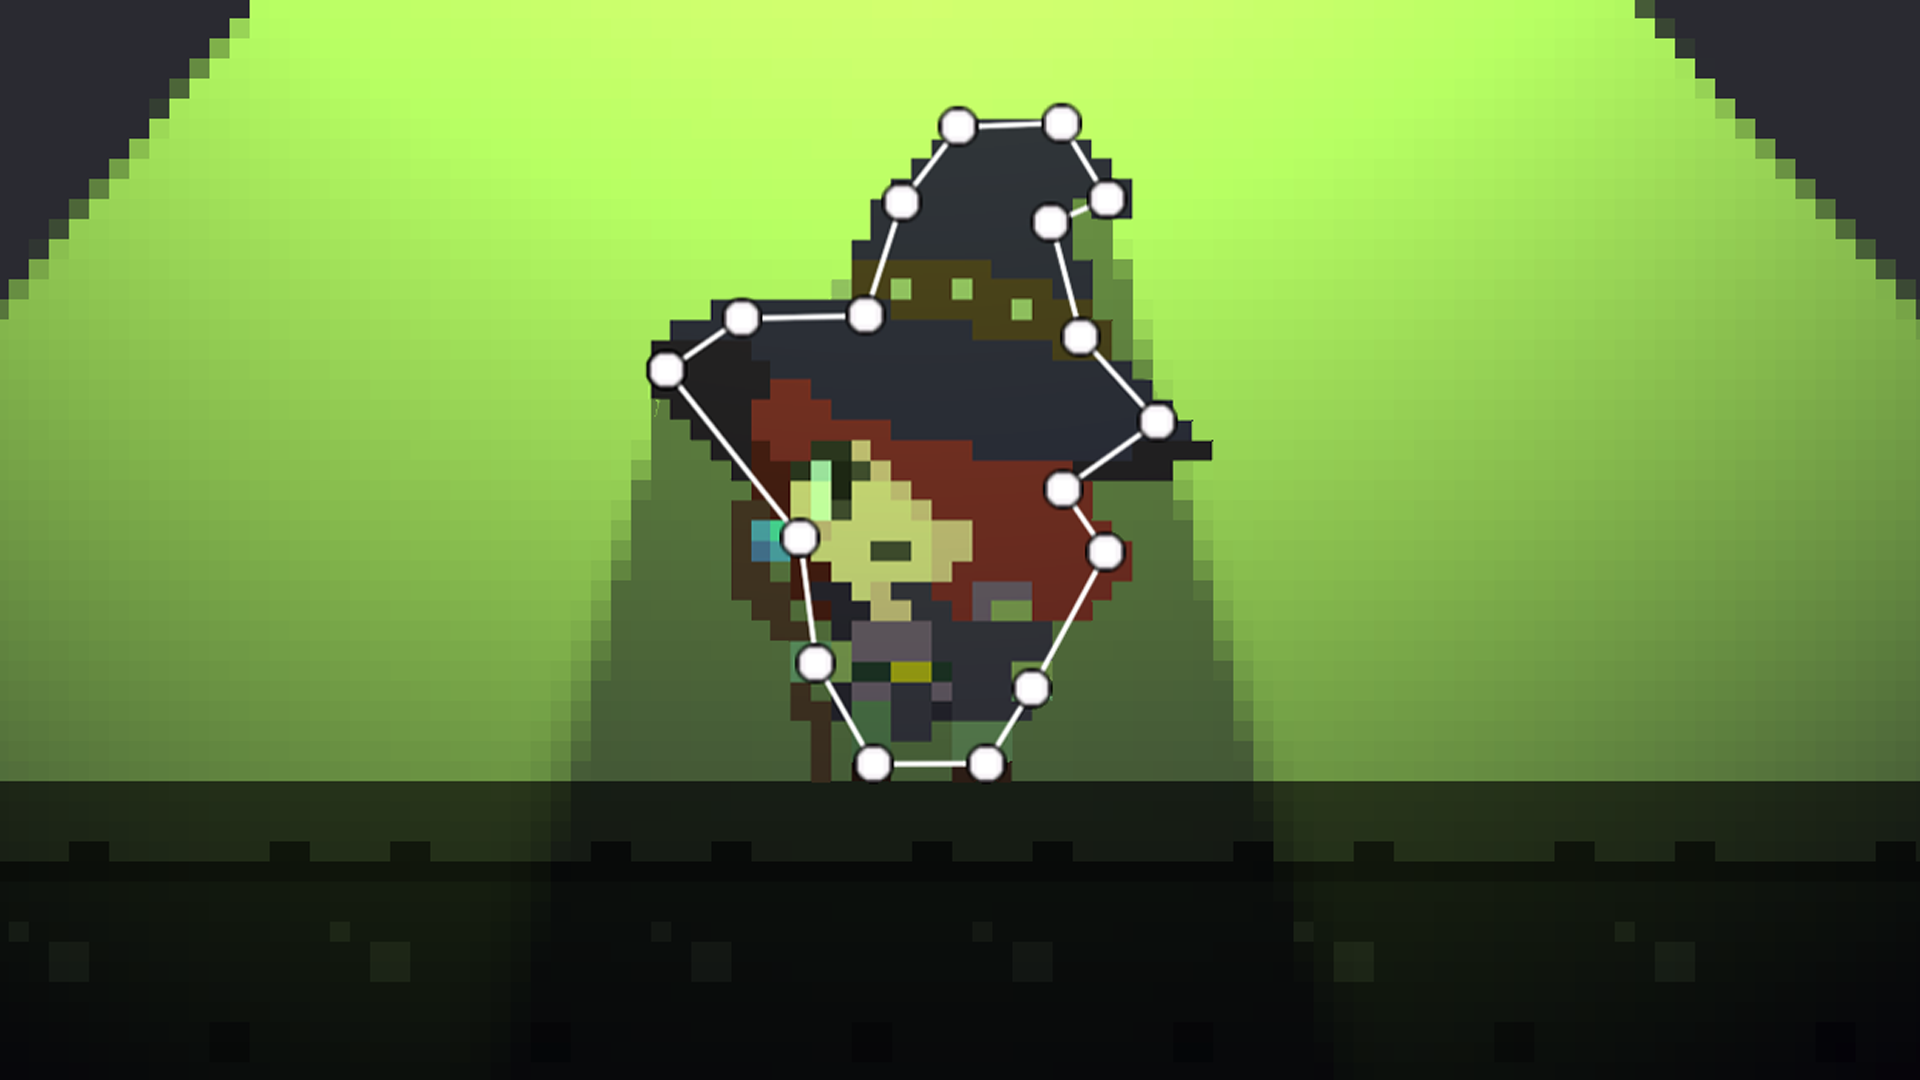
- Shape Editor: Lets you draw and edit the shadow area directly in the Scene window.
- None: Disables shadow generation.
If you want more detailed shadow shapes, use either the Sprite Renderer or Shape Editor sources. To use the GameObject's physical shape as it is, go with the Collider 2D.
Another important attribute of the Shadow Caster 2D is the Casting Option, which defines how the shadow is applied. The available modes are:
- Self Shadow: Casts shadows within the object’s own shape.
- Cast Shadow: Projects radial shadows outward, based on the direction of the light.
- Cast and Self Shadow: Combines both internal and external shadow casting.
- No Shadow: Disables shadow casting.
In most cases, Shadow Caster 2D is used with Cast Shadow. However, for GameObjects like thick walls or solid objects where light can’t reach, you may want to use Self Shadow, or a combination of both Cast and Self Shadow.
Since the Witch and Block GameObjects are small, moving objects, they are set with Cast Shadow.
Also, just like the Light 2D component, the Shadow Caster 2D component allows you to cast shadows selectively by specifying the Target Sorting Layers.
2. Cast 2D shadows using the Collider 2D component
As you can see, the Mineral sprite includes a small base platform where the Witch can ideally jump. To make this interaction physically possible, the Mineral GameObject uses a Box Collider 2D component in that area. You’ll also use this collider to generate its shadow.
1. In the Hierarchy window, select the Mineral GameObject.
2. In the Inspector window, enable the Box Collider 2D component.
You’ll notice that the Mineral GameObject currently casts a rectangular shadow. This happens because the Casting Source is set to Sprite Renderer, which makes the shadow match the full rectangular shape of the sprite. To fix this, we’ll change the Casting Source property.
3. Locate the Shadow Caster 2D component, open the Casting Source property dropdown, and select Box Collider 2D.
After selecting this option, the platform will block the light and cast a shadow, rather than letting the light pass through. This makes the scene look more natural and realistic, since in real life, solid surfaces stop light.
3. Does the Light Render Scale affect performance?
When you start a new Universal 2D project, the Render Scale property in the Renderer2D asset, which contains the rendering settings data, is set to 0.5 by default. If you work with 2D lighting in pixel art using this setting, you'll get results like the example below:
Note: You can find the Renderer2D asset in the Project window, inside the Assets > 2D_Pixel_Light > Settings folder.
You can see that this setting value causes the edges of all Light 2D elements to appear blurry. You can also see a gap between the shadow and the GameObject. These issues occur because the internally generated texture used for 2D lighting graphics is only half the size of the screen. When Unity scales this smaller texture back up, it introduces blurring and misalignment in shadowed areas.
If you want to see how this affects performance, you can open Unity’s analysis tool, the Frame Debugger by selecting the bug icon at the top of the Game view, or by selecting Window > Analysis > Frame Debugger.
As mentioned above, these inconsistencies occur because the generated texture is smaller than the actual screen render scale. To fix this, the Render Scale property has already been set to 1 in the project files we’ve provided.
This increases the texture size, allowing for more detailed Light 2D graphics. While a larger texture does mean higher memory usage, the impact on performance is minimal for pixel art projects, since they use a relatively low reference resolution. You can see both profiling tests returned similar performance values.
So, if you’re working with pixel art lighting, remember to set the Light Render Scale to 1 for sharper, more accurate results.
4. Next steps
Congratulations!
You’ve configured the Shadow Caster 2D component on some of your GameObjects and learned how to define different cast shapes, as well as how this component can affect performance. In the next tutorial, you’ll learn how to simulate depth in 2D sprites and make light react to them using Normal Maps.