
Enhance effects with post-processing
Tutorial
intermediate
+10XP
25 mins
(14)
Unity Technologies
In this tutorial, you’ll learn how to use post-processing to make your scene light visually stand out even more.
1. Introduction to post-processing
What you see in the Game view is the view of the various GameObjects placed in the scene, as captured by the Main Camera GameObject. This view is then rendered into a flat image. Post-processing in Unity is the process of applying effects to that image, just like adding filters to a photo, to make it look better in some way. Using the Universal Render Pipeline template, you can easily apply post-processing effects using the Volume component and the Volume Profile asset.
If you’d like to dive deeper into post-processing, check out the Creative Core: Post-processing project, where you’ll learn the fundamentals tools and filters that can enhance the visual presentation of a scene.
2. Get ready for post-processing
To prepare your 2D scene for post-processing, follow these instructions:
1. In the Hierarchy window, select the Main Camera GameObject.
2. In the Inspector window, locate the Camera component and use the foldout (triangle) to expand the Rendering section, then enable the Post Processing property.
4. Right-click in the Hierarchy window and select Volume > Global Volume to create one.
5. With the Global Volume GameObject selected, look for the Model property in the Inspector window.
Since you want to apply post-processing across the entire scene, leave the Mode property set to Global.
The Volume component requires a data container asset called a Volume Profile. If none is assigned, a New button will appear.
6. In the Inspector window, select the New button to create a new Global Volume Profile asset.
Note: The Global Volume Profile asset you create will be located in a new folder in the Scenes folder that will share the name of the current scene.
With that, you're all set to start applying post-processing.
3. Add a Bloom effect
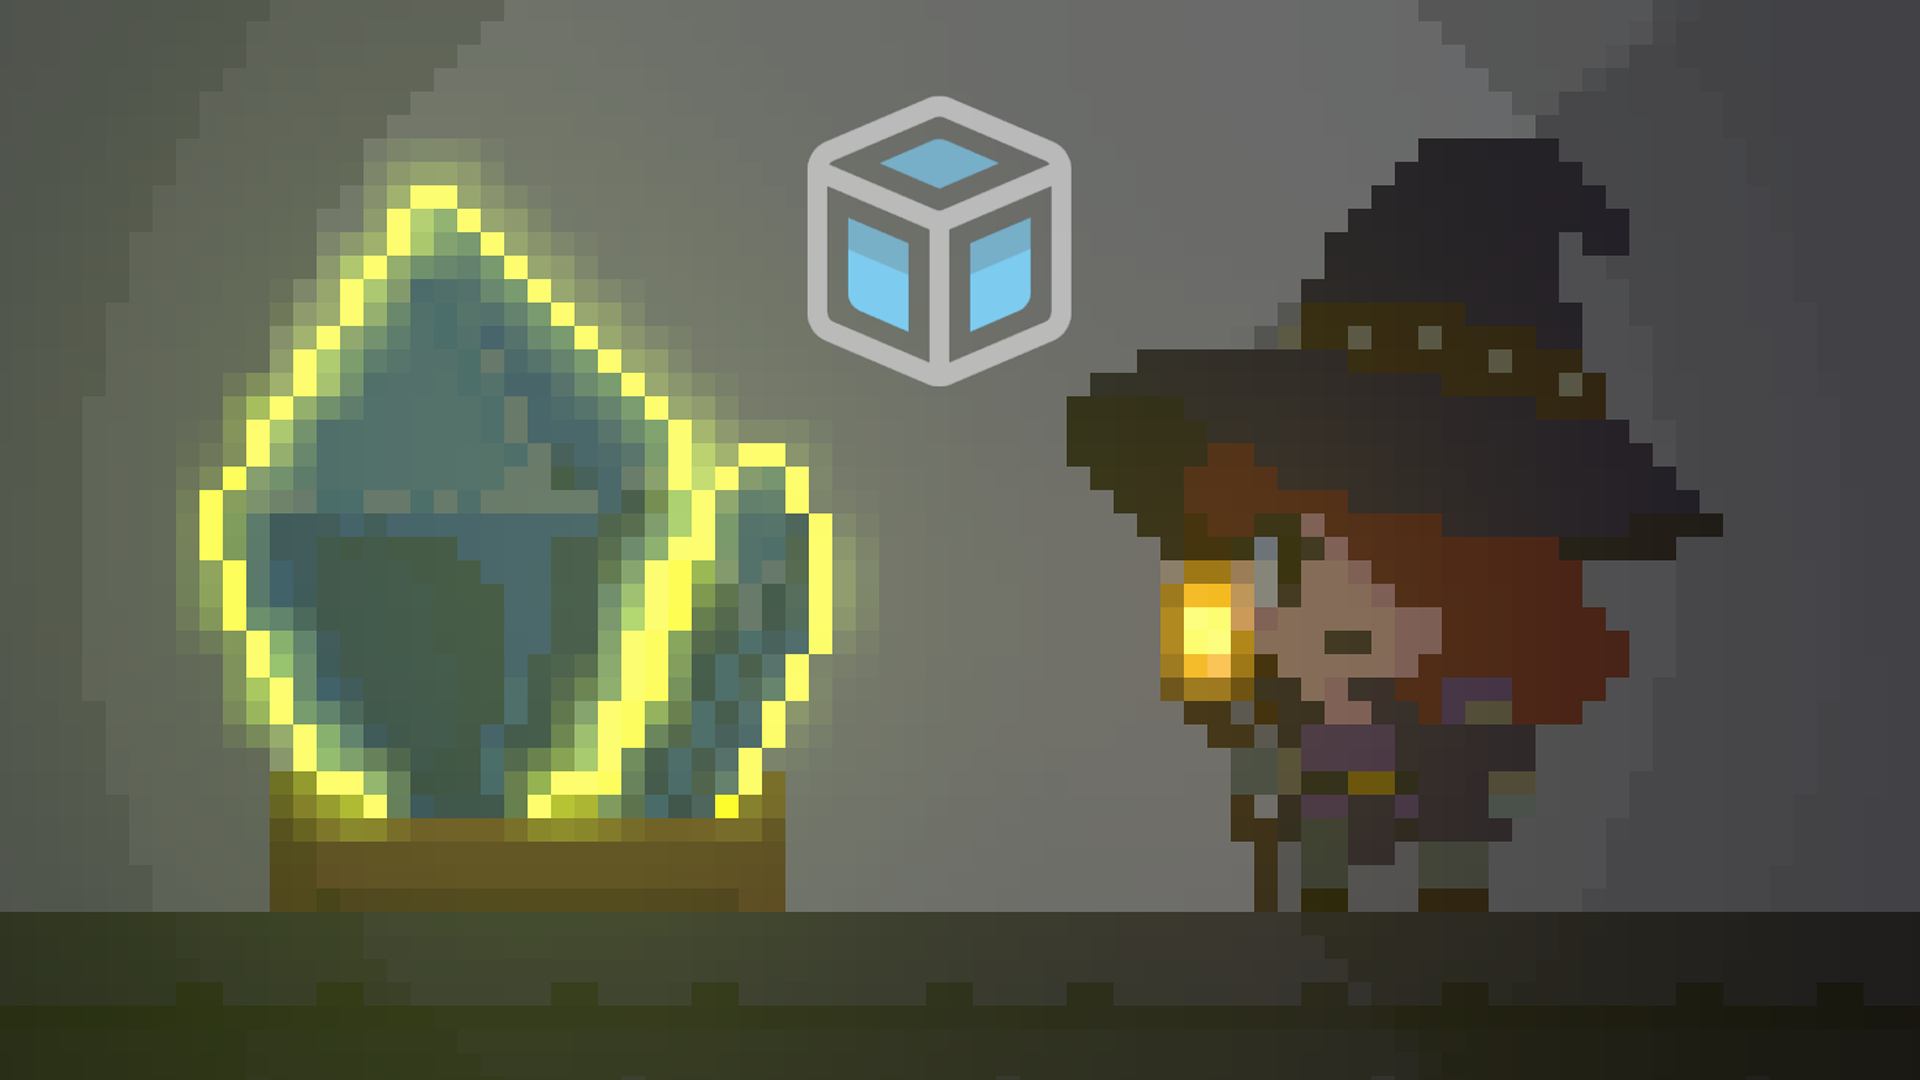
Once a Volume Profile is assigned, you can add various effects using the Add Override button. Among these effects, you’ll be using Bloom. This effect enhances the scattering of light from bright areas, creating a soft glow around them. To add the Bloom effect to your scene, follow these instructions:
1. In the Hierarchy window, select the Global Volume GameObject.
2. In the Inspector window, under the Volume component, select Add Override > Post-processing > Bloom.
Bloom comes with a lot of attributes, which can feel overwhelming, but just tweaking the Intensity property is enough to achieve a noticeable effect.
3. Enable the Intensity property, then adjust the value to somewhere between 1 and 2 until you get the look you want.
Keep in mind that setting it too high can ruin the overall mood of the scene, so try to find a balanced value.
4. Experiment with enabling and adjusting the Threshold and Scatter properties, which also affect the strength and radius of the bloom effect.
If you want to learn more we recommend checking out the Bloom Volume Override reference for URP documentation.
Note: This project includes a preconfigured Global Volume Profile located in the Assets > 2D_Pixel_Light > Settings. Feel free to use that if you’d like; this is the one used for the Complete scene.
4. Next steps
Congratulations!
You’ve learned how Post-Processing effects can enhance the look of your scene with filters like Bloom, which add a glowing halo to lights. In the final tutorial, you’ll learn how to fix lighting appearing in the wrong places, and how to share your complete scene online.