Introduction to the sample project
Tutorial
intermediate
+10XP
15 mins
46
Unity Technologies

In this tutorial, you’ll create a new Unity project using the Universal 2D project template, then download the assets and explore the sample scene designed to showcase 2D lighting for pixel art.
1. Pixel Art games
Pixel art is a beloved visual style in games. While it first emerged from the constraints of early hardware—limited screen resolution and color palettes—it’s now a deliberate artistic choice, often used to evoke nostalgia. With modern technology, developers can push the style further, enhancing what was once the only option into something both retro and expressive.
Lighting, however, remains one of the biggest challenges in this art style. Unlike static pixels, light is dynamic: it shifts, colors other objects, and conveys movement. Capturing this within a grid of pixels requires you to know particular techniques.
When done well, lighting doesn’t just illuminate—it defines atmosphere, mood, and emotion. In this course, you’ll explore simple yet effective ways to bring impactful lighting into pixel art games while staying true to their iconic style.
2. What will you learn?
Lighting in a 2D project isn’t limited to a single component, and it doesn’t need to be pixelated to feel cohesive within a pixel art world. In this course, you’ll explore different ways to add light to a 2D scene, including using the Light 2D component, incorporating pixel art sprites as light sources, and creating custom emission shaders.
You’ll also learn how to enhance atmosphere and mood by introducing shadows, post-processing effects, and other tools that will take your 2D game to the next level.
3. Set up the project
First, you need to create a new Unity Project. We recommend using the Universal 3D template available in the Unity Hub. This course was developed for Unity 6.1 and later.
Note: Use the 3D template instead of the 2D one. The package you’ll import is a complete project that includes its own 2D GUID, which can get overwritten if you start from a Universal 2D template.
To download the sample project, follow these instructions:
1. In your internet browser, open the 2D Lighting for Pixel Art Assets.
2. Follow these instructions to learn how to download assets from the Asset Store.
Important: When importing, you’ll see a warning that the package will override your current project. If you’re importing into an existing project, choose New Project to avoid overwriting your work.
Once imported, the assets will appear in the Assets folder of the Project window. When the process is finished, close the Package Manager window and continue to the next step.
4. Check out the project
Now that the project has been created, you’re ready to begin learning about the power of 2D lighting for pixel art.
Important: Before proceeding, ensure that the 2D button at the top of the Scene view is enabled.
1. In the Project window, go to Assets > 2D_Pixel_Light > Scenes.
This folder contains two scenes: Basic and Complete.
2. In the Scenes folder, double-click the Basic scene to open it.

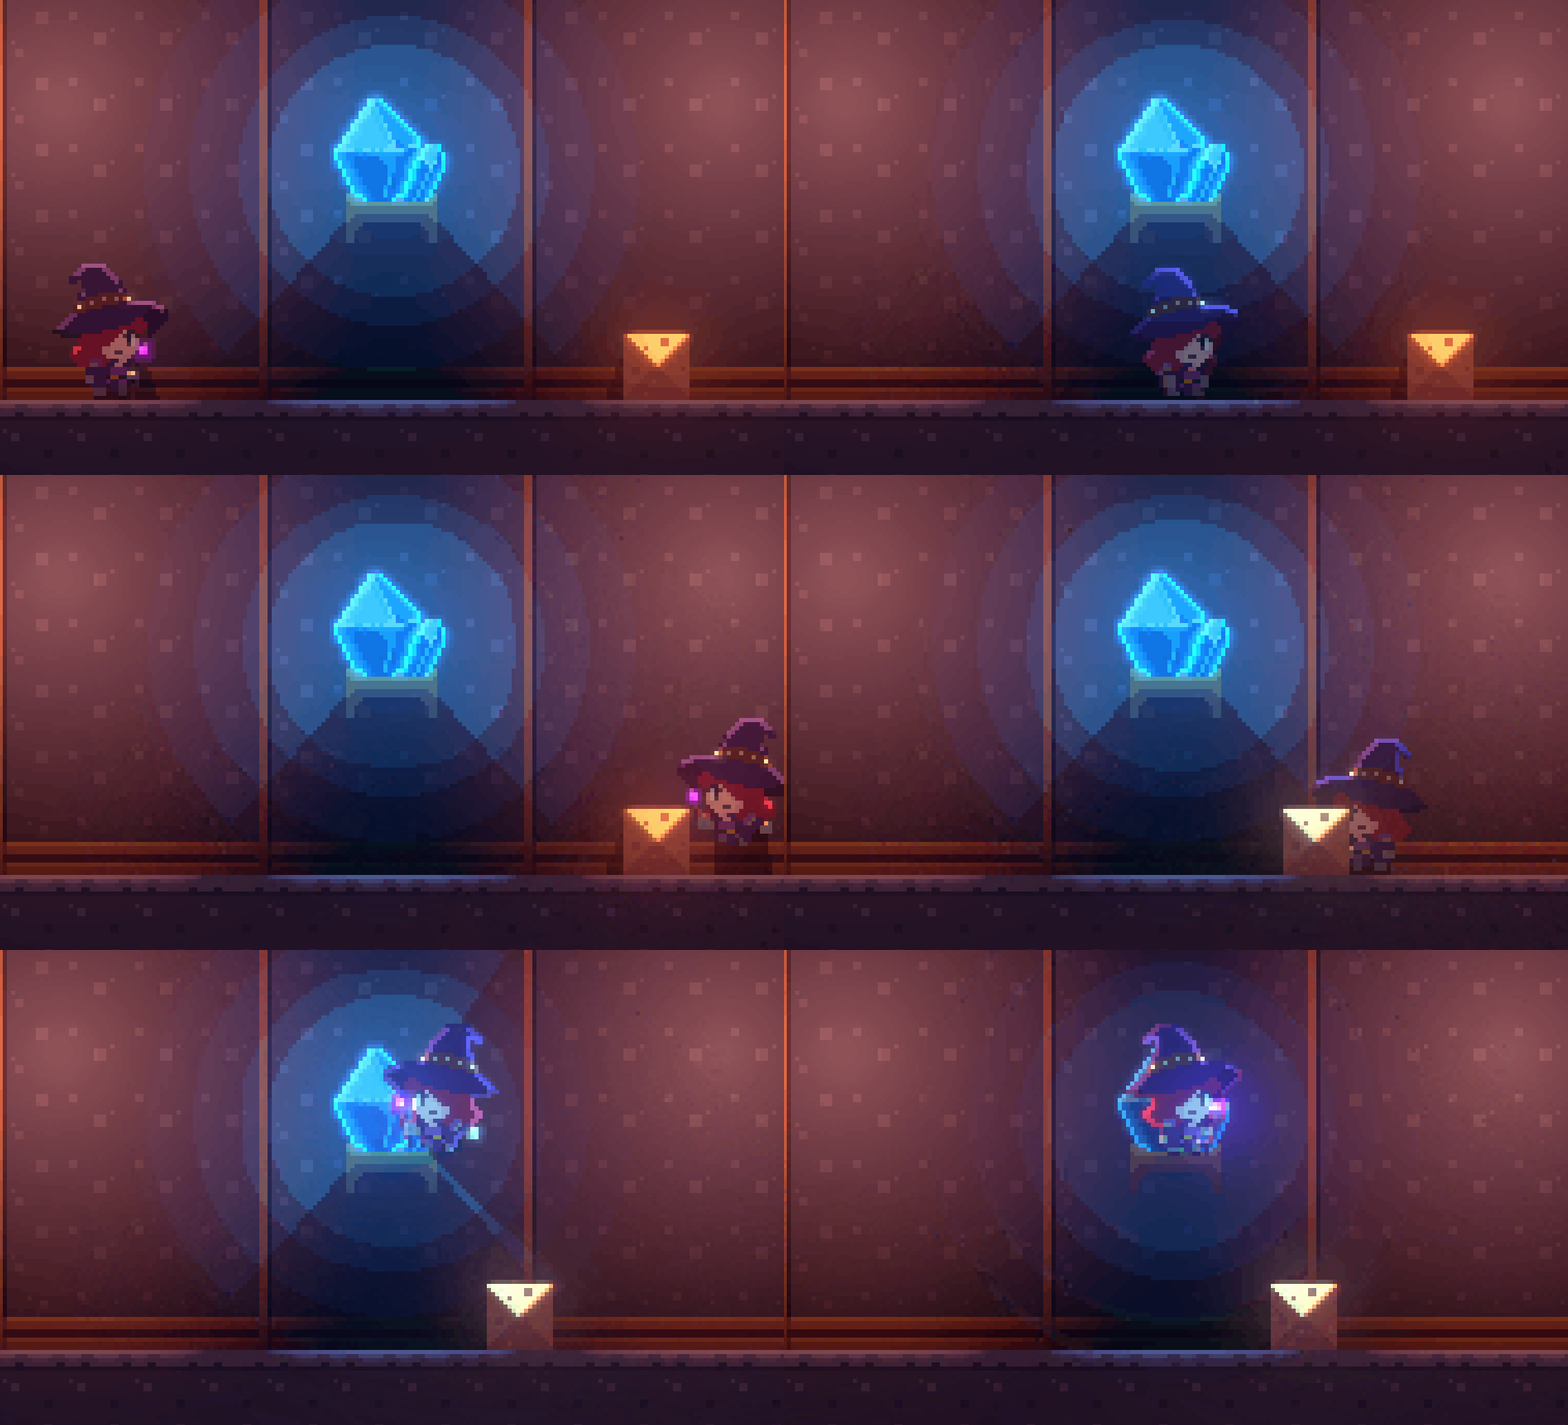
You may notice that the scene feels quite plain—this is because no lighting has been added yet. The scene is made up of three main GameObjects: a Witch, a Mineral, and a Block GameObjects. These will be the key elements that interact with lighting. To get a sense of the final result, let’s now open the Complete scene.
3. Enter Play mode and use the WASD or Arrow keys to move the Witch character. Press the Space bar to jump, and explore how the character interacts with the environment.
4. Exit Play mode.
5. In the Scenes folder, double-click the Complete scene to open it.
6. Enter Play mode again and move the player around.

It’s the same scene, but with multiple light sources in it. This creates a much more engaging atmosphere. You’ll also notice that the player character’s physical boundaries affect the lighting.
Now that you’ve seen how great an effect lighting can have on a 2D scene, it’s time to learn how to implement it in your own projects. In the next tutorials, you’ll take the Basic scene and use 2D lighting to make it look just like the Complete scene.
5. Next steps
Congratulations!
You’ve successfully imported the assets into your project and are now ready to begin learning lighting techniques for 2D pixel art. In the next tutorial, you’ll start by adding the most general type of lighting: the Global Light 2D.