
Make Normal Maps affect the scene
Tutorial
intermediate
+10XP
50 mins
(11)
Unity Technologies
In this tutorial, you’ll learn how to work with normal maps, which are used to simulate depth and details to a surface.
1. Introduction to normal maps
A normal map is a special type of secondary texture that simulates surface details—like bumps, scratches, or dents, without actually increasing the geometry of the 3D model. Instead of adding extra polygons to the mesh, which is very demanding for the CPU and GPU, the normal map defines how light would interact with the surface to create the illusion of depth and detail. This technique is widely used in real-time graphics to make objects appear more detailed and realistic. You can learn more about normal maps in the following video:
2. How can you create a pixel art normal map?
As shown in the Techniques to create normal maps section of the video above, there are several open-source tools available for generating normal maps in 2D projects. However, since these tools create high-resolution outputs, the results aren’t well suited for pixel art, where the defining characteristic is its low resolution.
Fortunately, there are plugins for the Aseprite program such as mooosik's normal-toolkit and securas's Edge Normals, that have the ability to automatically generate normal maps of a sprite.
Here’s an example of a normal map generated in Aseprite with these plugins, applied to a 3D sphere rendered in a 2D pixel art style.
If you’d like to experiment with creating normal maps manually, you can use the color palette shown here to paint directly onto low-resolution pixel art sprites.
3. How does Light interact with normal maps?
In Unity, you apply normal maps by registering them as a Secondary Texture of the original sprite—similar to how you added an emission map in Tutorial 5: Add Emission Shaders. In this project, both the Witch and Block sprites already have their corresponding normal maps applied. As you might remember, they were also part of the emission shader calculation, where they were referred to as _NormalMap. This naming made them accessible to the shader. You can set any name you prefer in the Sprite Editor window, just make sure it matches wherever you reference it.
Even though the sprites already have their normal maps assigned correctly, the effect isn’t visible yet in the scene. That’s because the Light 2D components need an additional configuration to interact with normal maps.
1. Enter Play mode and move the Witch and Block GameObjects closer to the light emitted by the Mineral GameObject.
Notice how the light reacts on both GameObjects.
Now, let’s visualize how the Light 2D settings influence the way normal maps are detected and rendered.
2. In the Hierarchy window, select the Mineral Light 2D GameObject.
3. In the Inspector window, use the foldout (triangle) to expand the Normal Maps section of the Light 2D component, open the Quality property dropdown. And select Accurate.
By default, the Quality property is set to Disabled, but setting it to Accurate will make the light interact with other GameObjects’ normal maps.
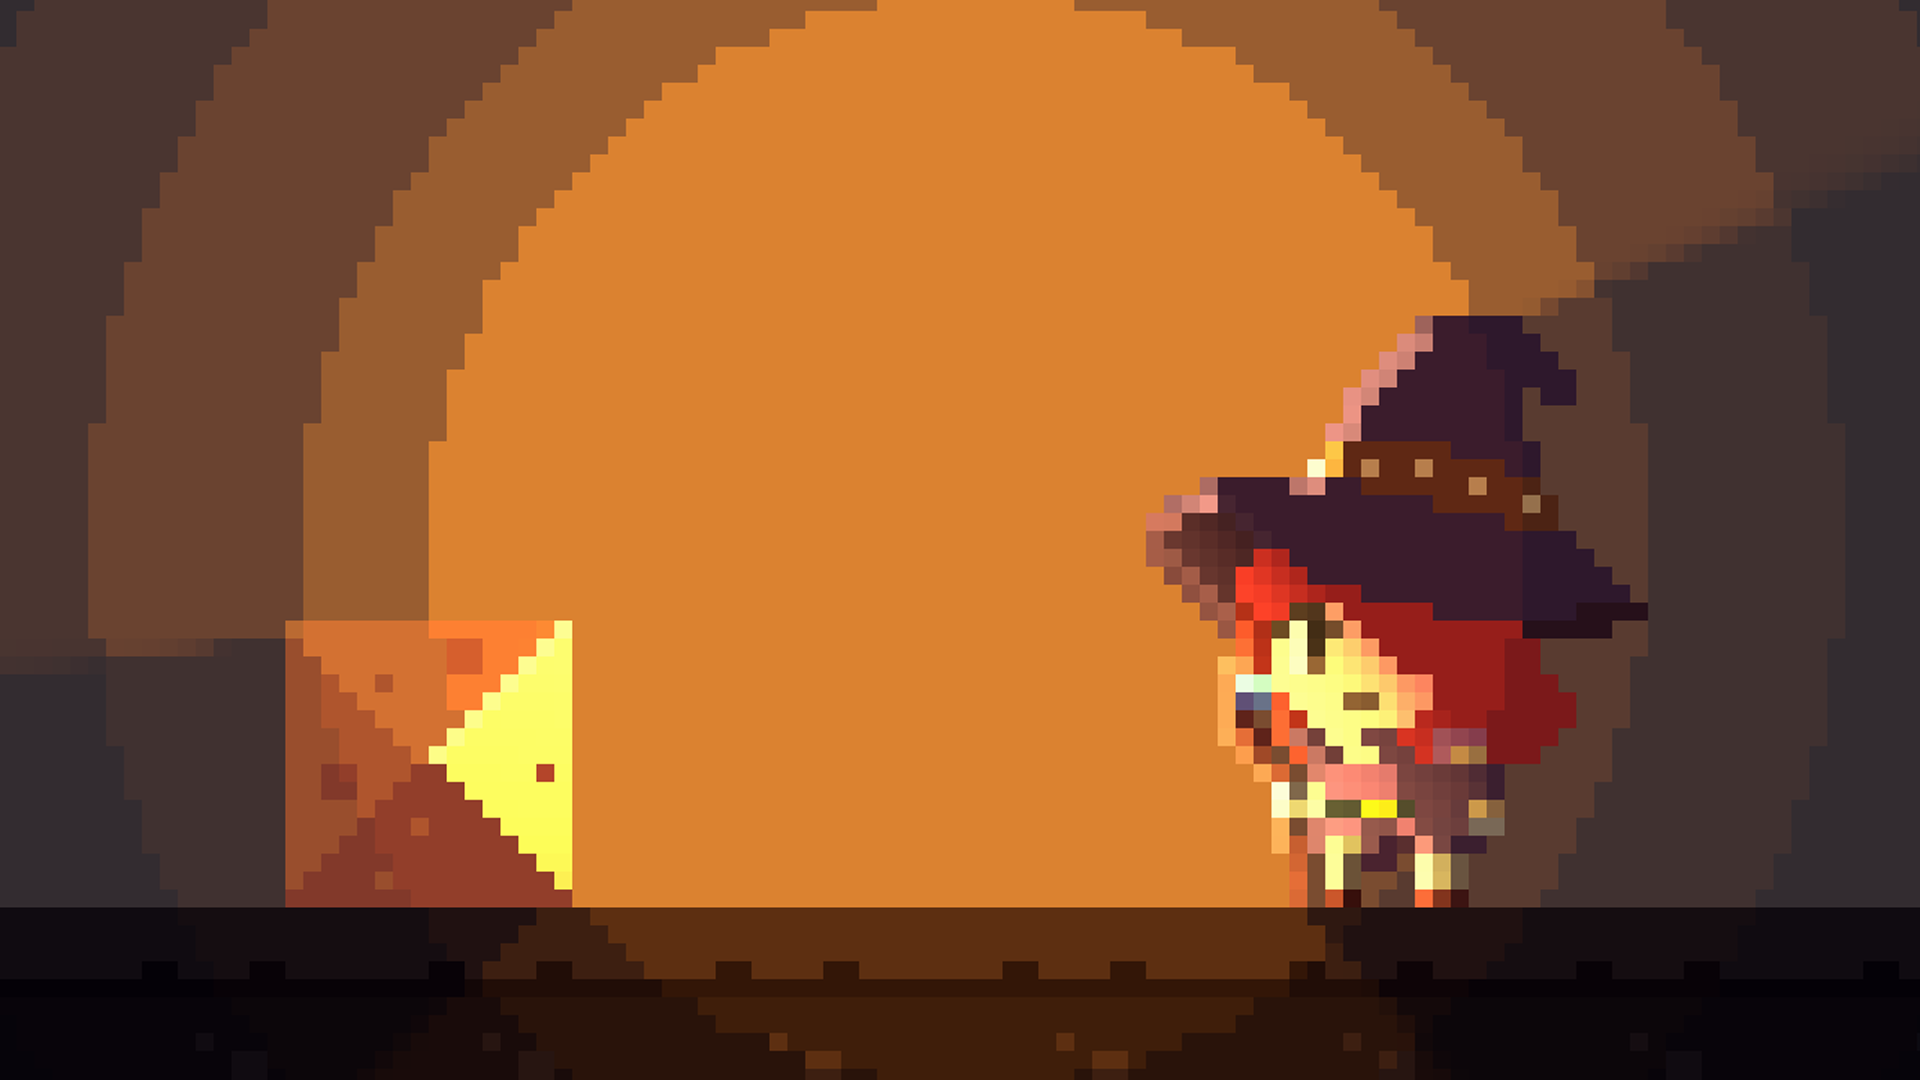
If you look closely at the Witch GameObject’s hat, you’ll notice that the edges defined by the normal map show a change in contrast. This confirms that the normal map is working. However, there’s a drawback—the Mineral GameObject now appears darker, and its light looks dimmer.
Since incorporating normal maps changes how Light 2D behaves, you’ll need to restore the balance of your scene’s illumination. In the next step, you’ll introduce Rim Light and show you how to apply normal maps to it—a technique that fixes this issue and maintains proper lighting.
4. Exit Play mode.
Don’t worry, none of the changes were saved during Play mode, as this step was only meant to demonstrate the effect the recognition of normal maps has on lighting.
4. Add Rim Light
You’ve already worked with different types of lighting, but now we’ll add a new one: Rim Light. This technique is particularly useful in pixel art because it enhances the subject’s outline with peripheral lighting. By placing a Rim Light behind a GameObject, you can highlight its contours and give it more depth.
While Rim Light isn’t a built-in Light 2D type, you can create the effect by configuring a Spot Light 2D in a specific way. To do so, follow these instructions:
1. Select both the two Spot Light 2D and Mineral Light 2D GameObjects.
2. Duplicate them using Ctrl+D (macOS: Cmd+D) and rename all duplicates “Rim Light 2D”.
3. In the Inspector window, set the Light 2D component’s Light Type property of all duplicates to Spot.
4. Increase the Radius > Outer property value to a higher value (4 for the Mineral, and 4.7 for the other two).
5. Increase the Intensity property to a higher value (10 or more).
Now let’s configure the Rim Light so it also reacts to the normal maps in the scene, just like you did in the previous step. Under the Normal Maps section:
- Set the Quality property to Accurate.
- Set the Distance property to 1.
Now, the Witch GameObject has a more vivid border lighting effect. The last thing you need to do is set the Target Sorting Layer correctly.
6. Set the Target Sorting Layer property of all the Rim Light GameObjects to only Default.
7. Move each one of the Rim Light as child GameObjects of the original Light 2D GameObjects.
Rim Lights are usually applied to dynamic GameObjects that you want to emphasize. The key is to target only the Sorting Layers that these GameObjects use.
5. Optimize the shadows in your scene
You’ve added multiple lights to the scene in different ways. When building more complex experiences, it’s important to consider how additional lighting might impact the overall performance of your application. To evaluate this, you’ll use the Frame Debugger window.
If you look closely, you’ll see that the number of Batches per frame is fairly high at 134 (before starting the tutorial, it showed a value of 16), with the largest portion allocated to Shadow2D UnsafePass, the process responsible for drawing shadows.
A Batch is the process where the CPU instructs the GPU to draw graphics. The number of batches can be seen as a measure of optimization: the higher the number, the more frequent the communication between the CPU and GPU, which increases computational load.
Because currently all GameObjects in the scene with a Light 2D component cast shadows, when a GameObject with a Shadow Caster 2D component enters an area where lights overlap, the required calculations are multiplied. To optimize performance, you can reduce unnecessary shadow processing without affecting heavily the result by changing some settings:
1. For both the Witch and Mineral GameObjects, set the Target Sorting Layers property of the Shadow Caster 2D component to only Background.
2. For every Rim Light GameObject, use the foldout (triangle) to expand the Light 2D component and disable the Shadows section.
3. For the Block GameObject, disable its Shadow Caster 2D component entirely.
With these optimizations, you were able to reduce the number of batches by more than half (44). Don’t forget to pay more attention to optimization as you add more graphics components to your project.
6. Next steps
Congratulations!
You’ve learned how Normal Maps can bring depth to your scene by applying them to objects and making light react to them. In the next tutorial, you’ll learn how to enhance your scene’s lighting even further by using Post-Processing effects.