
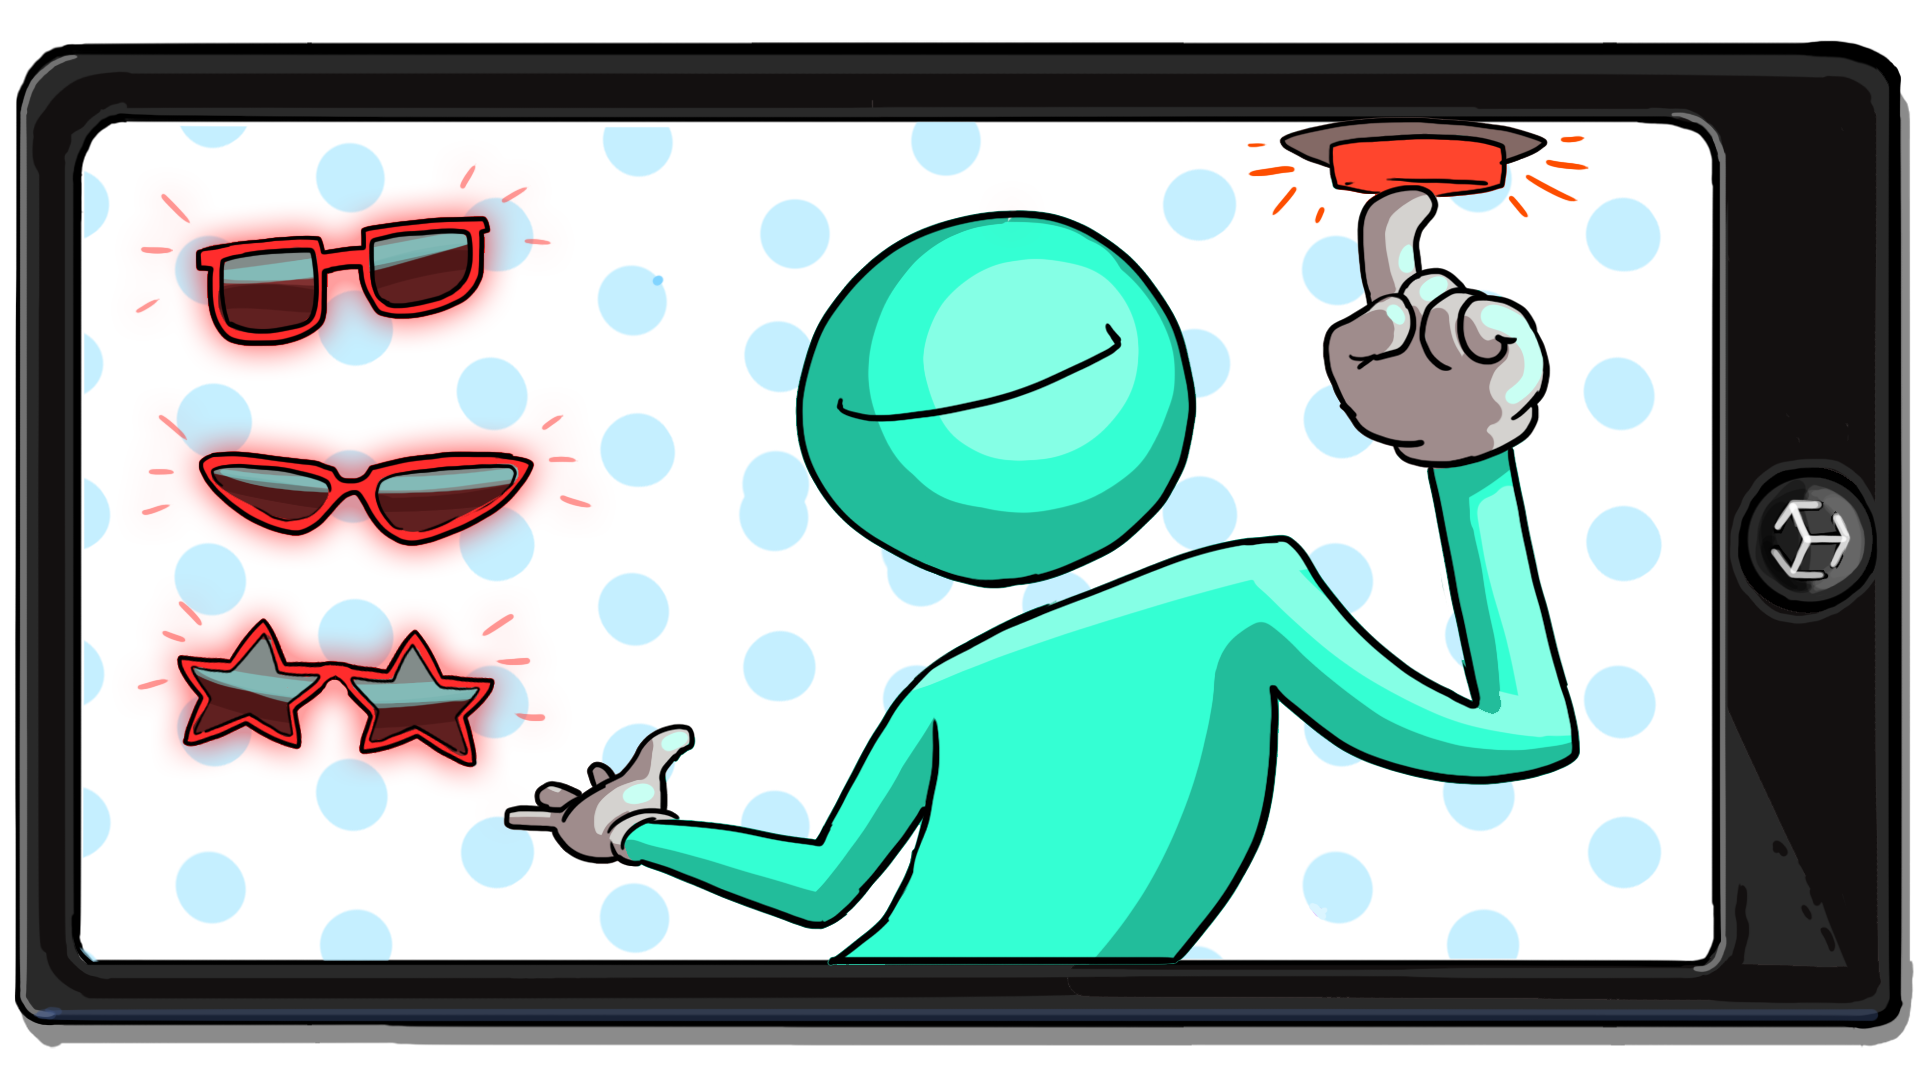
Configure one color button
Tutorial
Beginner
+10XP
45 mins
(56)
Unity Technologies
With the mesh switching functionality complete, you’re now ready to apply different materials to the glasses.
In this tutorial, you’ll do the following:
- Create a new script graph.
- Create your materials and material variables.
- Apply a single material to all of the glasses when a button is clicked.
1. Overview
With the mesh switching functionality complete, you’re now ready to apply different materials to the glasses. In this tutorial, you’ll create a new script graph, create your materials, and apply a single material to all of the glasses.
2. Create a new script graph
A single script graph can be used to create all of the functionality for your application, but this graph would quickly become cluttered, hard to read, and challenging to navigate. When you create visual scripts, it’s best practice to create single-purpose graphs to help you keep everything organized. This means that each graph performs only one function.
Now that you’ve completed work on the mesh switching functionality, you’ll create a new graph for the material switching functionality:
1. In the Hierarchy window, select the Visual Scripts GameObject.
2. In the Inspector window, select Add Component and add a new Script Machine component.
3. Select New to create a new script graph.
4. Name the new script graph “MaterialChanger” and save it in the Visual Scripts folder.
5. In the Title field, enter “Material Changer”.
6. In the Summary field, enter “Changes the material assigned to all of the glasses when the material buttons are selected.”
6. Select Edit Graph to open the MaterialChanger script graph.
Note: You can quickly switch between script graphs by selecting Edit Graph on the Script Machine associated with the graph you wish to view.
7. Delete the On Start and On Update nodes.
3. Create the color button variables
Color switching in your app will be controlled by the UI buttons, just like the mesh changing functionality you have already implemented. You will be using On Button Click nodes again, so you will need variables for each of the material buttons.
Since you’ve already been through this process before, the instructions here will be at a higher level. Try to challenge yourself to complete the steps with the condensed instructions below, but if you need additional help, you can always refer to the more detailed instructions in the Turn on the glasses with buttons tutorial.
Watch the video or follow the instructions below to create the new variables:
1. Create a new Object variable named “material1Button”.
Important: Remember to select the Object tab of the Graph Inspector to access the Object variables.
2. Set the variable's Type to Button.
3. Set the Value property to Material 1 Button using the Object Picker (⊙).
4. Repeat this process twice more, naming the additional variables “material2Button” and “material3Button”.
4. Create the new materials
When you configured the AR_Canvas GameObject in an earlier tutorial, you added color to the material buttons. As you create the materials to apply to your glasses, you can stick with your original color scheme or you can change it now.
Important: If you do change your material color choices, remember to update the UI to reflect these changes as well.
Follow these instructions to create the new materials:
1. In the Project window, create a new folder in the _InteractiveFaceFilter folder and name it “Materials”.
2. In the Materials folder, create a new material and name it “Material1”.
3. In the Inspector window, configure the Base Map color and other properties of Material1 to your personal preferences.
4. Repeat this process to create two additional materials, and name them “Material2” and “Material3”.
5. Create the material variables
Like the buttons, the materials will need Object variable references in the Material Changer script graph.
Follow these instructions to create more variables:
1. Return to the Script Graph window and check that the Material Changer graph is open.
2. In the Object Variable section of the Blackboard, create a new variable called “material1”.
3. Set the Type to Material.
4. Set the Value to Material 1 using the Object Picker (⊙).
5. Repeat this process twice more, and name the new variables “material2” and “material3”.
6. Detect a button click
The process of detecting a button click and searching for a pair of glasses is exactly the same as it was for the MeshChanger graph.
First you need to detect when the user selects a color button:
1. Select the material1Button variable in the Blackboard and drag it into the Graph Editor. Alternatively, you could add a Get Object Variable node to the graph and assign the material1Button variable to it.
2. In the Graph Editor, use the fuzzy finder to add an On Button Click node.
3. Repeat this process to add a Game Object: Find With Tag (Tag) node.
4. Connect the output (dot icon) of the material1Button Get Variable node to the input (cube icon) of the On Button Click node.
5. Connect the flow output (arrow icon) of the On Button Click node to the flow input (arrow icon) of the Find With Tag node.
6. In the Find with Tag node, enter the tag assigned to the first pair of glasses.
Now the graph will be able to locate the first pair of glasses in the GlassesGroup prefab. Select the Play button to test your app – monitor the script graph as you select the Material 1 Button UI in the Game view.
Note: If the GlassesGroup GameObject is still deactivated from previous testing, select it in the Hierarchy window and then enable it in the Inspector window.
7. Set a material for the glasses mesh
Next, you need to access the mesh’s materials. Materials are managed by a GameObject’s Mesh Renderer component, which you worked with in the previous graph. However, this time you’ll access a specific part of the renderer rather than the component as a whole.
Watch the video or follow the instructions below to configure the first button to set a material for the first glasses mesh:
1. In the Graph Editor, open the fuzzy finder and add a Mesh Renderer: Set Material node.
Important: Take care when you select this code, as there is also a Mesh Renderer: Set Materials node (note the plural). For this graph, you must use the singular version of the node.
The Set Material node has two required data inputs: a reference to the GameObject it will change and the material to apply. You can pass the GameObject reference from the Find With Tag node, as you did previously with the Set Enabled node. For the material, you will reference the material1 variable you created.
2. Connect the flow output of the Find With Tag node to the flow input of the Set Material node.
3. Connect the result output (cube icon) of the Find With Tag node to the target input (grid with eye icon) of the Set Material node.
4. In the Blackboard, select the material1 variable and drag it to the Graph Editor.
5. Connect the material1 Get Variable node to the material input of the Set Material node.
8. Test the current functionality
The first color button is now set up to apply the first material to the first pair of glasses.
Follow these instructions to test your visual script:
1. If the GlassesGroup GameObject is still deactivated from previous testing, select it in the Hierarchy window and then enable it in the Inspector window.
2. Select the Play button to enter Play mode.
3. Select the first glasses button to make that pair of glasses appear in the scene.
4. Select the first color button.
5. Select the next glasses button.
Notice that the material change only applies to the first pair of glasses. This makes sense, since you’ve only set the material on the first pair. In the next step, you’ll apply the material to the remaining pairs.
6. Select the Play button again to exit Play mode.
9. Set the remaining mesh materials
Now that you’ve implemented the functionality to apply one material to the first pair of glasses, you can duplicate your graph to apply that color to all three pairs.
Watch the video or follow the instructions below to apply the first material to the other glasses:
1. In the Graph Editor, select and duplicate the Find With Tag and Set Material nodes.
2. Move the duplicated nodes to the side so they aren’t overlapping the existing graph, and then duplicate them again.
3. Position your second set of duplicated nodes so they aren’t overlapping any others.
4. Connect the flow output of the original Set Material node to the flow input of the first duplicated Find with Tag node.
5. Connect the flow output of the first duplicated Set Material node to the flow input of the second duplicated Find with Tag node.
6. Update the tags on the two duplicated Find With Tag nodes to match the two other tags in the GlassesGroup prefab.
7. Connect the output of the material1 Get Variable node to the material input of both duplicated Set Material nodes.
You could have duplicated the material1 Get Variable node with the others. However, a variable node can be connected to multiple nodes, which saves space in the script graph.
8. Enter Play mode and test your updates. The first material will now be applied to each pair of glasses once you have selected the first color button.
9. Exit Play mode when you’ve finished testing.
10. Next steps
The first material button now works as intended. In the next tutorial, you’ll apply the functionality to the remaining two color buttons and learn how to further modularize your graphs.