
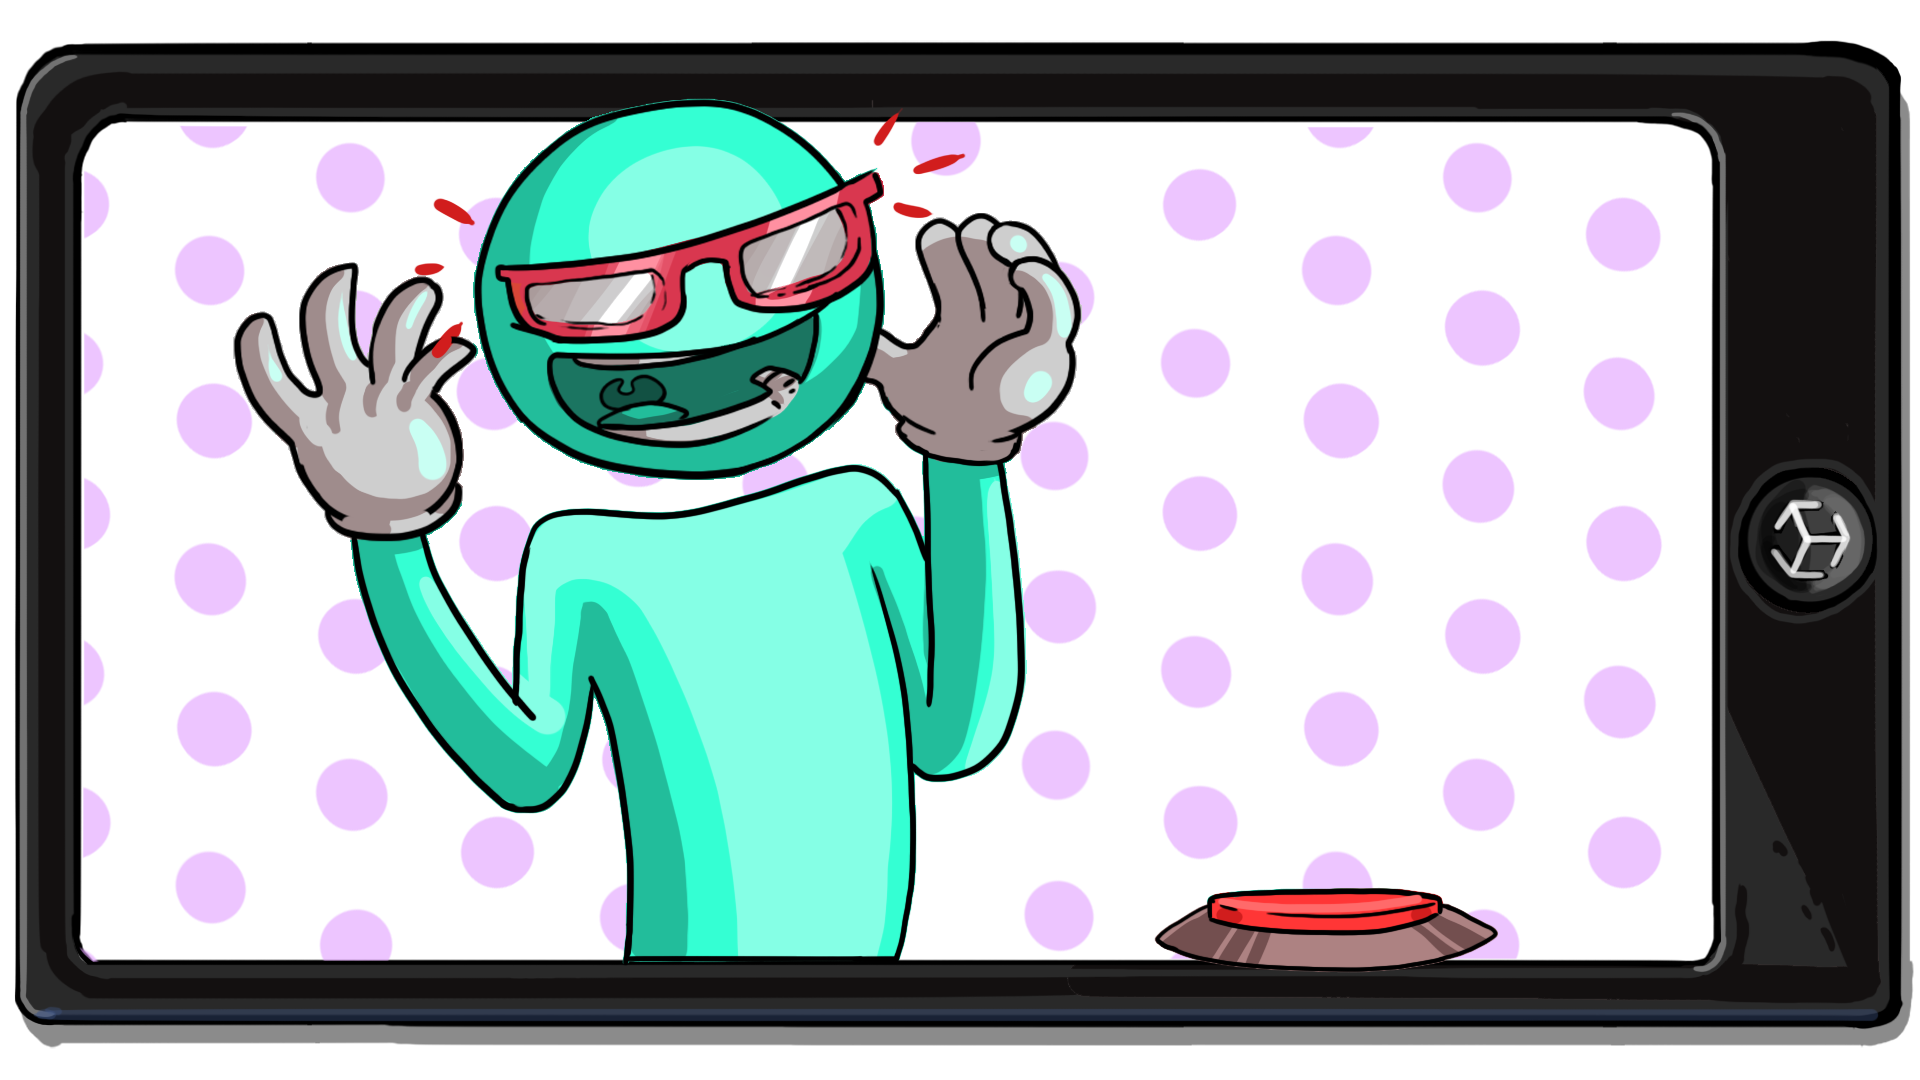
Turn on the glasses with buttons
Tutorial
Beginner
+10XP
60 mins
(64)
Unity Technologies
You’ve learned how to detect button clicks using script graphs, so now it’s time to make something happen when a click is detected. In this tutorial, you’ll make your UI buttons control the visibility of each pair of glasses.
In this tutorial you'll do the following:
- Create tags to help identify each pair of glasses.
- Build the complete functionality for one pair of glasses.
- Duplicate and modify the graph for the remaining two pairs of glasses.
1. Overview
You’ve learned how to detect button clicks using script graphs, so now it’s time to make something happen when a click is detected. In this tutorial, you’ll make your UI buttons control the visibility of each pair of glasses. You’ll first build the complete functionality for one pair of glasses, then duplicate and modify the graph for the remaining two.
2. Make the glasses invisible by default
When the app starts, ideally there should be no glasses visible until the user selects the pair that they want to try. Currently the opposite is occurring — all three pairs of glasses are visible at once.
To make the glasses invisible when the app opens, you’ll disable the Mesh Renderer components. The Mesh Renderer component manages a GameObject’s visibility. By disabling this component, you’ll make a GameObject invisible in the scene, but still accessible to your visual scripts.
Follow these instructions to disable the mesh renderers of the glasses:
1. In the Hierarchy window, activate and expand the GlassesGroup prefab using the foldout icon to reveal its child GameObjects.
2. Select all three pairs of glasses by holding the Shift key and selecting the GameObject for the first pair, and then the last pair.
3. In the Inspector window, find and disable the Mesh Renderer component.
Note that the glasses are no longer visible in the Scene view, but the GameObjects are present and active in the Hierarchy window.
3. Create and assign custom tags
In Unity, there are several different ways for a script to locate specific objects in a scene. One method is to assign a special type of reference to an object called a Tag. Tags are manually created and assigned to GameObjects directly in Unity Editor and are easy to reference through a script.
Note: In this step, the names of the tags will be based on the glasses provided in the sample scene. If you are using different pairs of glasses, be sure to name the tags according to the pairs you are using.
Follow these instructions to create custom tags:
1. Select the first pair of glasses in the GlassesGroup parent GameObject.
2. In the Inspector window, locate and select the Tag dropdown.
3. Select Add Tag.
The Tag & Layers Inspector window will open.
4. In the Tags section, select Add (+).
5. Name the tag according to the type of glasses selected, as a single word in lowercase, then save it.
6. Add tags for the other two pairs of glasses that you have selected using the same process.
7. In the Hierarchy window, select the first pair of glasses to exit the Tag & Layer Inspector window.
8. In the Inspector window, select the Tag dropdown and assign the appropriate tag to your glasses.
For example, assign the cat tag to Glasses_Cat.
9. Repeat this process for the remaining two pairs of glasses.
10. In the Hierarchy window, select the GlassesGroup GameObject. Now you need to apply the changes that you made to the GlassesGroup prefab.
11. In the Inspector window, select the Overrides dropdown and select Apply All.
Now the prefab has been updated too.
4. Update your visual script graph
Each pair of glasses now has an identifier attached to it that will make it easier to access via your script graph. To search the scene and locate the tags, you’ll use a new node: Find With Tag.
Watch the video or follow the instructions below to update your graph:
1. In the Script Graph window, delete the Debug Log node and its associated string, as you don’t need these any more.
2. Open the fuzzy finder (right-click the Graph Editor), search for “Find With Tag”, and then select Game Object: Find With Tag (Tag) from the list of nodes.
3. Select the Find With Tag node and read its description in the Graph Inspector window.
The Find With Tag node specifies that it will return one active GameObject in the scene. The glasses in the GlassesGroup prefab only have their mesh renderers disabled and otherwise remain active in the scene, so this will work perfectly for your needs.
The Find With Tag node takes one data input, which is the name of the tag to find.
4. In the Find With Tag node, enter the name of the tag associated with the first pair of glasses in the Tag field.
Important: Remember to use lowercase letters, as you did when you created the tag.
5. Connect the flow output of the On Button Click node to the flow input of the Find with Tag node.
5. Enable the Mesh Renderer with On Button Click
Now that the glasses GameObject is accessible to the script, you can enable its mesh renderer to make it visible when a user selects the button. You’re going to use a Mesh Renderer: Set Enabled node to implement this functionality.
Review the process
Before you finish updating your graph, take a moment to review the process.
Despite its name, the Mesh Renderer: Set Enabled node is used for both enabling and disabling mesh renderers. You’ll need two pieces of data to use the node:
- The specific mesh renderer for the node to affect
- Whether that mesh renderer should be enabled or disabled
The action of the node is controlled by the Boolean checkbox on the left side of the node. A Boolean is a data type that returns either true or false. If the Mesh Renderer: Set Enabled node Boolean is set to true (enabled), then the specified mesh renderer will be enabled. If the Boolean is set to false (disabled), then the mesh renderer will be disabled.
You can manually adjust the Boolean value on the node itself. To do this, you need a reference to the specific mesh renderer you want to affect. Fortunately, you already have ready access to a mesh renderer from the Find With Tag node.
The Find With Tag node has two outputs. Just like their inputs, nodes can have both flow outputs (arrow icon) and data outputs (cube icon). If you select the Find with Tag node, you’ll find that the data output is the GameObject that the node finds. From this output, the Set Enabled node can access the GameObject’s mesh renderer.
Finish updating your script graph
Watch the video or follow the instructions below to configure the Mesh Renderer: Set Enabled node:
1. Open the fuzzy finder and add a new Mesh Renderer: Set Enabled node.
2. Connect the flow output of the Find with Tag node to the flow input of the Set Enabled node.
3. Connect the Find With Tag result output to the target input of the Set Enabled node.
4. Enable the Boolean input of the Set Enabled node.
5. Select the Play button to test your changes.
6. Select the first glasses button — the glasses will appear in the Game view.
7. Select the Play button again to exit Play mode.
6. Duplicate your graph
The process for enabling the other pairs of glasses is exactly the same as it was for the graph you’ve already built. Rather than recreate the already existing graph from scratch, you can duplicate it and make small modifications to work for the other glasses.
Watch the video or follow the instructions below to duplicate the graphs:
1. In the Script Graph window, click and drag across your existing graph to select all of the nodes.
2. Press Ctrl+D (macOS: Cmd+D) to duplicate the graph.
3. Drag the new graph down so it’s positioned directly below the old graph without overlapping.
4. Repeat the duplication process one more time so you have three copies of the graph.
7. Create new button variables
There are only two modifications that you need to make to the graph: the button variable and the tag.
First follow the instructions or watch the video below to create the two new button variables:
1. In the Script Graph Blackboard, select the Object Variable tab.
2. In the (New Variable Name) field, enter “glasses2Button” and select Add (+).
3. In the Type field, use the dropdown to select Button.
4. Select the Value Object Picker (circle icon) and select Glasses 2 Button.
5. Repeat this process again for the final variable, glasses3Button.
6. In the Graph Editor, find the first duplicated Get Variable node (this is your second row). Select the Variable dropdown and select glasses2Button.
Tip: If you zoomed out in the Graph Editor to duplicate the nodes, you’ll need to zoom back in to access the dropdown.
7. Set the second duplicated Get Variable node (in your third row) variable to glasses3Button.
Each of the three graphs should now reference a different button.
8. Set the second and third tag
Finally, follow the instructions or watch the video below to update the tags on the two duplicated graphs:
1. Replace the tag on the second Find With Tag node to reflect the tag for the pair of glasses on your second button.
2. Repeat this process for the third Find With Tag node for the final pair of glasses on your third button.
3. Select the Play button to enter Play mode.
4. Select one of the new buttons and observe the new pair of glasses appear.
5. Select the remaining glasses buttons in turn and watch as the other glasses appear.
Important: Remember that the glasses will be positioned on top of each other in the order that you select them — you haven’t implemented any functionality to disable the mesh renderers yet.
6. Select the Play button again to exit Play mode.
7. Save your scene.
9. Optional: Test on your device
Follow these instructions to test the app on your device:
1. In the Hierarchy window, select the GlassesGroup GameObject, and in the Inspector window, mark it as inactive.
2. Save your scene.
3. Open the Build Settings window (File > Build Settings).
4. Make sure that your device is plugged in and then select Build and Run to build the app on your device.
5. Repeat the testing you completed in the Editor.
10. Next steps
All three pairs of glasses now appear in the scene, but you’ve likely noticed a problem: when you select the next glasses buttons, the old pair remains in the scene! In the next tutorial, you’ll correct this problem.