
Global dimming
Tutorial
intermediate
+10XP
30 mins
Unity Technologies
Global dimming is a distinctive feature of the Magic Leap 2 that applies a darkening tint over the real-world environment, allowing the digital content to stand out more. This feature is especially useful in brighter rooms, where the digital content may be more difficult to see.
In this tutorial, you will learn how to implement global dimming in Magic Leap 2 applications, including an example where global dimming is used in conjunction with a media player and can be enabled with the controller or with voice commands.
1. Overview
What is global dimming?
Global dimming is a distinctive feature of the Magic Leap 2 that applies a darkening tint on top of the real-world environment but behind any digital content. Below is an example of a global dimming value set at 0%, 25%, 50%, 75%, and 100%.
Why include global dimming?
When the user is viewing content that is floating in the air and not interacting with the real-world environment, global dimming can be very helpful for isolating the digital content and making it easier to see.
Even when the real-world environment must be in view and part of the experience, global dimming can make the experience more comfortable and meet minimum contrast accessibility guidelines, especially when the environment is brighter.
However, global dimming does significantly reduce the visibility of the surrounding environment, which makes it more difficult for the user to see potential hazards around them. Therefore, global dimming should only be used when you’re sure the user will not be in danger with limited real-world visibility.
What you’ll learn in this tutorial
In this tutorial, you will learn how to implement basic global dimming in Magic Leap 2 applications.
You’ll also check out an example where global dimming is used in conjunction with a media player and can be enabled with the controller or with voice commands.
2. Before you begin
Before you begin working through this tutorial, you should make sure your development environment is set up for Magic Leap 2 development and download the example prototype project.
Set up your development environment
If this is your first time developing in Unity for the Magic Leap 2, make sure you have your development environment configured properly using one of the following guided options:
- Follow the Unity: Getting started guide from the Magic Leap 2 developer documentation.
- Follow the Magic Leap 2 in-Editor tutorial project in the Unity Editor.
Download and open the example prototype
This tutorial will guide you through the implementation of this feature in your own application using an example prototype. If you want to explore the code of the prototype yourself, download the accompanying prototype project and open it in Unity.
3. Basic global dimming setup
Configure global dimming on your device
Global dimming can be configured in your device system settings. Although the instructions below show you how to increase global dimming in your applications, the user can always override this effect using their settings menu.
Add an XR Rig to the Unity scene
Just like with any Magic Leap 2 project, the first step is to add the XR Rig prefab to the scene from the Magic Leap SDK package (Packages > Magic Leap SDK > Runtime > Tools > Prefabs) and then delete the Main Camera GameObject.
Set global dimming at start
You only need a single line of code to enable global dimming in your scene. You can pass this method any value between 0 and 1 (where 0 is not at all dimmed and 1 is fully dimmed).
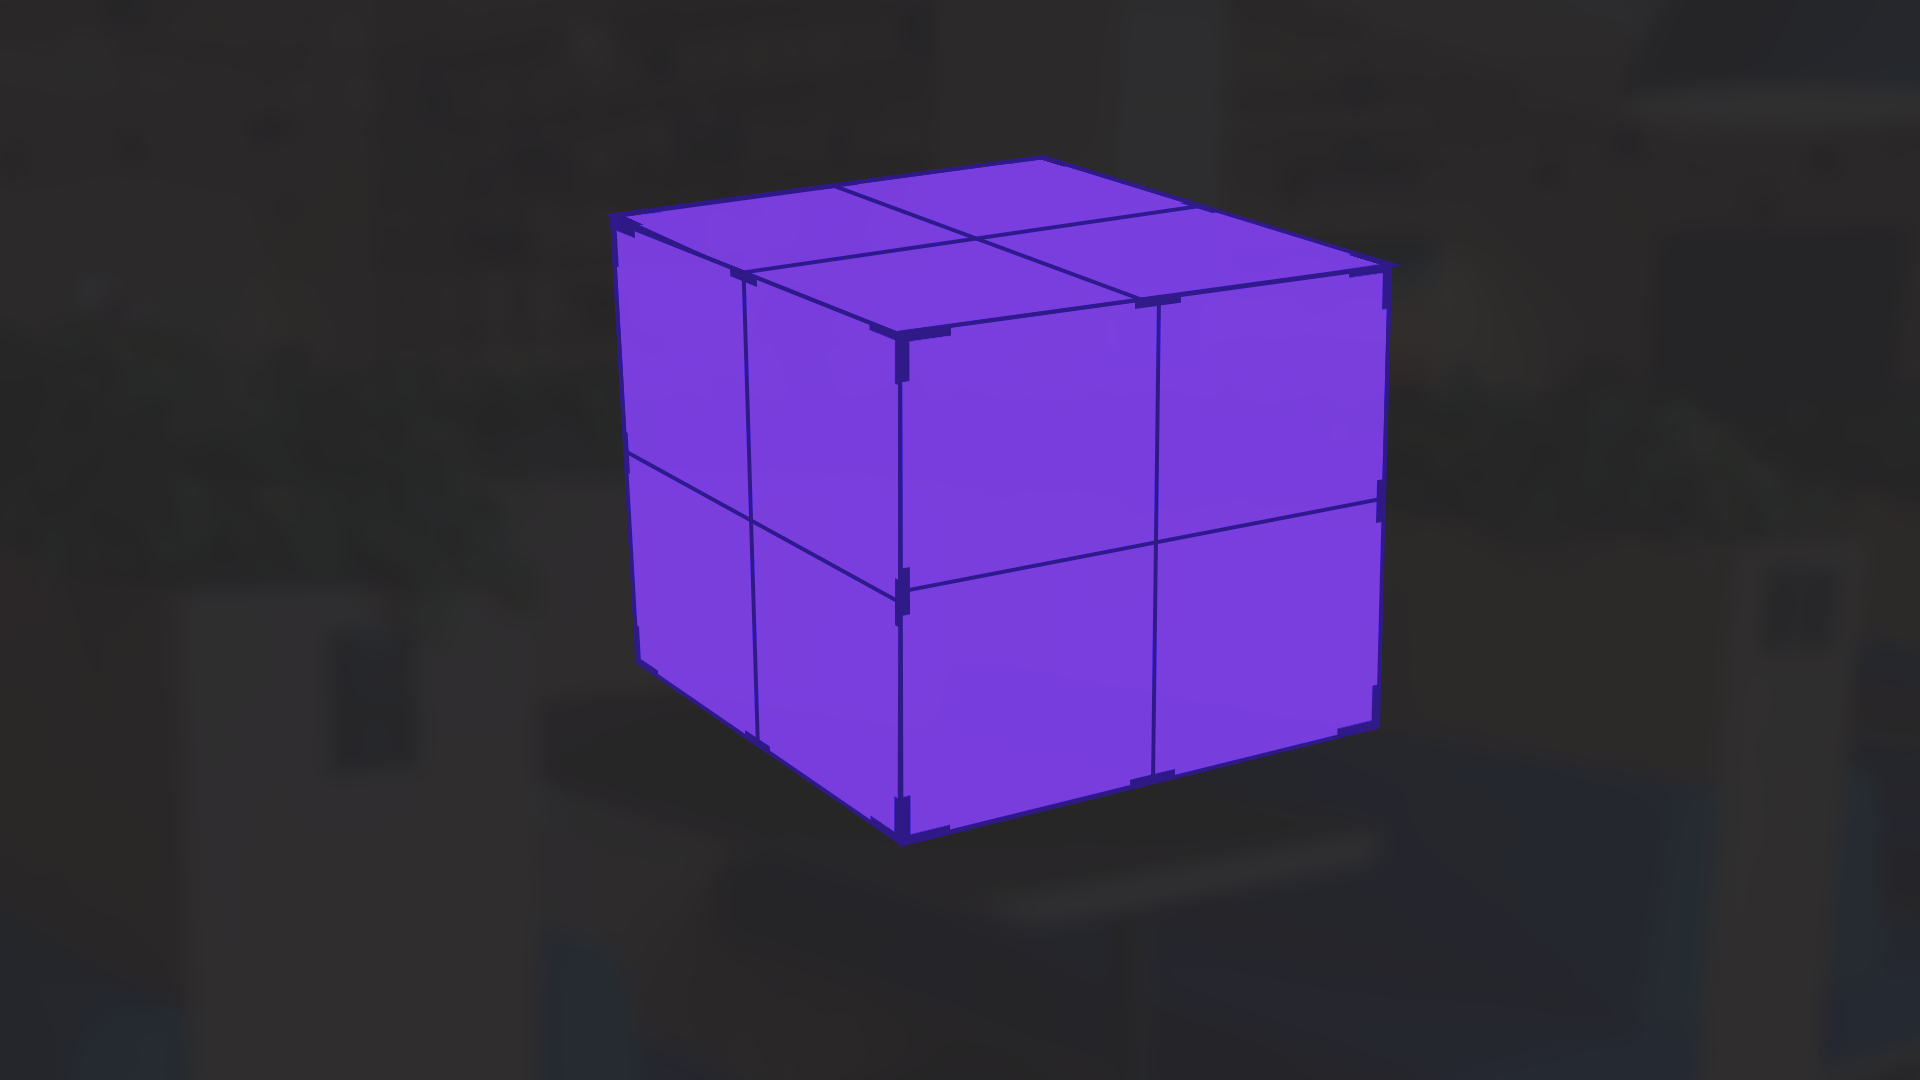
MLGlobalDimmer.SetValue(0.5f);To better appreciate the dimming effect, add a simple 3D shape into your scene, then set the dimming value at start using the following script.
using UnityEngine;
using UnityEngine.XR.MagicLeap;

public class GlobalDimming : MonoBehaviour
{
    void Start()
    {
        SetGlobalDimmingValue(0.5f);
    }

    public void SetGlobalDimmingValue(float value)
    {
        MLGlobalDimmer.SetValue(value);
    }
}
With dimming set to 0.5, your image will look like the following image:
Control global dimming with a slider
The easiest way to dynamically control the precise global dimming value at runtime is using a UI slider.
To add a slider that controls global dimming to your scene, complete the following steps:
1. In the Hierarchy, right-click the 3D object you created in the previous step and select XR > UI Canvas. This action creates a world space canvas configured to respond to tracked devices like the Magic Leap 2 controller.
2. Right-click the new Canvas GameObject and select UI > Slider. This action will place a slider directly on top of the parent object, but it will be gigantic.
3. Scale down the Canvas GameObject and reposition it until you are happy with its position relative to the 3D object.
4. In the Slider component, in the On Value Changed section, add a new action using the Add (+) button. This event is called every time the slider value is changed.
5. Assign whichever GameObject contains your SetGlobalDimmingValue method to the Object slot, then open the No Function dropdown and select [YourScriptName] > [YourFunctionName].
If you test the app on your device now, the slider will set the global dimming value.
4. Global dimming in context
Now that you know how to set up basic global dimming, let’s check out an example of how this feature can be combined with other interactive functionality.
In this example, the user is viewing a media player. You can activate and deactivate global dimming using voice commands or with the menu button. You can also dynamically control the global dimming value with the touchpad.
5. Next steps and additional resources
In this tutorial, you learned about controller input on the Magic Leap 2. You can learn more about global dimming with the following resources:
- Magic Leap’s guide on global dimming
- Magic Leap’s scripting documentation for the MLGlobalclass
You may also want to learn more about out the other features highlighted in the example prototype:
Otherwise, feel free to go back to the overview page, where you can explore other tutorials and resources.